


August 6, 2005
Having put off the canopy for what seems like an eternity, I figured that it was time to make some headways with it. First thing I did was chat with Cameron about it. He’s done his a long time ago, and it’s always good to get some info from someone who’s been there already.
Well, I had to twist the canopy frame a bit to make sure it hit the roll bar evenly, then I set about trimming the plexi. First, I marked the centreline, using the string method. It’s not exactly accurate, but it’s close enough for the task at hand. Unfortunately, I didn’t have my camera for most of today, so I couldn’t take pictures of each step. Once this was set, I placed the frame in the plexi and marked where the hole would go for the latch. I double checked that I’d got it right, and drilled a pilot hole, then drilled a larger hole with a Unibit. The plans called for 5/8", but I ended up going ever so slightly bigger. The canopy frame wouldn’t fit through the 5/8" hole!
Next, I got out the duct tape. I taped across the plexi to hold it together while I made some markings for the preliminary cuts. Then, I took out the frame and started chopping away with the cut off wheel. This seems pretty easy. Well, it is 85 degrees out! I decided to be a bit conservative with my cutting. I didn’t want this to be a $1000 mistake! One thing I noticed was how air hungry the old cut off wheel is! My compressor was struggling to keep up!
Once it was trimmed up, I laid in the frame again, and clamped it all around. Now it was time to figure out where to make the big cut. This was the worst bit. It actually turned out OK. I marked it out using a sharpie pen, and once I had a line, I laid masking tape up to the line. This made it easier to see where I was cutting. It worked a treat. Here is a shot of the windshield half, after the cut. The black tape was holding the two halves together as I cut so as not to put too much stress on the plexi.
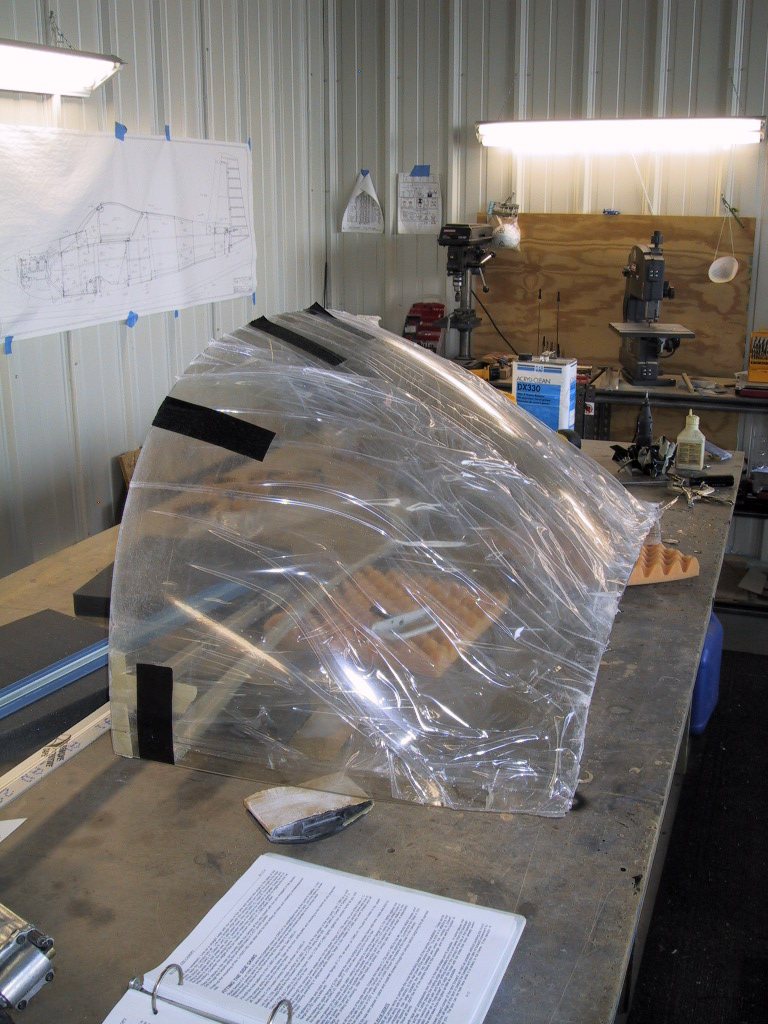
The next step involved putting the frame back on the plane, and laying the canopy bubble on the top. I put a bolt through the latch hole with some large washers to stop the plexi from moving too much. Then, I clamped around and figured out the drilling for the rivet holes. I basically followed the Van’s instructions all the way here. I used the masking tape trick to find the centrelines on the frame, and basically started drilling. Everything seems to be coming together pretty well. This isn’t as bad as people make out!
Here’s a shot after it’s been drilled and cleco’d to the frame. You can see I left a lot of material on the sides where the skirts will ultimately be. I wanted to be 100% sure I wasn’t going to be too short! Once it was secured with cleco’s, I marked the lines for final trimming.
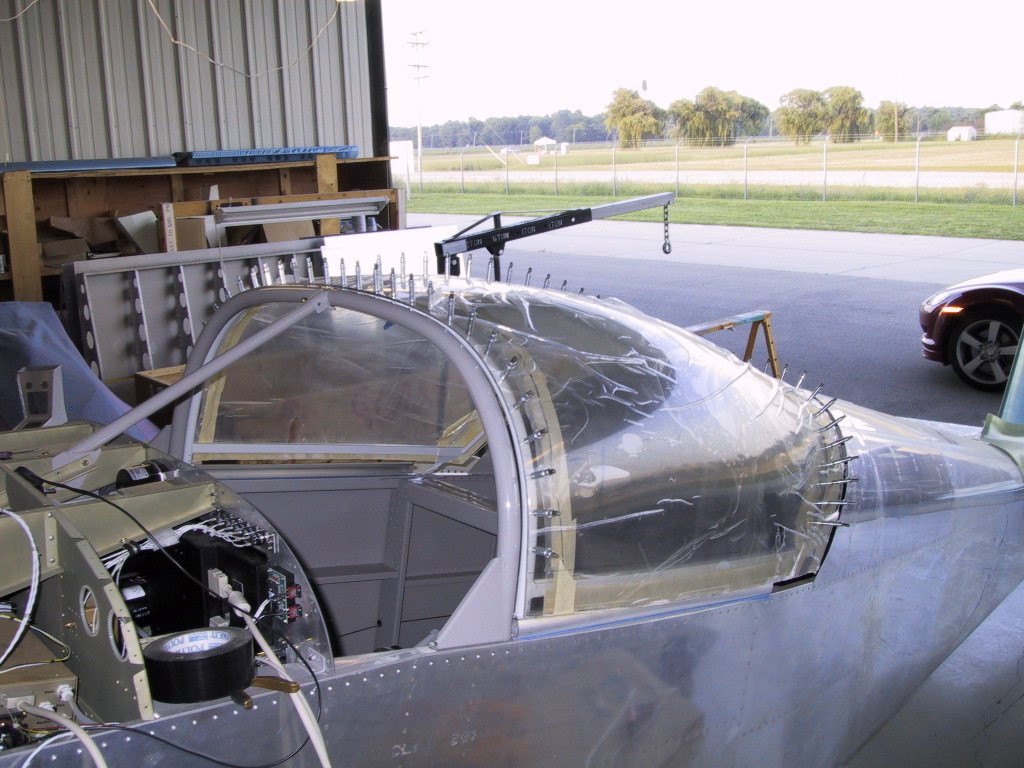
This is basically how I left it for today. Tomorrow, I’ll be looking at final trimming and polishing up the edges. Then, I’ll start making the skirts. At the same time as all this, I need to carry on with the centre console and get that in the plane. I think that will probably be next weekend.