August 28, 2005
Today was a good day at the hangar, apart from the late start. I continued on with the canopy, specifically the lower skirts. There’s still a long way to go with all this stuff, but I’m hoping to get the canopy finished up in the next week or two.
First thing was to cut out some new skirt from some 0.032" sheet stock I had lying around. I needed to make mine longer than the plans call out since I messed up the measurement between the canopy plexi and the lower frame rails. Oops. I also wanted the bottom of the skirts to be in line with the bottom edge of the rear turtle deck skin. Just me being anal again. It’s little details like this that make a plane nice. Once I had the basic shapes cut out, I started attaching them to the canopy using a strap duplicator. This worked great. The first hole I used for the datum was the front one. Then I went from there with everything clamped and/or cleco’d in place. Here you can see the start of it. The skirt is a lot longer than it need be right now.
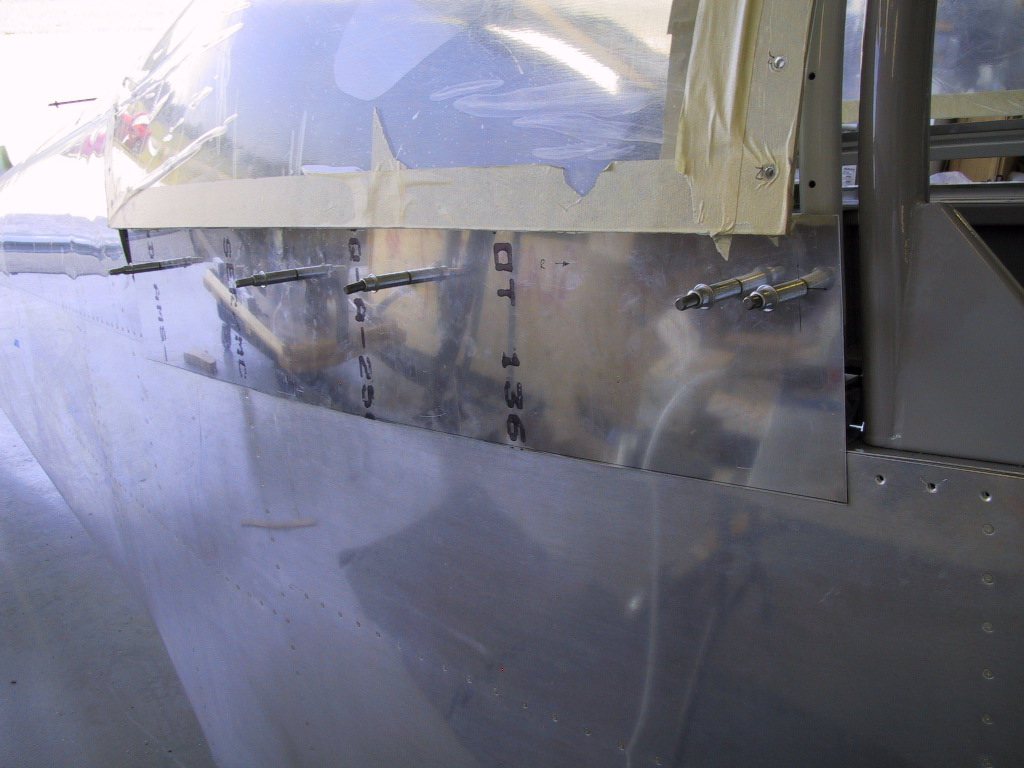
Here’s the right side fully cleco’d. As you can see, it fit’s great! All this without any bending yet either. I have to say, I’m quite pleased with the results of thus far.
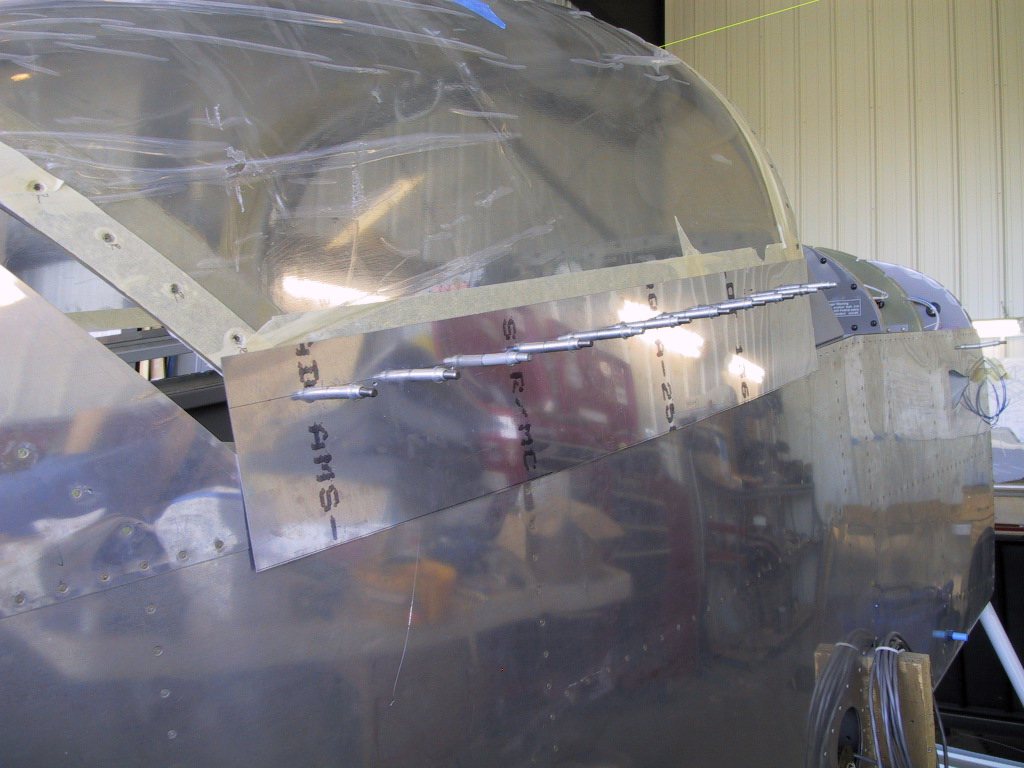
Next was to trim the height of the skirt down to match the fuselage proper. At the front, it requires a cutout to clear the fuselage deck as the canopy slides back. You have to remove a fair bit of material to achieve this. I managed to get a nice gap that wasn’ too big, and still clear the deck OK. Since my skirts are longer, my cutout had to extend a bit further back too. Turned out to be about an inch more than the plans.
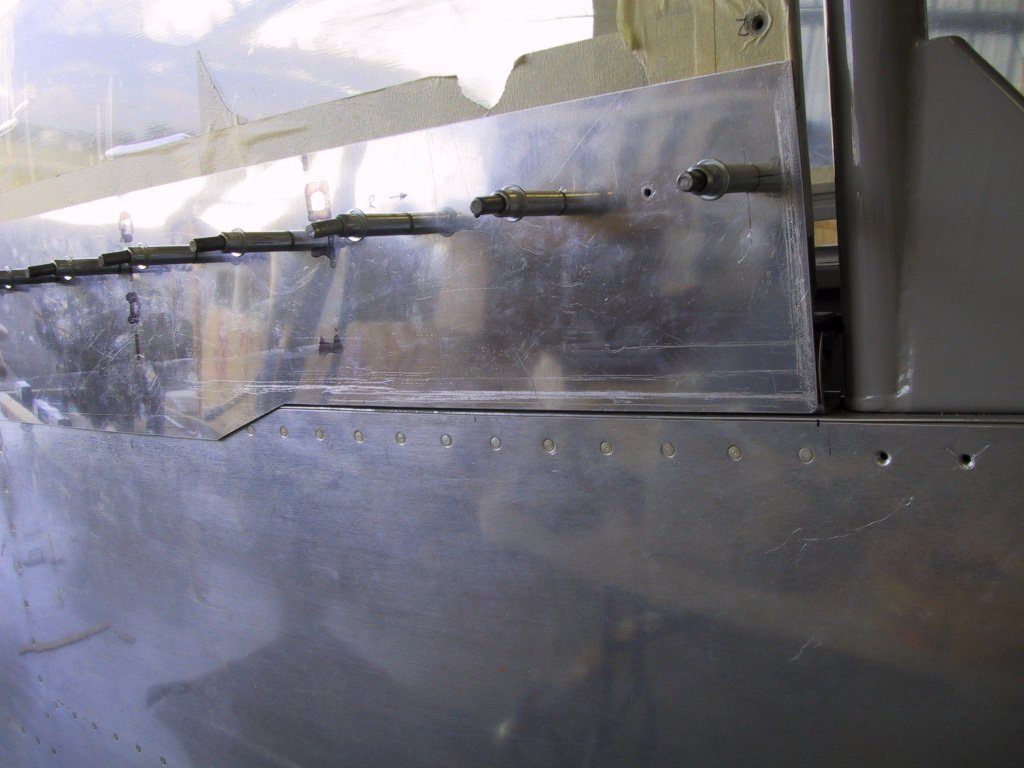
Once all that was done, I marked out where I wanted the holes along the top of the skirt to attach the canopy plexi. These holes will eventually take No. 6 screws. Once it was all pilot drilled to No. 40, it was time to cleco the whole thing together and drill No. 30 through the canopy (gulp!). Turned out lovely! Damn, I’m almost out of No. 30 clecoes!
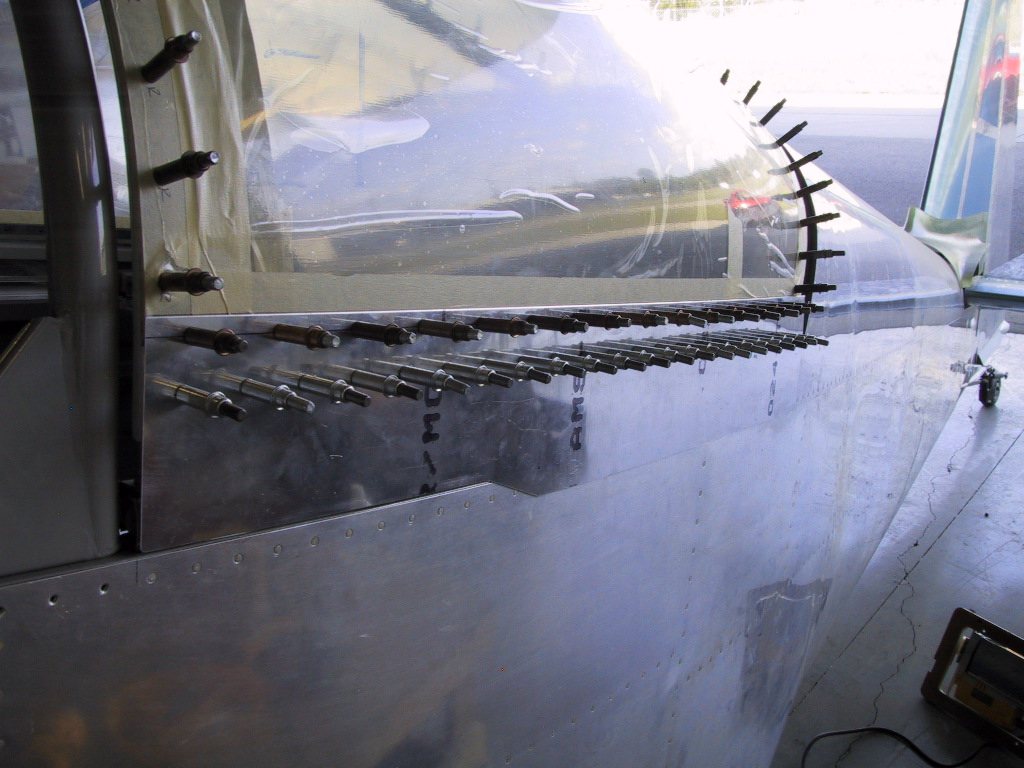
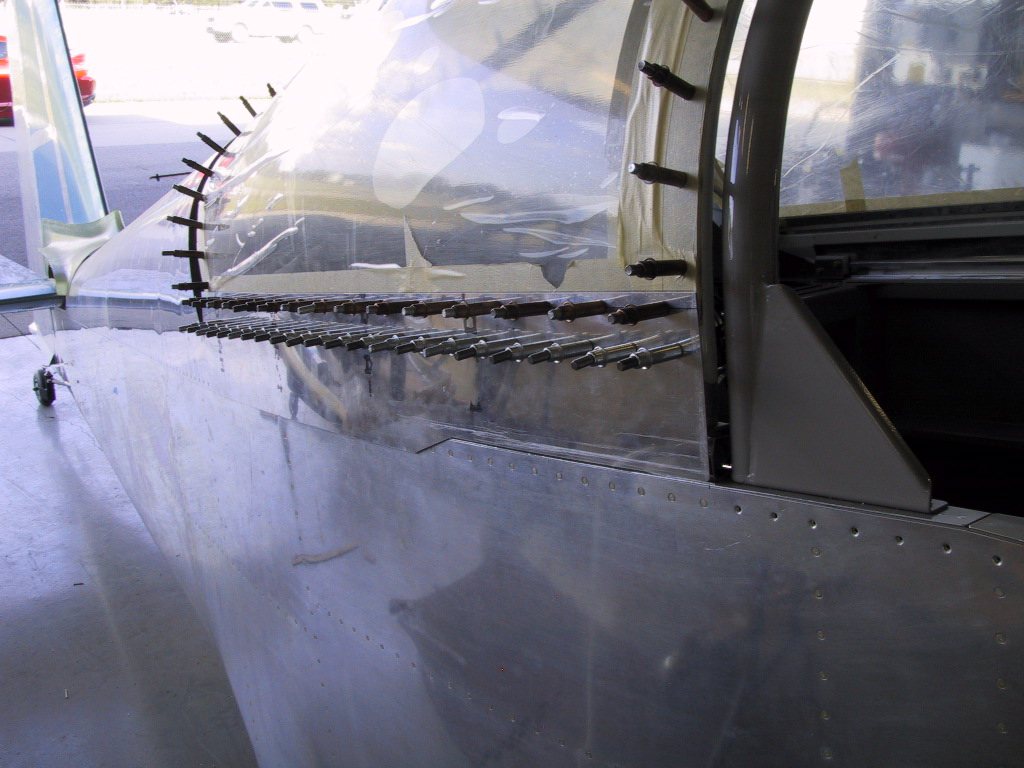
Here you can see how my gaps are working out. Remember how much bending I had to do to the frame? Now I know it was worth every hour! This is the right side…
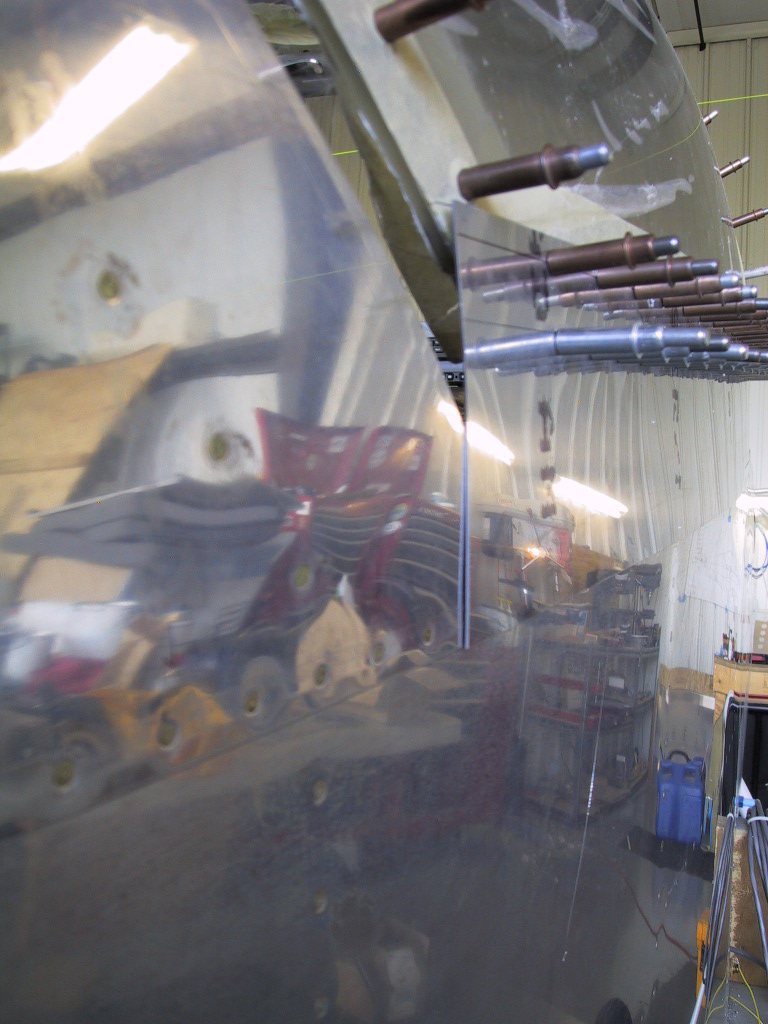
And the left side. A little bigger. but not by much.
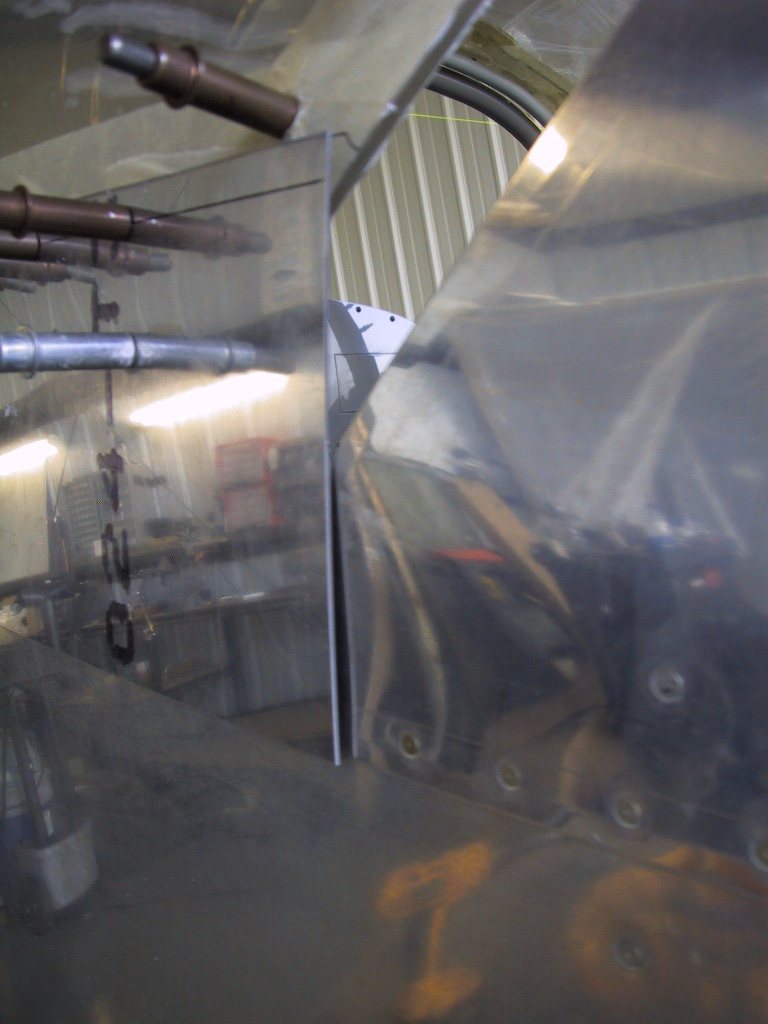
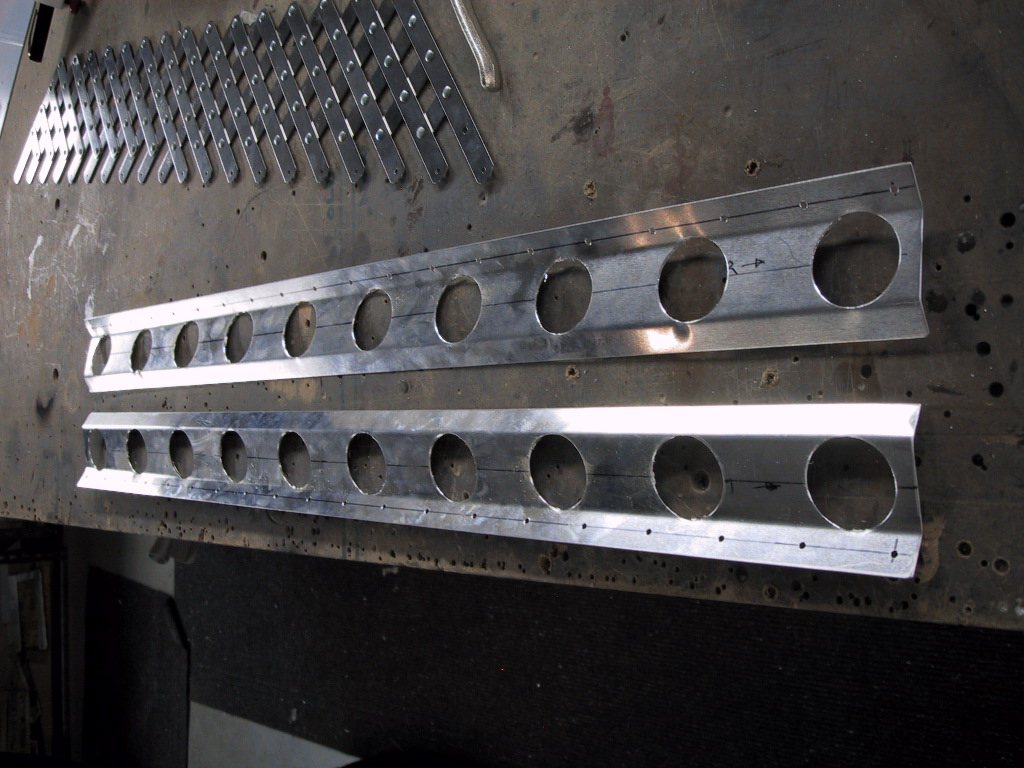
Mike came over to see how I was getting on, and to see the engine. He’s not been over since I finished my panel, so it was the first time he’d seen that too. He was going to help me put the skirt braces on, but we ended up messing around with other stuff. It didn’t help that I hadn’t got the braces done either! Anyways, once Mike had left, I managed to rough out the relief holes. During the week, I’ll get these cleaned up and fitted. Be wary of the dimensions shown in the plans when you come to make these. Mine were not even close to the dimensions that Van’s shows. Basically, set your lengths up so the braces fit in the canopy frame, then mark your end holes, then make all the holes in between. It looks like Van’s calls out 22 holes for the rivets to the frame rail, but using something close to their spacing callout, I could only fit 20!