November 11, 2005
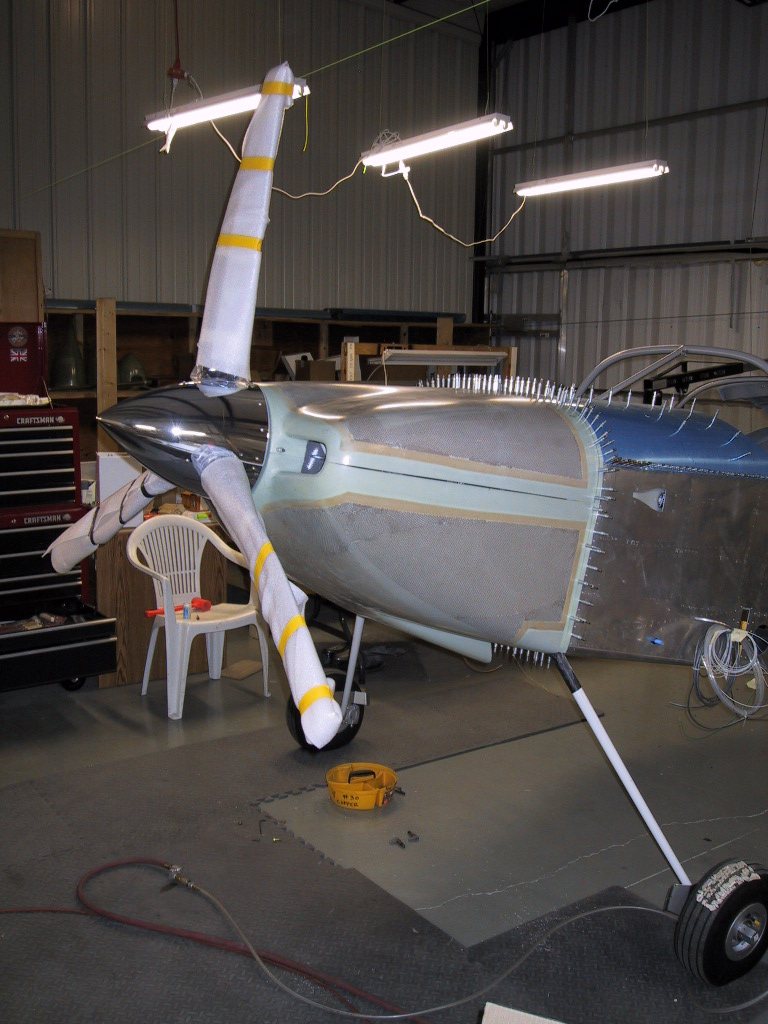
Continuing on with the cowl today. I drilled along the top edge before the edge started to come around the sides to hold it in place, then I removed the block of wood I had supporting it under the nose. I used side grip cleco clamps to hold the sides where I wanted it to get a preset height relative to the spinner. This worked out nicely. Once I figured out where, I redrew the line and sanded it away gently along the side edges unitl it was right where I wanted it.
Here it is before…
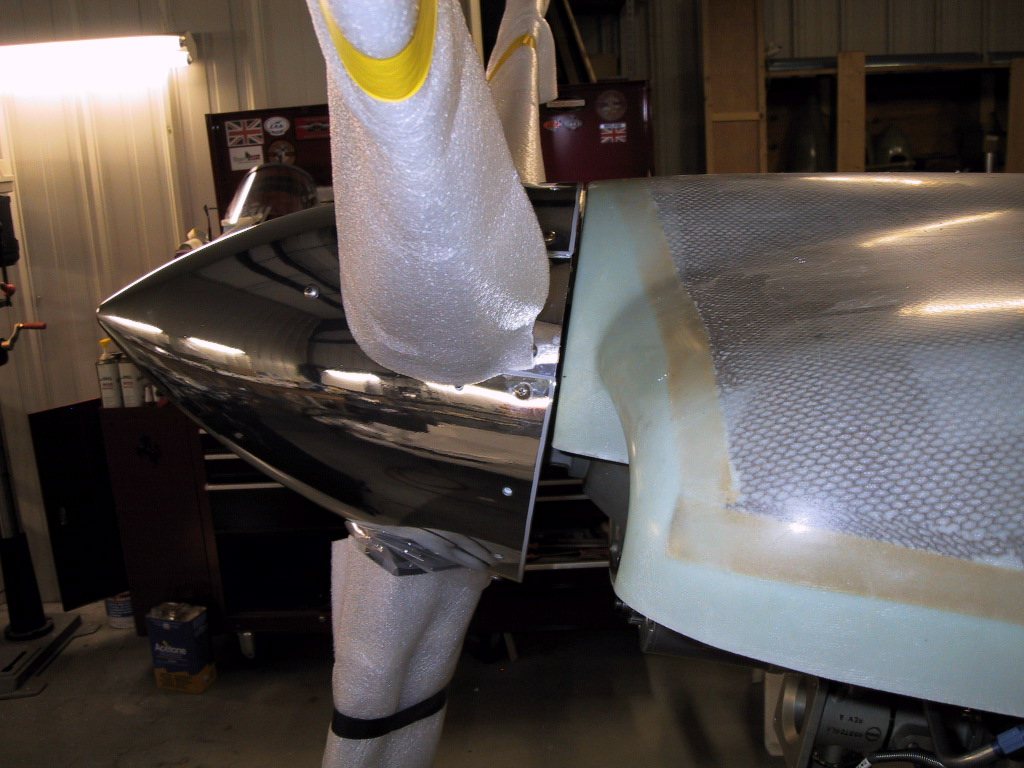
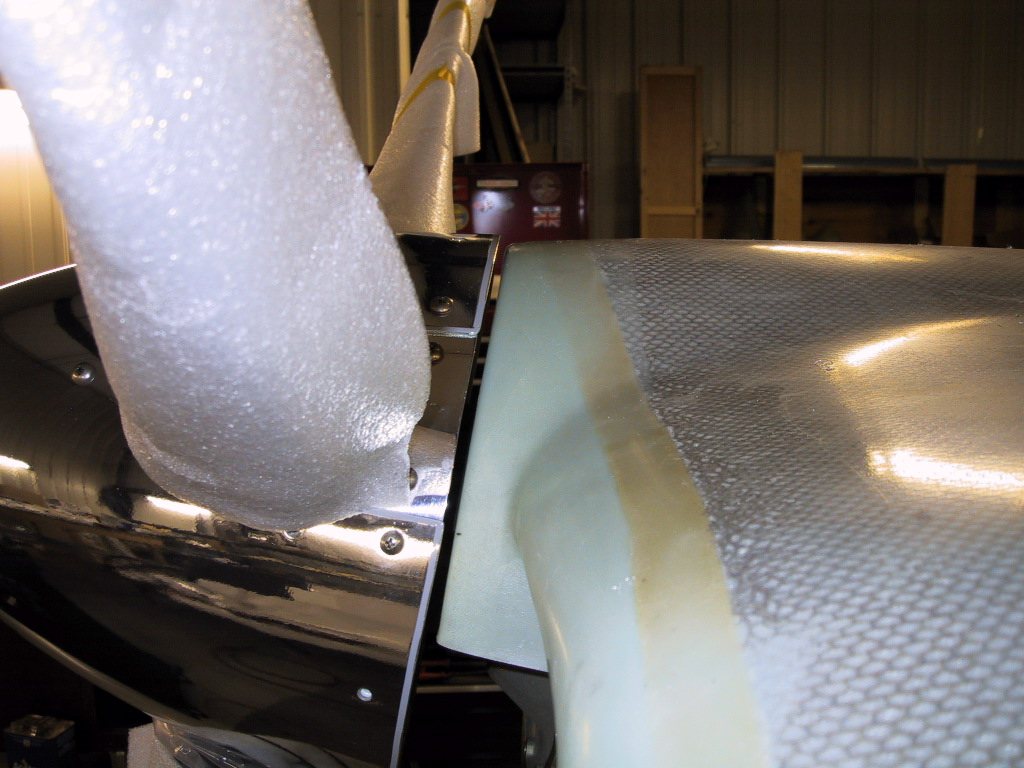
And after… Not much difference, but enough. Hopefully!
Now the the upper cowl is nailed, and I’m very happy with how it’s turning out so far, it’s time to hit the lower. First I needed to make the two halves fit together a little better. The biggest issue is that the thickness on the inside mating surfaces of the upper cowl is all over the place. I took a file to it and evened it out some. This went a long way to getting a half decent fit.
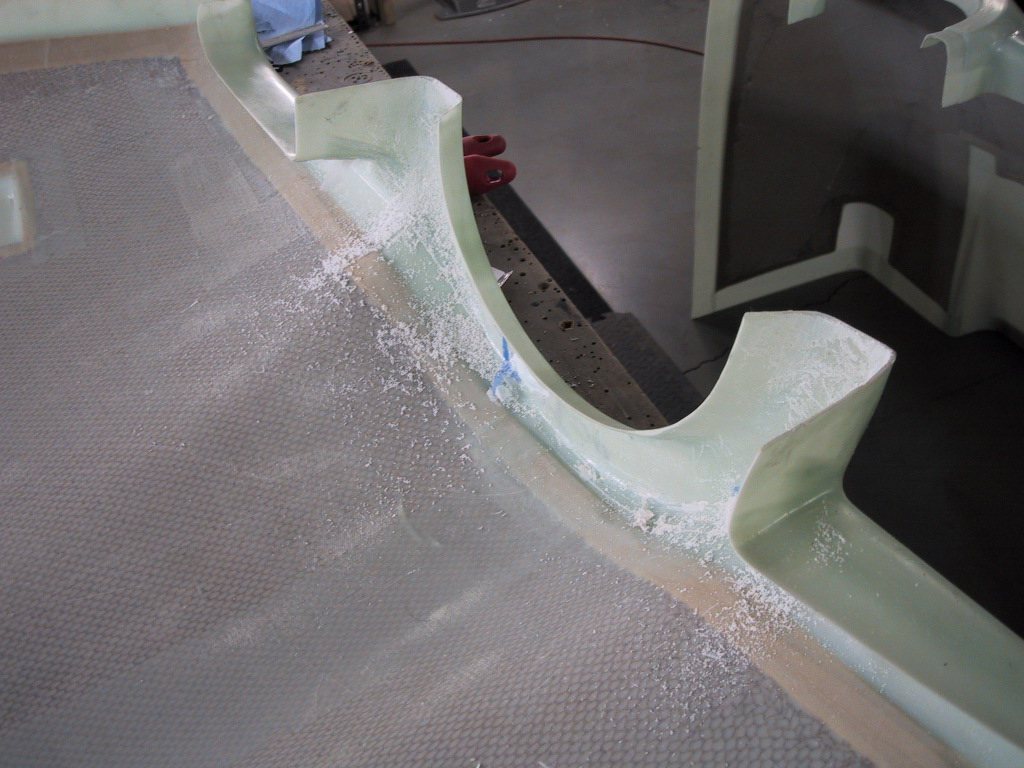
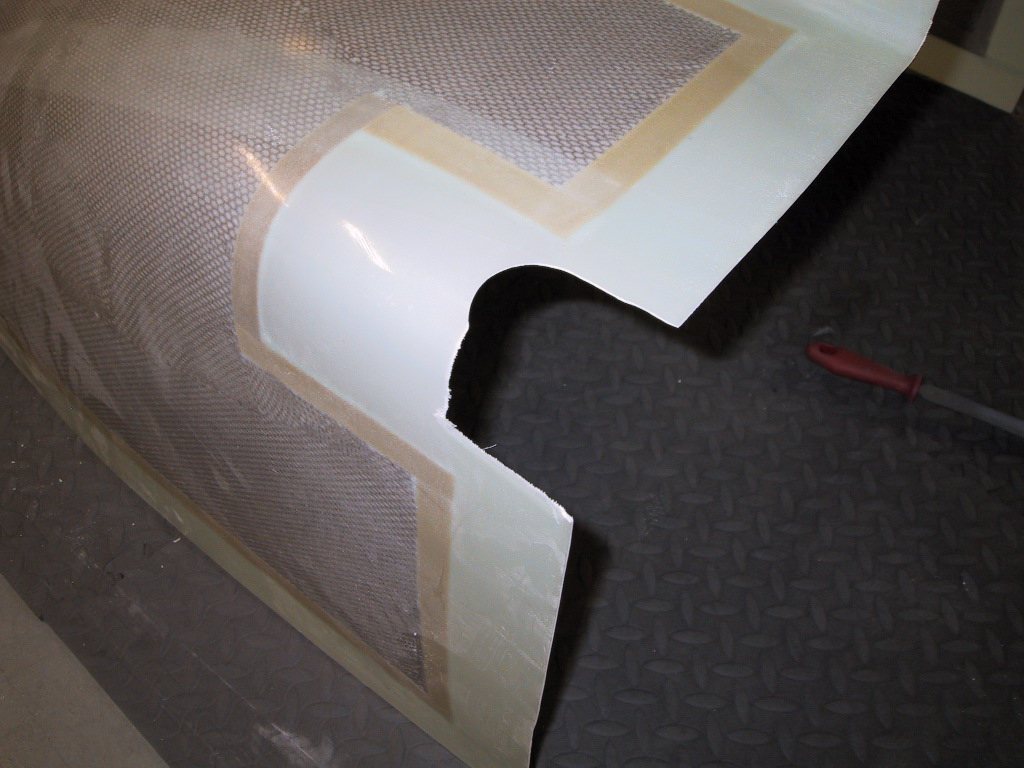
Then, I cut the reliefs for the wheel legs. I got clever here and used a hole saw. Well, it worked OK on one side, but on the other side, it snagged and tore out a chunk of cowling

. Fortunately, it wasn’t too much, and I will be able to fix it pretty easily. Most of this are will probably be covered with gear leg intersection fairings.
The good side.
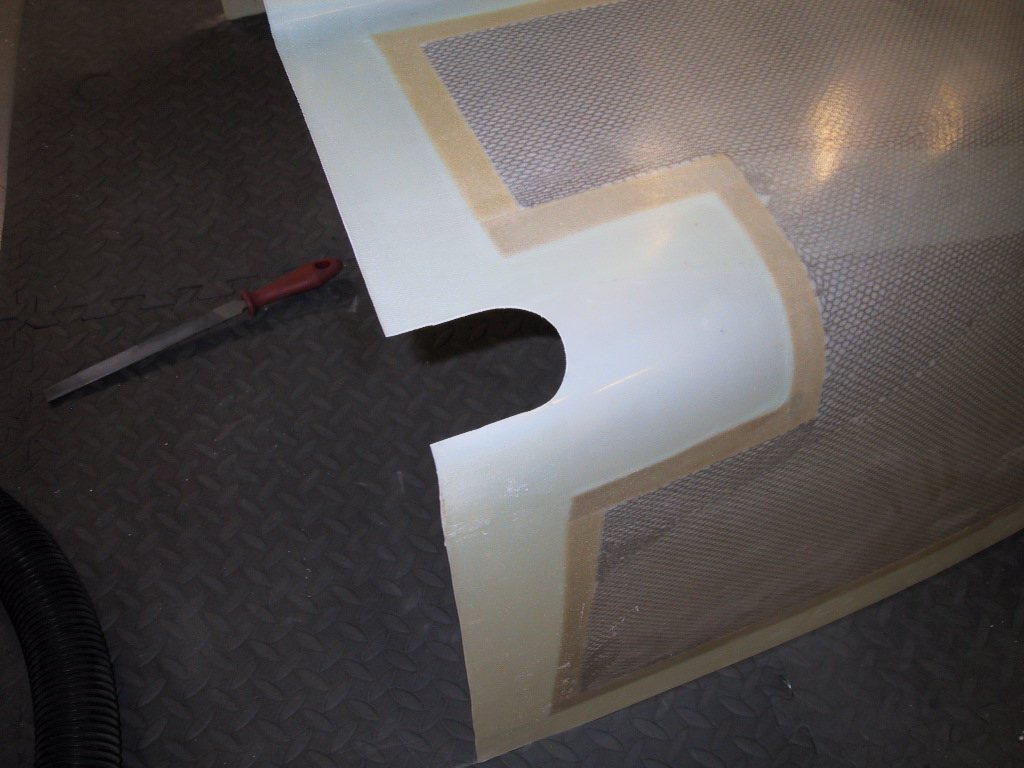
The oops side. Oh well. I’ve a lot fo fibre glass work coming up anyway.
Well, the first fit of this was fun. I’d already drilled some holes at the front of the cowling by the spinner to hold the two halves together at the front. Then, I juggled the cowling up into position and managed to get it all together. Tricky on your own. I marked the bopttom of the cowl for trimming, and took it off. It was about htis time that I realised I still needed to make the bottom cowling attach strips! Doh!
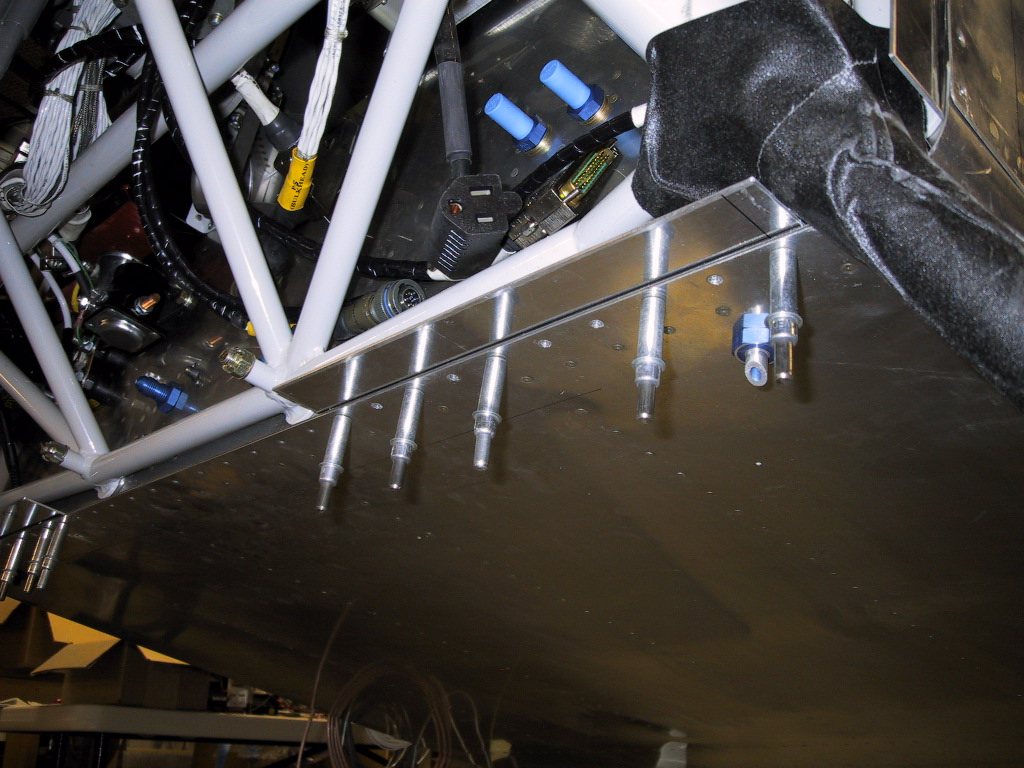
Didn’t take too long! So, back on with the cowl…. Man this is getting to be fun. I put it on, strapped it up and drilled the lower edge. Now it’ll stay in position a little better. Hmmm.. Seems we have a bit of a gap. More fibre glassing coming up!
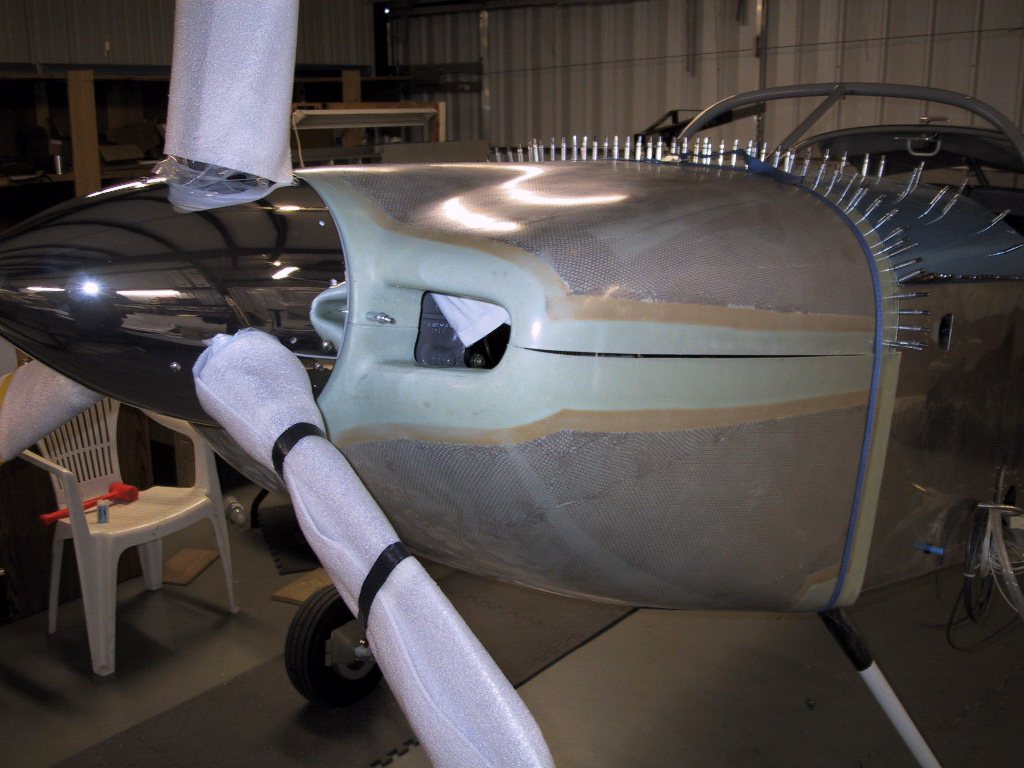
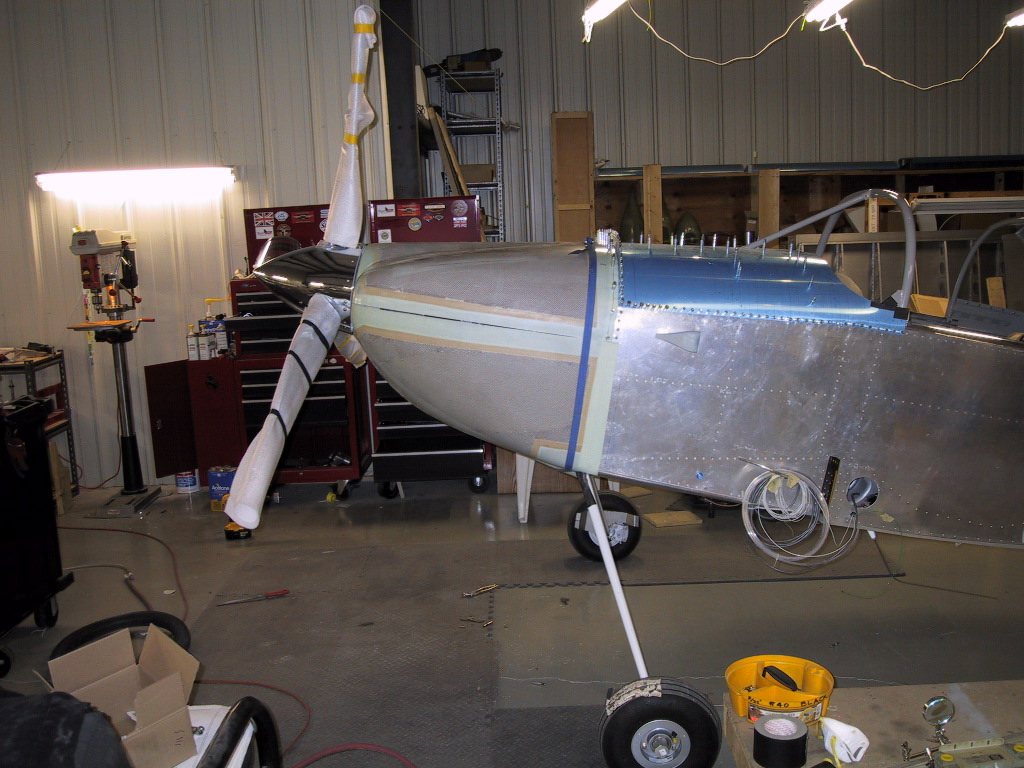
It was about this time Clayton showed up. I’m glad he did, coz it sure makes life a lot easier with two people doing this rather than one. It’s a heck of a juggling act balancing a cowling on your nose while trying to reach up and feed it clecos! Thanks for your help Clayton! We got it to a point where we could trim the sides and took it out and took the cut off wheel to it. Here, the sides are trimmed, and there’s one cleco holding the top corners.
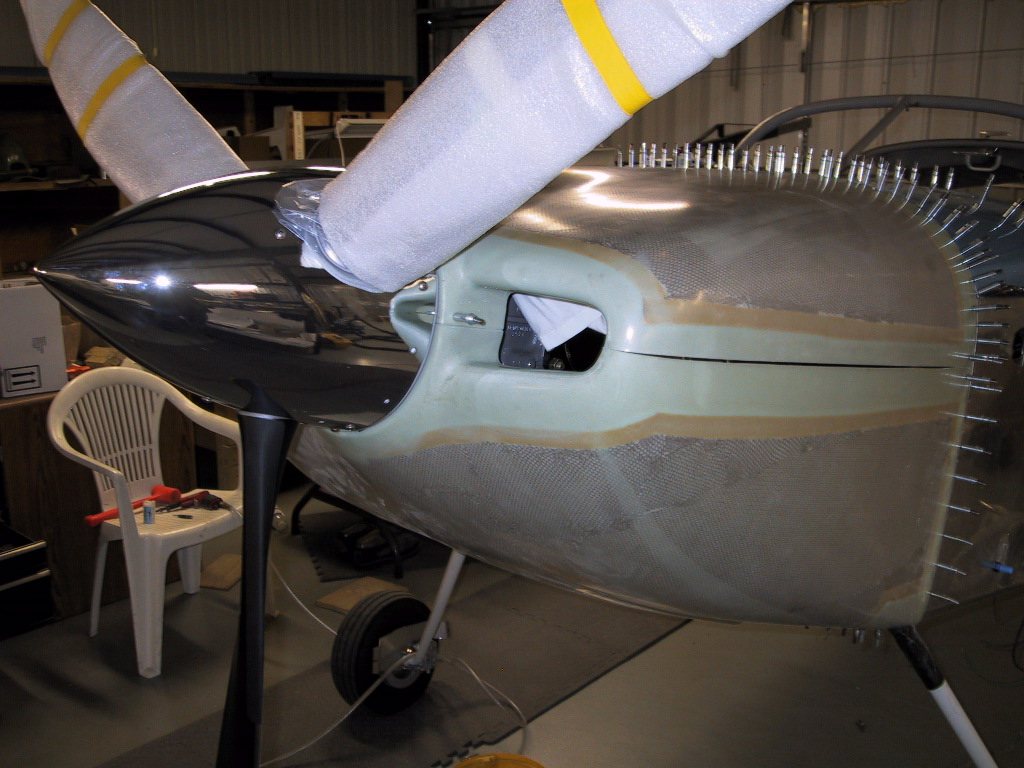
We marked out where the other Skybolts would be located, and drilled the pilots. These would be the final firewall flange mounting points.
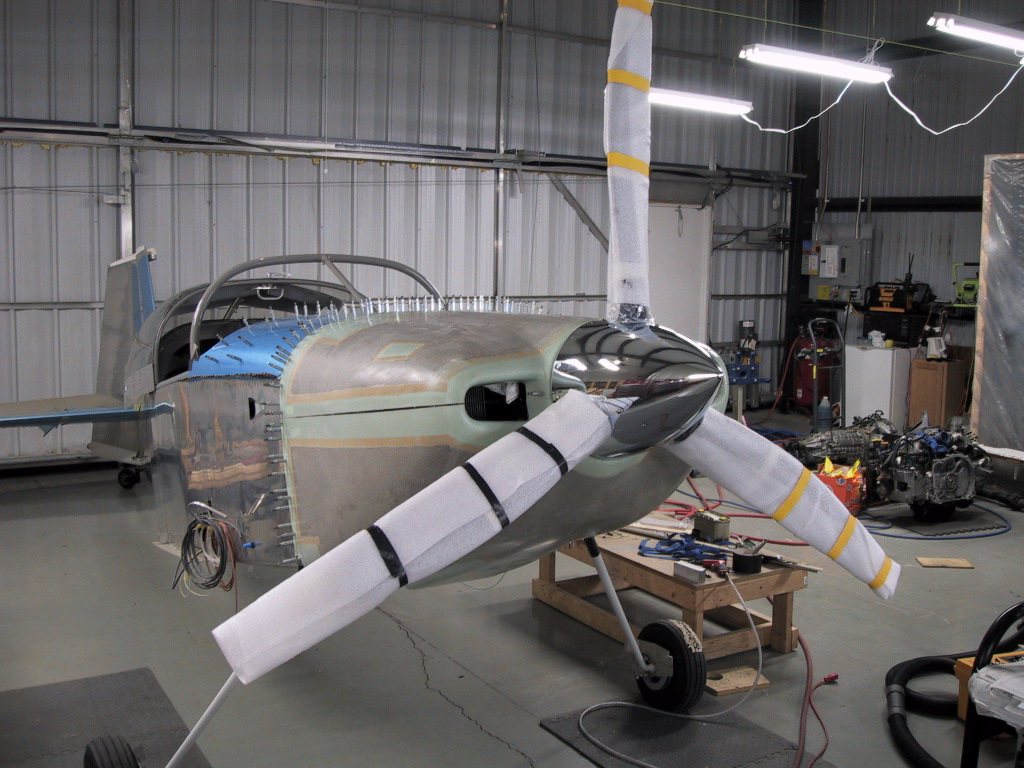
Here are some close up shots of various areas. Some will need more attention than others, but in general, it’s not really that bad. The gaps will be easy to close up, and the font nostrils are really pretty good considering what I’ve seen other builders contend with. Like I said earlier, cleaning up the inside mating faces around the spinner area of the cowling really helped a lot.
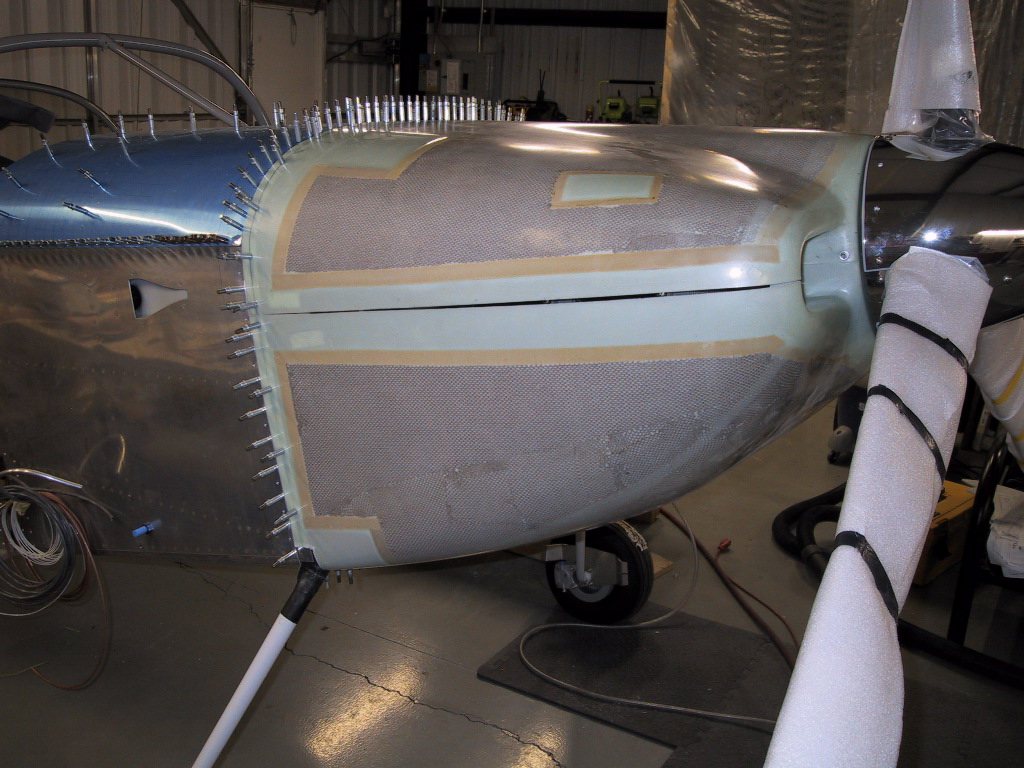
Even the spinner face of the cowling came out good. You can see the upward offset of the spinner now. I have a little less than 3/16" gap at the top of the spinner. As this drops, in theory, it should come out paralell! In theory! In practice, nobody knows how much this thing will sag, and it’ll probably move left or right too knowing my luck.
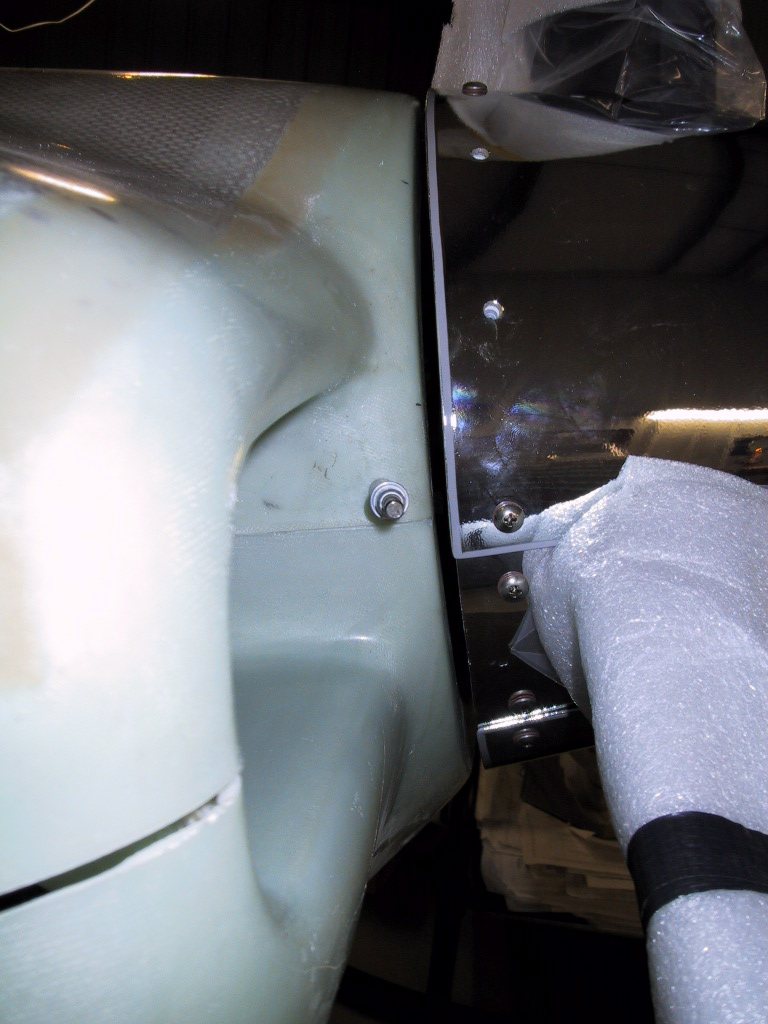
The right nostril (if you’re the pilot)…
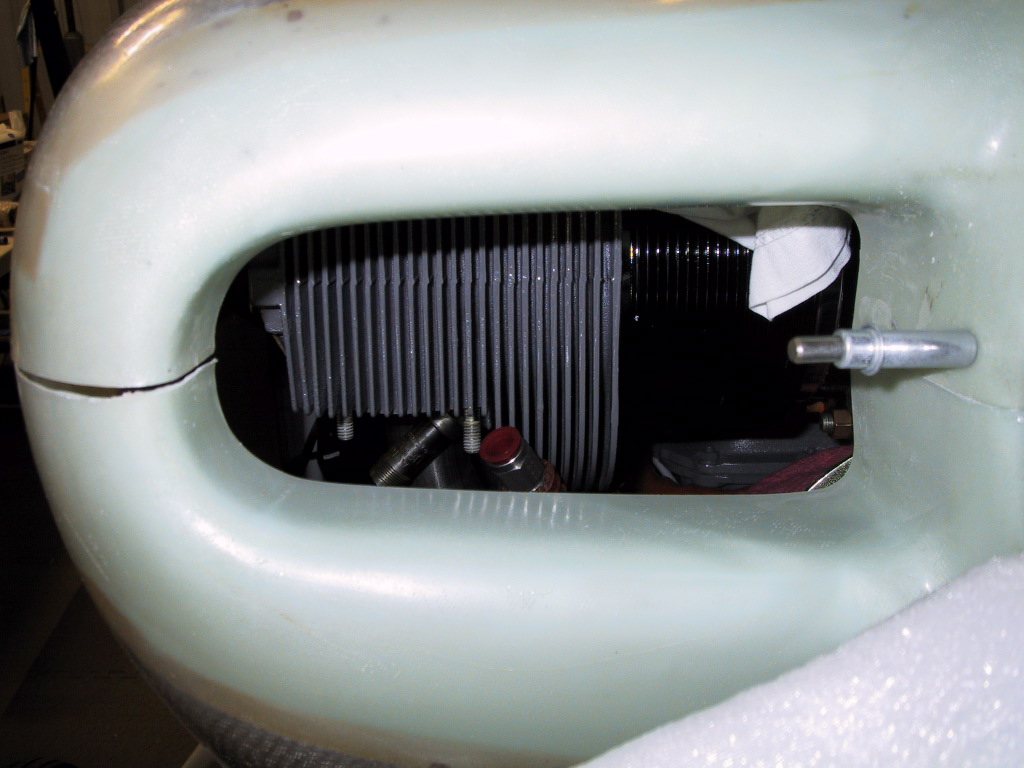
The right nostril (if you’re a bird)….
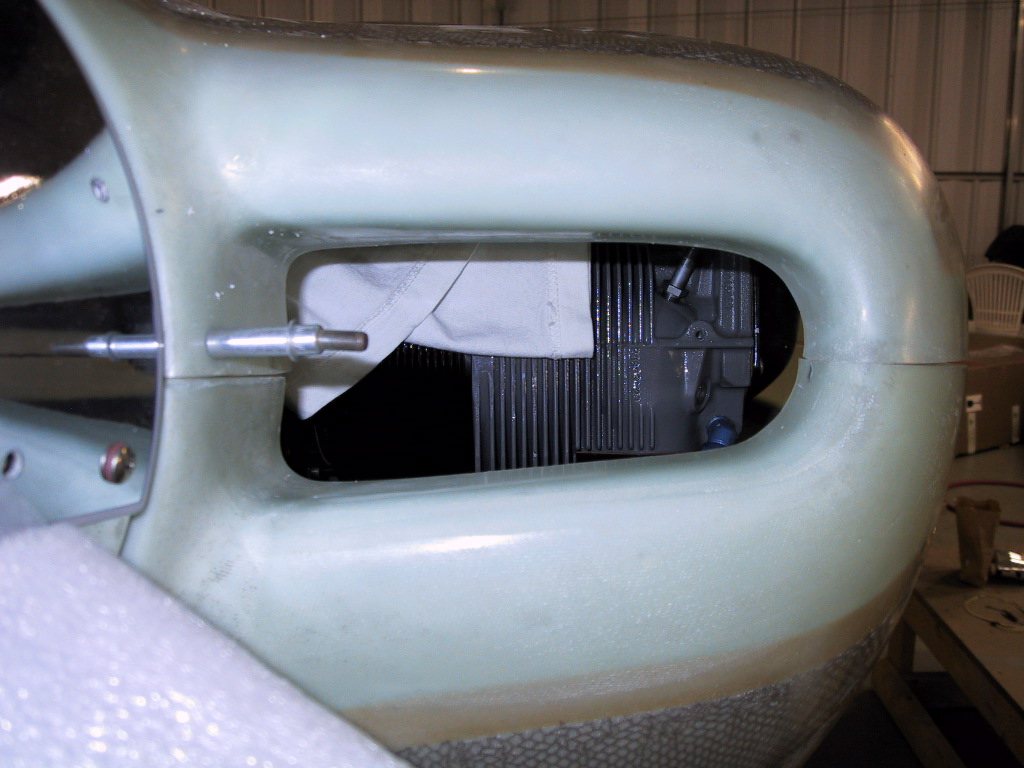
The cowling as it stands so far. It’s really starting to look like a plane now isn’t it?! I have to admit, I can feel the excitement building in my veins!