November 20, 2005
For some reason, it didn’t seem like I did very much today. I wasn’t even messing about much, and I had no real interruptions. Larry came by and chatted for a short time, but not for long really.
I did some more messing with the cowling, sanding the edges along the hinged side joints to get them butted together. Right now, they overlap in some places, so this needed fixing before I sort out the holes down the sides of the lower cowl.
Once this was done, I put the cowl back on the plane, and put a shop light inside so I could use it to see where I needed to drill the new holes for the sides. Since Mike helped me fix the gaps along the upper/lower seam, the holes were now a lot off, so I needed to redrill them. Fortunately, these holes get hogged out a lot for the Skybolts, so the original holes I drill will get swallowed up by the new ones.
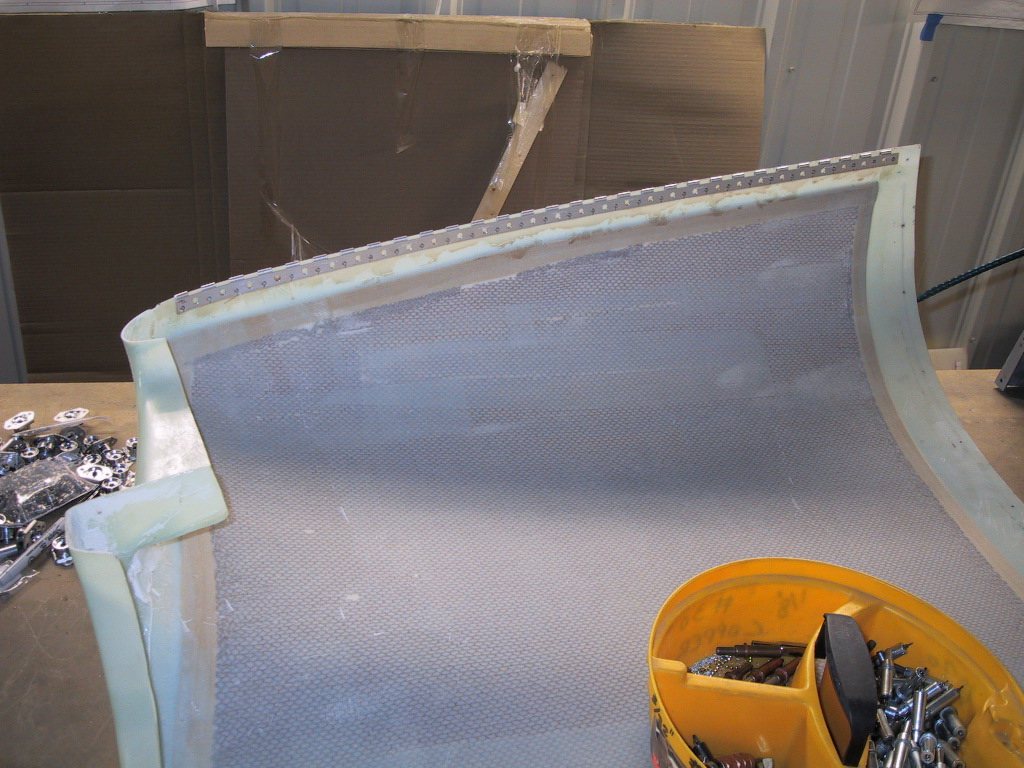
The next task was to rivet the hinges on to the cowling halves. This took me ages. The time consuming part was drilling some holes in the hinges for the epoxy to key to. I first drilled pilot holes, then drilled them to 7/32". These hinges are even lighter now! I roughed up the cowling and the hinges to help with the epoxy bond, then I mixed up some epoxy and painted it onto the cowling halves and the hinges, and riveted them on. Here’s the lower cowl.
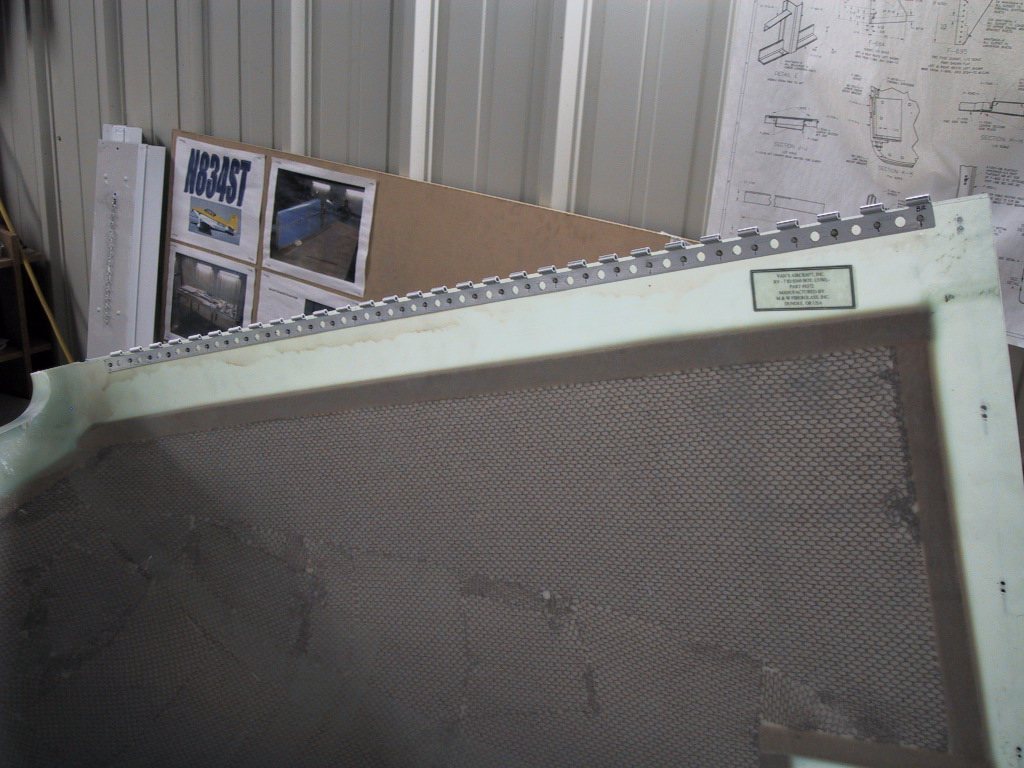
And the upper.
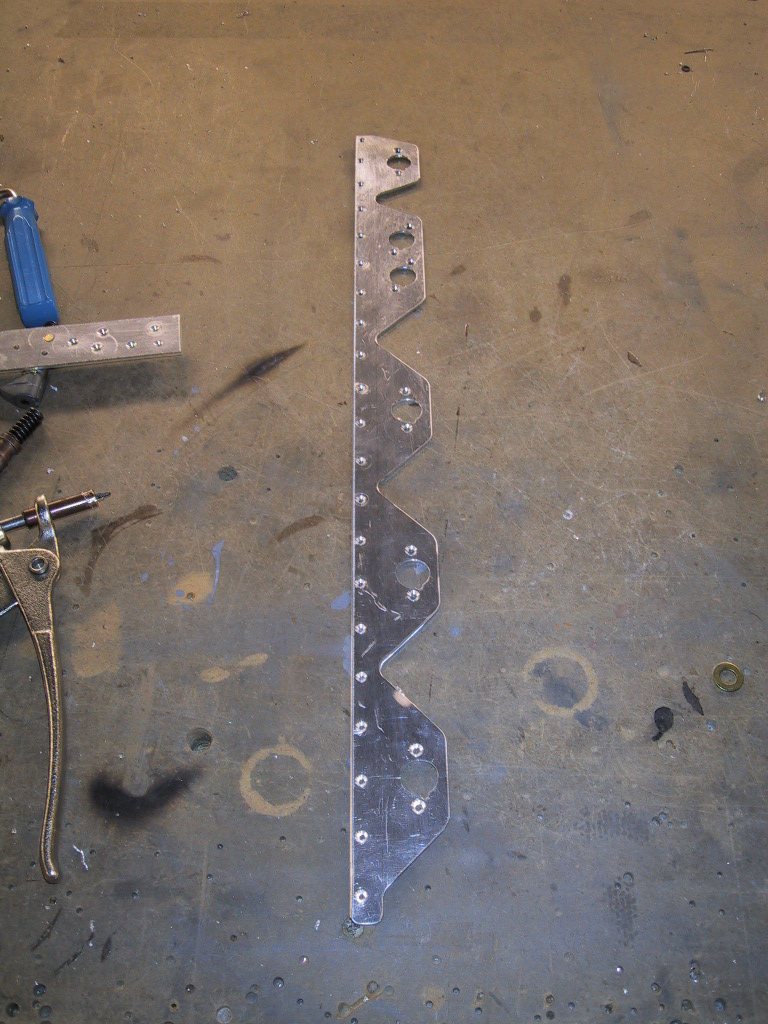
While this was setting up, I moved on to the Skybolt flange strips. Time has flown by already today! I used the Skybolt template to drill all the pilot holes. I also drilled pilot holes for the tab reliefs. Then I got the unibit out and enlarged the holes accordingly.
Here is the finished part. Lots of cutting, drilling and filing going on to make this. This is the lower right hand one.
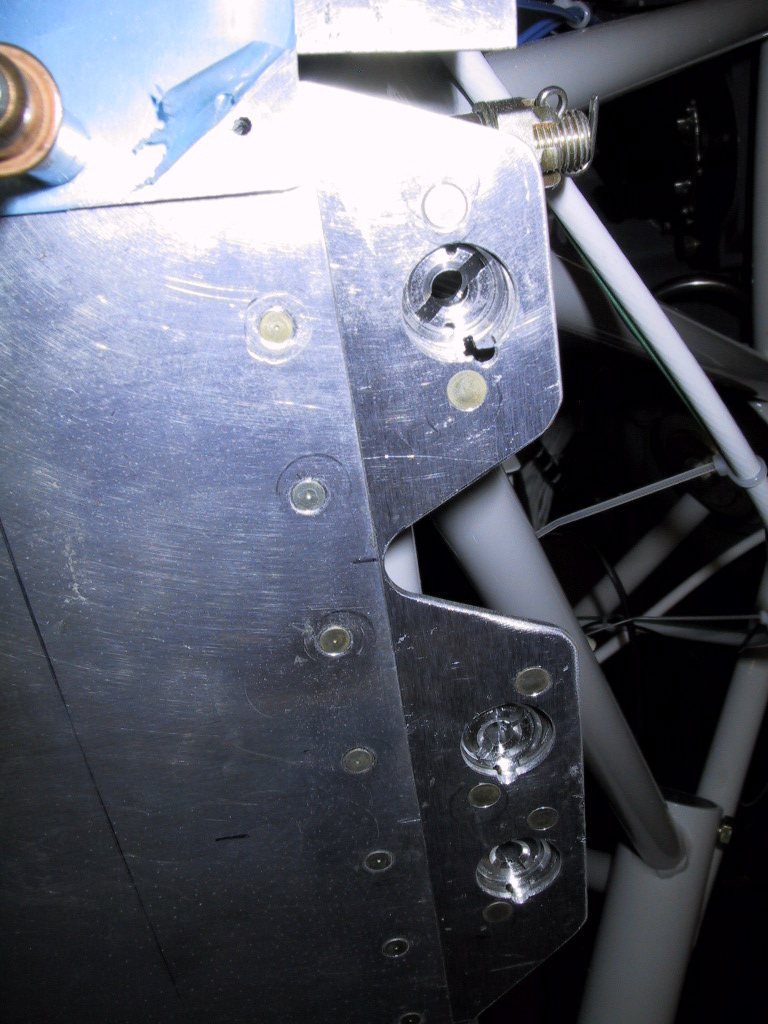
Then, I rivetted it onto the plane! This looks quite nice. There were a couple of rivets at the bottom that I couldn’t get. I need to get a no hole yoke or something to get these. Either that, or a thin bucking bar.
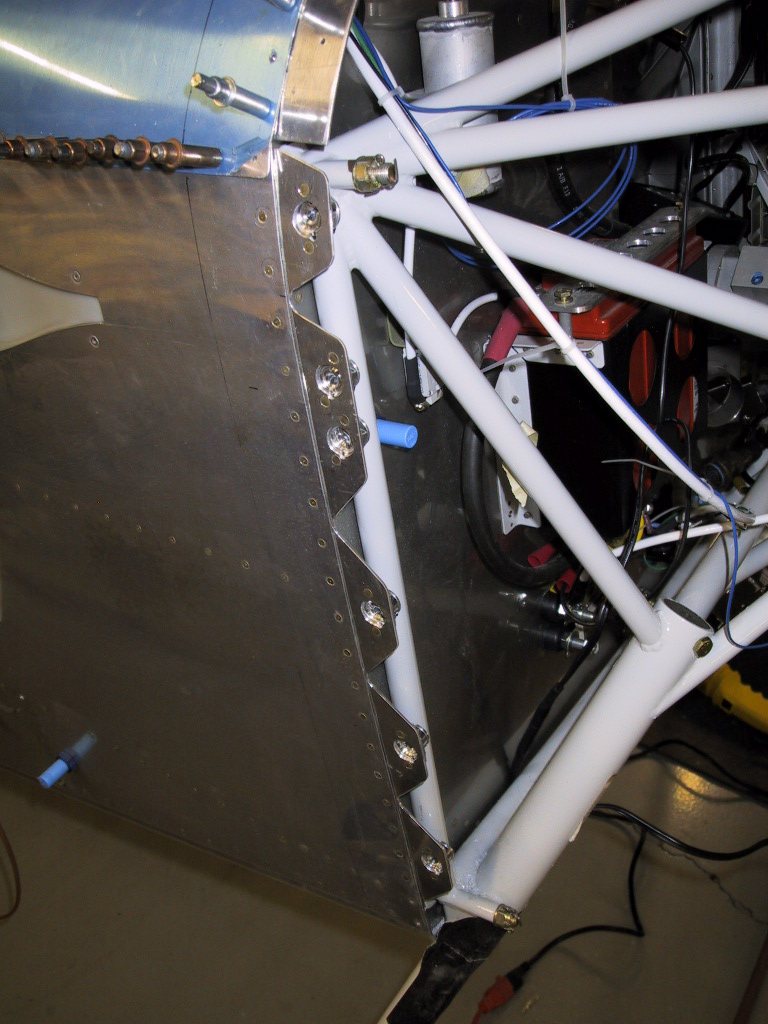
Here’s a close up of it.