November 6, 2005
Today was a big firewall forward day. I continued finishing up everything I needed to do in order to get the engine on for the last time. First task was put the correct bolts in the FADEC ECU’s (see the FADEC pages for this) and general double check everything I had so far. I torqued all the bolts to spec on the engine mount to the firewall. and installed the cotter pins.
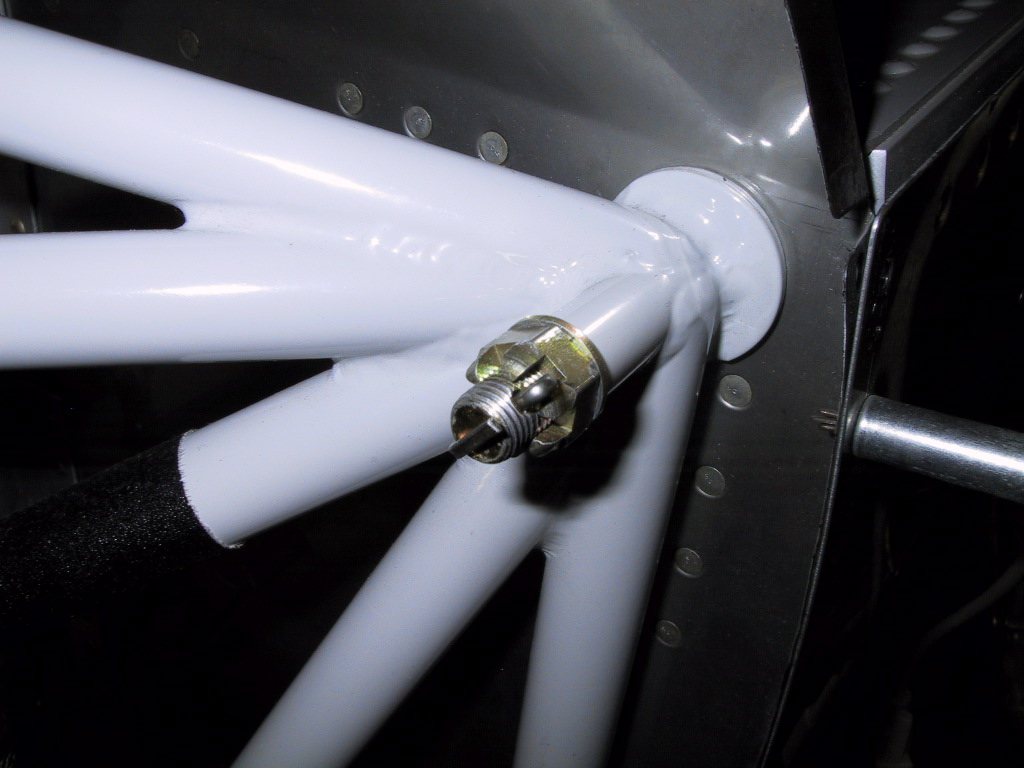
Steve came by, so I had him help me hang the engine. I’m getting better at doing it myself, but this was the first time I’d done it with the governor on there, so I figured a helping hand wouldn’t go a miss. I didn’t take a picture of the engine hanging there on it’s own, as there are plenty in past pages! Well, let me tell you how much fun it is getting the cotter pins in the engine mount bolts! The trick we used to get the last lower bolts in was to leave the first lower bolt a little loose, and lift the engine some with the hoist. That should make a slight gap between the mount and the engine which is enough to gain some wiggle room to get the pesky little critter in.
Well, there’s not a lot of room to get the cotter pins in. The top two bolts were the hardest ones, despite what logic might otherwise tell you. Trust me, if you’re doing this, you’ll find out soon enough!
Once the engien was hung, it was er… Time for one more thing. Hmmm…. What to do next? How about a nice propeller?! Now this prop is LIGHT! I could lift it on my own with ease. I’m not sure exactly how much it weighs, but it wasn’t much. That’s what we thought at first anyway! Me and steve had it resting on our shoulders while we fiddled with the bolts. Man these are painstaking to tighten up! Because the bolts are captive between flanges, you have to work each bolt a bit at a time, all the while supporting the propeller. They’re easy to get bound up too, because you only have to over do it with one of them, and all the others get harder. It’s obvious why the design is like this though. It’s a matter of safety. It’s physically impossible for these bolts to come loose all at the same time. Even though that’s the case, they still get safety wired. Before I do that though, I need to figure out torquing them up properly.
Here’s a close up of the prop flange.
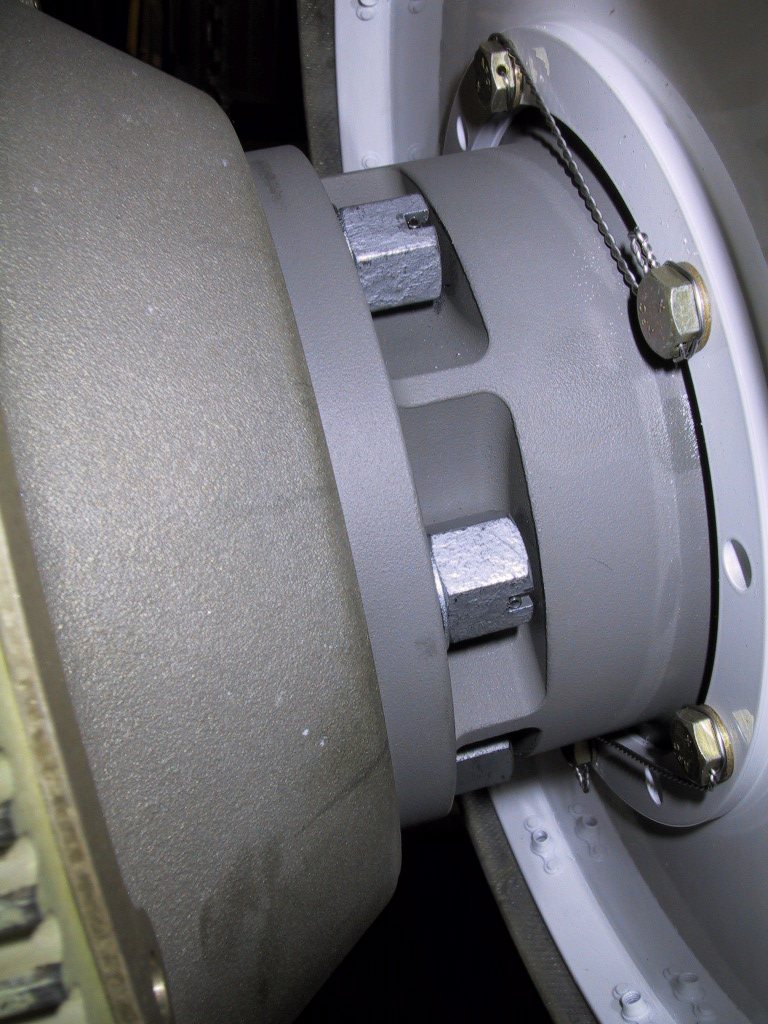
Now the rest of the story…. Me and Steve had to do all this twice. Reason being that the first time we did it, we had the damn thing clocked wrong and it wouldn’t bolt up tight. Hmmmm. Turns out that one hole on the prop is smaller than all the others. When we had a quick glance, they all looked the same to me, so we just went right ahead and started mounting it. So, we had to back all the bolts out bit by bit, and then index the prop around by one bolt hole. That’s all it took, one bolt hole, and all that extra work was the result. Our shoulders were aching! Remember how light I said this prop was? I take it all back.
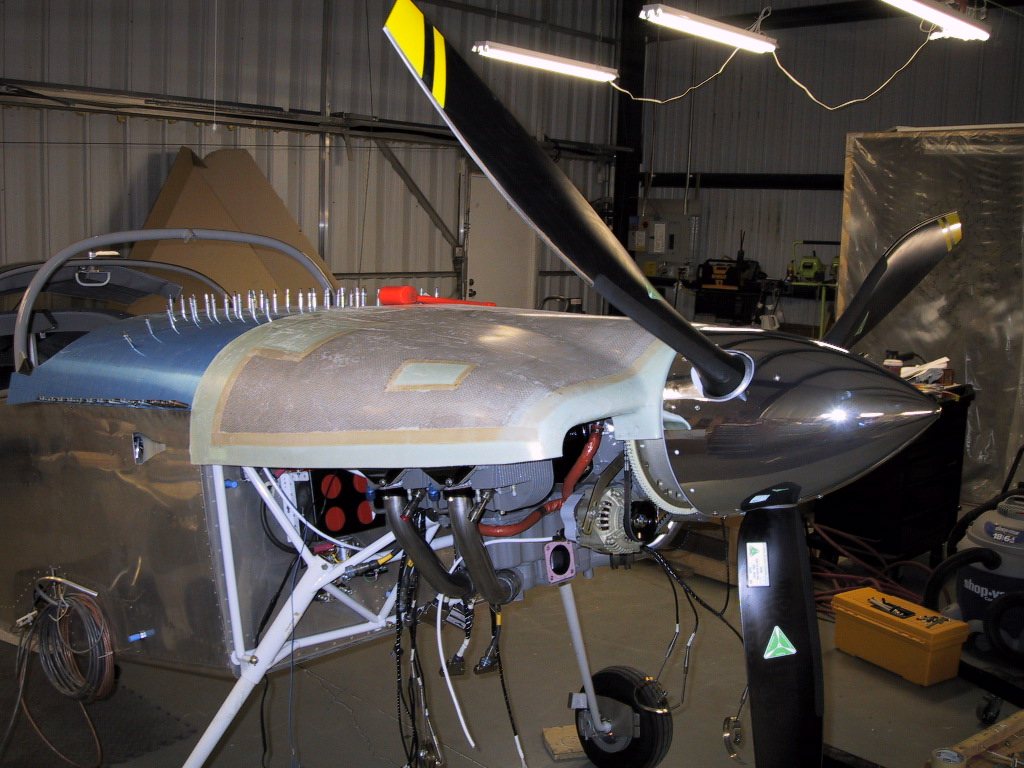
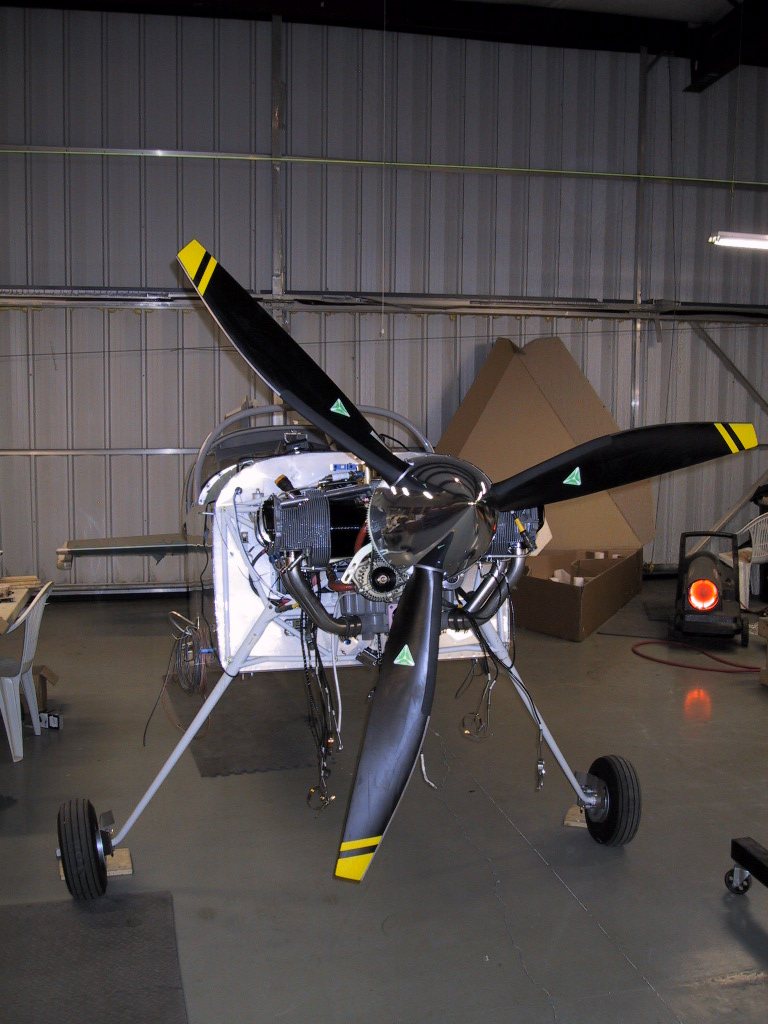
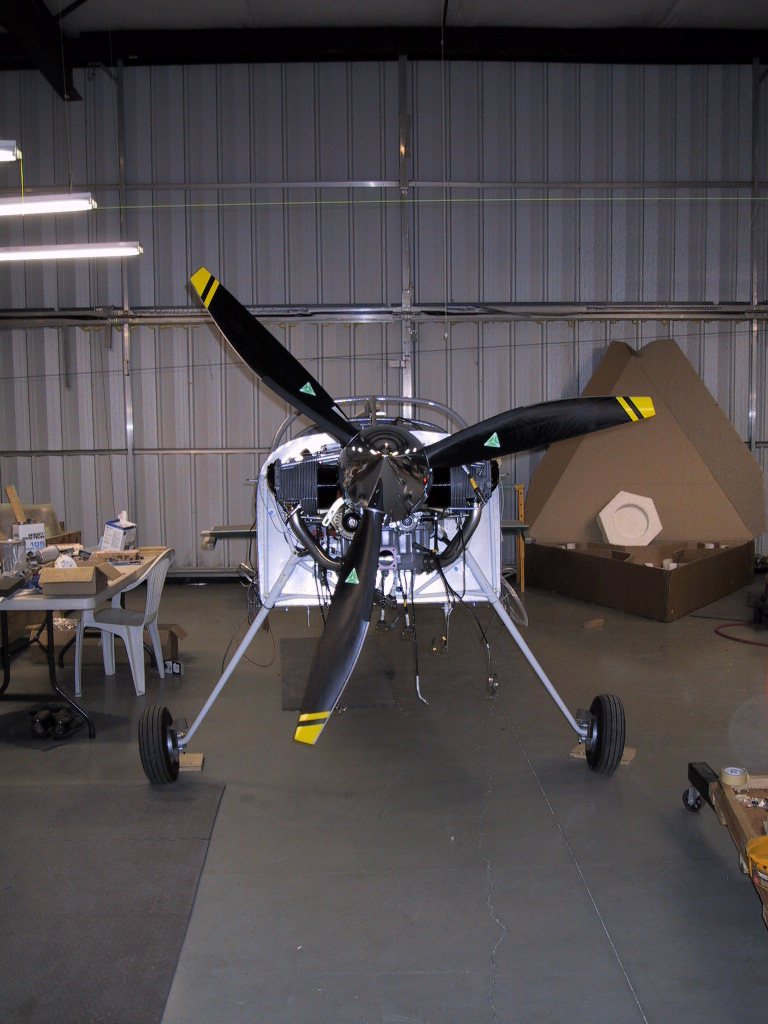
Here’s a few shots of the prop on the plane. I think you will agree, it looks bloody awesome!
Here, we tried the cowl on for size. The cowl is going to be a lot of work.