


December 11, 2005
I didn’t really get a lot of time at the hangar today as we had the inlaws in town from Chicago. We dropped them off at the airport at midday, and then I went to the hangar. I forgot to bring the baffle drawings I brought home last week (duh!) so progress on these was slow. First up for the day though was the exhaust. Aircraft Exhaust Technologies had reconfigured it completely last week, and shipped it out. I got it on Thursday I think.
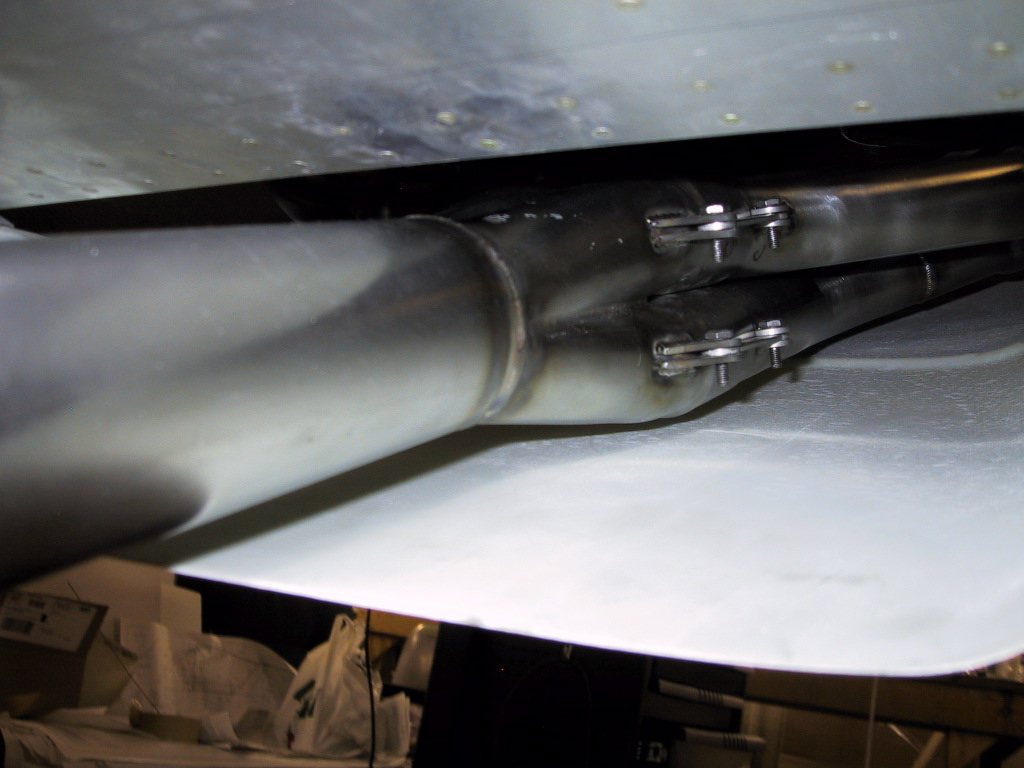
I fitted it together as soon as it came, and I could immediately see that there was a big difference. When I got it to the hangar and onthe plane, it was almost perfect. I say almost, because I have one small item left to fix. As far as the tailpipe position, they got it exactly where it needs to be. The exhaust fits really well. So, the snag I have is with the pipe from cylinder 1. It’s a little close to the intake cylinder rubber tube, with about 1/8" clearance. I’ll give Chris and Kirk a ring tomorrow and see how they want to take it from here. So far, they’ve been very accommodating, and are looking for as perfect a job as I am. They’re definitely doing a great job too.
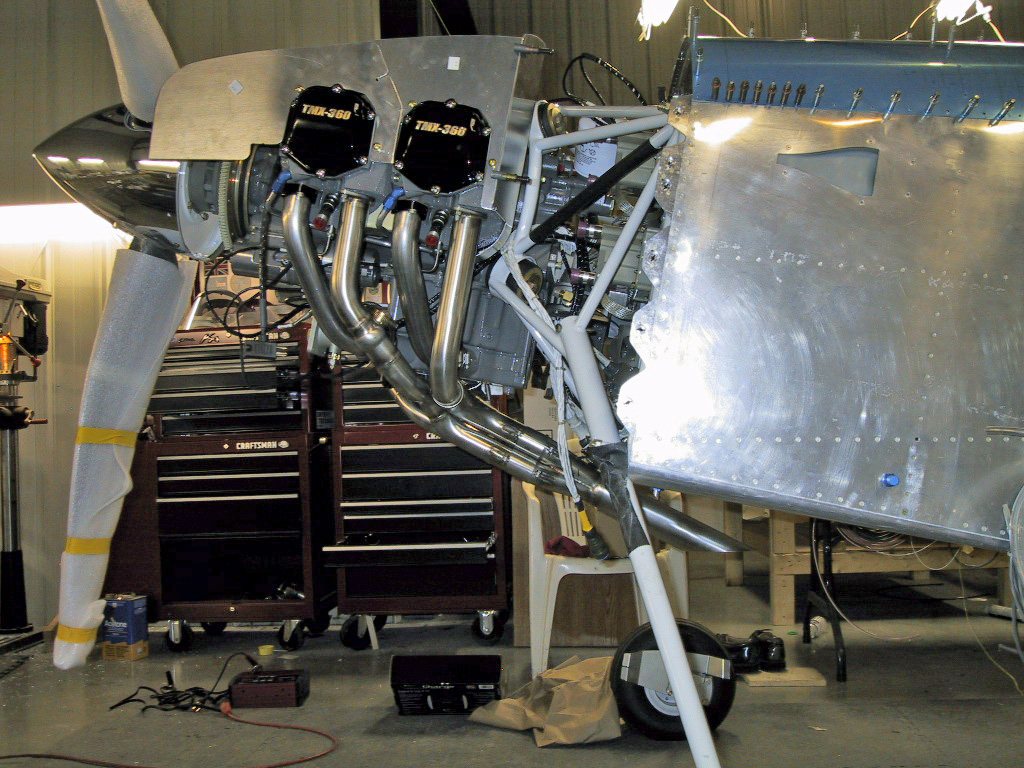
Here are some pics! You can see from this pic that the tube routing is pretty nice. The Superior horizontal induction sump really helps to nestle everything in.
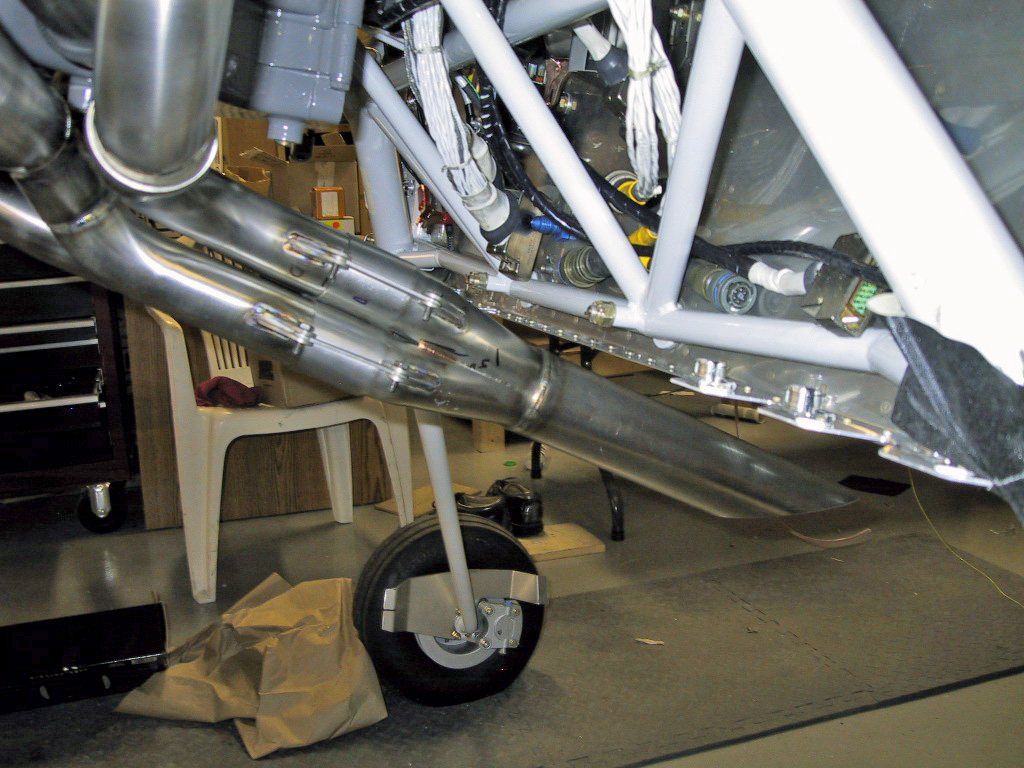
Here is where the clearance is a little tight. I think moving the bend forward along the pipe axis about a half inch to 1 inch will fix this quite nicely.
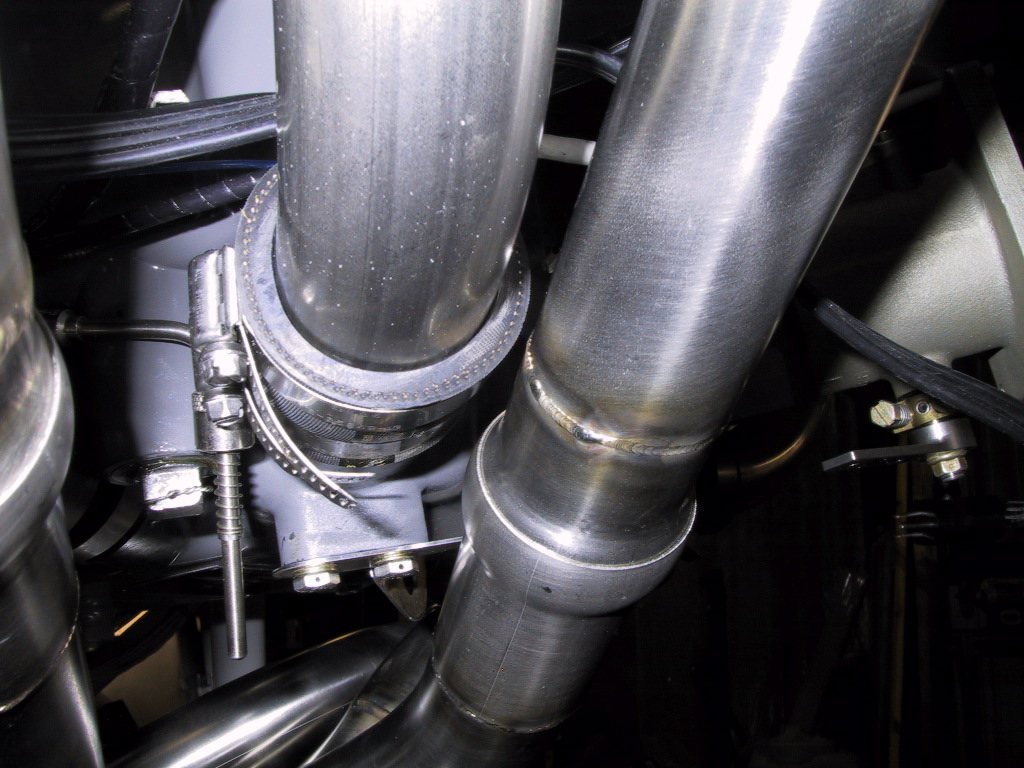
It looks like I have enough room in the cowling to do it too.
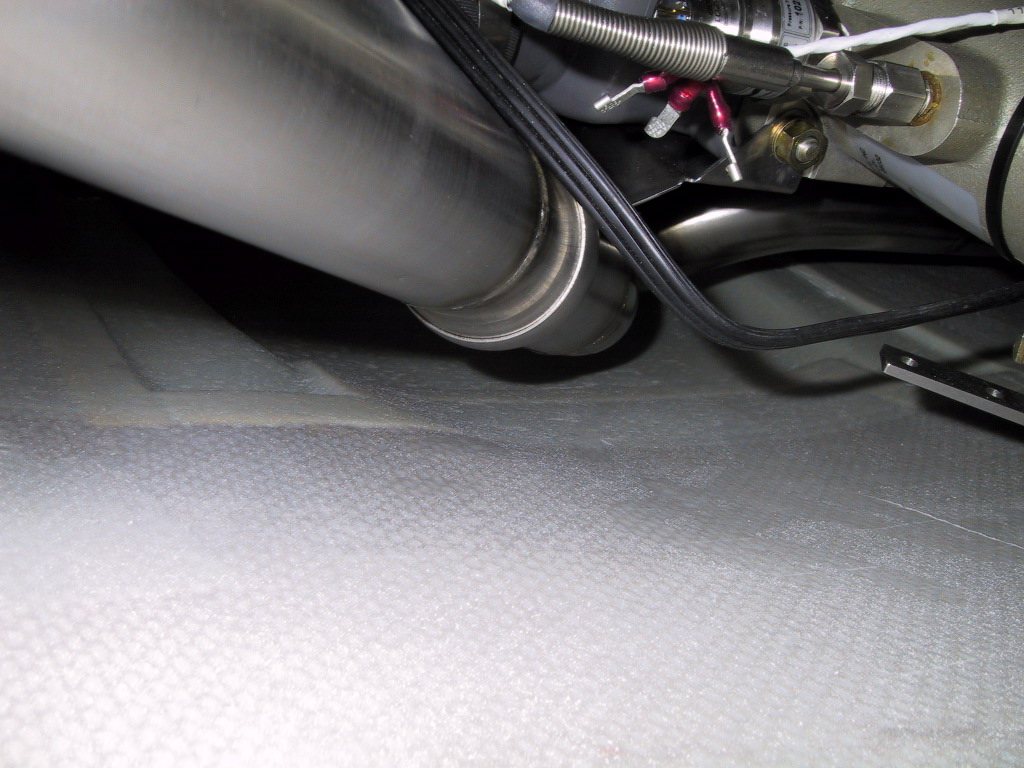
Here’s an outside shot with the cowling on. Perfect. I’m really liking this a lot! I haven’t needed to trim the rear of my cowling at all.
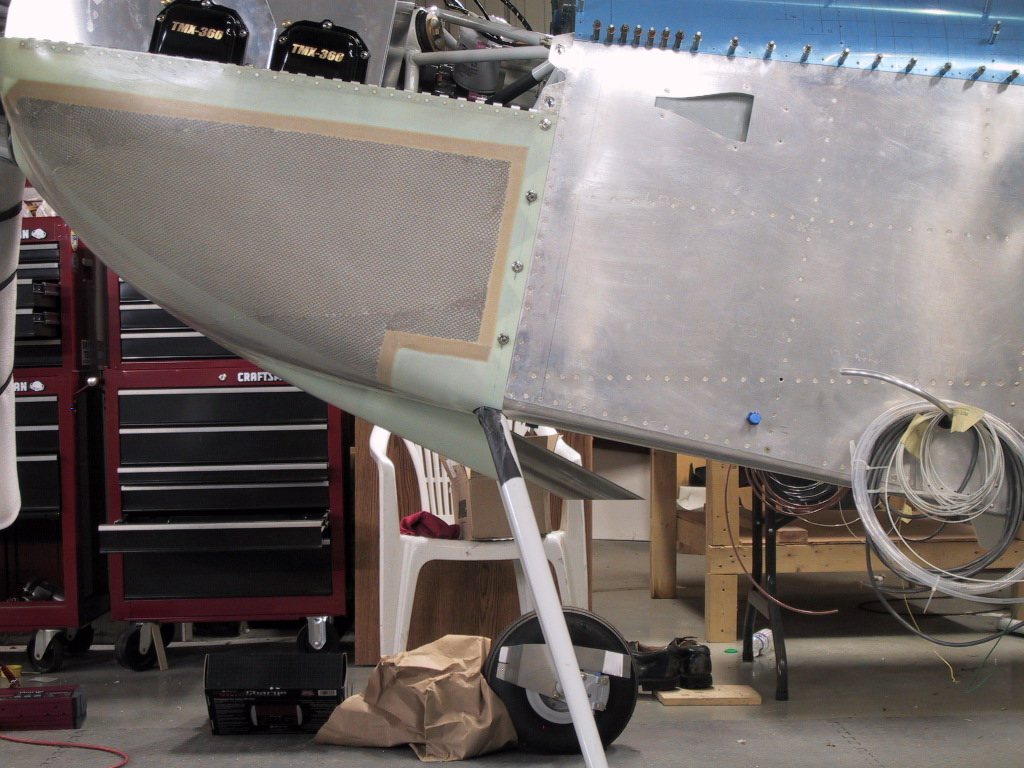
Here’s a shot looking intot he cowling outlet. It’s a squeeze, but everything looks OK. I’m going to put some aluminium sticky foil on the inside to reflect any heat. There’s also plenty enough airflow through here to stop it being a problem. Good stuff!
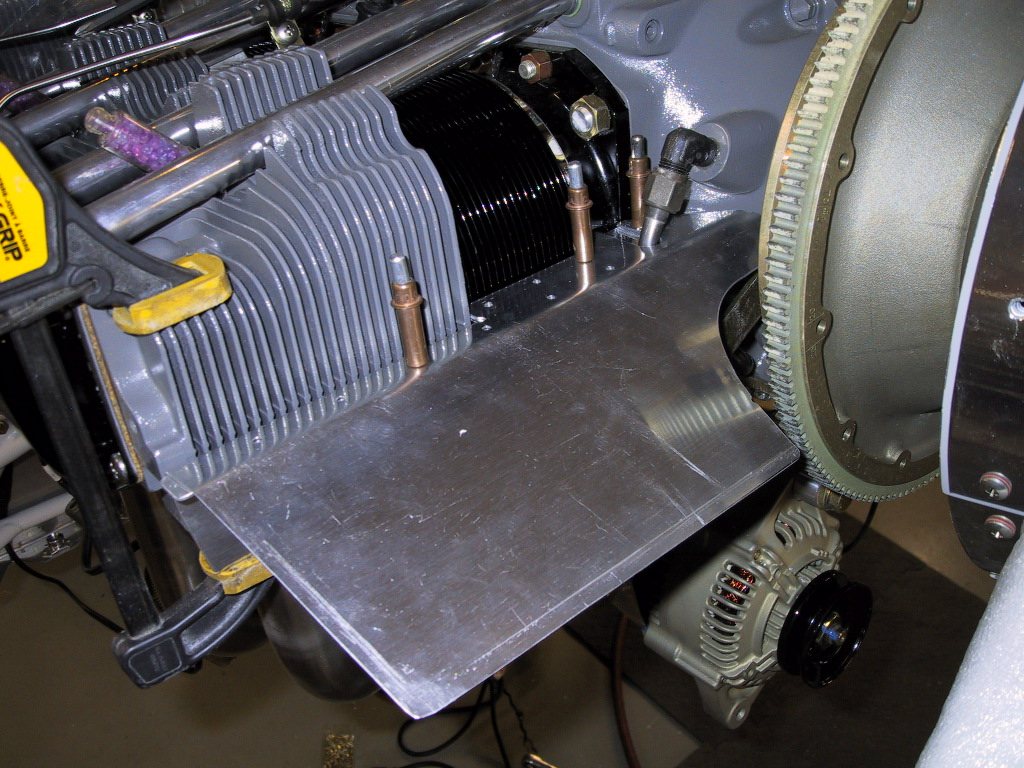
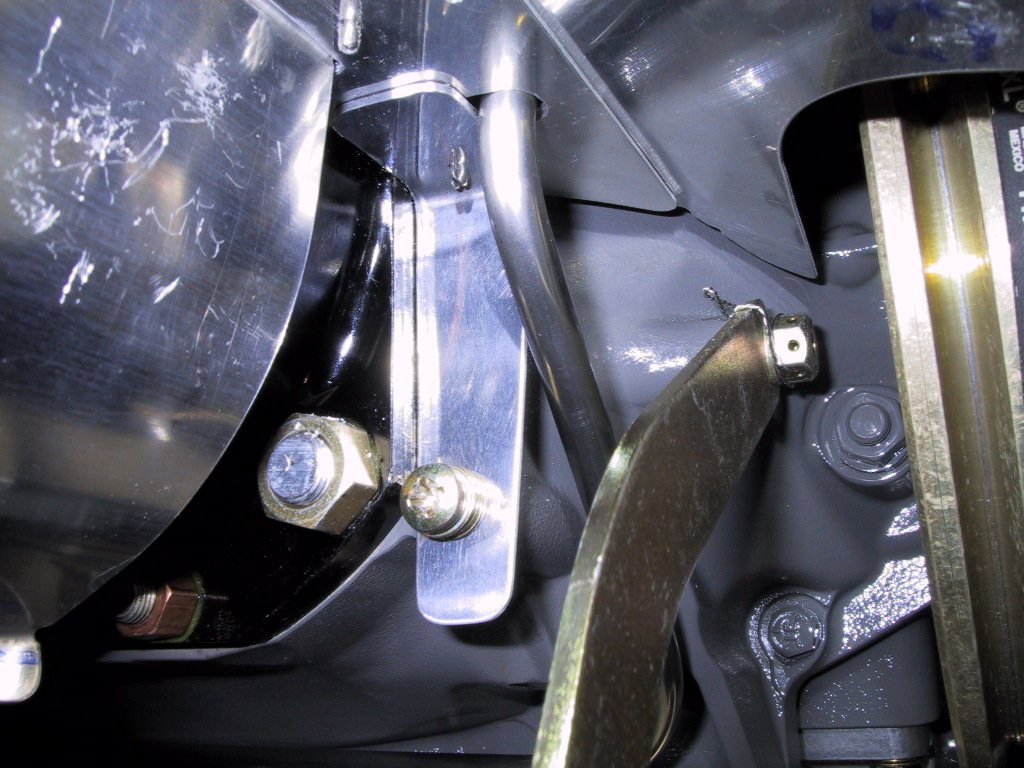
Next I went to work on the right front floor of the baffles. I made the reinforcement piece and the bracket that supports it on the engine case. I still need to figure out the connection the the baffle side. I also figured out the floor angle and the baffle side bend to make it come close to the cowling inlet. I still need to trim it down a bit though at the front to clear the cowling on installation. I left it long deliberately until I see what the actual gaps here need to be. Helps if you have the drawings on hand eh?!
Here’s the cut out for the prop governor line. I copied the PH-VII guys, hope they don’t think I’m being too cheeky!
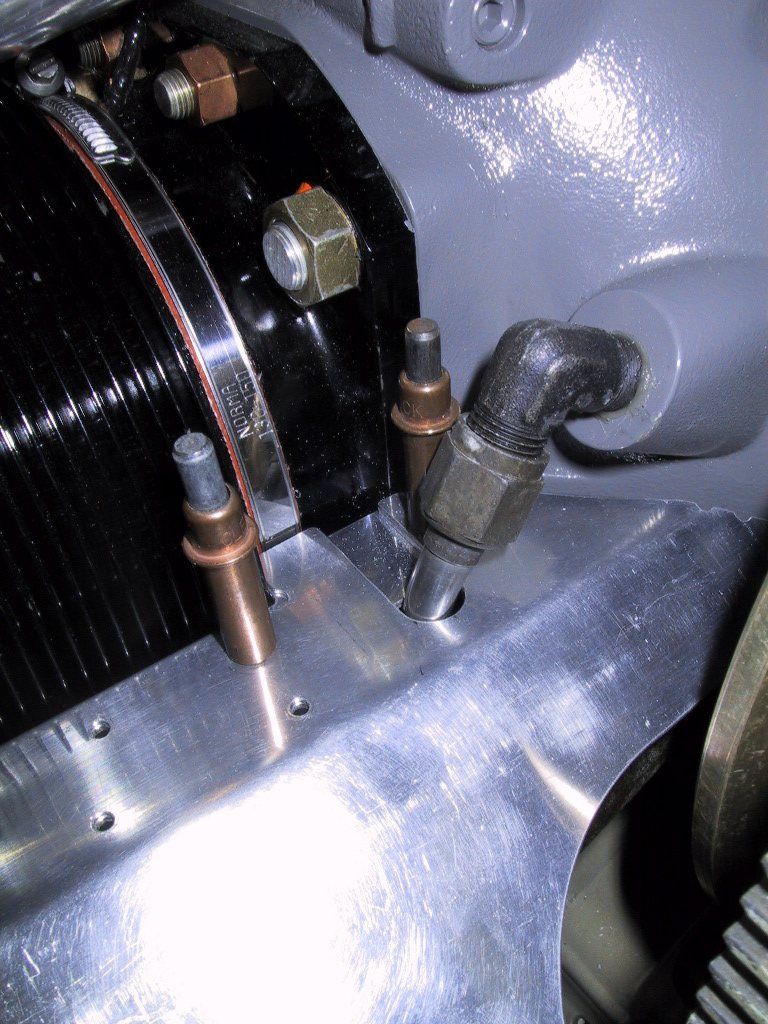
The bracket. I noticed that on PH-VII, they managed to get two screws in to this bracket at the top where it connects to the baffle floor. I could only get one in there. It’s a bit small too, so I might make a new bracket that has a longer leg to get another screw in that bridges the prop governor slot.
I trimmed the outboard end of the floor to the correct angle and bent the baffle side to match. At this point, it started to get too cold this evening, so I called it a night and went home. The winters here are so depressingly cold!