


April 23, 2006
Well, I did have my camera today, and we took a slew of pics, but for some reason my card was unreadable when I put it into my computer. It just said it was corrupt. Now I don’t know what to do with it. Lot’s of good photos too. So… Once again, no pictures with this update, which is going to make it a bit difficult to explain everything. It also makes it difficult for me to remember everything we did. - Update 4/24/2006 Recovered images from corrupt flash card. Now posted here!
I started on the right baffle floor today. I basically had to re do it since the other one was too short. It’s good in other respects too, because now I get to undo some of what I’d already done and wasn’t happy with. First I had to work out where the bends needed to be and how much to bend them. I ended up bending the floor down a fair bit more along the engine edge then I put a diagonal bend in it to raise one end to match the cowl inlet. I also turned down a lip along the front edge to add some rigidity. It now fit’s really well.
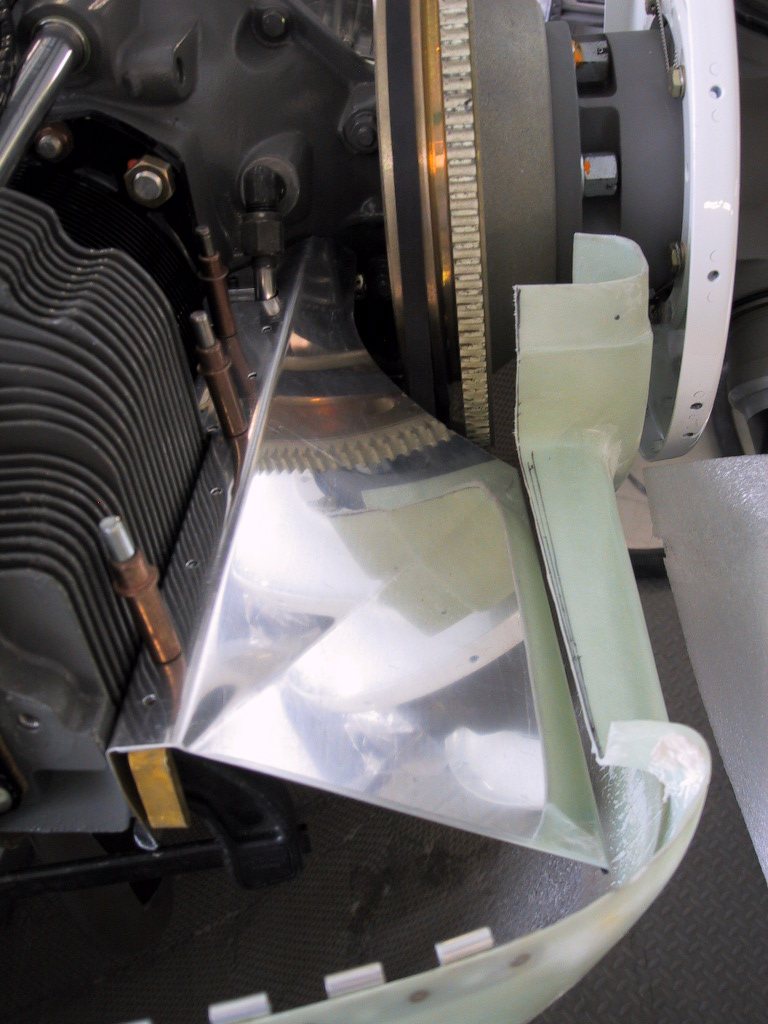
Clayton came by today and helped out. We got a heck of a lot done really. I’m really annoyed that my memory card has taken a dump on me.
We continued on with a new right front baffle wall. I decided to make it similar to the left floor with the angle that attaches it to the floor on the outside, giving a nice clean look when people peer into the cowl inlets at Oshkosh or Sun N Fun! I’ll get there eventually! Because of the way I bent the floor this time, the angle worked out quite nicely. We got the whole left front baffle piece completed. I still need to trim it for the intake ramps, but I need to trim the cowl inlets and put the ramps on before I go trimming the baffles for them.
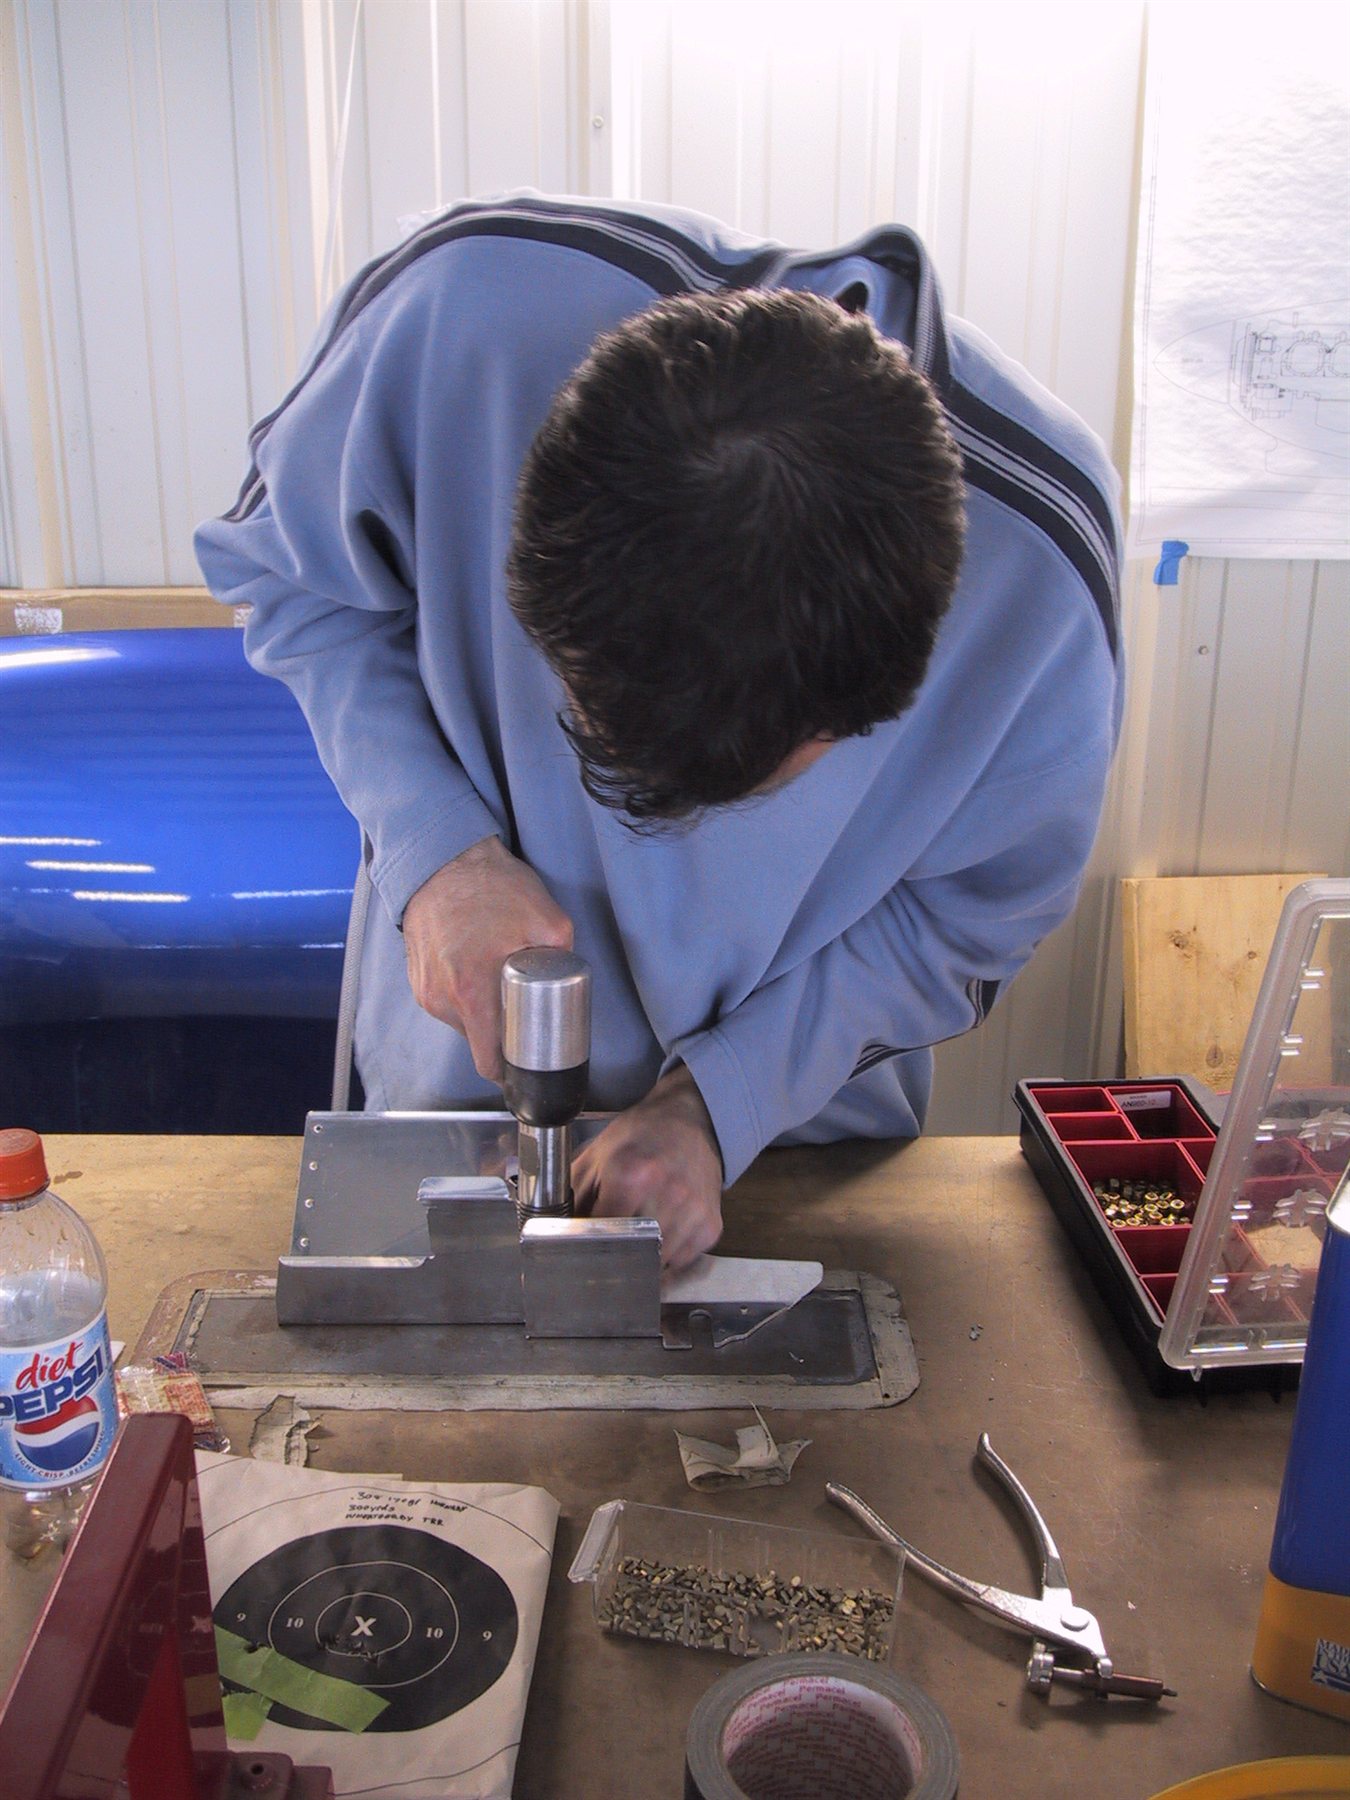
Here I’m back riveting the reinforcement in.
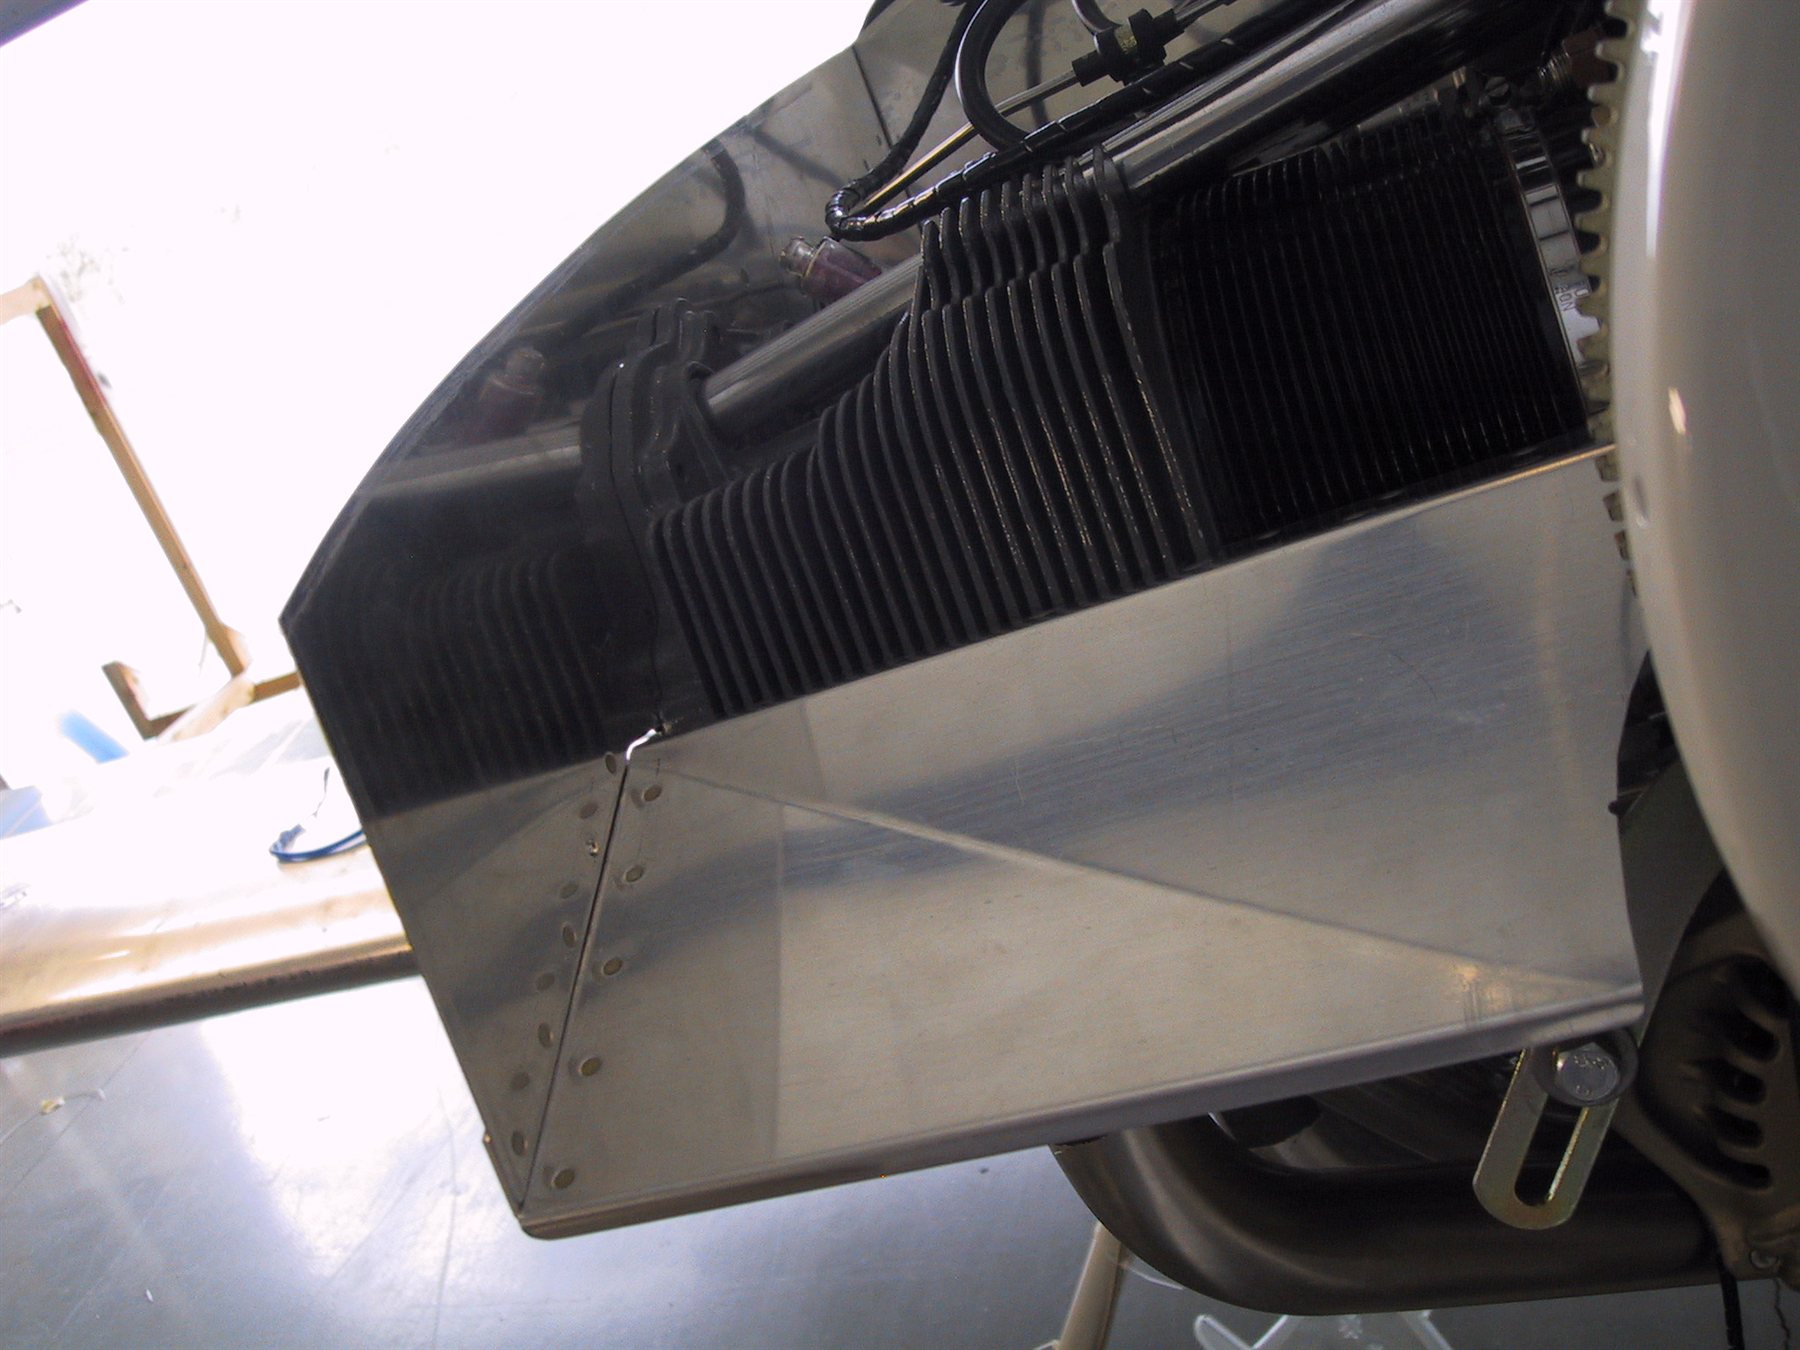
Here it is on the plane. Looking good! Finally making some good progress on these baffles.
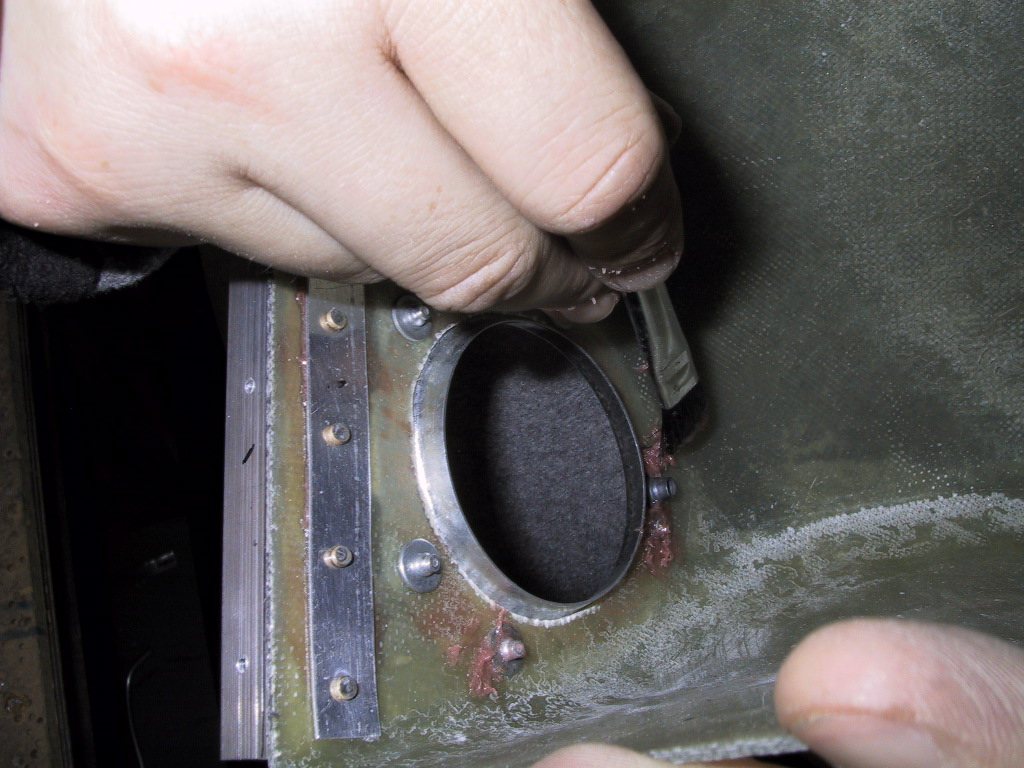
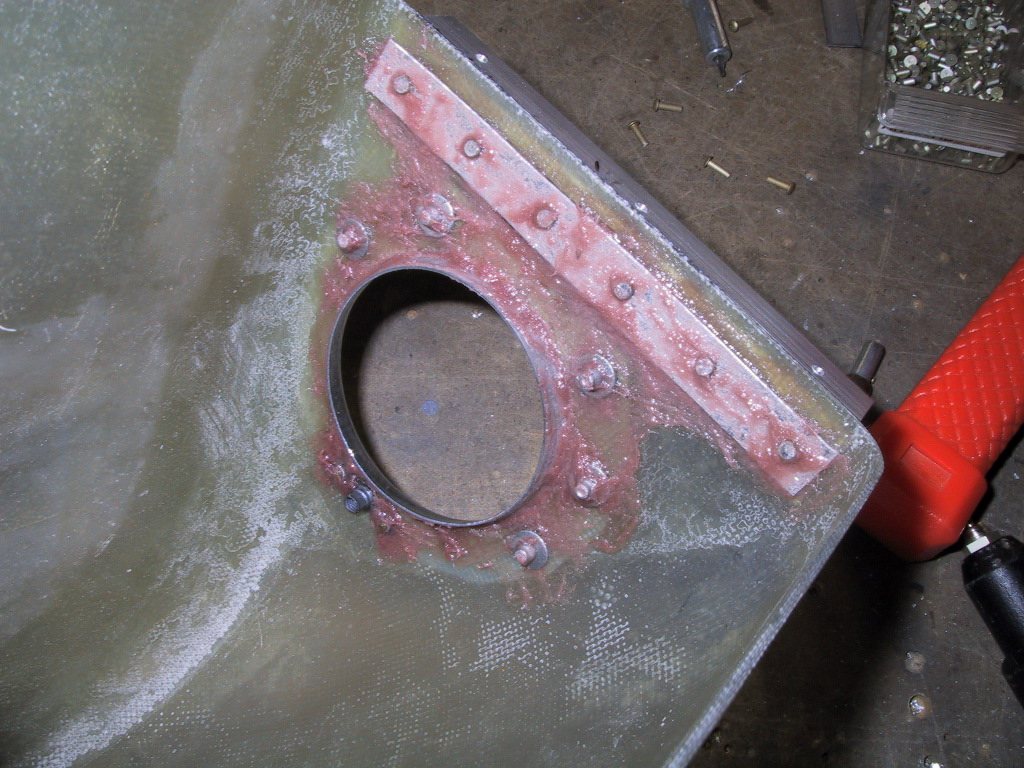
Back to the snorkel side of things. We made the alternate air door, and got everything ready to epoxy. We cut the hole in the snorkel for the door, and Clayton set about it with a file and made it big enough to accept the flange. Today was the day we’d assemble this thing for good. Clayton mixed up a batch of resin and cotton flox, and we we’re good to go. This new snorkel design actually has a big enough flat area for the alternate air door, so no building up of the snorkel is necessary behind the alt air door flange like the old snorkels. We roughed up the angle pieces that attach at the air filter end and put some epoxy mix on them and riveted in place with aluminium backing strips to prevent the rivets from pulling through.
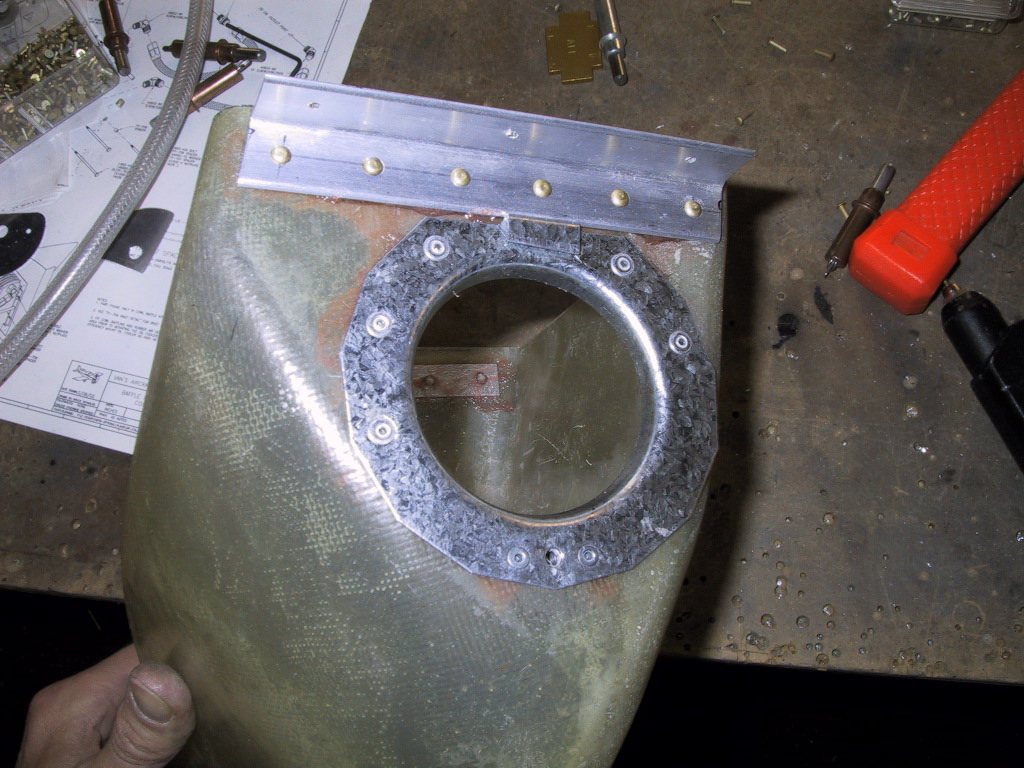
Once it was all rivetted together Clayton painted some more mix on to everything to help secure it all. The snorkel is almost finished! The only task left is to drill out the holes for the mounting screws (arriving next week) and put on the nut plates. It’s starting to come together. We set the snorkel aside to set up. It’s gonna be a day or so.
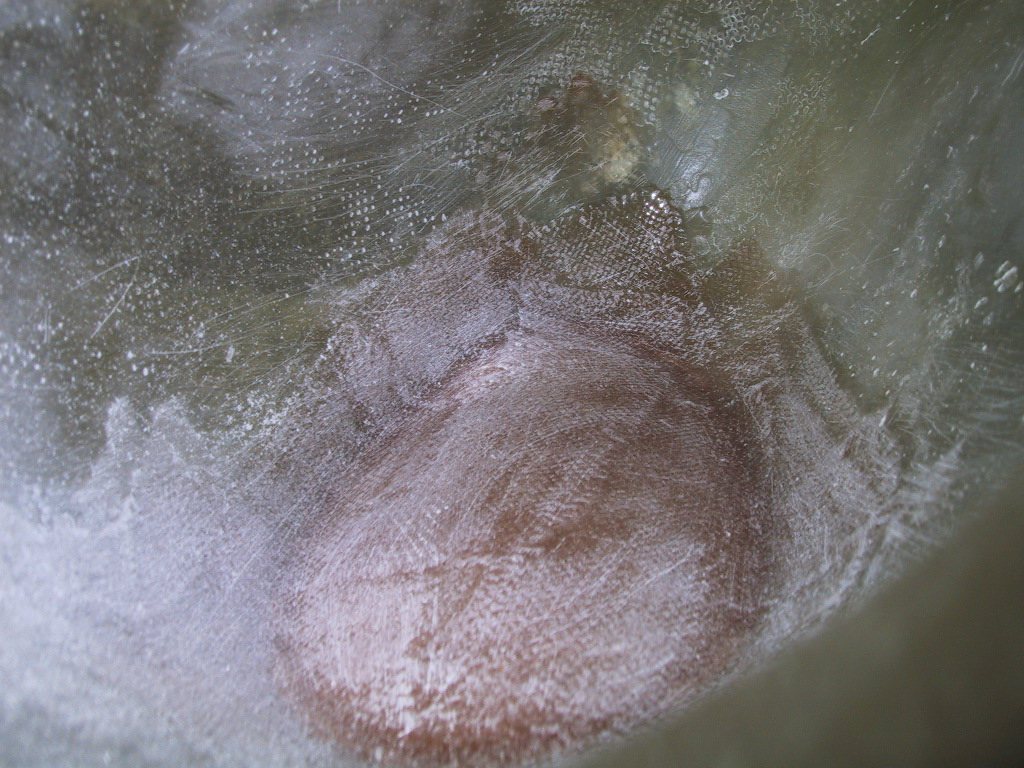
Clayton had a go at the ‘bleb’ I made with some sandpaper to remove all the sharpies from the inside. Here’s a shot of the final result. This is looking into the throttle body hole.
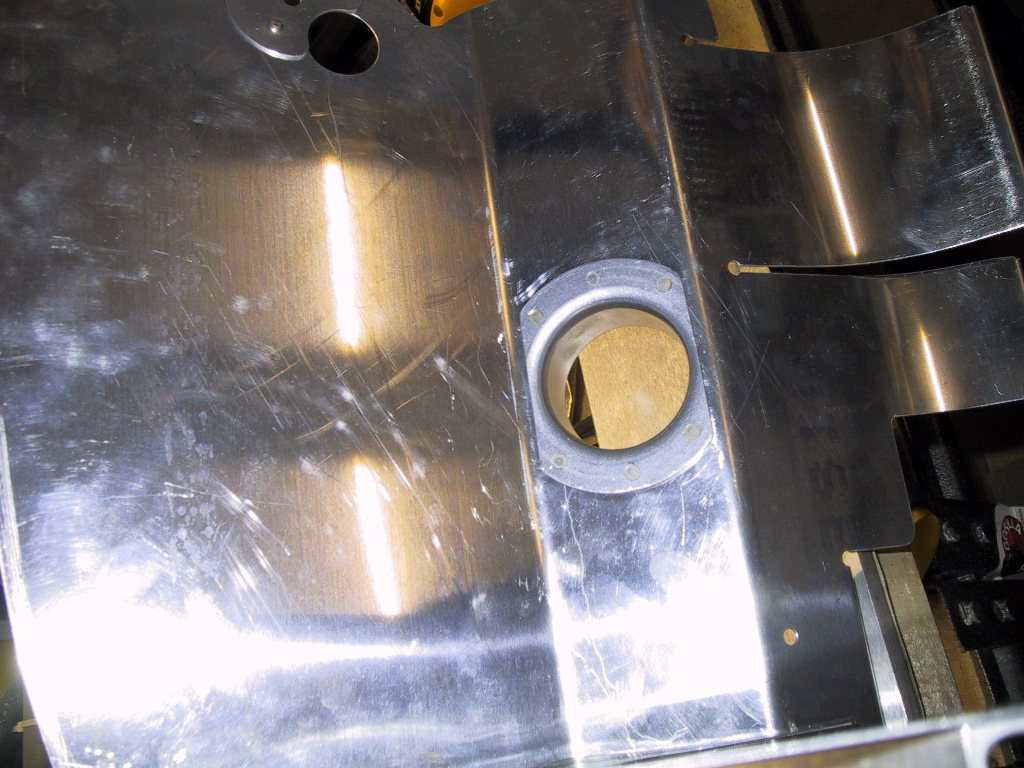
On to tidying up loose ends that we hadn’t got done previously on other baffle parts. The right rear baffle needed the heater inlet flange attaching to it. We decided where it should go, then Clayton cut the big hole. He’s getting the hang of this metalwork thing! I trimmed the inlet flange to fit the area it needed to go, and drilled and countersunk the holes.
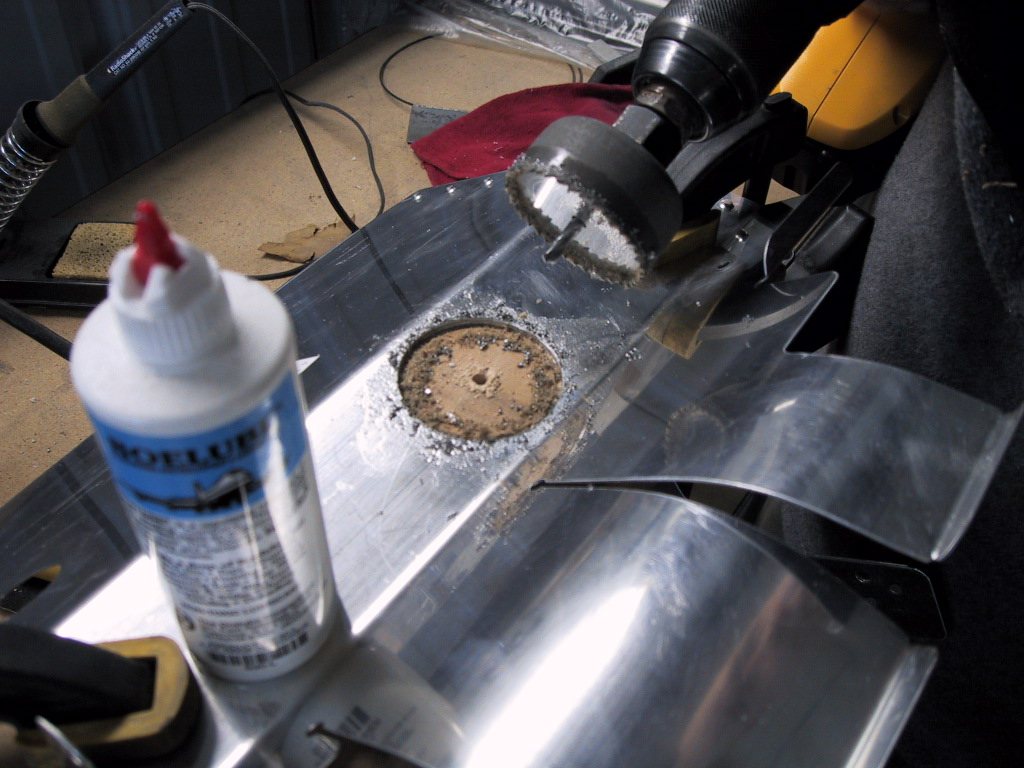
Clayton had a good idea to drop it through the hole, which made it look a whole lot less like a last minute add on. He also had a good idea about the filter screen I wanted to rivet in there. He suggested that I make it removable with the hose, so it’s easy to clean it out or replace it one day. If it’s riveted in there permanently, it could be a pain to replace/clean if it gets clogged with stuff (bugs, bird feathers, leaves, stray cats and the like). The same baffle part also needed the reinforcement for the mounting hole on the rear face, so we did that at the same time as the heater flange.
I need to order up some spark plug cable grommets. I’m wondering where I can get those from. I’ll look in the Spruce catalogue tonight.
During the week, I can continue on with the left floor. The snorkel will have set up, and the screws will be here to assemble it. Then I can figure out the bracketry that holds the inside edge of the floor to the engine case.
Oh well, I’ve probably forgot a ton of stuff. Clayton will remind me if I have. Thanks for your help today Clayton! We got a lot done!