April 26, 2006
I got to spend a fair amount of time at the hangar tonight, as I didn’t have to go pick Lucy up from work. I got out of work at a decent time too!
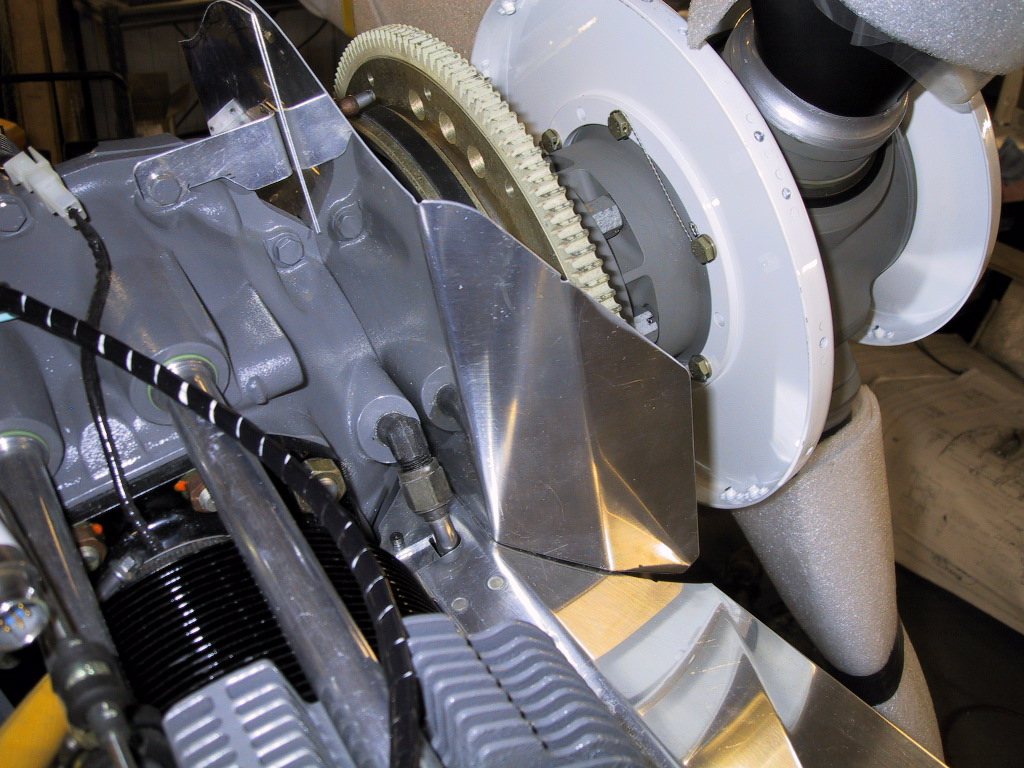
I continued on with these bloody baffles. Man, I’m wondering how many hours I have in these things now. They seem to be taking forever. The other night, I left off just starting the left front inner wall around the gear ring. Tonight, I started with trimming it to match the left floor and the engine casing. Here it’s all trimmed, and it fits pretty well. The 2"x4" spacer is working a treat!
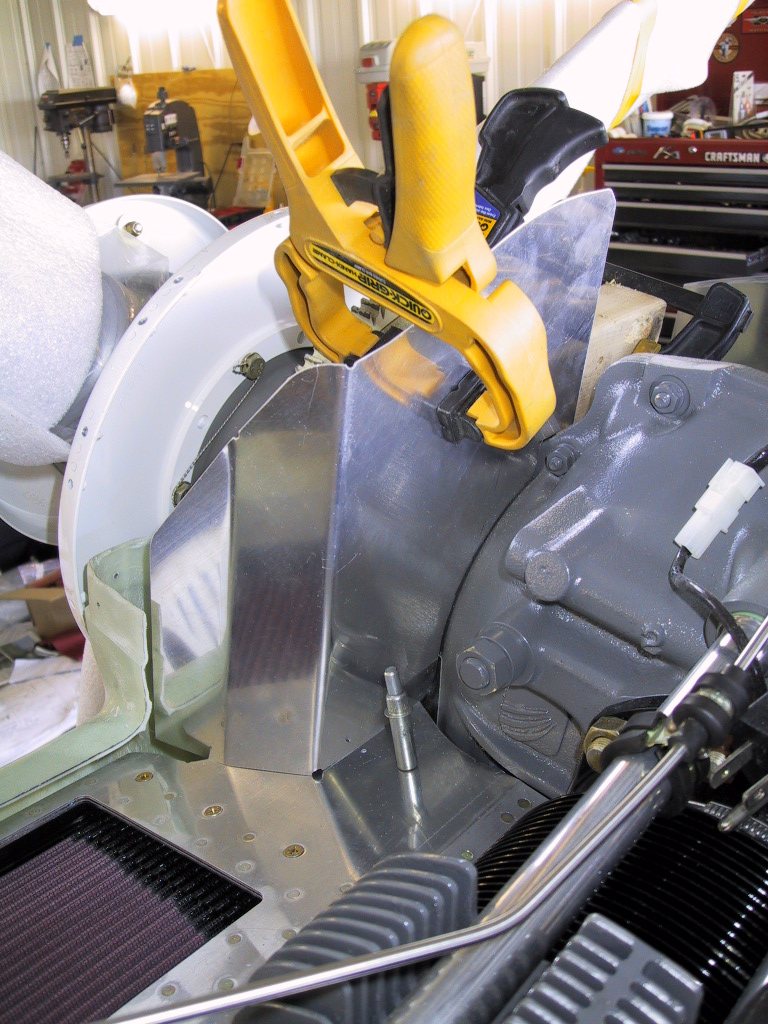
Here you can see the gap that needs to be filled. I’m not too happy about it really. A bit more material would be nice here. Unfortunately, this is how it comes from Van’s. I ended up making a piece of angle that attaches to the back side of the inner wall that also bridges the gap. I’ll use some filler or something like that to bring it up to the same level as the rest of the baffle floor. Once it’s painted, you’ll never know. Unless of course, you’ve been reading my website confessions!
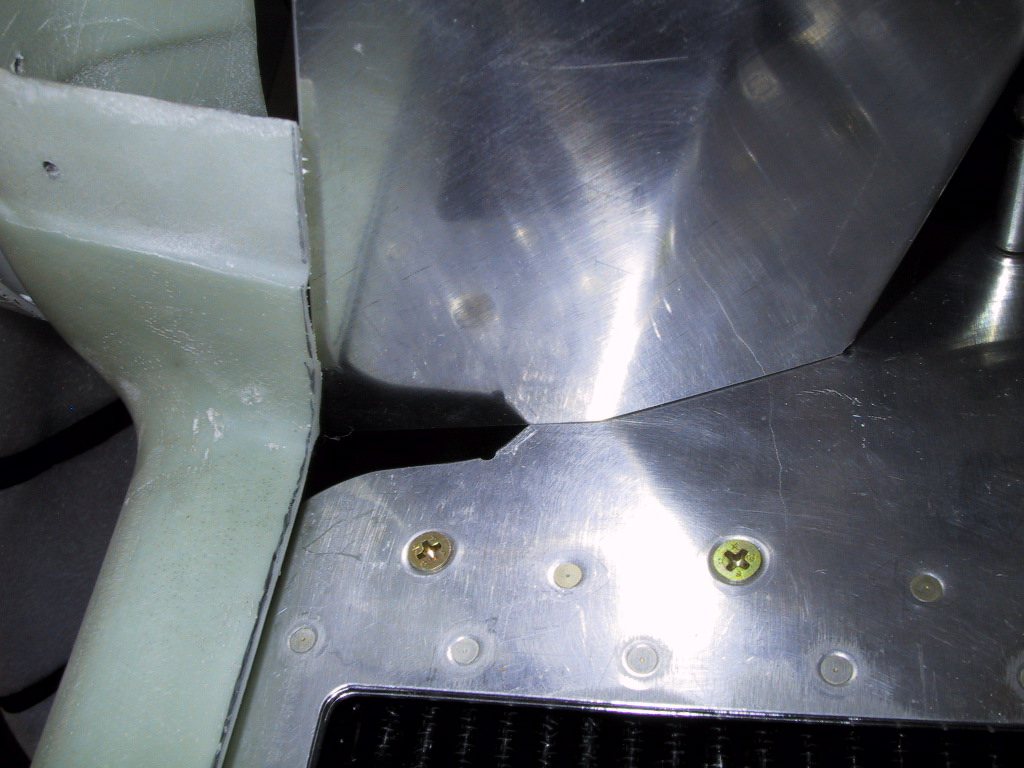
So here it is. Riveted and gap filled. I’ve also made the bracket that attaches the tops of the inner walls to the engine case.
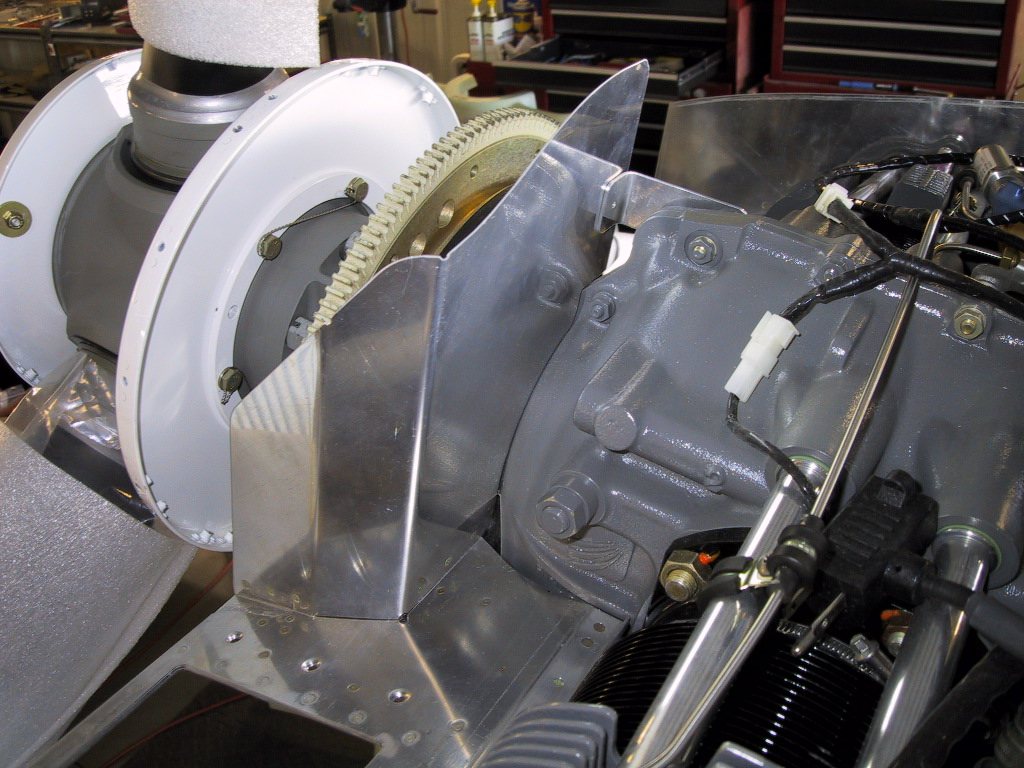
A close up of the bracket. I had to relieve a fair bit to clear the cast engine case.
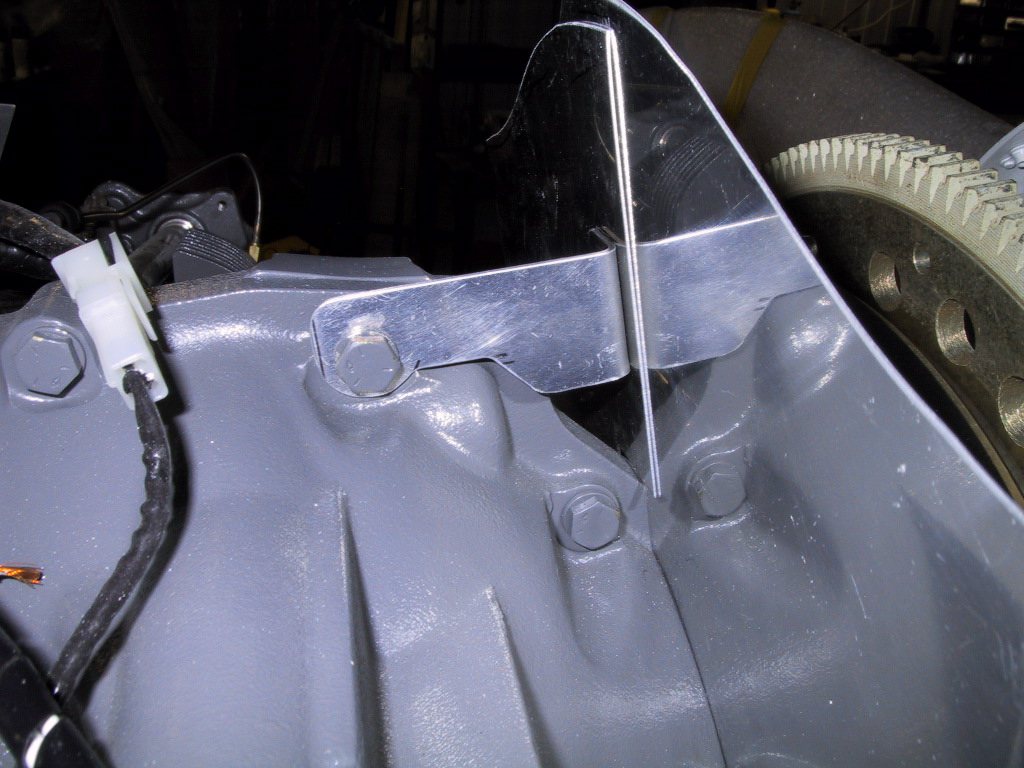
I trimmed the top of the left inner wall to the point where the cowling sits down properly. I still need to trim some more to get the right clearance. I’ll do this when all the baffles are done. That way, they all get done at once. I managed to get the right inner wall trimmed to match the floor and the engine case this evening too. Pretty good progress for once!