


May 13, 2006
I had a reasonable day at the hangar today, despite the late start. I didn’t get there until 2pm. I have a lot of things to get wrapped up, and the first one I went for was the ignition wires. Here, I’ve done the second clip, and put both lower wires in place on the engine. I recieved a shed load of Adel clamps during the week, so now I can get on with securing everything.
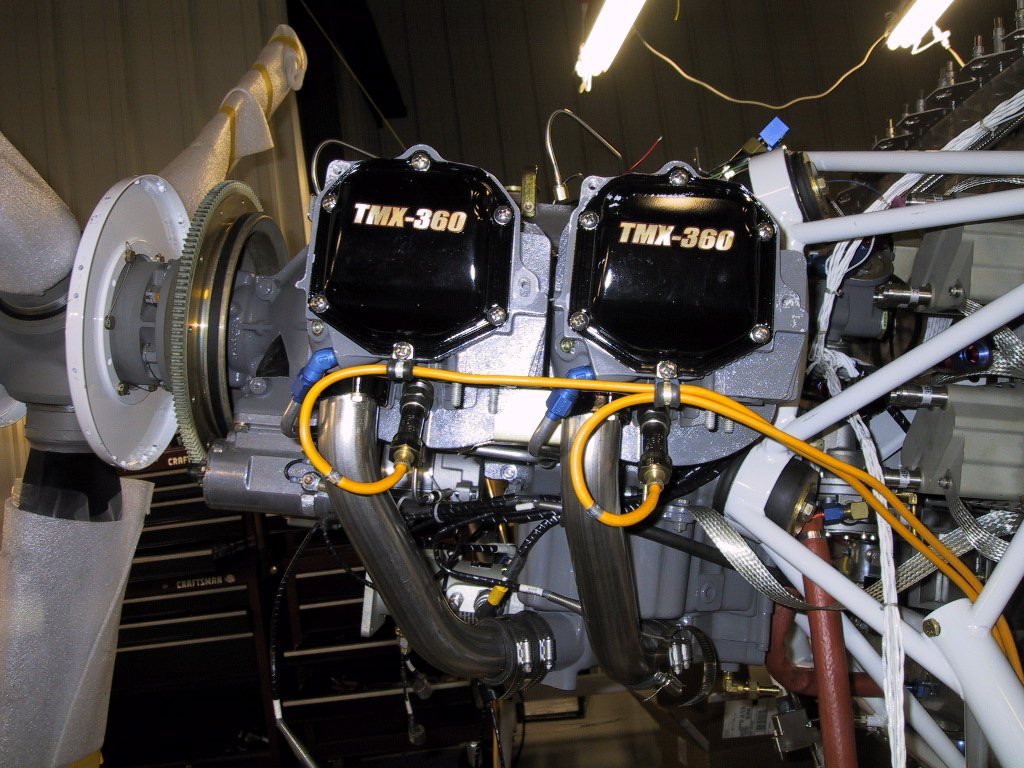
I also recieved some PTFE spiral wrap from McMaster Carr. They have everything there practically! And they ship fast too. If I order stuff, it’s somtimes here the next day. I tied the left side FADEC sensor harness with waxed cotton lacing stuff, then wrapped it all with 3/8" spiral wrap. If you use this stuff to wrap your wiring, be really sure to use only the PTFE stuff. EVERYTHING else will melt. Trust me, I’ve seen it happen… Not on my plane, but Cameron’s. He bought some stuff that he was led to believe was high temp wrap. Well, he found out it wasn’t when he looked inside his cowling after running his engine for a little while. The stuff had literally dripped off the cables and on to everything else.
It’s a bit of a tangle in there. You think this is bad, wait until you see the right side!
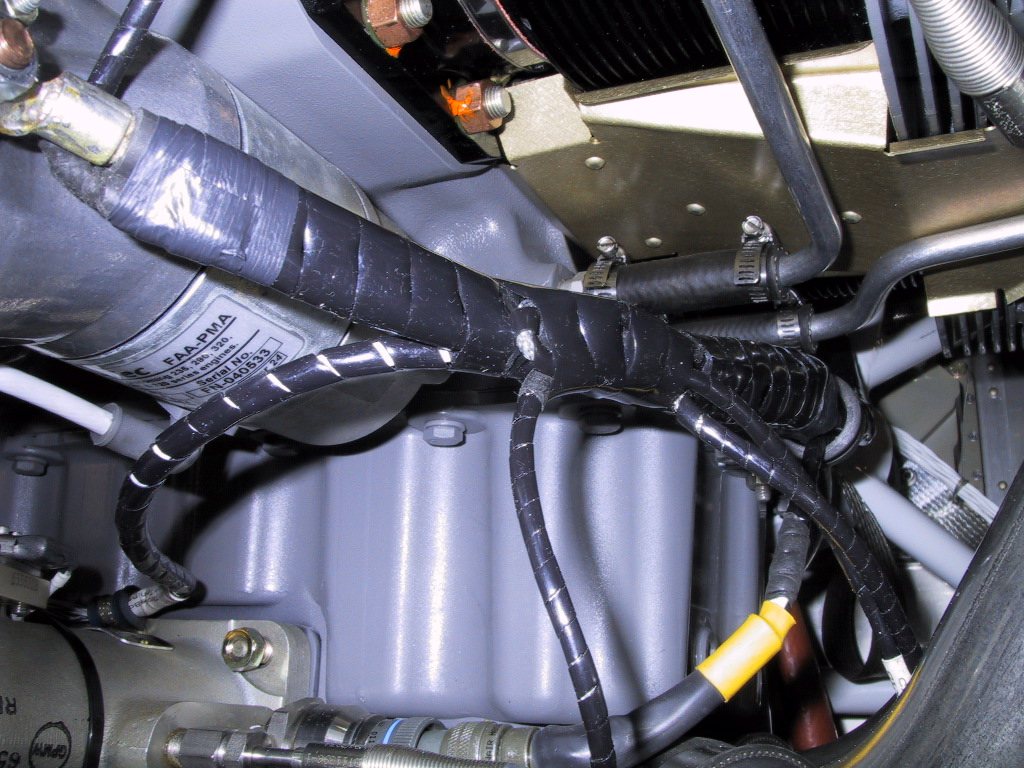
Here, I started mucking around with other wiring. This is the main bus feed wire, and the blue one is the main alternator field wire. I tied them with the wax cotton lace, then wrapped it with spiral wrap. The 1/8" wrap takes forever to do! Next time, I’ll buy 1/4" for the small stuff!
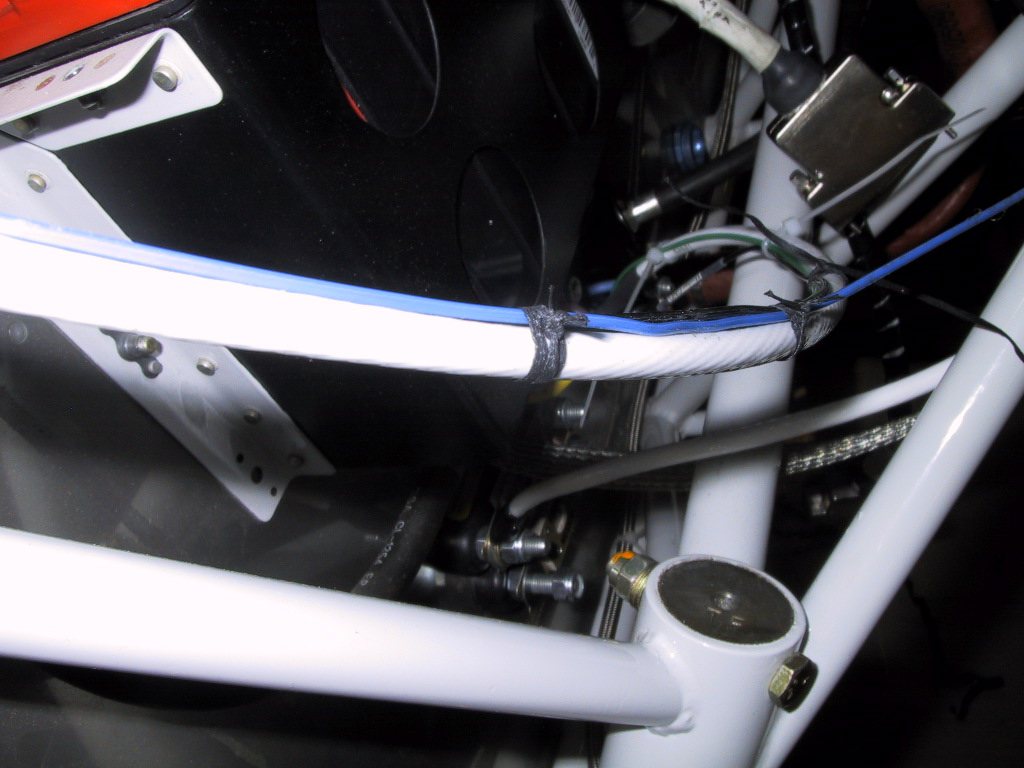
Here, it’s wrapped, and secured to the engine mount with Adel clamps.
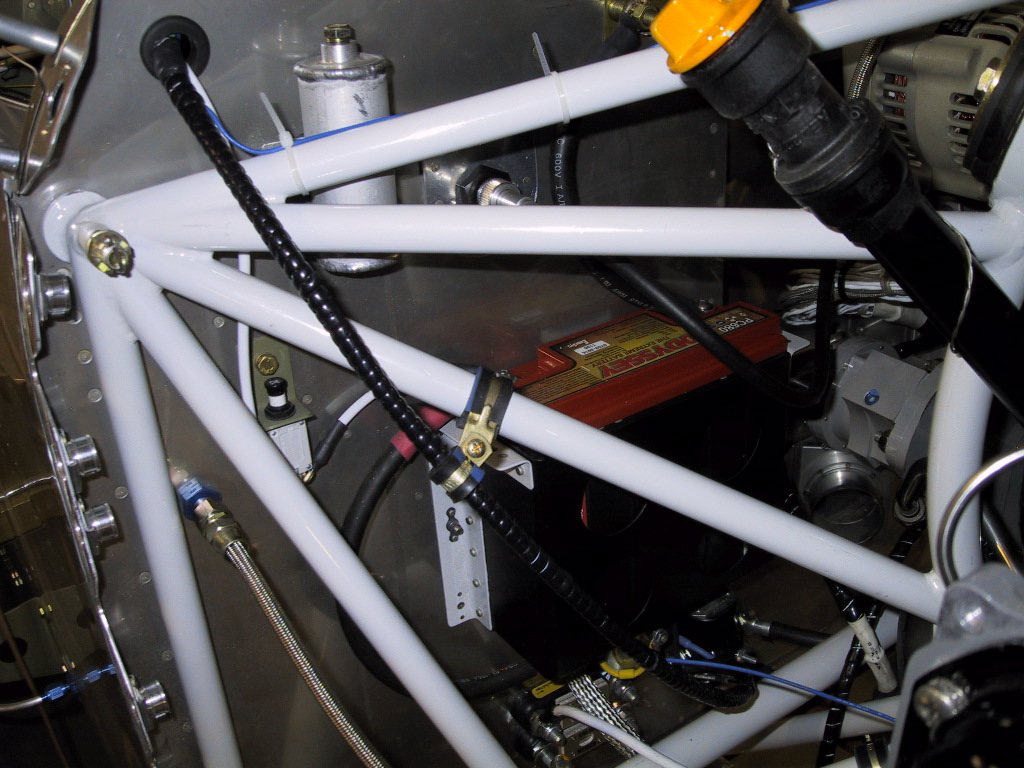
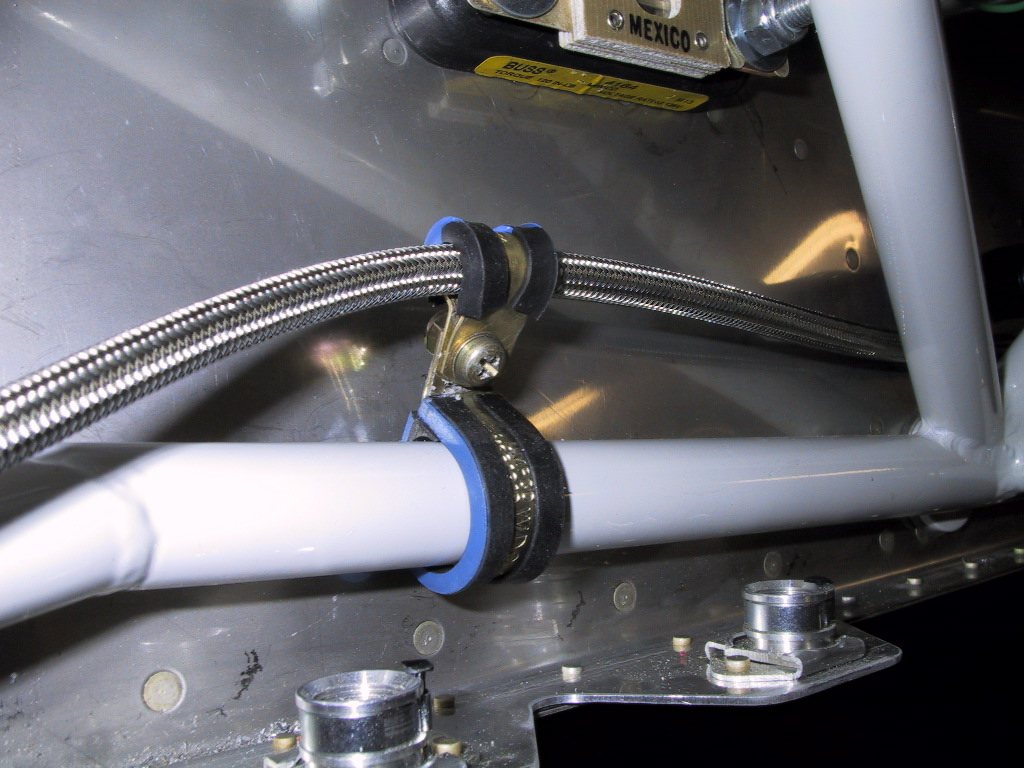
Since I was getting carried away with these Adel clamps, I secured the brake lines that run across the plane.
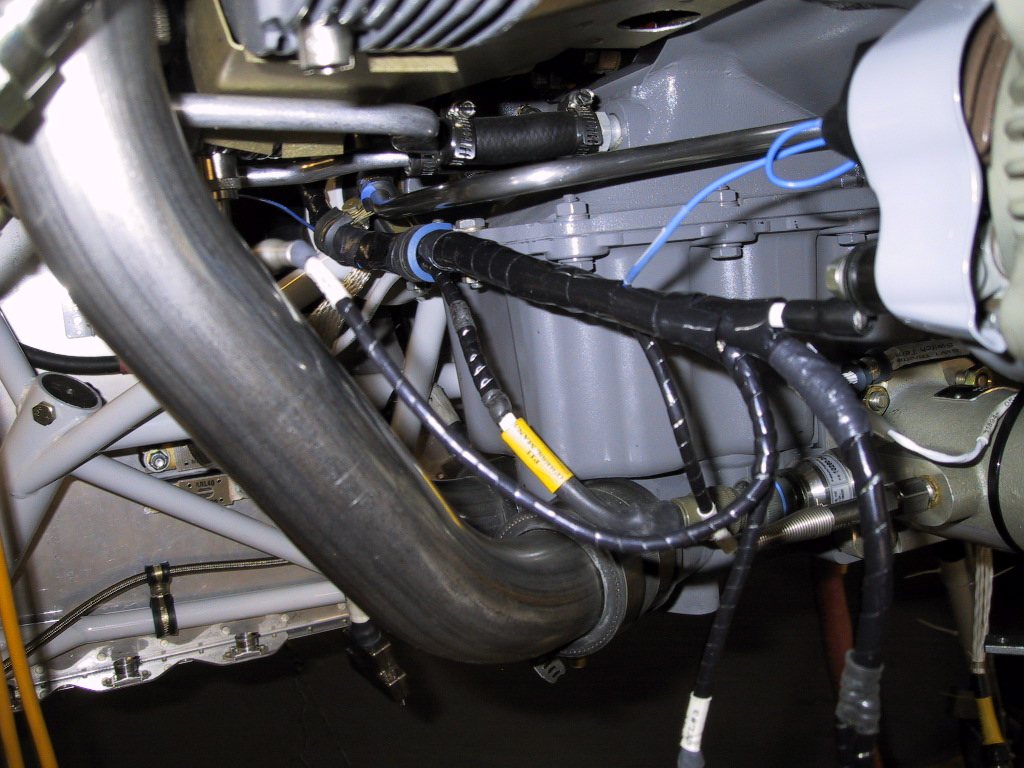
OK, here’s the right side. What a web of wires! I tied it all together, then wrapped it and secured it to the engine. All this took a LONG time. It’s almost done though!
Now I’ve got that little lot out of the way, I could put the exhaust on. Fantastic! Here we have it all torqued up.
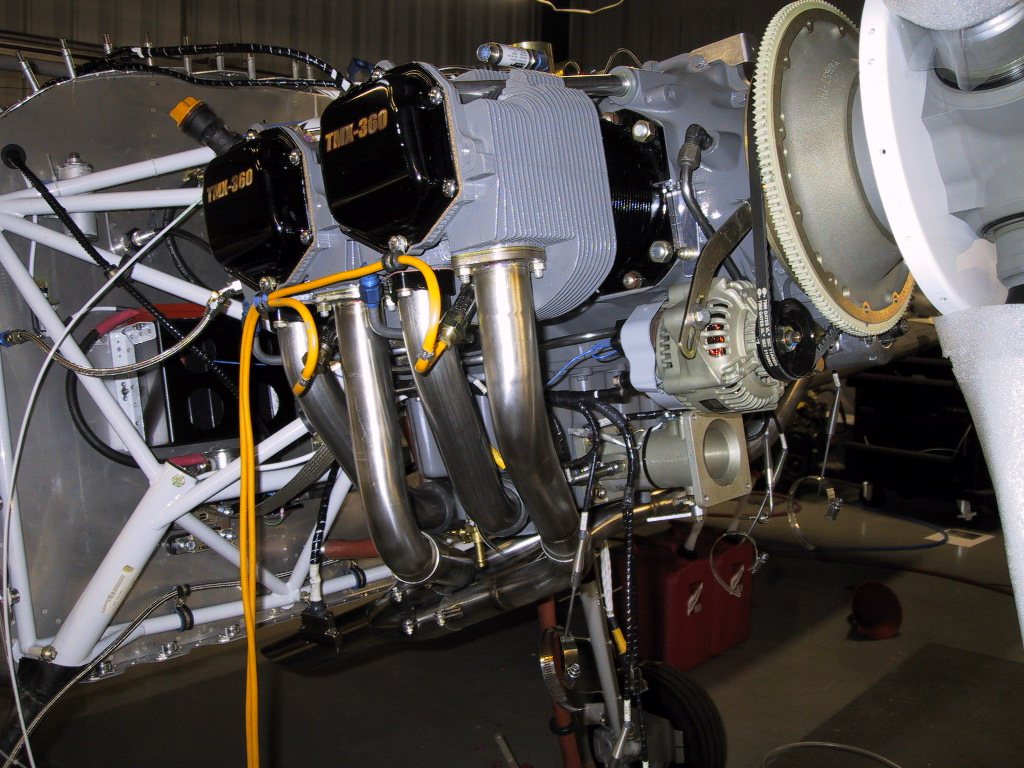
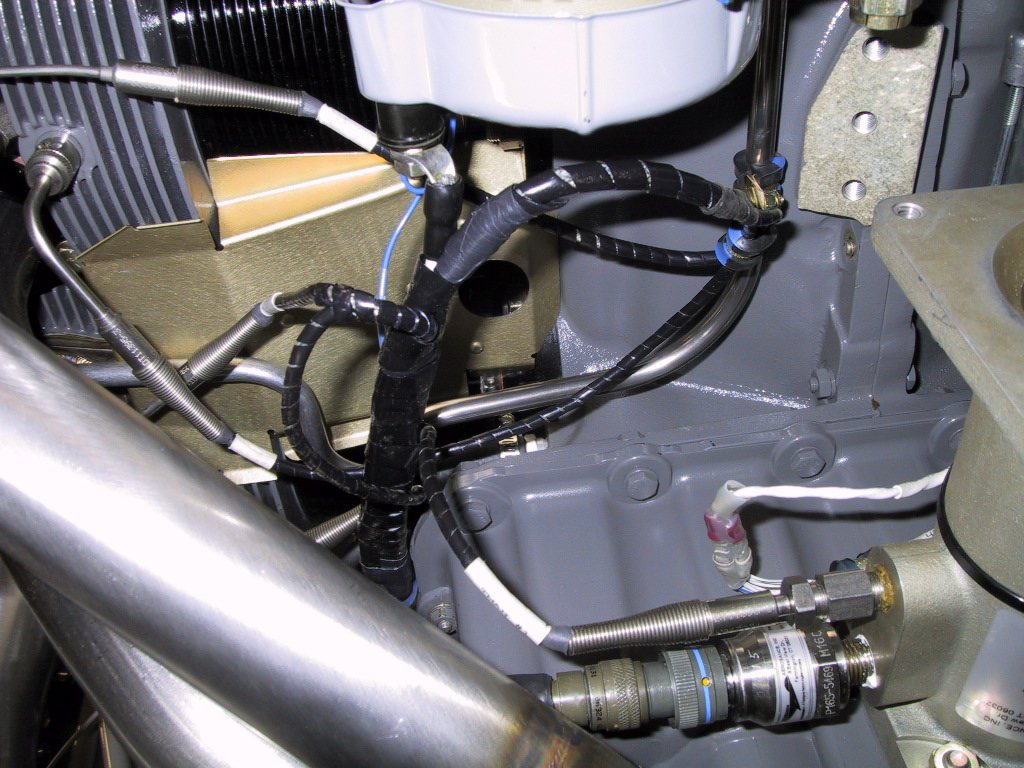
Here on the right side, I hade to do a bit more work to keep the wiring away from the exhaust. This meant another bunch of Adel clamps. Here you can see manifold pressure and temperature sensors in the throttle body, the CHT temp sensor in the cylinder head, and the EGT sensor in the exhaust pipe. Loads of info for the computer to chew on when it’s figuring out just how much fuel and timing to add.
Now the exhaust is on, the heat muff can go on. I have a second heat muff too, but I’m going to see how I get on with just the one before adding the second. It might be OK, we’ll see. The SCAT tube routing worked out nicely too.
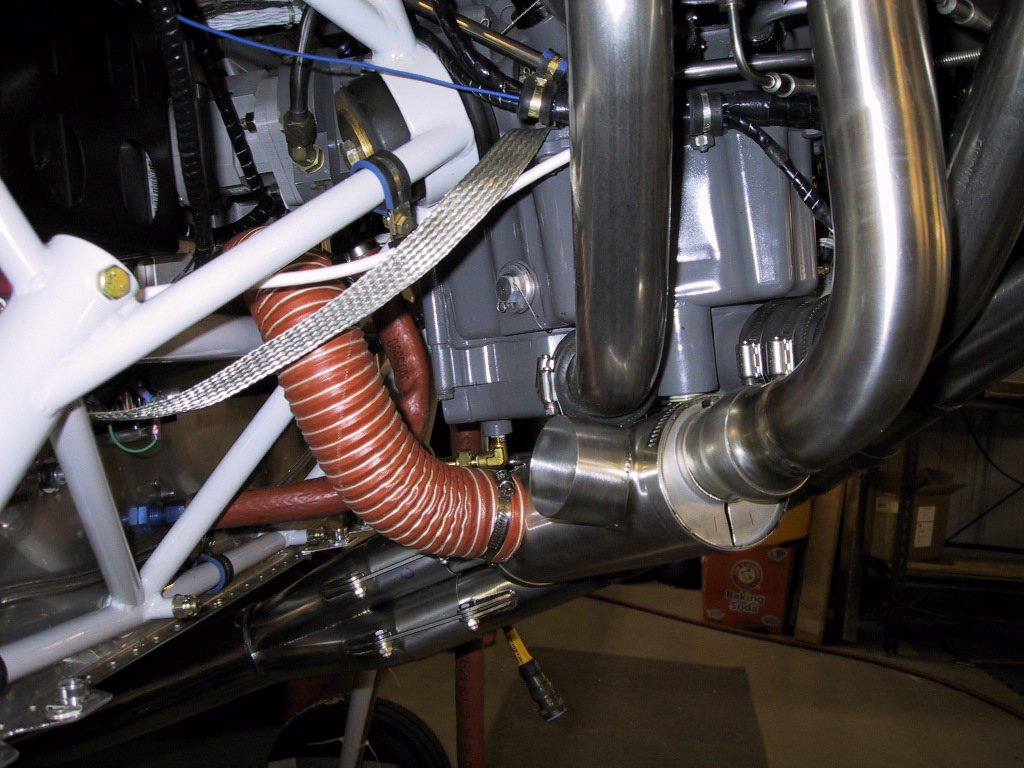
Here you can see the SCAT tube going through to the heater door on the firewall.
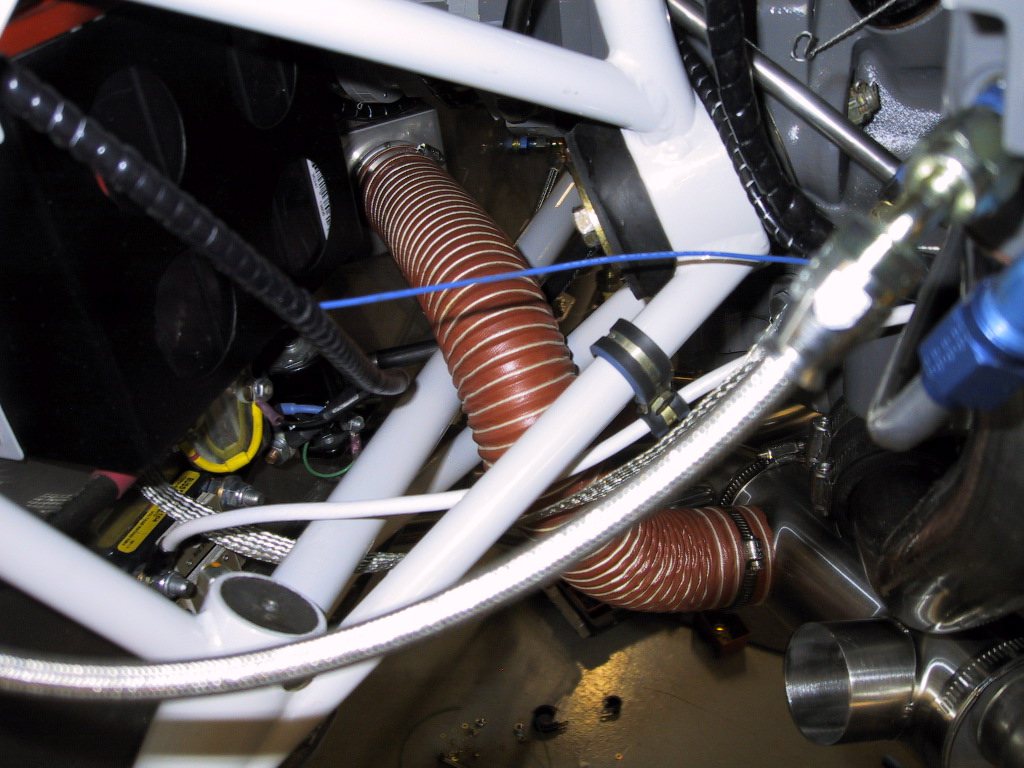
The starter motor wiring needed securing to the airframe to prevent strain on the terminal at the other end. I mentioned this before, but you have to make sure that your wiring is secured to both the moving and non moving stuff so that your terminals don’t die an early death.
Well as you can probably tell, I’ve been spending a heck of a lot of time at the hangar lately. This is “The Big Push” to get to a point where I can start the engine. I remember when Dave was visiting from Australia during New Year, and thinking we could get this thing started then. We must’ve been living in a dream world, because we weren’t even close. Heck, we didn’t even get the wings on did we?!
Tomorrow, I’m going to work on getting a new throttle bracket made up. Clayton might be coming over to help out, and he’s going to bring some welding equipment with him. The design of bracket I have in mind (same as the old one, but with a further reach) needs a weld to help strengthen it up.
Once the baffles return from the paint shop, I can get them on, finishi up the wiring on the top of the engine (injector harness, and cylinder heater harness), and then start on everything else that needs doing before I can start her up. Basically, that’s fitting the centre console, and running the control cables for throttle and prop.