


May 14, 2006
We’re moving along nicely now, and there really isn’t too much left to do to get this thing cranking! I needed to make a new throttle bracket to get the cable further away from the exhaust pipe. I think I’ll still need a heatshield, but generally what we came up with will work OK.
Clayton came by today to help out too. He brought his welder with him so we could get this bracket done. This is the basic form. It’s a bit tricky to bend it. Most of the bends I ended up doing in a vice. So much for buying a bending brake!
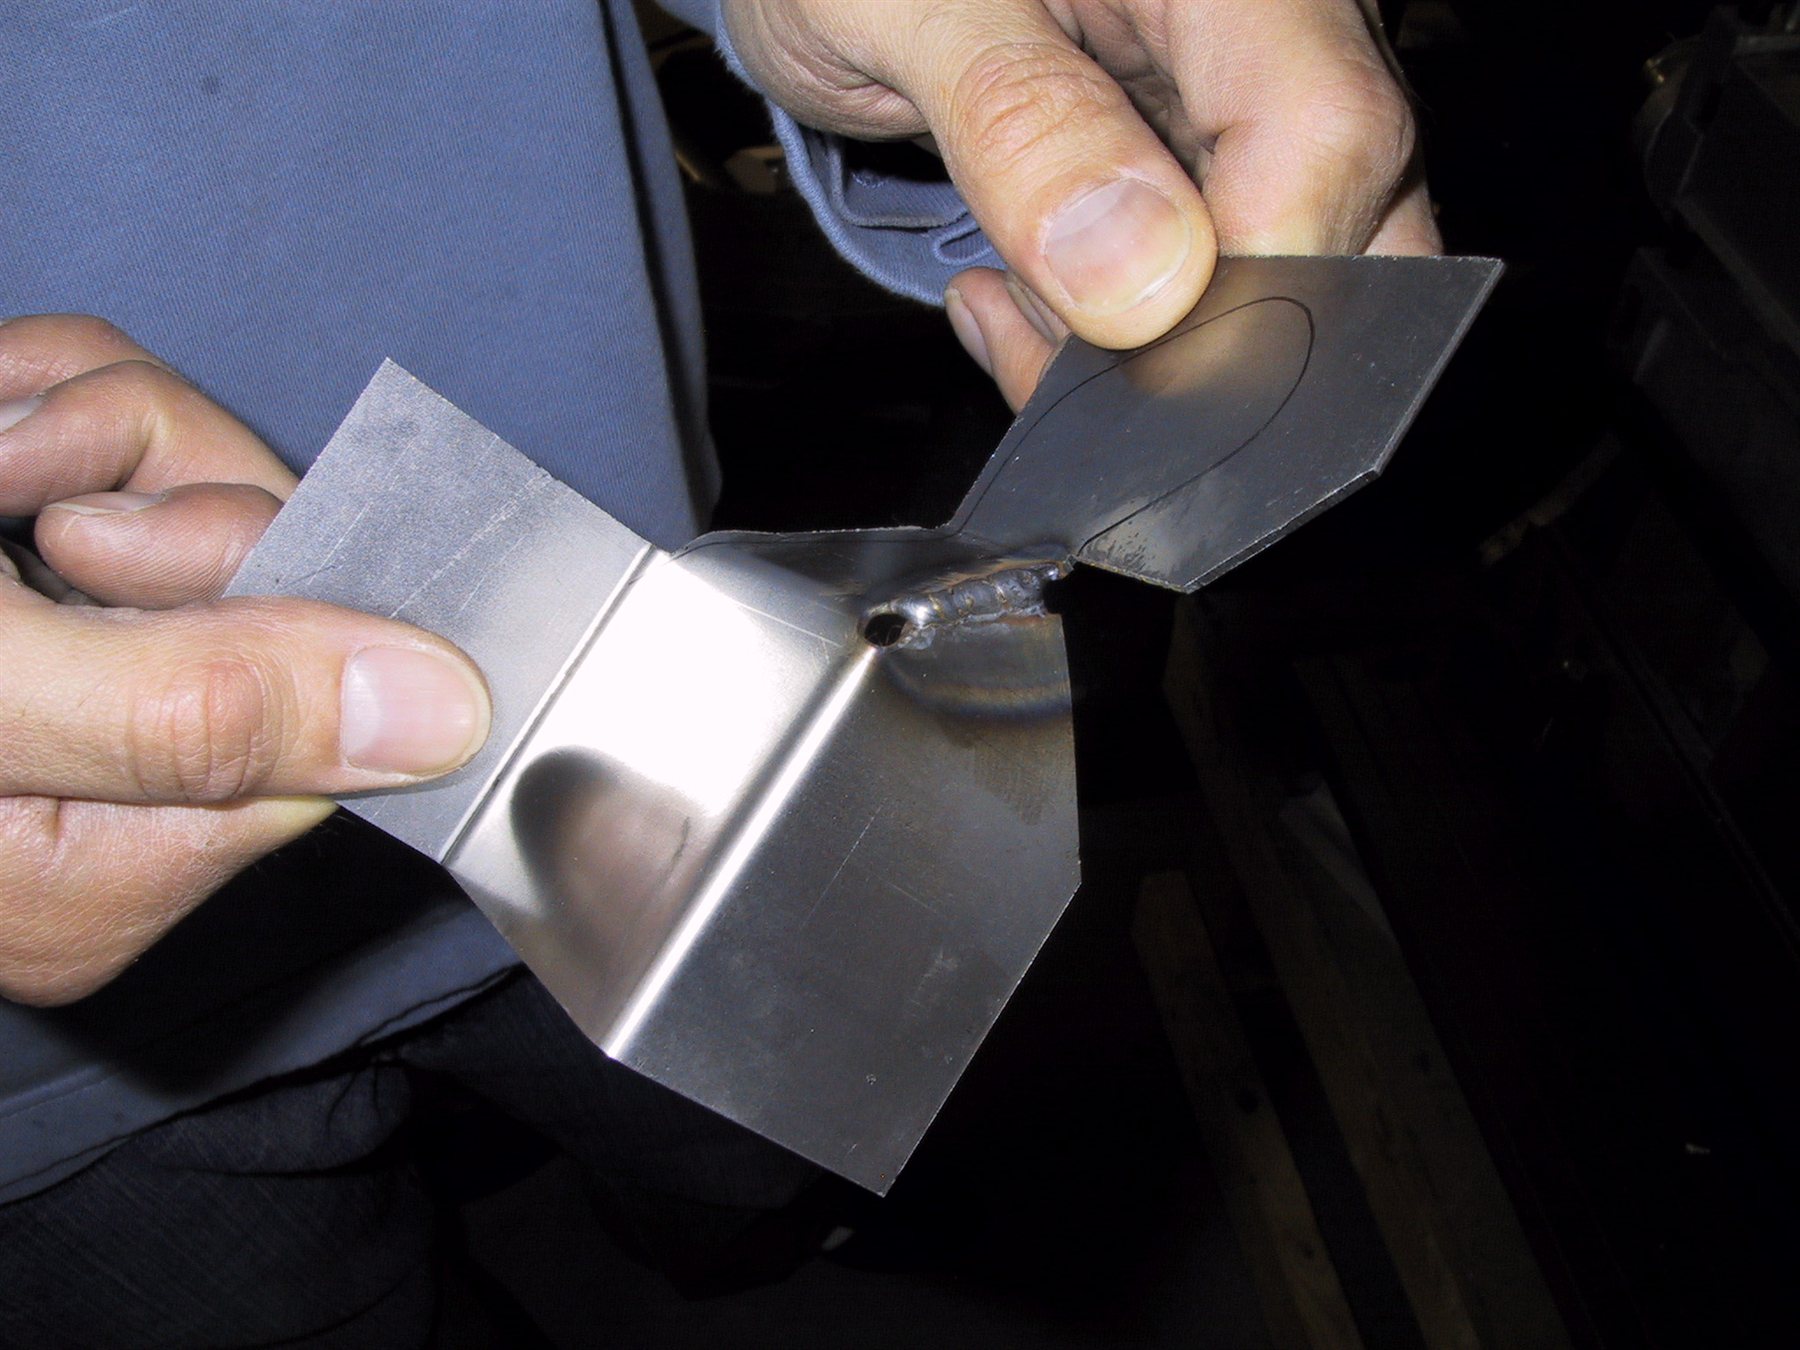
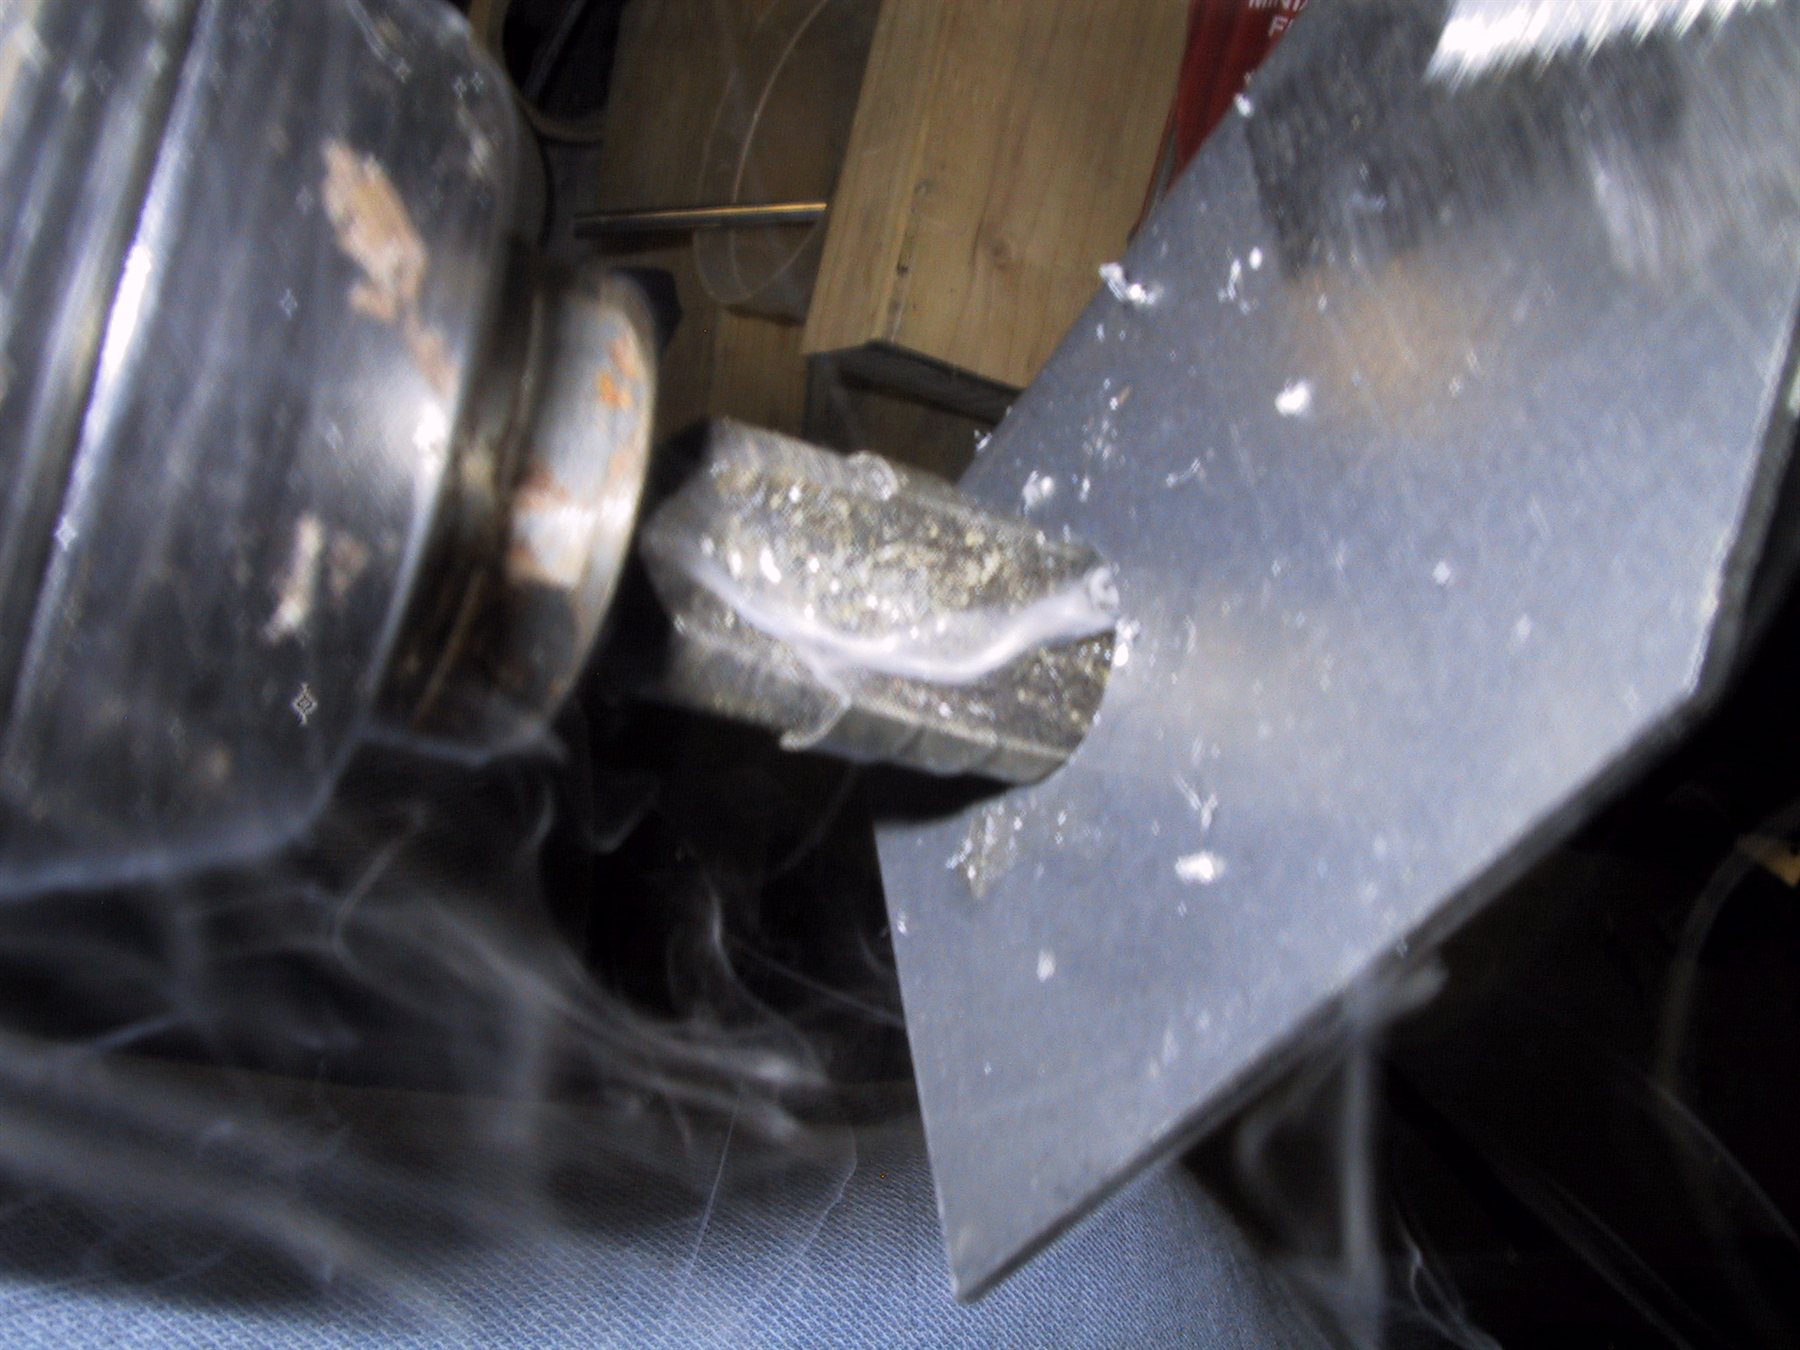
Next, the hard part was figuring out where the holes needed to be. Here, I’m enlarging the hole to take the throttle cable. Smokin’! That’ll be the Boelube!
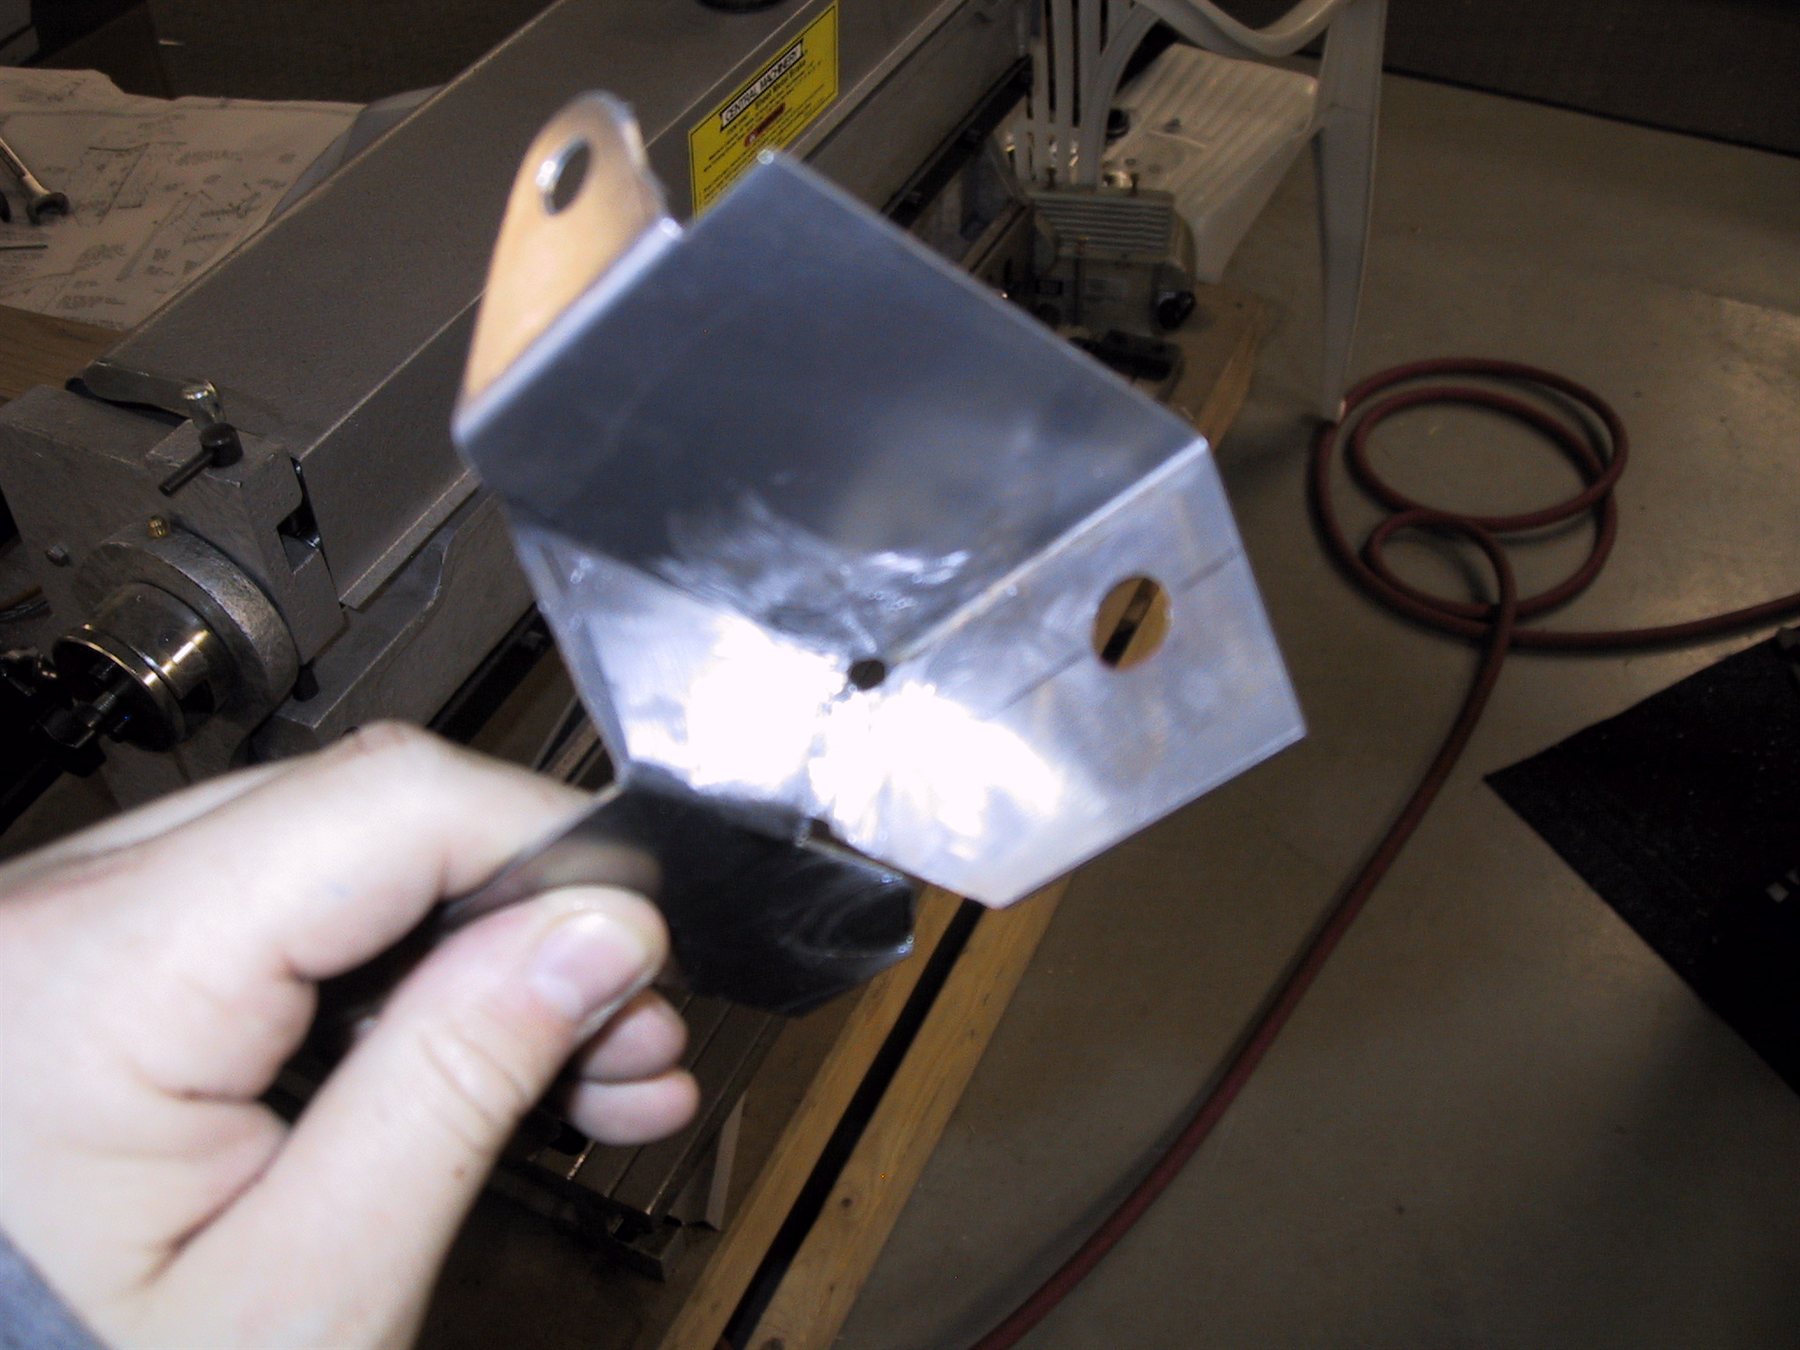
Here it is with holes. A bit out of focus. Clayton isn’t used to my camera yet!
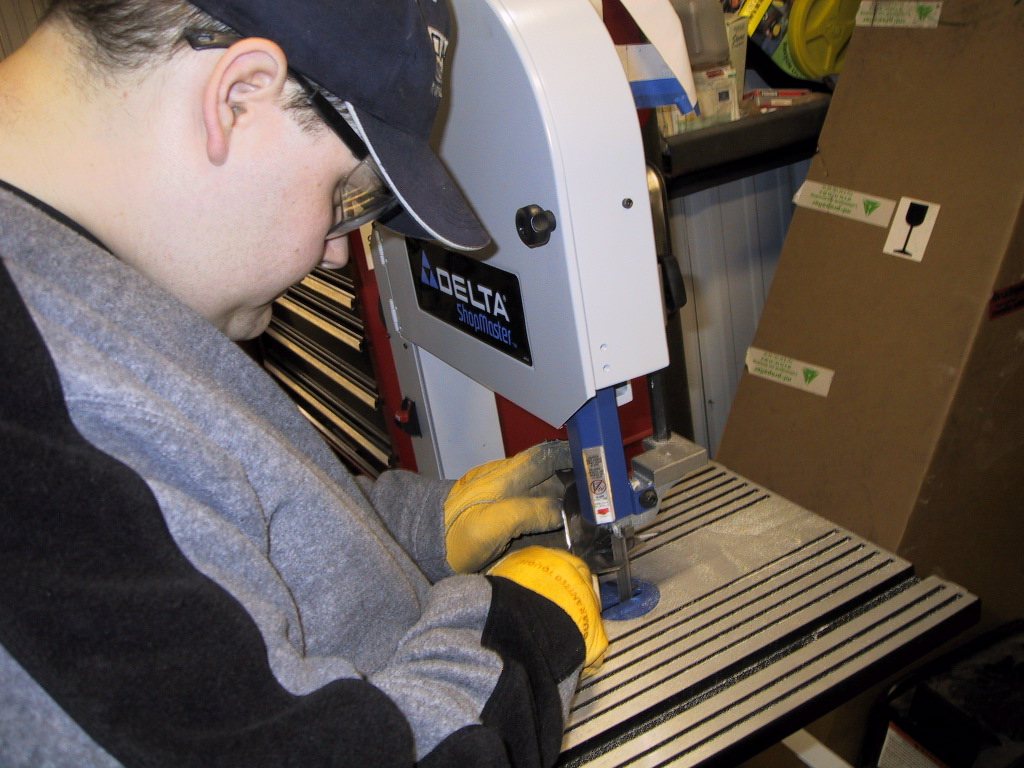
Now we have holes, it needed trimming up a bit. Clayton had a go with the bandsaw. Not exactly demonstrating the safest way to use it I have to say. At least this time, I made him wear safety glasses!
Since this bracket has a longer reach than the previous one, I decided to add a brace to the back of the throttle cable support lug. I didn’t want this thing to flex anywhere. I have a bit of a habit of over engineering things. Maybe it’s my automotive background, who knows. Trying to make things that’ll work for Mexico truck durability requirements!
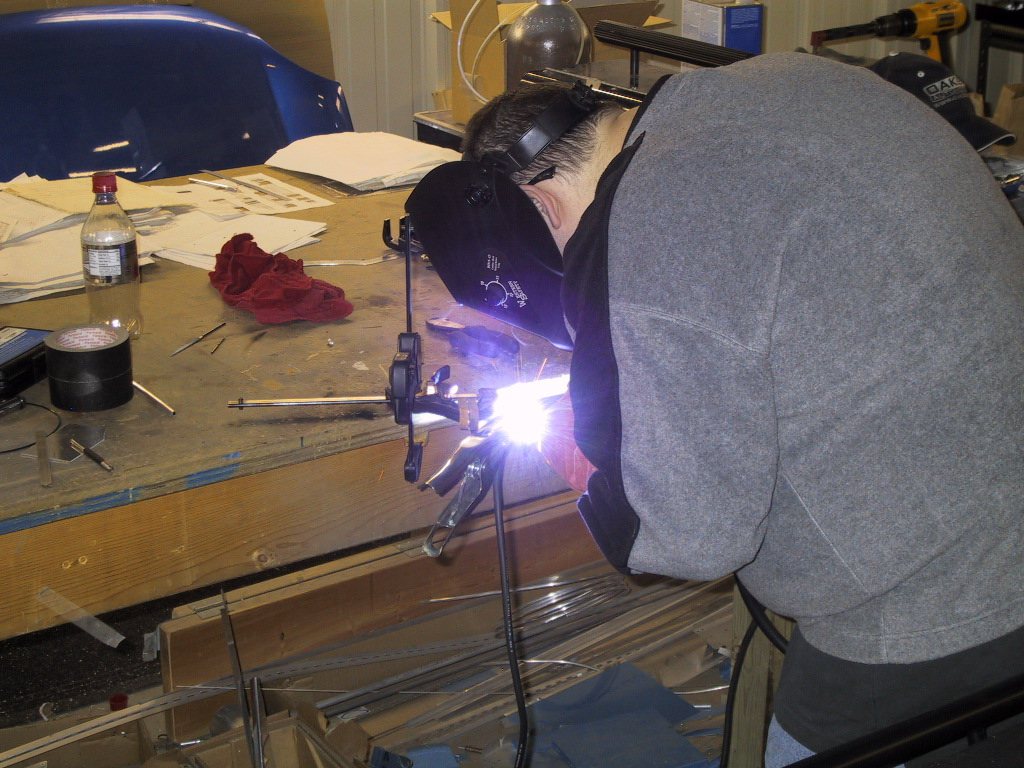
Here, Clayton is welding the brace in. Sweet.
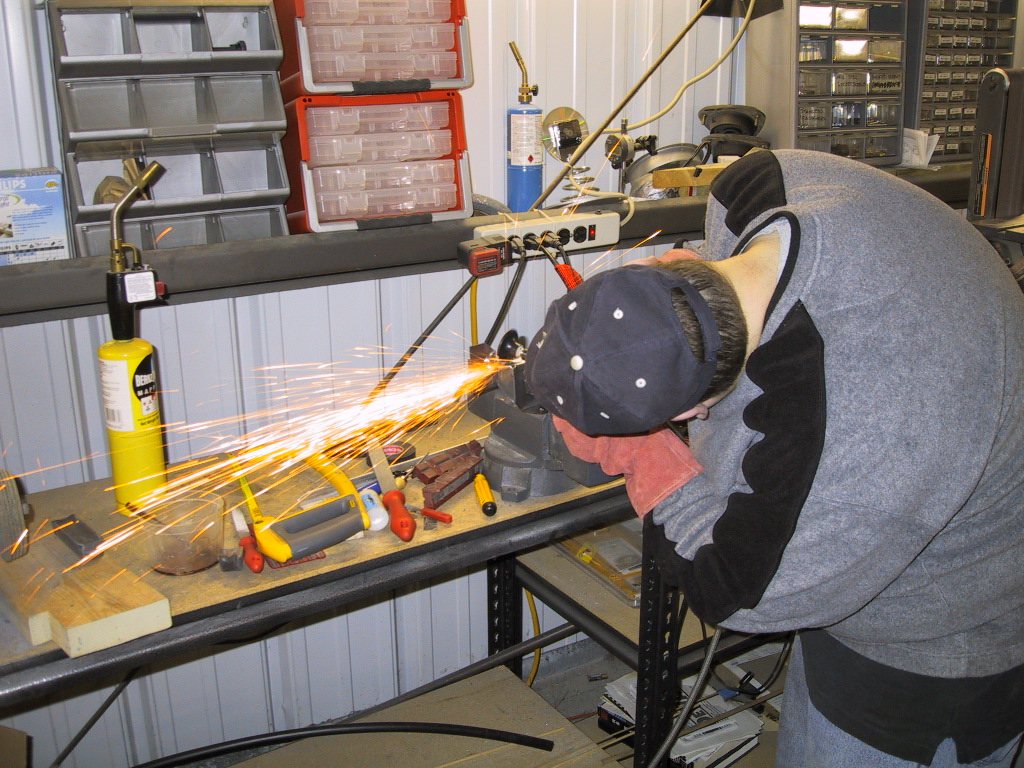
A bit of weld cleanup to make it all look pretty.
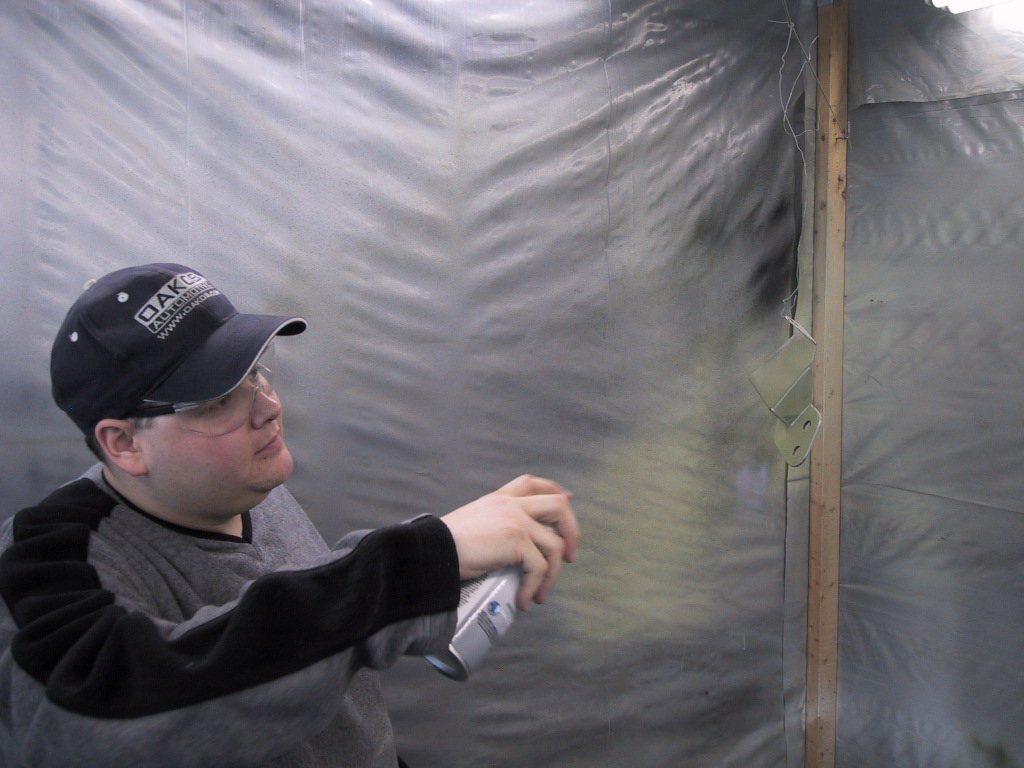
And to make it look even better, some paint. Primer first though. Nice respirator eh?!
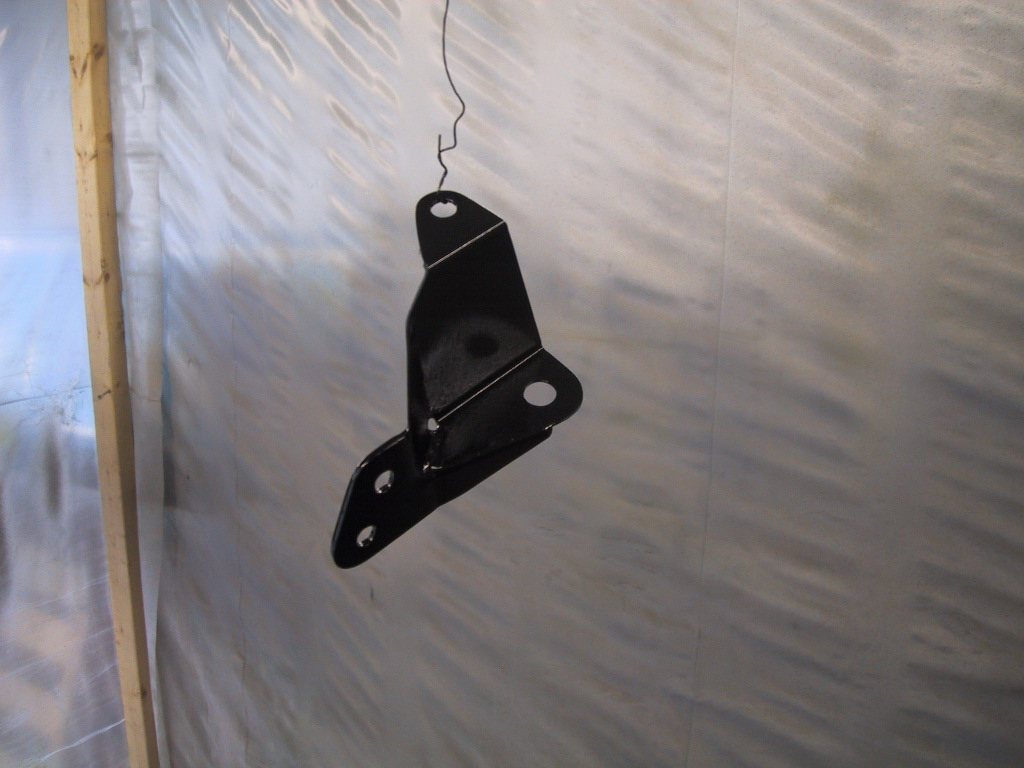
Then some black. Tomorrow, this thing should be ready to fit to the plane!
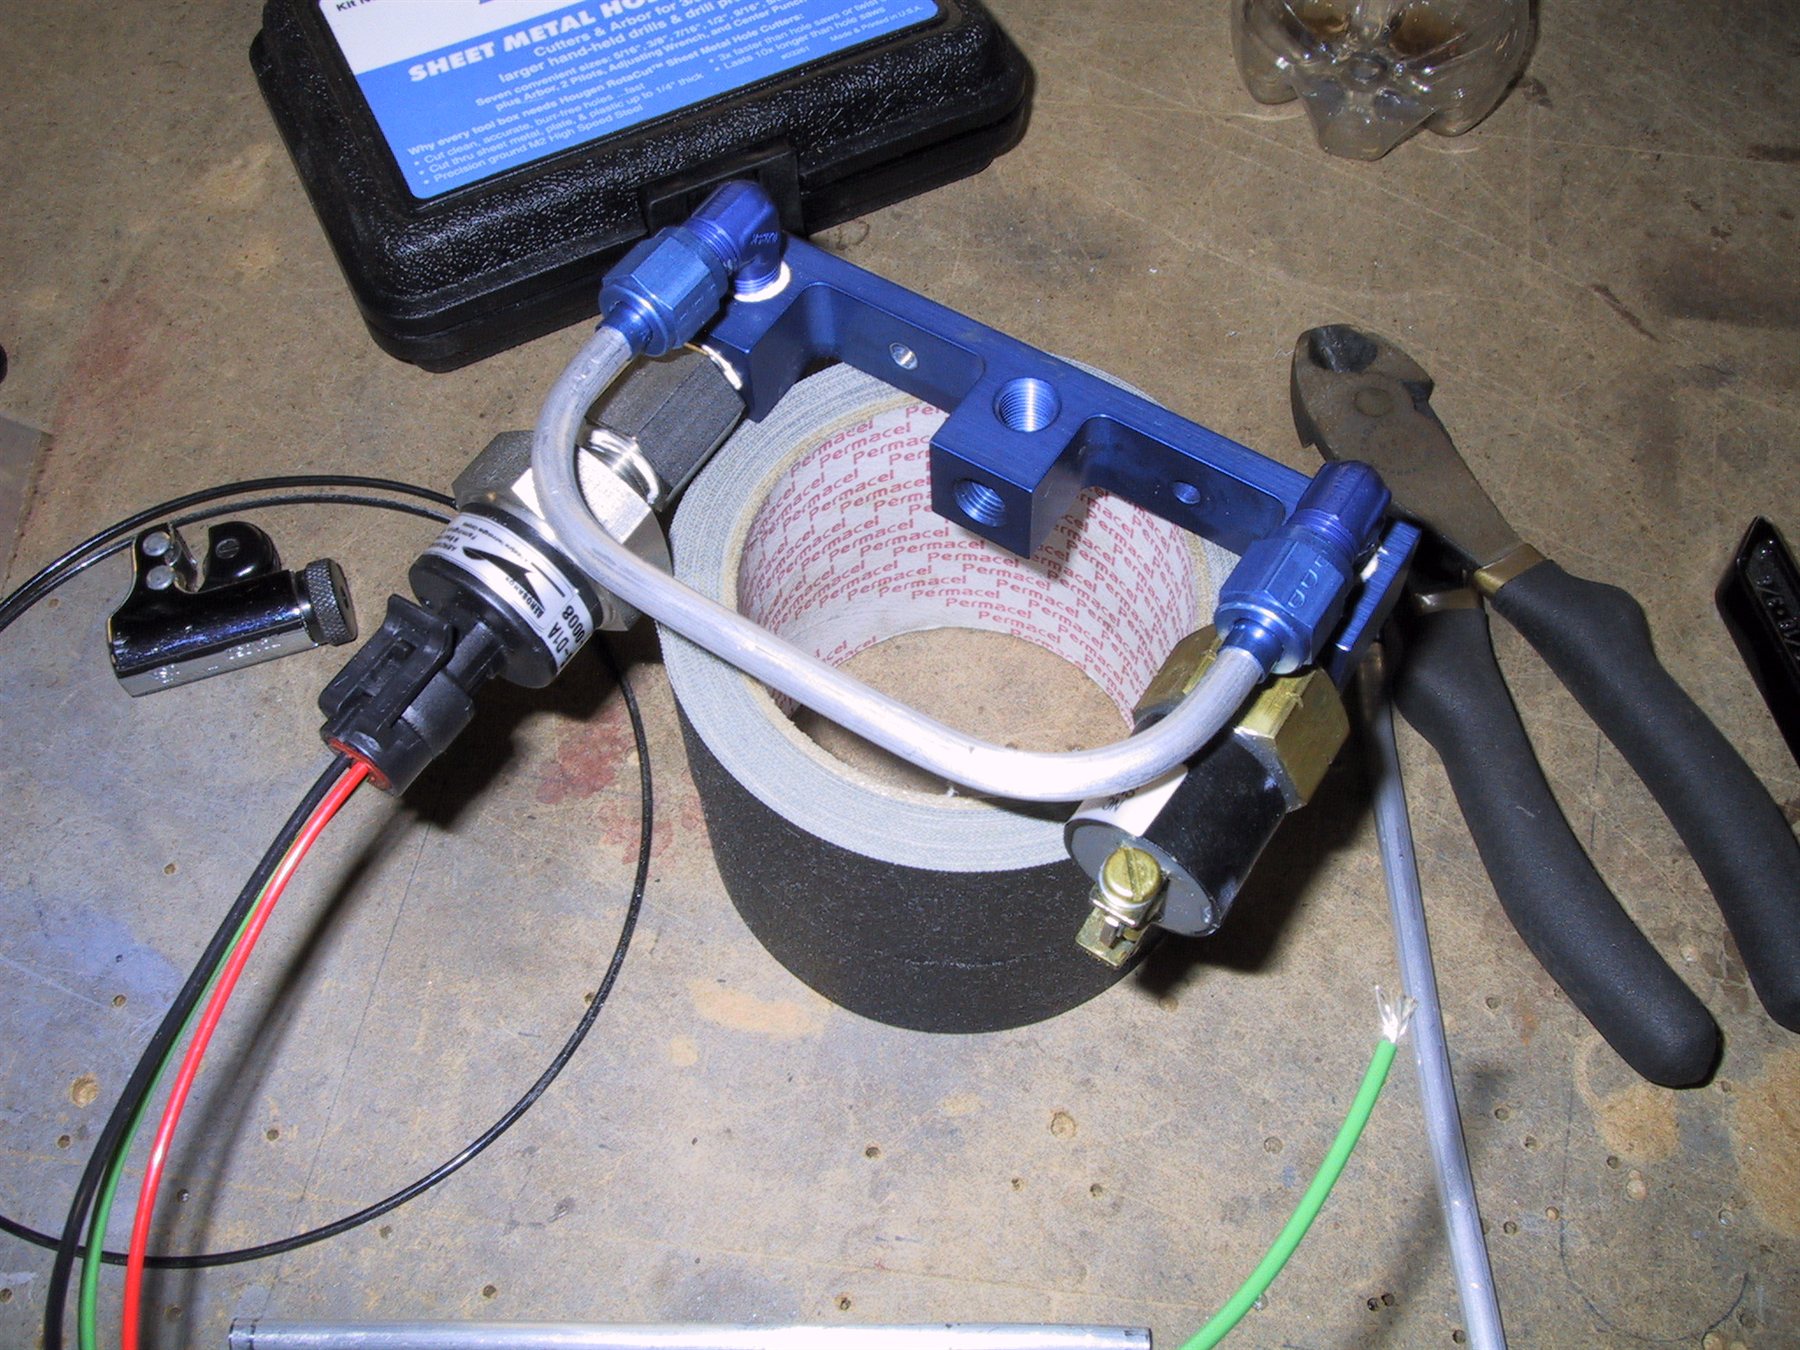
In between doing stuff to the bracket, we did a few other bits and pieces too. One of which was the link pipe for the pressure sender and switch. The lengths here worked out prefectly, as Clayton had a clever measuring idea, then told me to bend the pipe where I did the first half. It came out perfect! Great job dude!
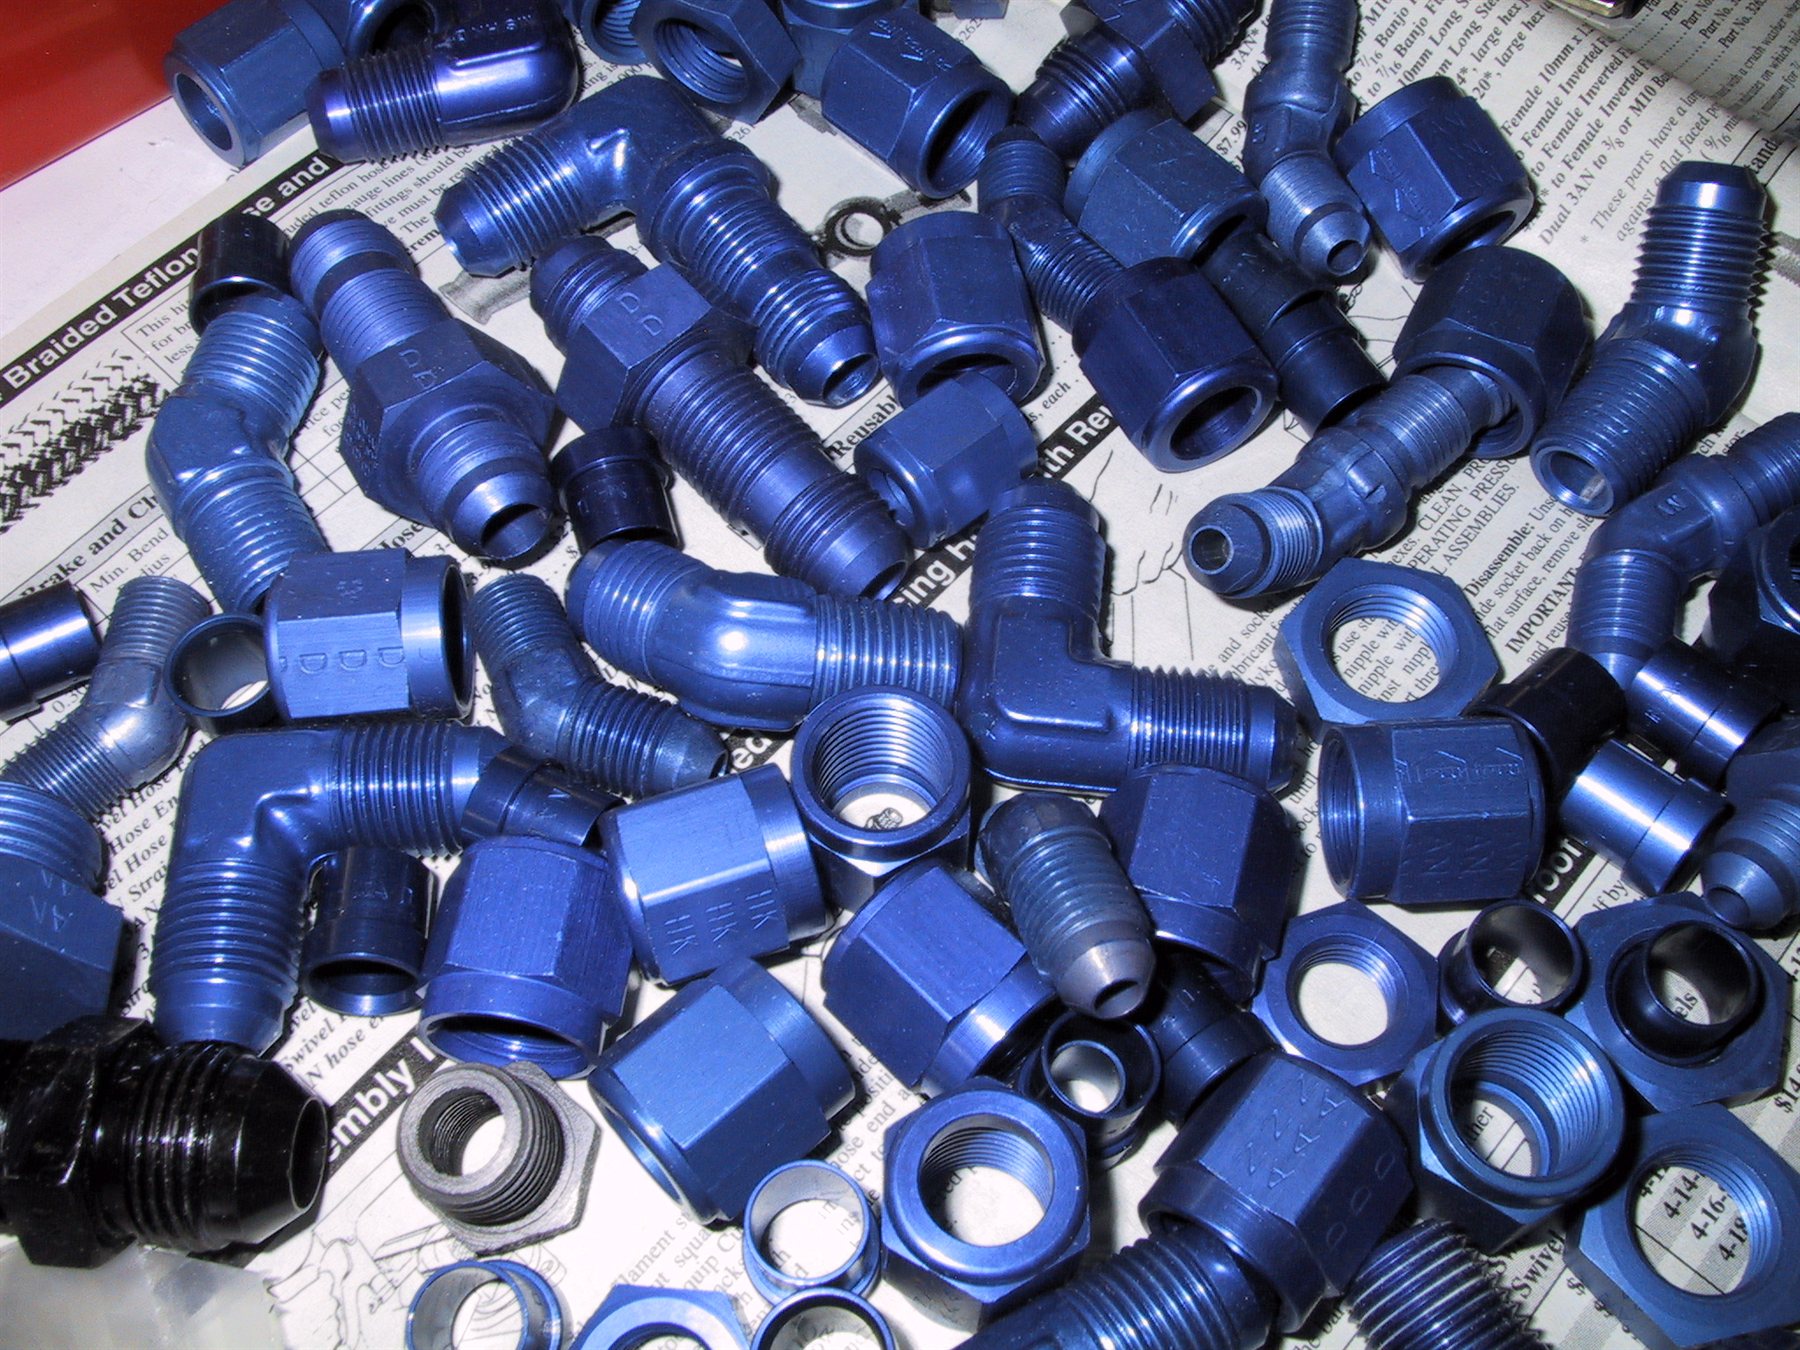
Here’s an arty shot of a bunch of AN fittings, on a catalogue opened to a hose and fittings page! This could go into the Museum of Contemporary Art! We’ll call it “Fitting”.
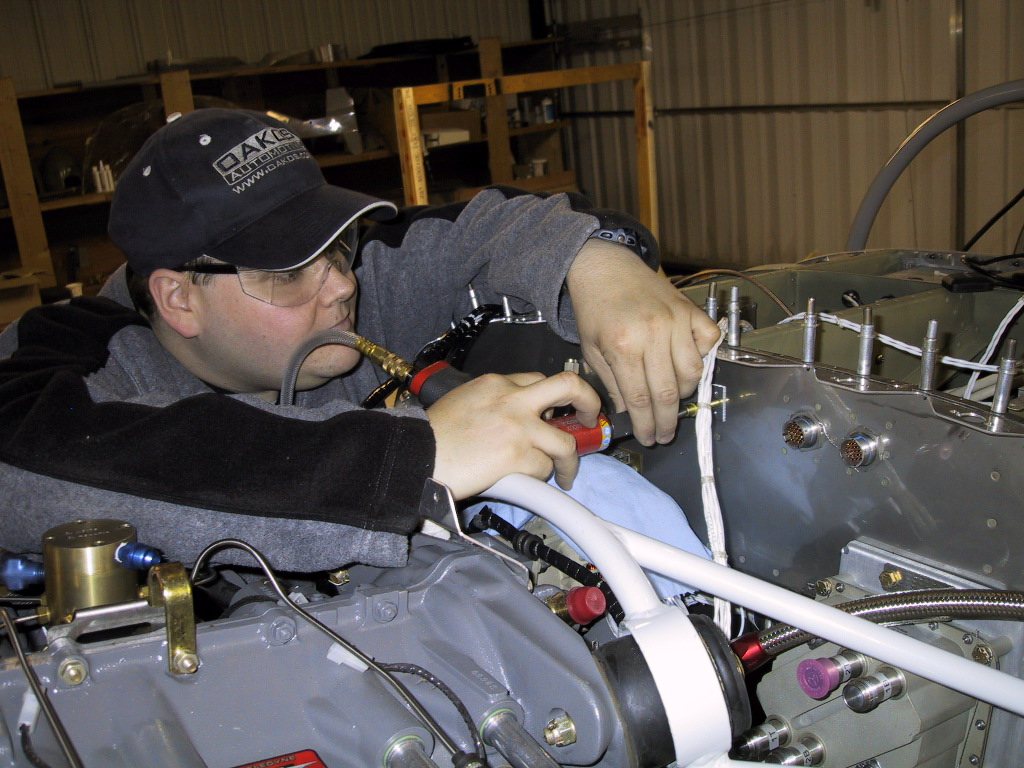
I let Clayton loose with the drill on the plane. Here, he’s match drilling the firwall to the doubler plate he made for the manifold. We put nut plates on there too. There should ideally bo NOTHING onthe firewall held on with a nut and a bolt. Otherwise, it’s a two man job to remove the stuff once the plane is together.
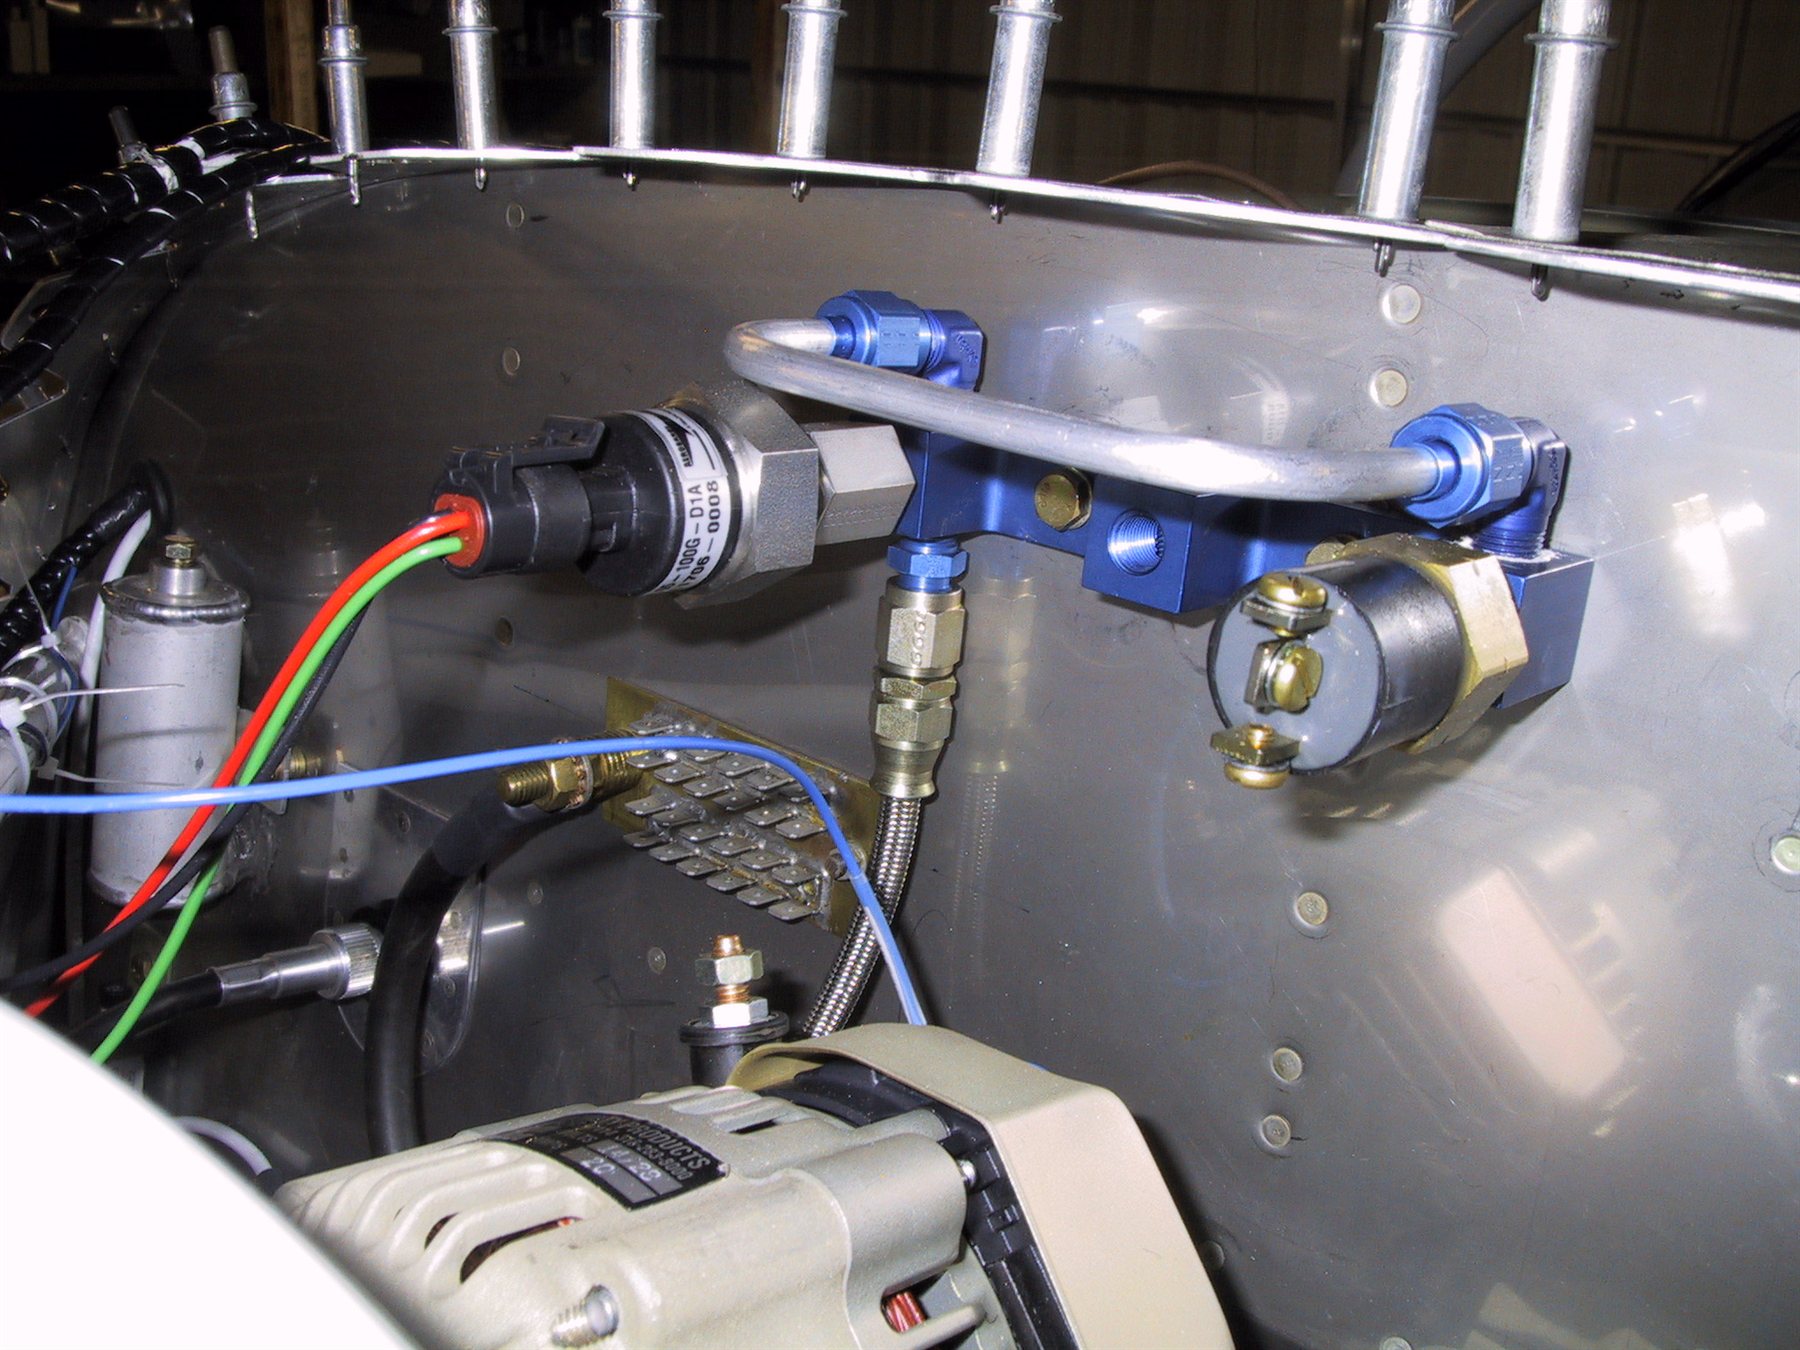
Here it is fitted to the plane.
We also did some electrical troubleshooting. I covered that on the electrical page though.