


May 21, 2006
Everything is done now inside the fuselage, except for putting the floors in and then the centre console, so we worked on getting the floors sorted. The floors in an RV are well known for the tingly feet they give the occupants, so I wanted to find a way to dull down this phenomenon. I remember flying in Cameron’s plane, and it really tickled my feet! Then if you lifted up your feet, the noise level went up dramatically. Hopefully my fix will fix it.
The idea comes from the C5 Corvette. They have a balsa wood laminate floor to dampen NVH (Noise, Vibration & Harshness in automotive speak), and it’s works very well. So, I took this same principle and applied it to the floor. Now you can’t just run down to your local hobby store and buy 3/4" thick planks of balsa, so I tracked down a place where you could. National Balsa was where I got it. They sell the stuff in all sorts of sizes. I got some 8"x48"x3/4" planks. It’s very light, and weight for weight is probably one of the strongest woods you can buy (along the grain). Perfect.
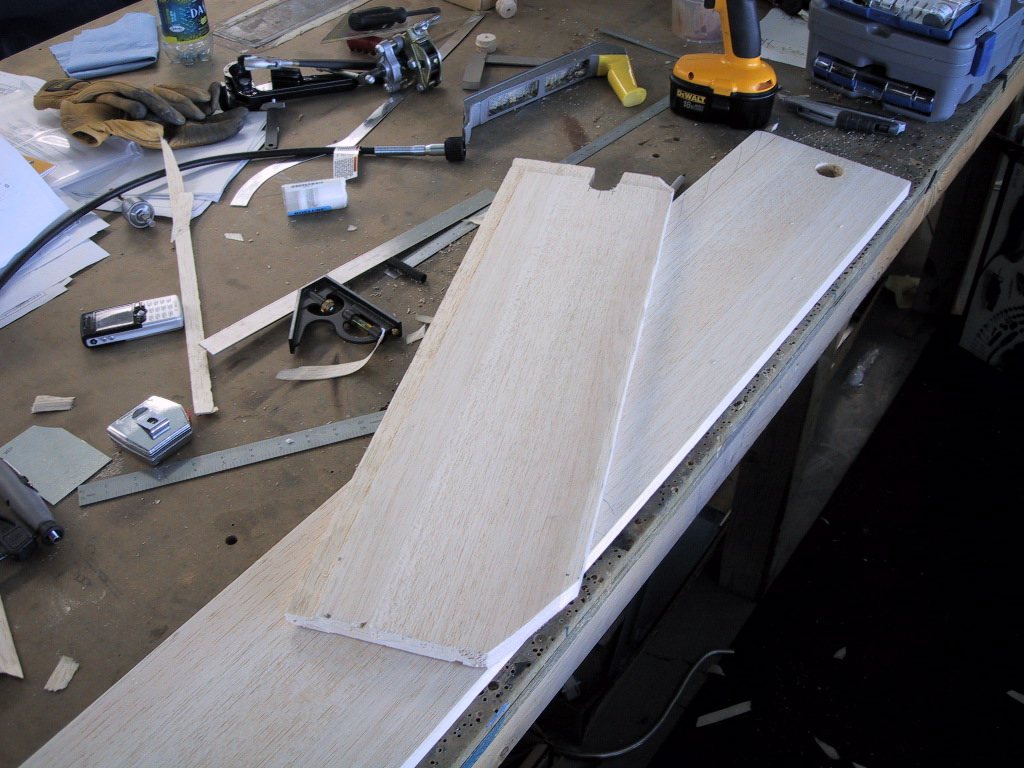
We measured up the floor gaps, and cut the planks to the shape we needed. We put a notch in the front on the outer pieces for the vent line fitting, and three notches on the inside edges for the screws (we’re using allen head type to make it easier to remove when the floor is in place) for where the centre tunnel cover fits. We also put a rebate in the bottom of the planks to allow for the angle on the floor surface.
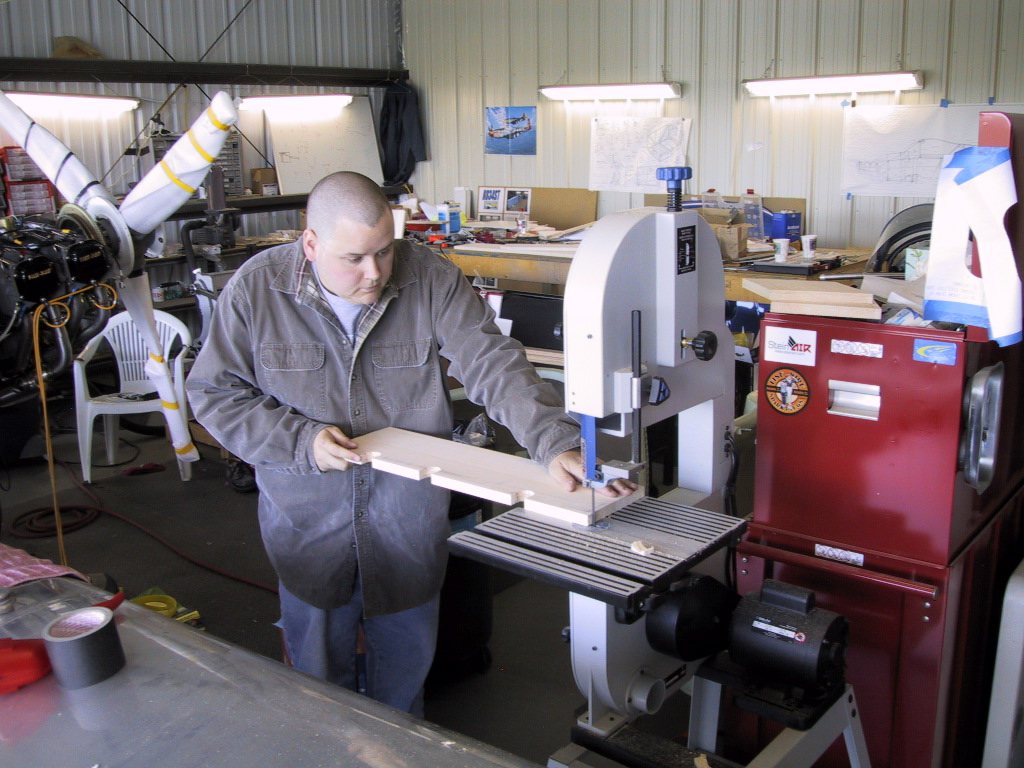
Here’s Clayton doing some wood shop. Mind your fingers dude!
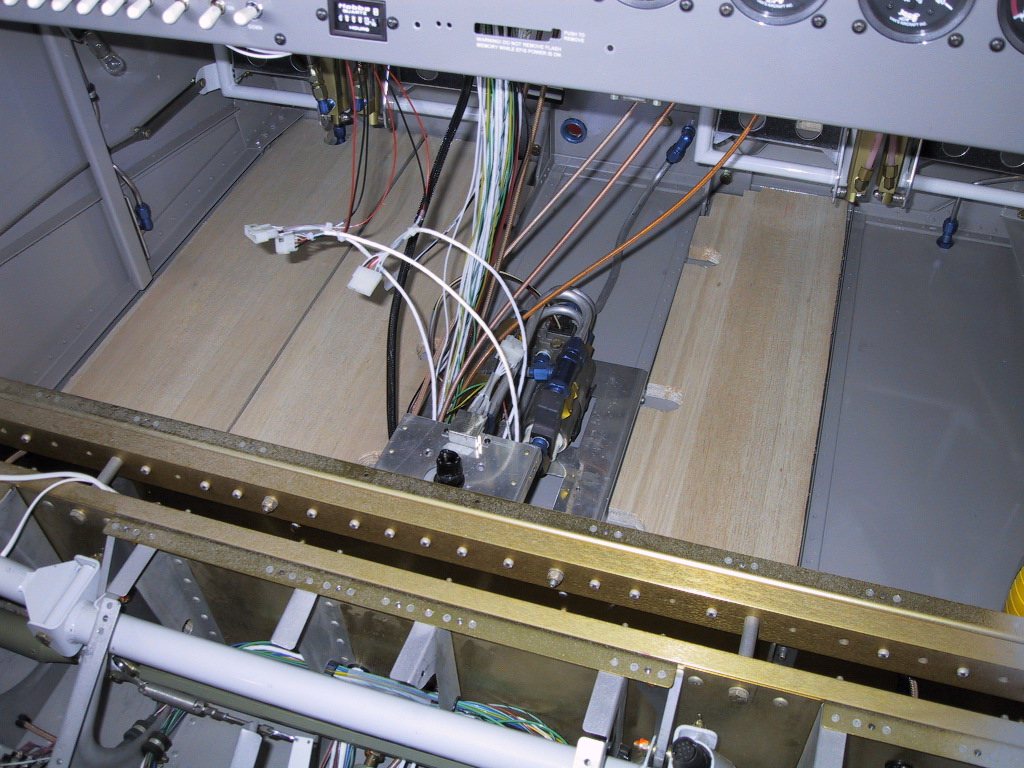
Here’s a test fitting in the plane. Hmmm.. Looking alright. Where’s that Marine varnish!
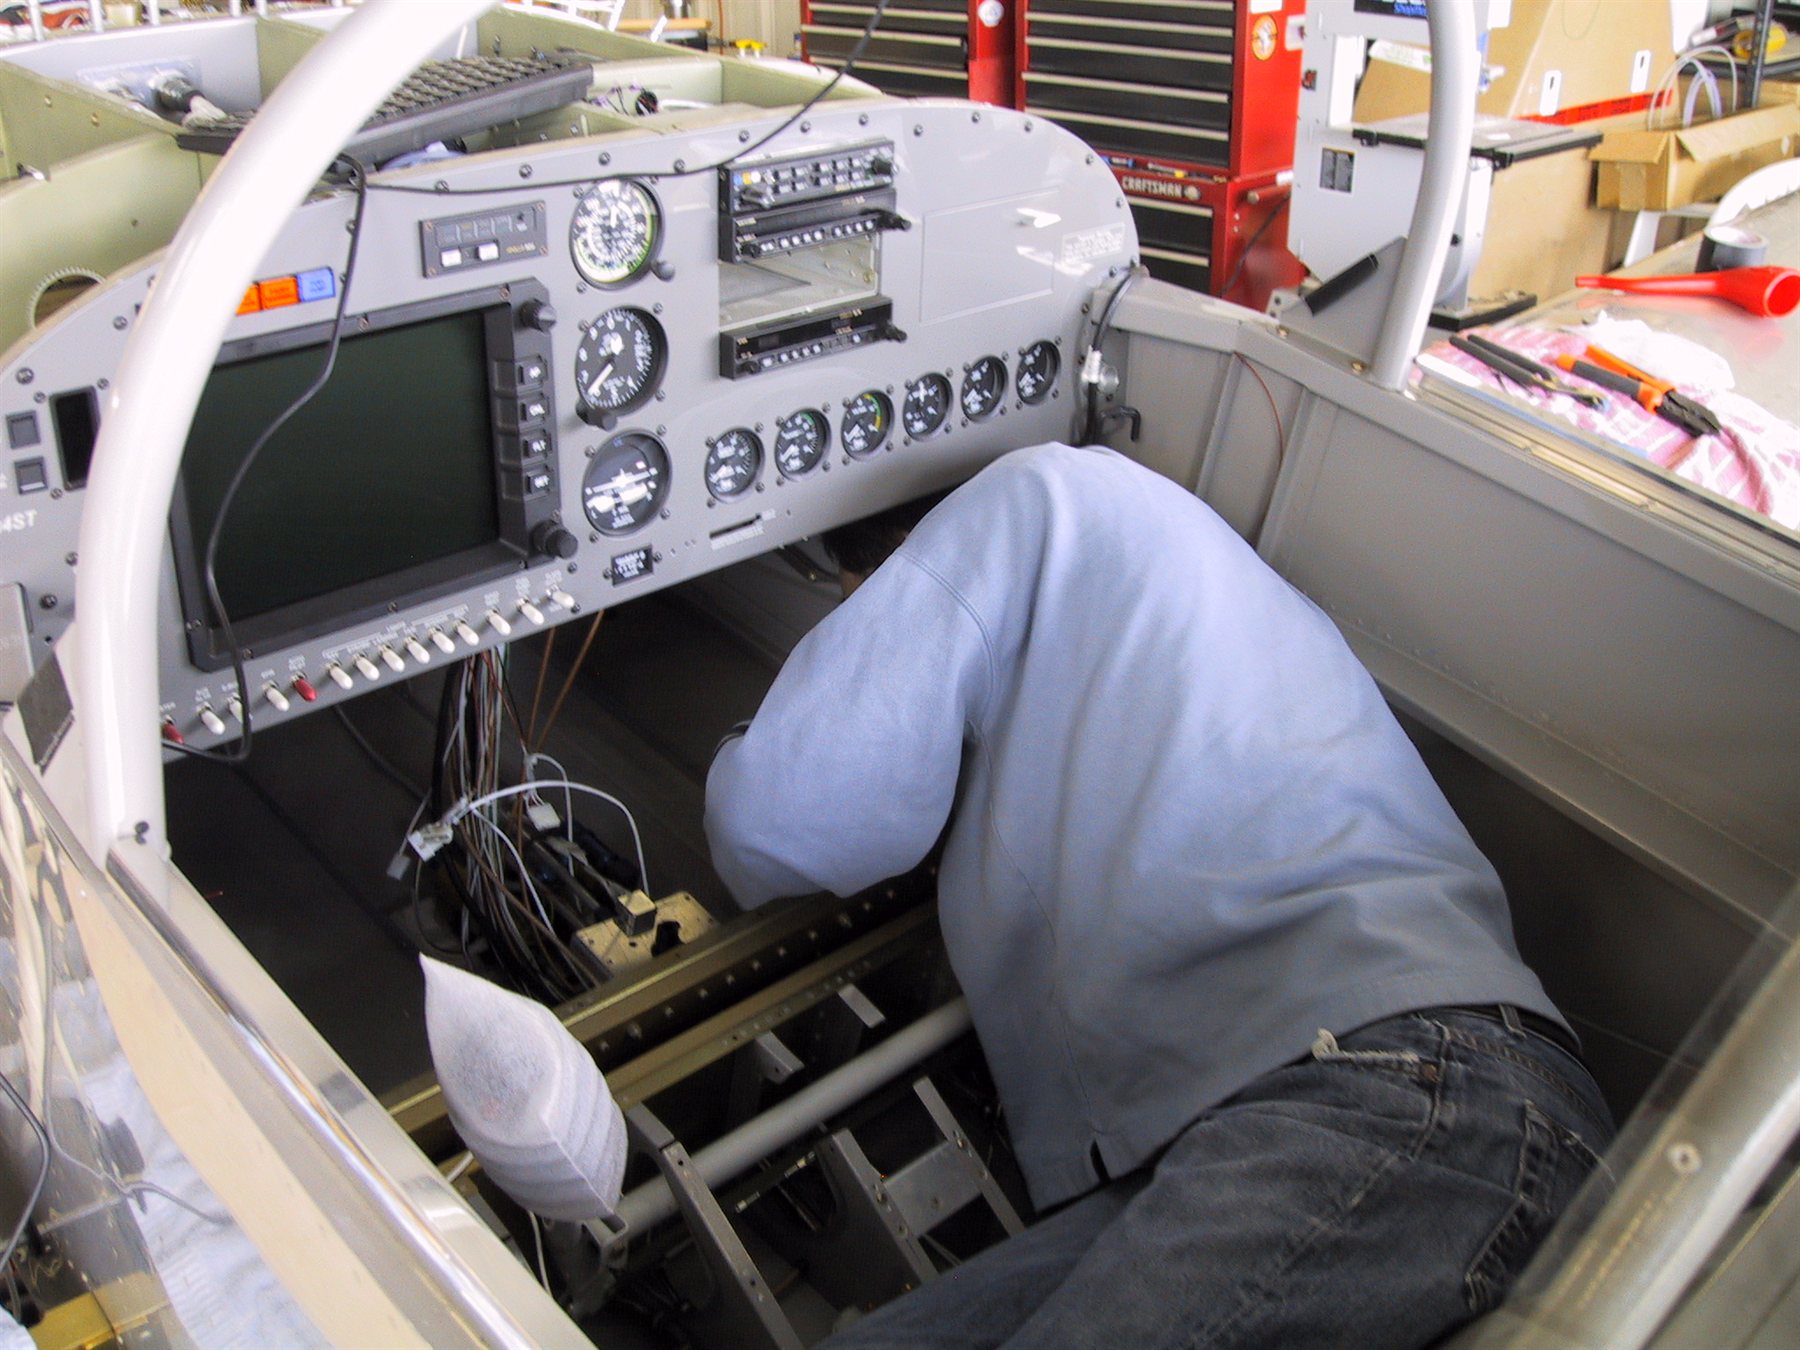
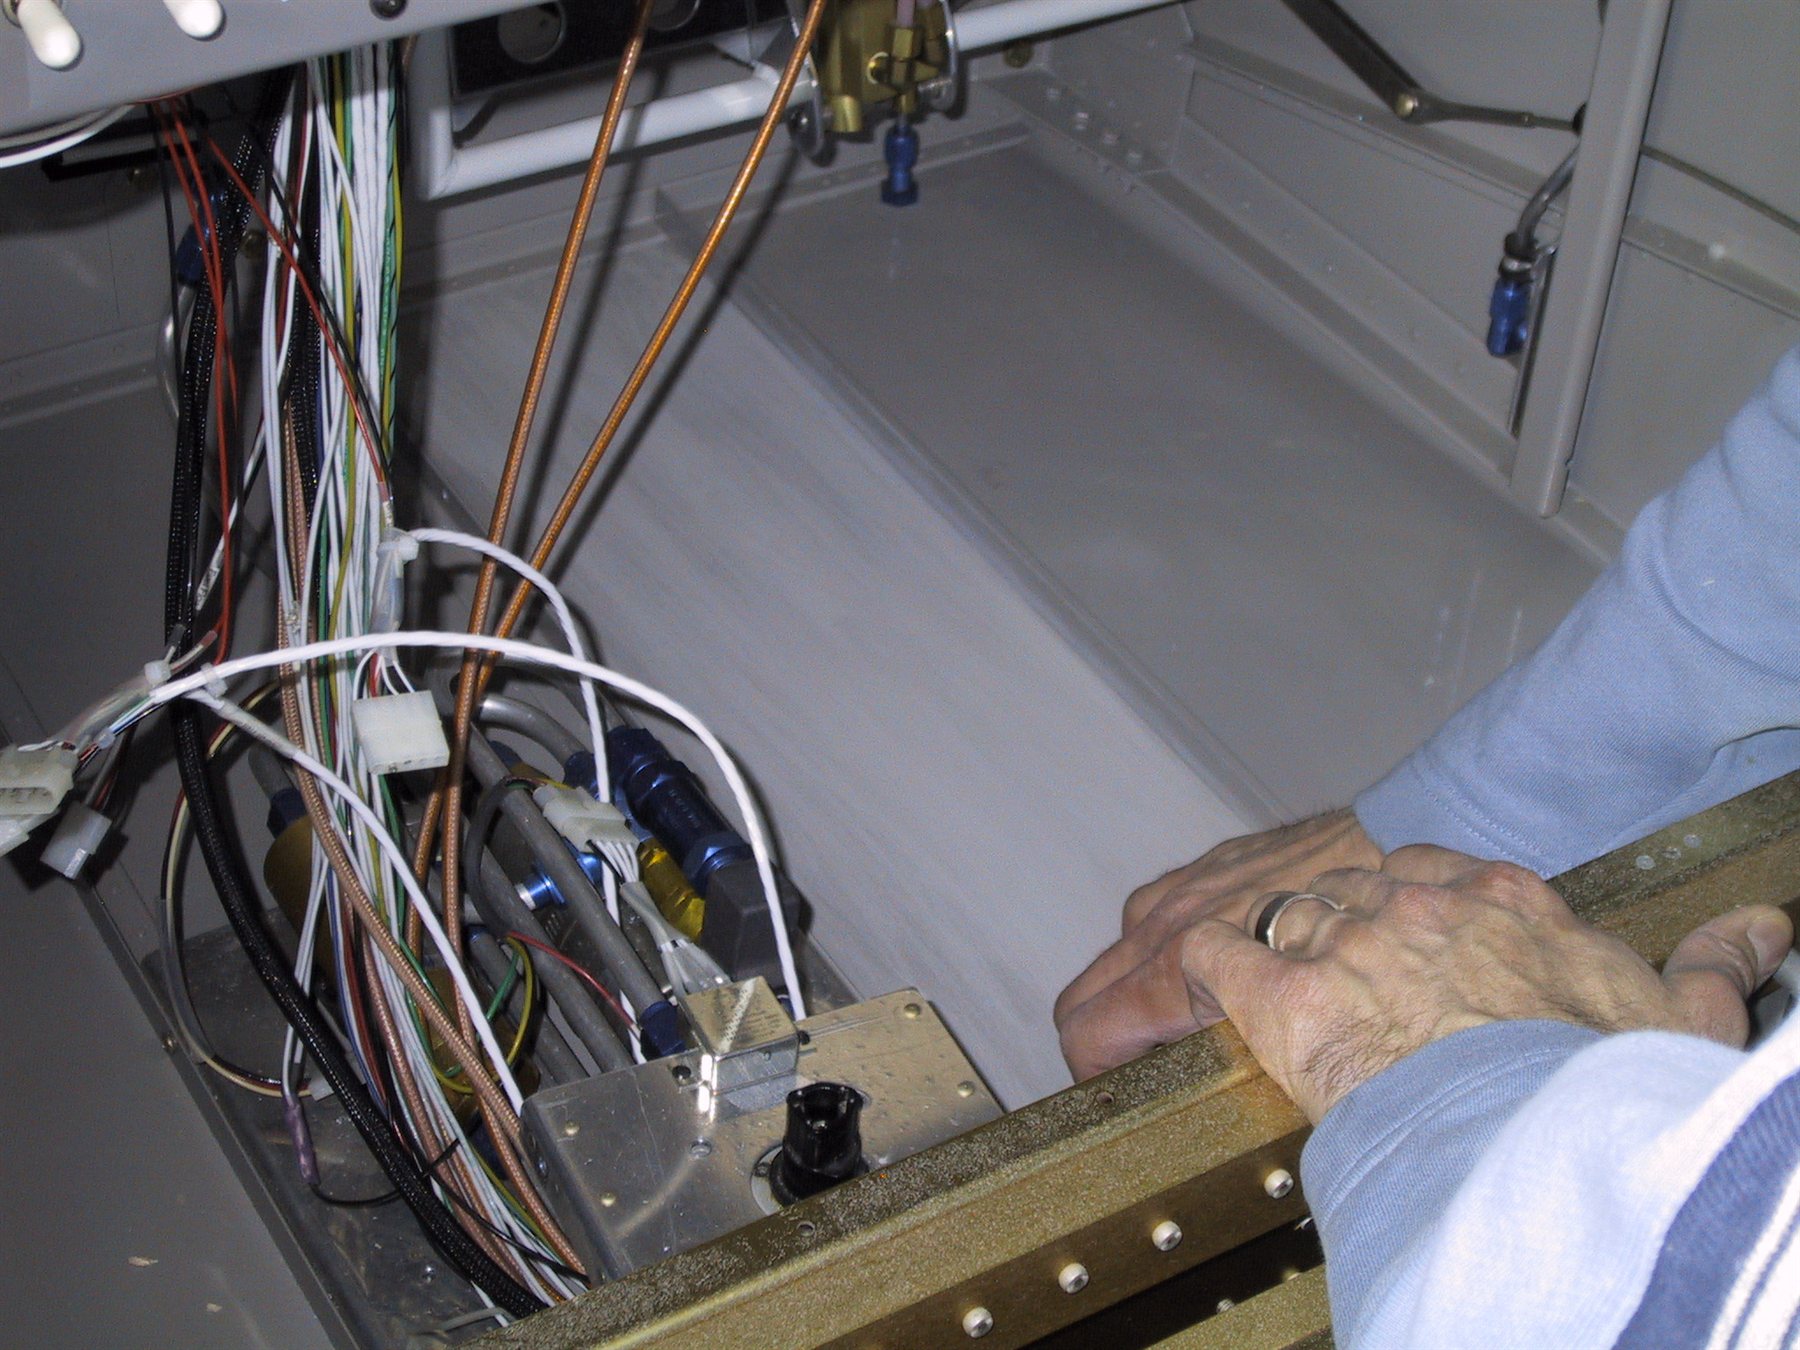
In order to get a good bond between the skin and the floor boards, Muggins here had to get in there and scuff it up with some P60 sand paper. That got it nice and rough. Plenty to key into for the resin. There was a lot of grunting and groaning coming from inside there aparently!
Here’s a good shot of the diffence between the abraded part and the still shiny part. I’m wondering why the hell we even painted these at this point!
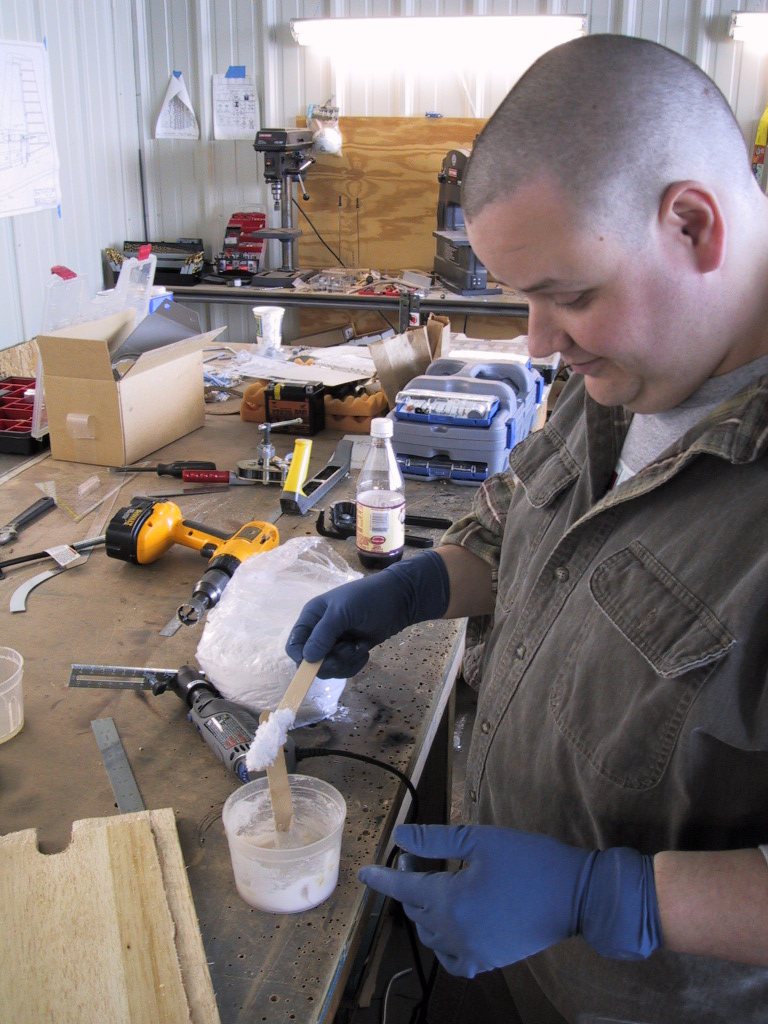
Where the boards come close to the floor angles, we mixed flox into the epoxy for a bit of extra strength. Here’s Clayton mixin’ it up. Don’t breathe in!
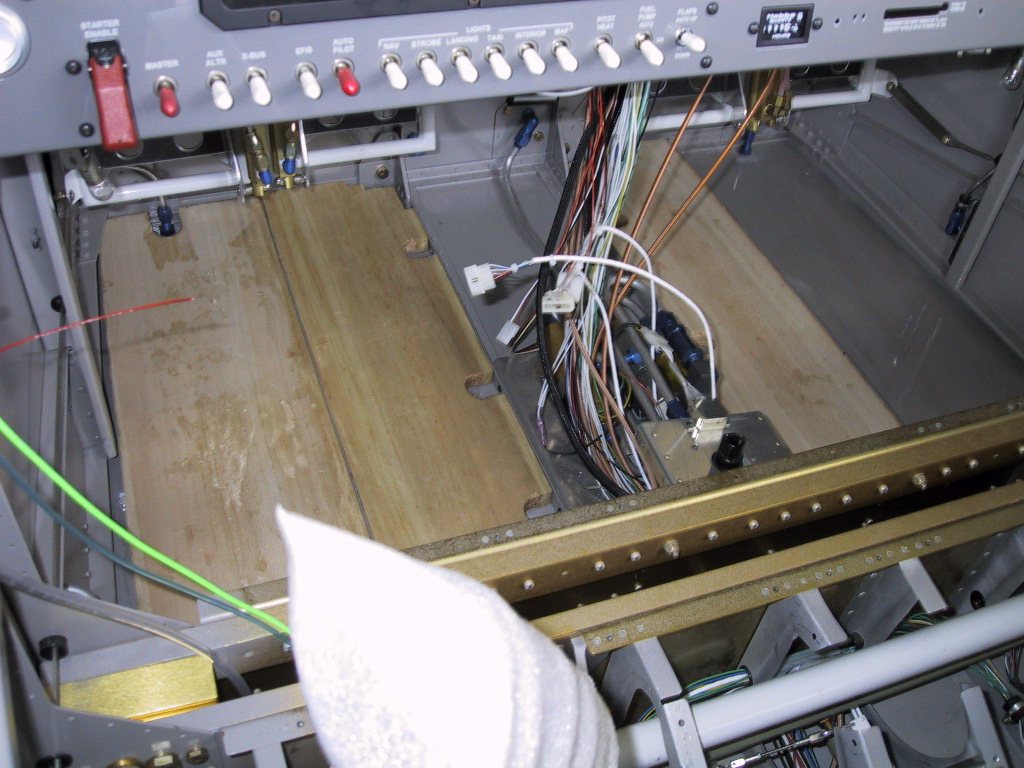
Here are three of the four boards epoxied in. We accidentally painted the wrong side of one of the boards before we put it in. Well, Clayton did! Can you guess which one?!
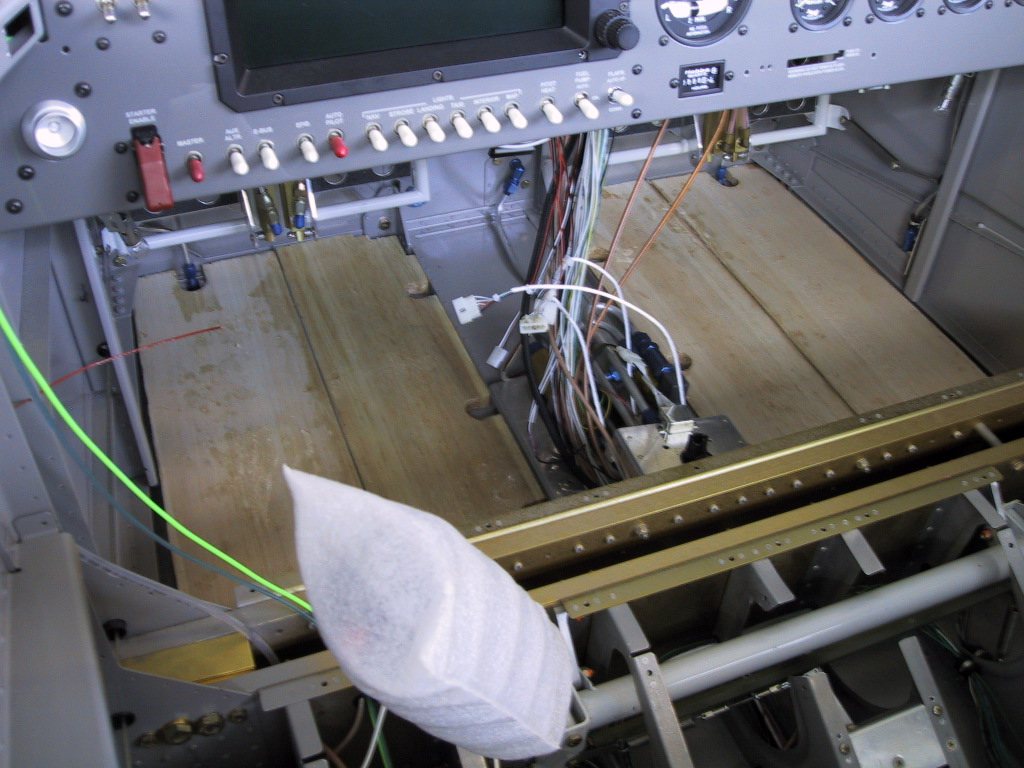
All four boards in position.
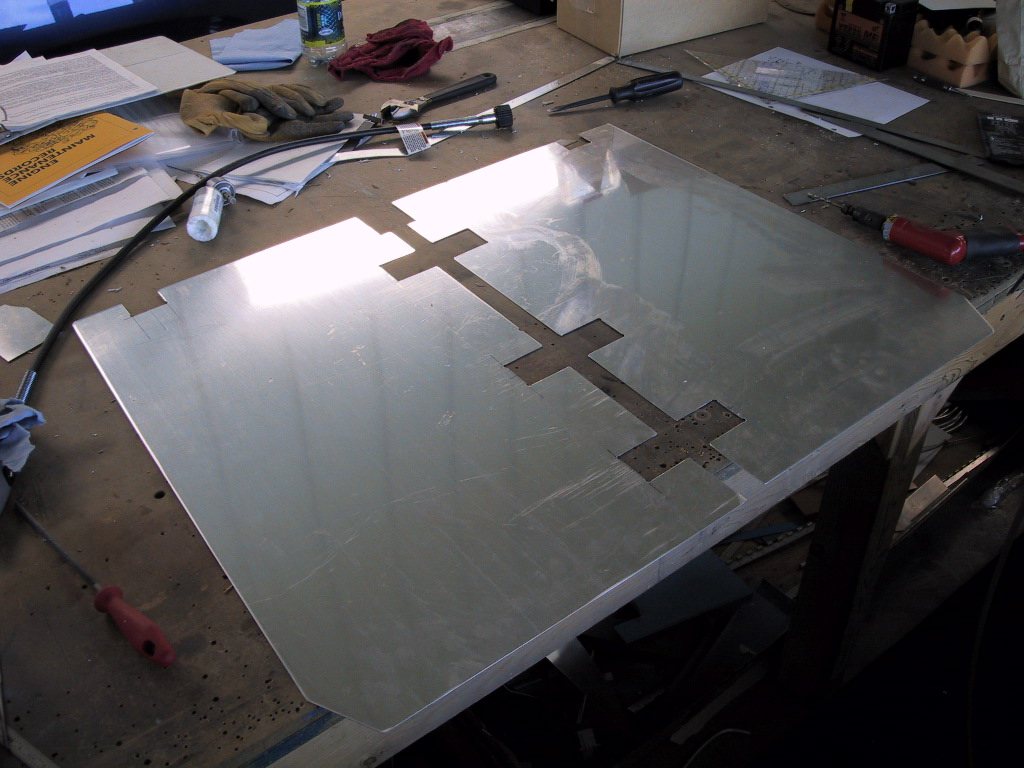
The next task was the top layer of aluminium. Balsa is pretty soft wood, so it really needs a skin to protect it from heavy heals and wear. This is what this skin will do. It doesn’t need to be very thick. I’d like to have used some 0.020", but I only had some 0.032" lying around, so we just used that. Here, we’ve cut it to shape and de-burred it.
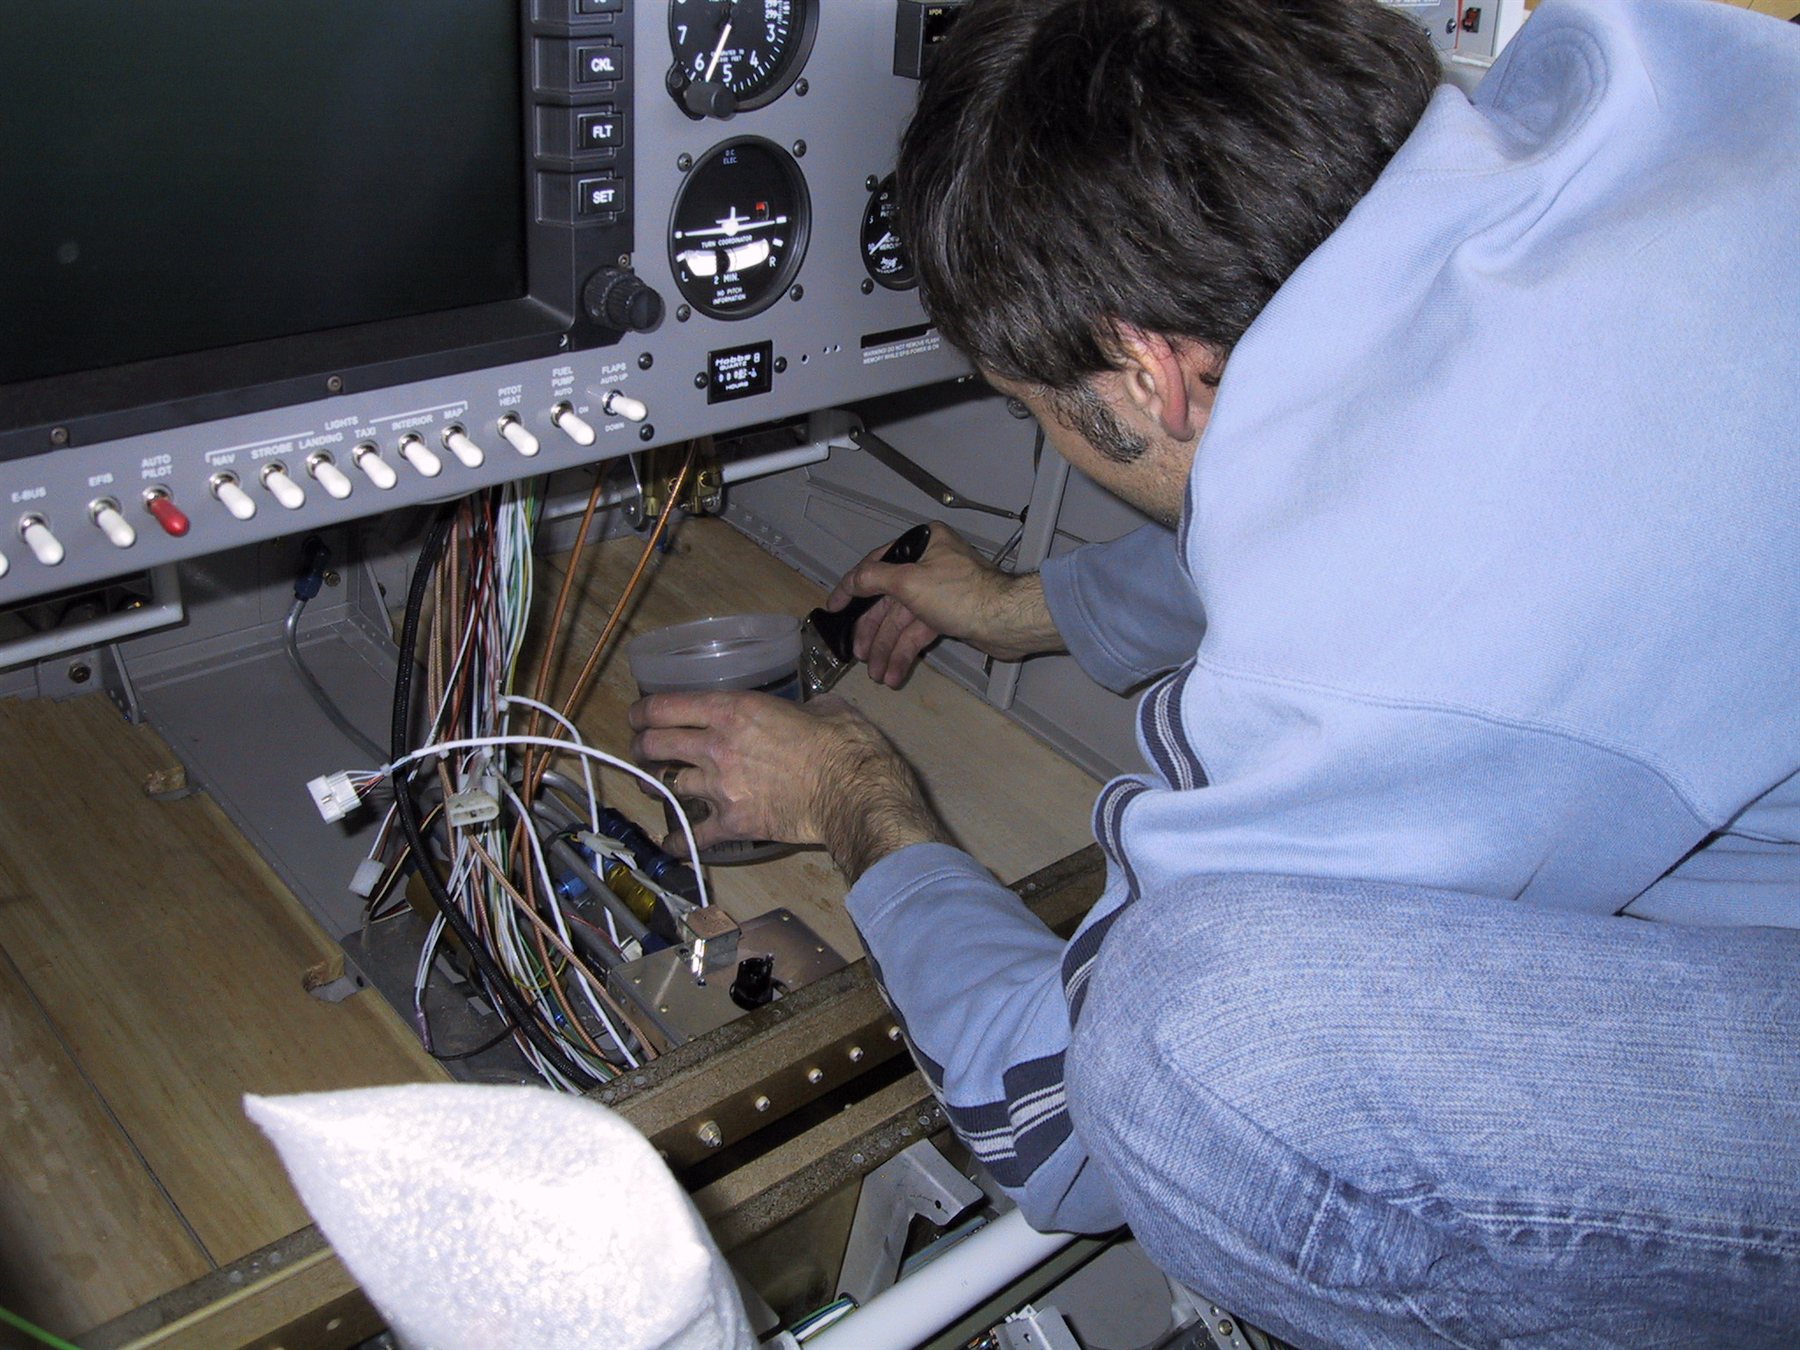
Here we go again inside the plane. I spent a lot of time in here today, contorting to reach all the nooks and crannies.
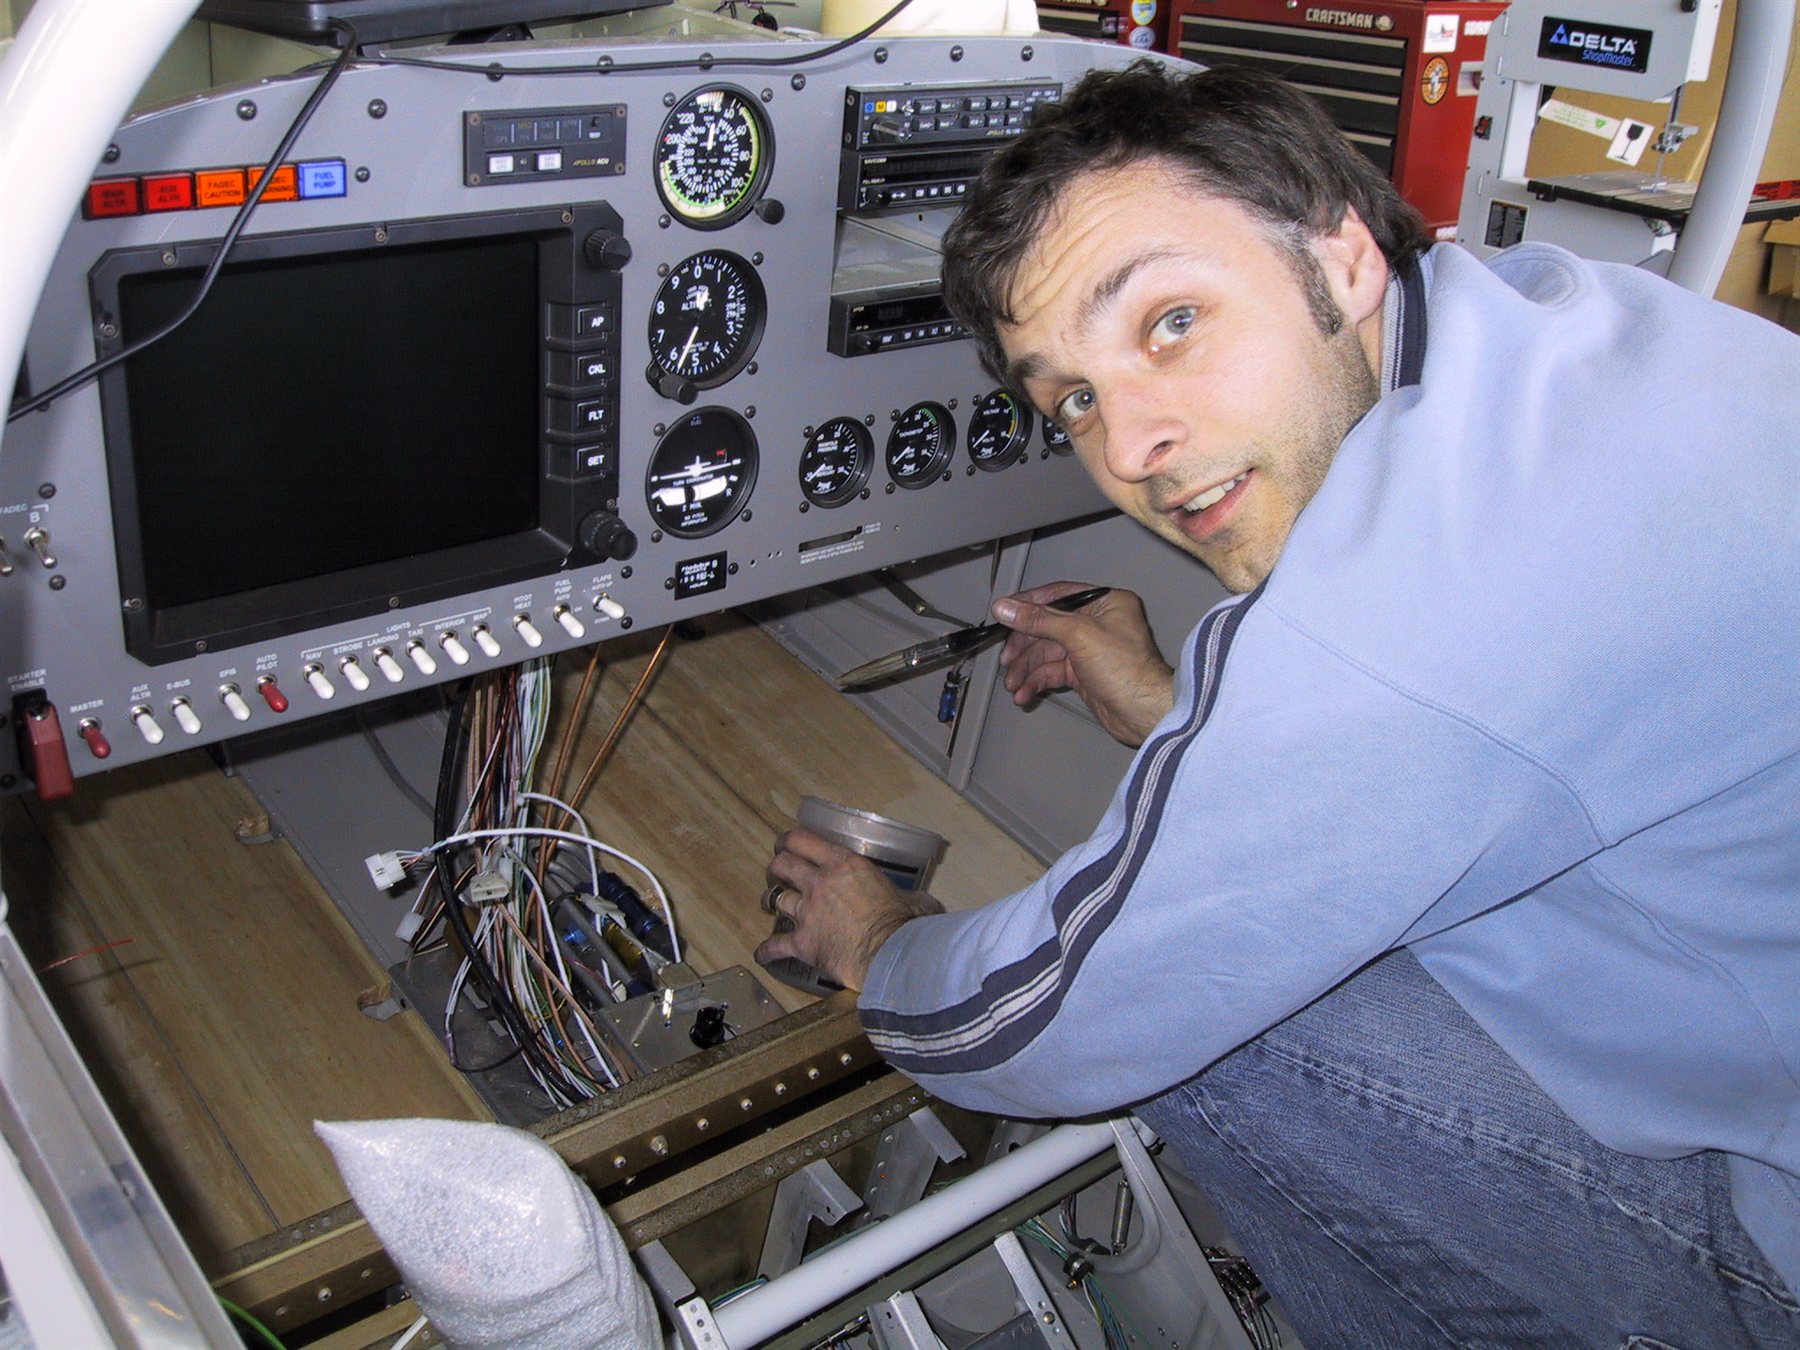
Ah, I mean aaaarrrghhh! I look like I’m enjoying it eh? Ha! I don’t think so!
Now I’m under there again, this time laying down the aluminium. Seems to be working out pretty good.
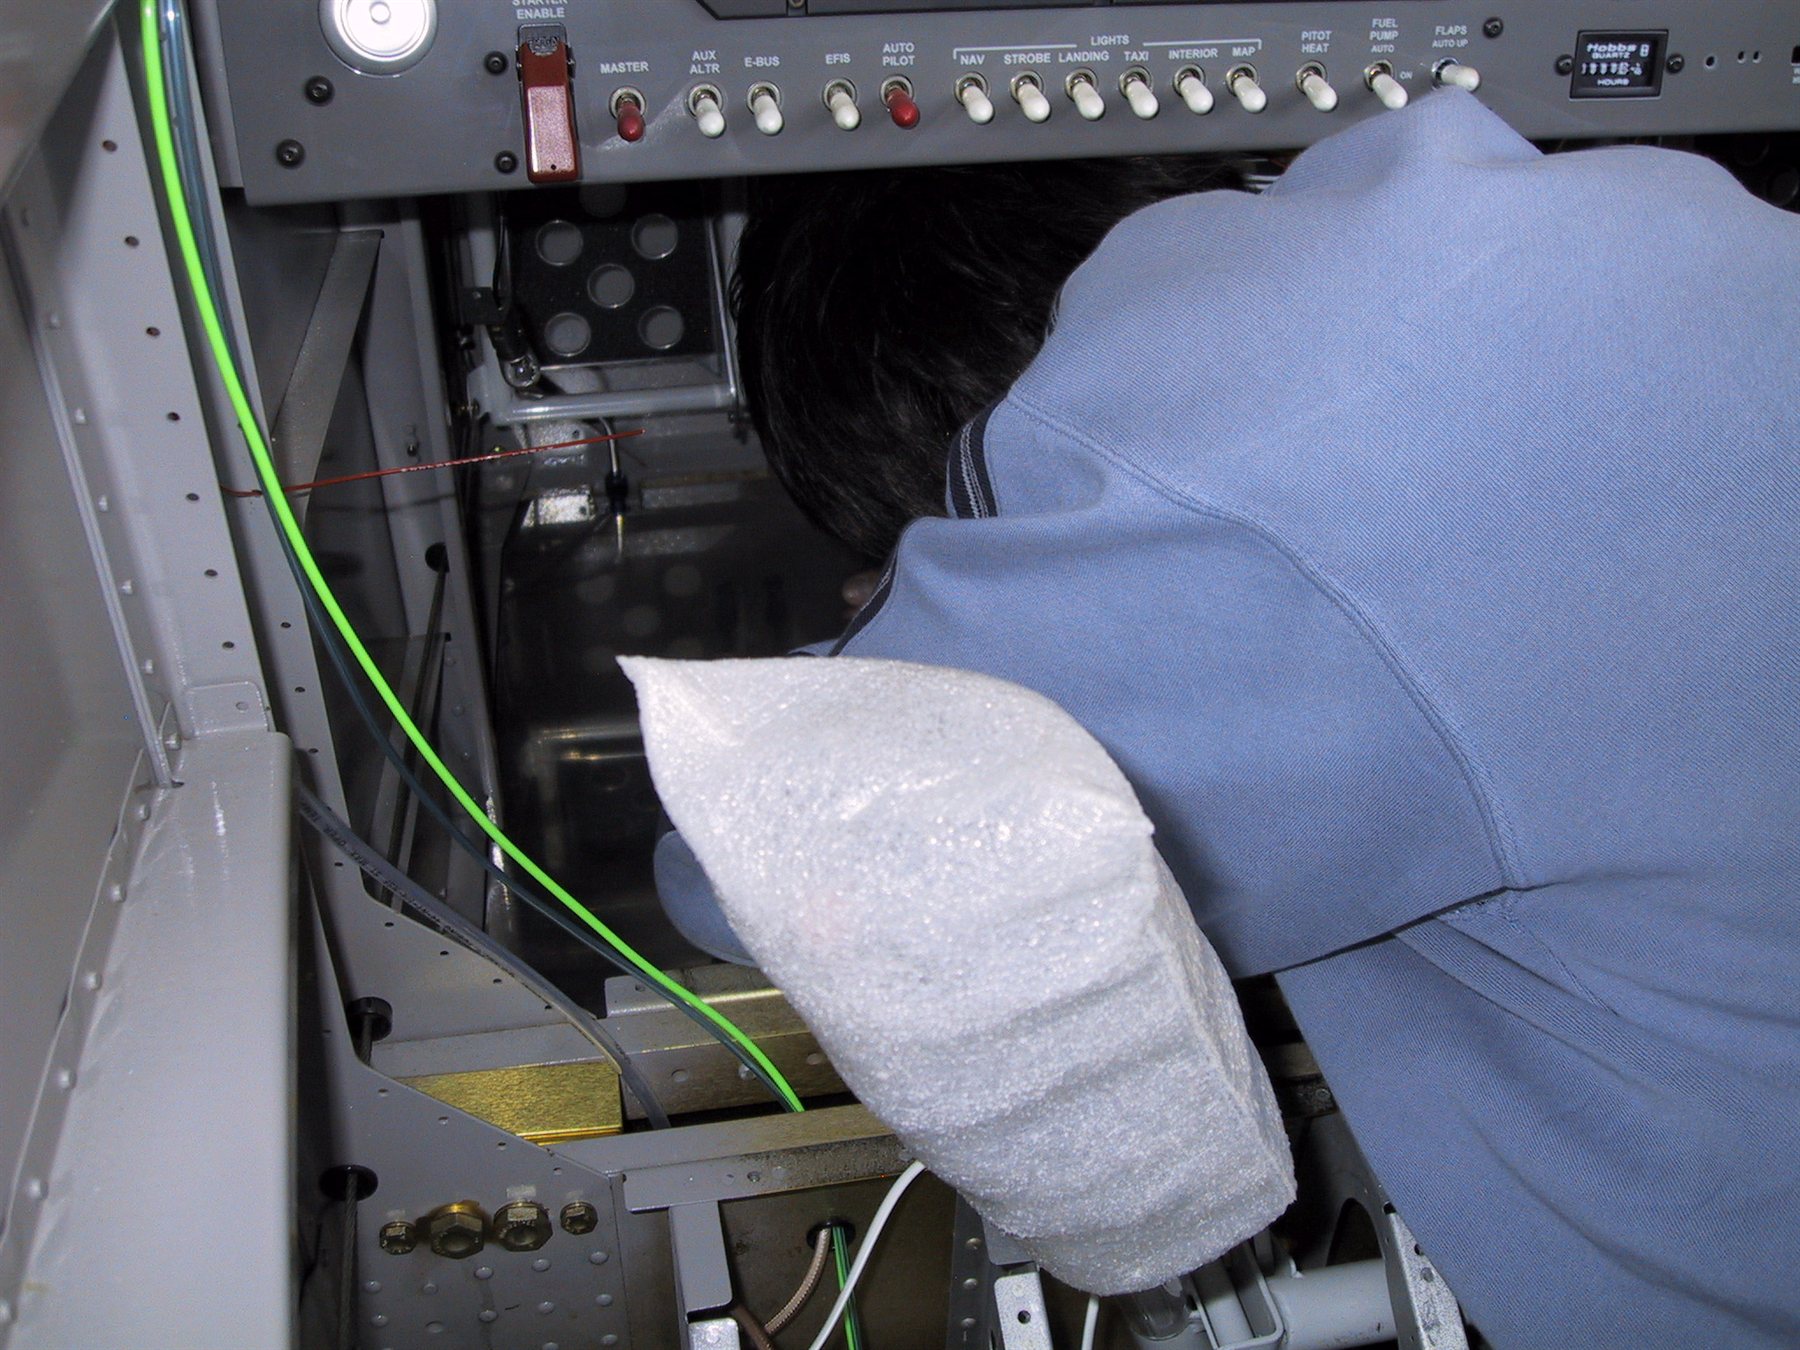
Squeeze all the air out. Shame it’s not see through.
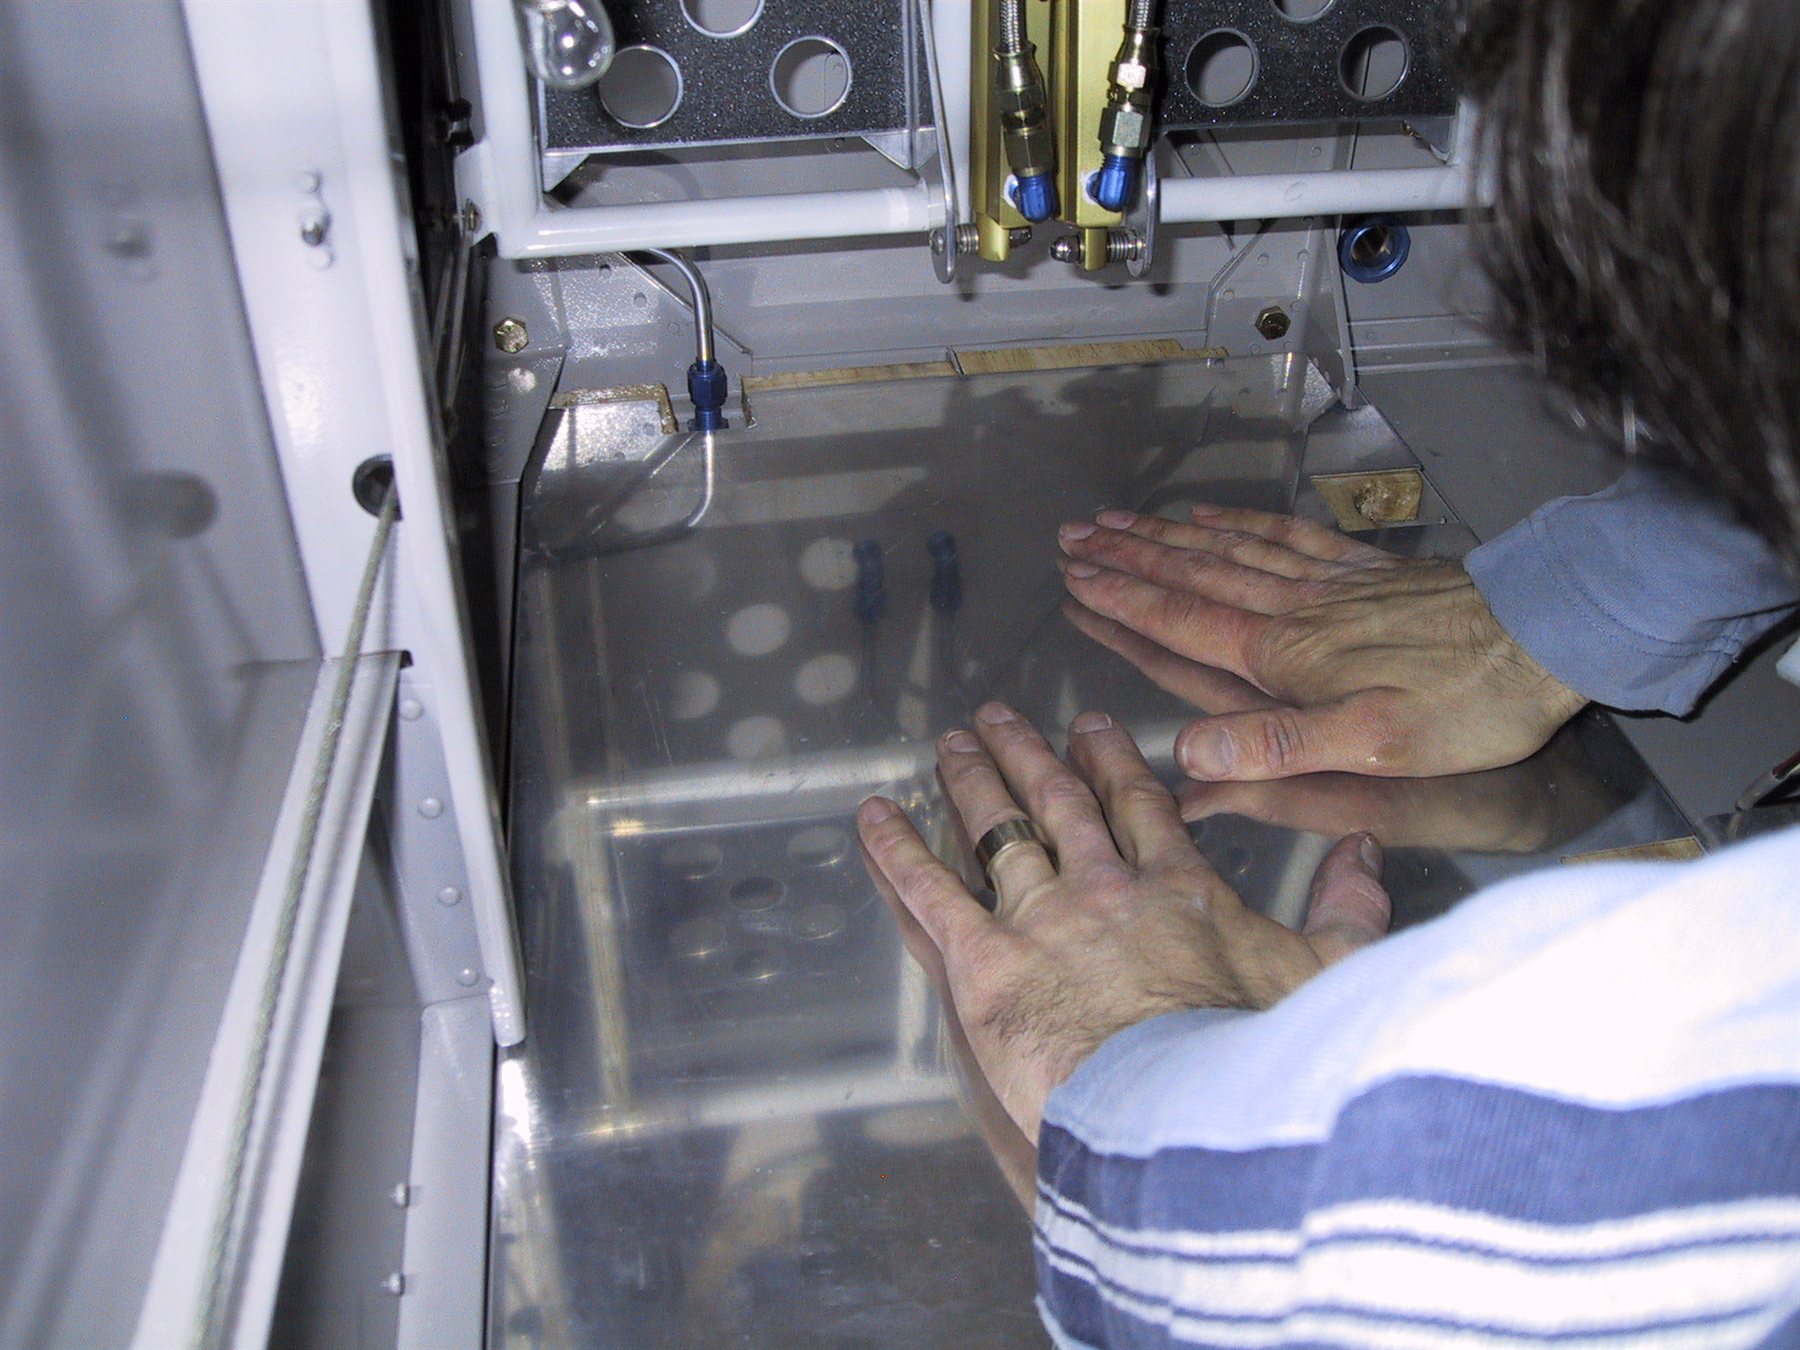
Both sides completed. Once we have carpet over all this, it’ll be perfect. Clayton went under the plane and knocked on the skin. All we got out of it was a dull thud. Seems to be working!
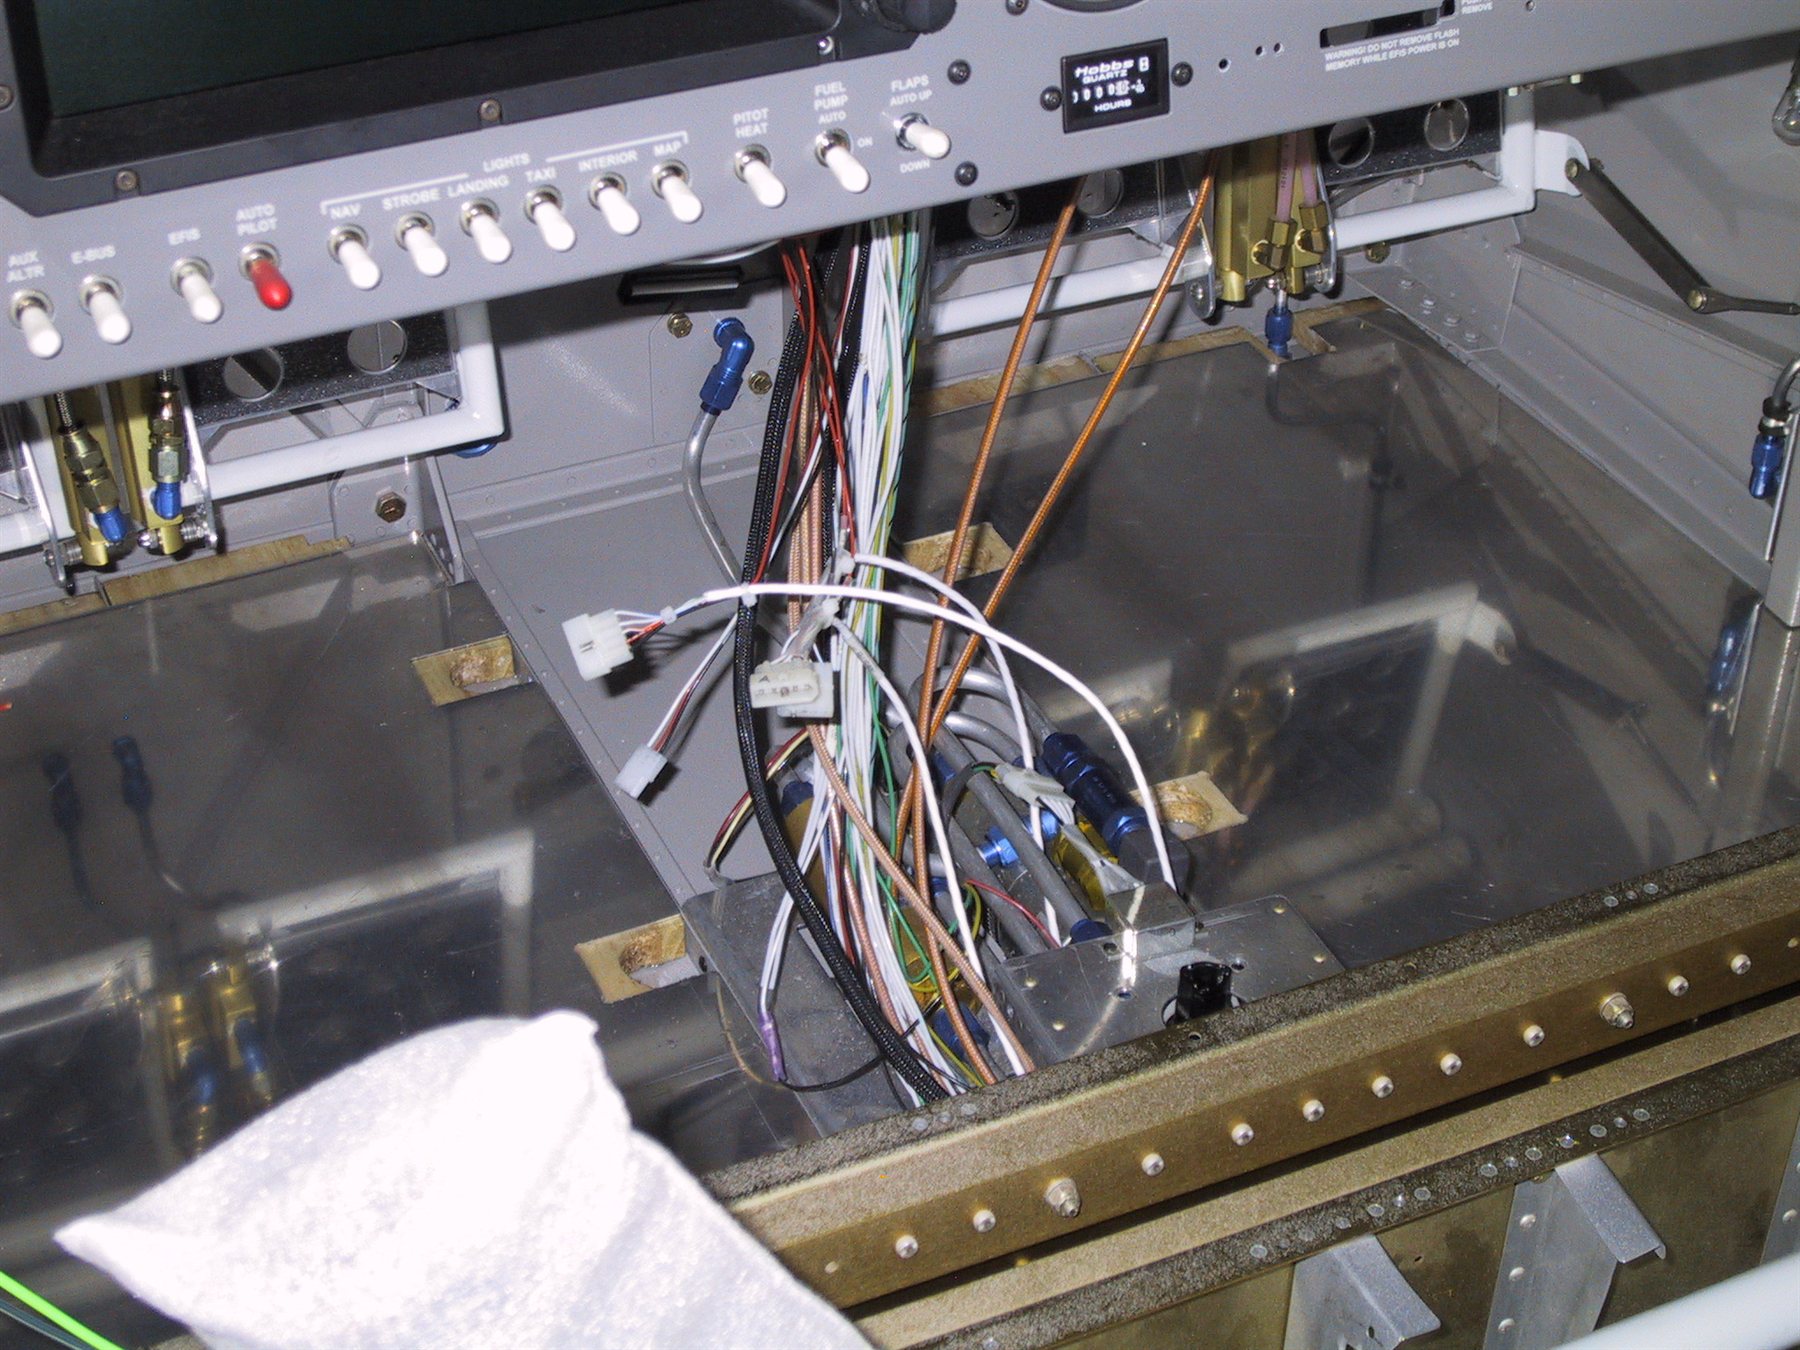
Now that’s out of the way, I can work on getting the centre console in through the week, and route the all important throttle and prop cables. It’s all on schedule for next weekend! I’m getting excited now for sure!