August 7, 2004
Thunder over Michigan was on at my home airport today. It’s on tomorrow too. Anna, Cameron and I had a quick look at the planes when we went down to find some food. It was pretty good. There were some Beech 18’s there!
I spent the whole day at the hangar today, and got a fair bit done. My first task was to wire the turn coordinator. Now I have the cannon plug from Aircraft Spruce. Second task was to start mounting the AOA indicator. So, using the template, I made the cutout. Unfortunately, I forgot the camera again, so I brought the panel home with me. I had to remove it for the next tasks….
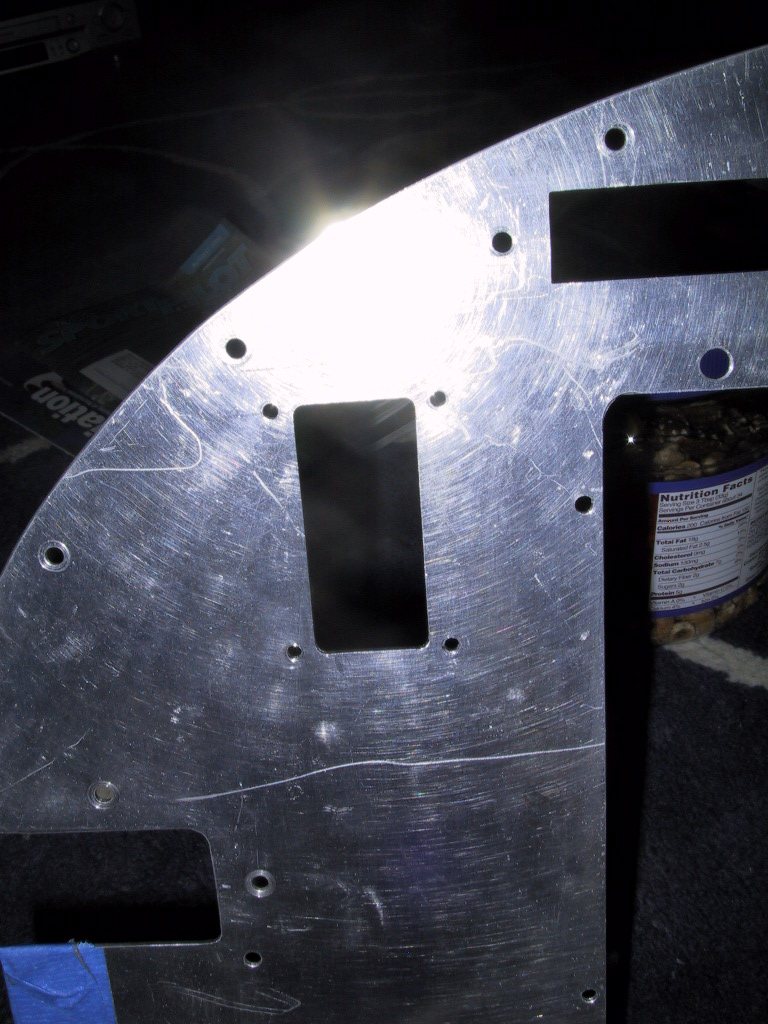
So, here’s the panel cutout… The template was a little on the thin side to be really effective, but it worked out OK. The indicator fits really nicely. I know you’ll have to take my word for it! The AOA indicator is quite wide behind the panel, and unfortunately, the EFIS 1 display is wider than the screen and bezel on this side too! So, that meant the spacing wasn’t as close as I’d have liked. Still, it looks good. I’ve been VERY fussy about the way our panel looks. Mike and Cameron have been joking about me taking so long to do things, but even they like how it’s turning out! Sorry about the flash blinding!
Next, I moved on to the glovebox area. I wanted to start getting the panel to the point where I could install all the radio trays and glovebox and wire in the avionics stack. This is where the bulk of my time went…..
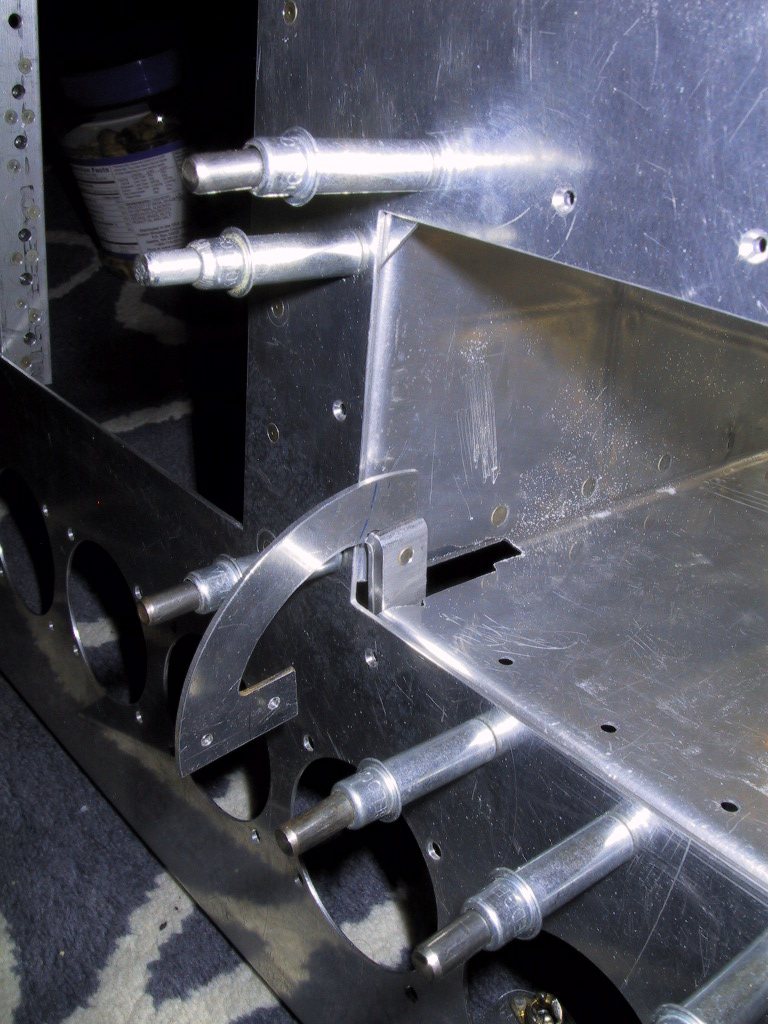
Like I said, I’m fussy about the way the panel looks, and the way the glove box door opens is not very pleasing to me. It’s simple and straightforward for sure, and some people like it that way. What I did admittedly was a WHOLE bunch more work. I designed hidden hinges, using a piano hinge behind the panel.
Here’s a shot of what the assembly looks like behind the panel. Making the arc just over 90 degrees gives a nice door opening angle, and clears the engine instruments below. In order to get all this to fit well, accuracy was key. That’s why I used pieces of angle and 0.63", rather than just bending up some sheet. As it happens, it looks like I could’ve got away with smaller hinge arcs!
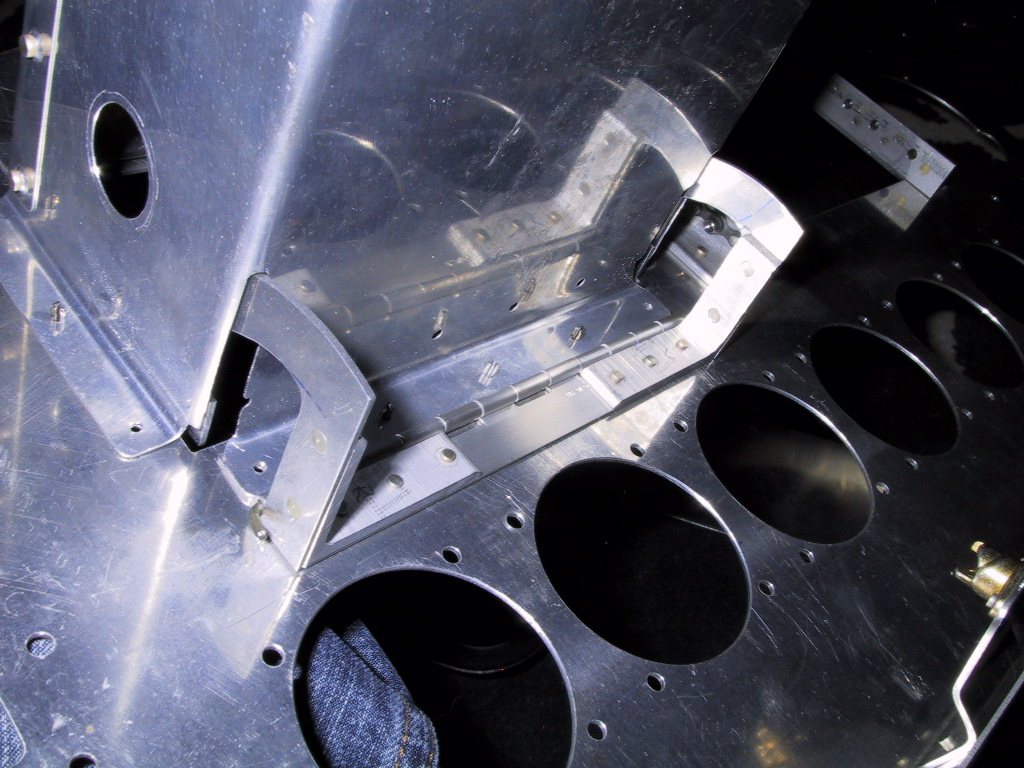
This shot shows the inside of the glove box with the hinge in the closed position. There will be a 1/2"x1/2" angle riveted to the hinge and the glove box door. The slot has to clear the hinge mechanism, and seems flimsy at first, but when the glovebox is on the panel it’s pretty rigid. In the top corner of the glovebox, you can see some small stops for the door. This will ensure it’s spaced correctly to the panel.
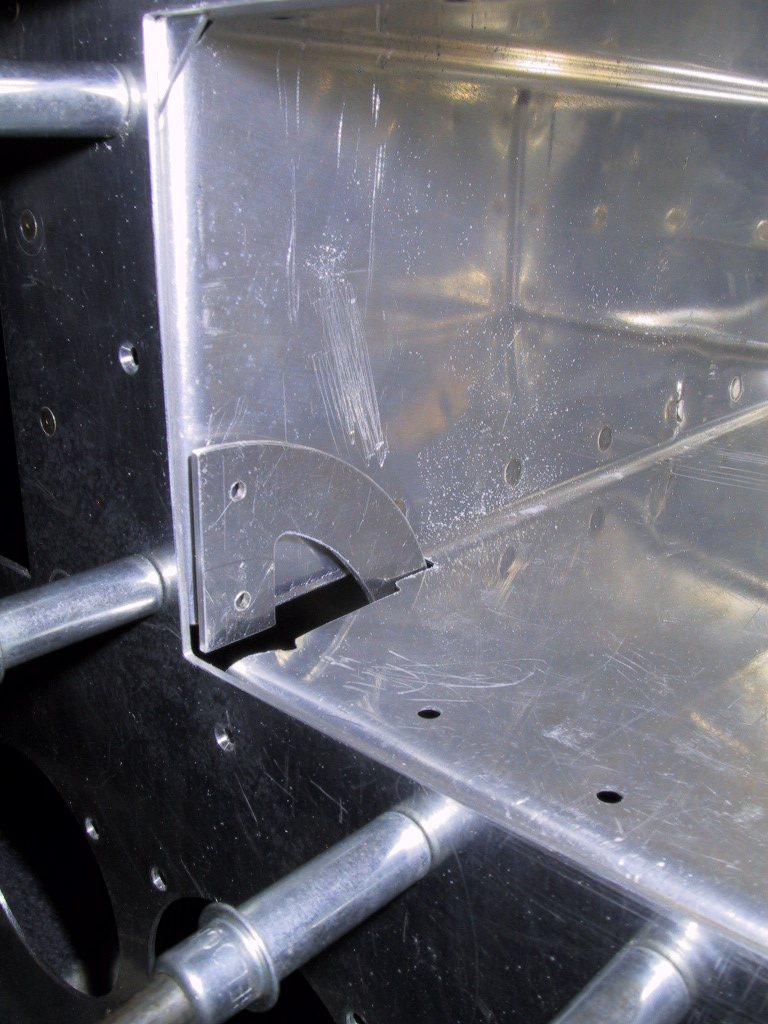
The hinge in the open position. Now you can see where the door will stop when fully open. It appears my biggest issue will be how to rivet all this lot together and figure out the best way to paint it all. I want the hinge mechanisms to be flat black. The glovebox will be lined with heavyweight black Ultrasuede (synthetic suede that does not fade or stain). I’ll also be using this material for the glareshield. Ideally, I’d like to suede the interior of the box before riveting it so that the ends tuck down between the panel and the box. You may notice I used countersunk rivets in there too.