


May 4, 2005
Well, I decided today would be the day to paint the panel! I got to the hangar, cleaned everything down with wax and grease remover, and mixed up some paint. The paint we’re using is a PPG Concept, in Pennine Grey, the Pennines being a mountainy area that runs down the middle of Northern England. Basically where me and Dave grew up. I figured the colour to be quite appropriate. It also matches the darker fabric on our seats.
All in all, I’m astounded by how this all turned out tonight. It’s nothing short of amazing, apart from a small area. The panel is shining! No orange peel at all! Sweet! The top coat is a lot easier to lay on than the primer. I sprayed on a light mist coat, waited for it to flash off and then put on two more coats to get some good coverage. I didn’t lay it on too heavy, because this paint has a habit of pooling up around holes and edges. It pooled a little, but by the time it had cured, the pooling had all but gone.
I’ll be wet sanding this anyway, to make it perfect, and then I’ll apply the lettering, then I’ll be clear coating it with a flatting agent to get a nice satin finish.
Here are some pics!
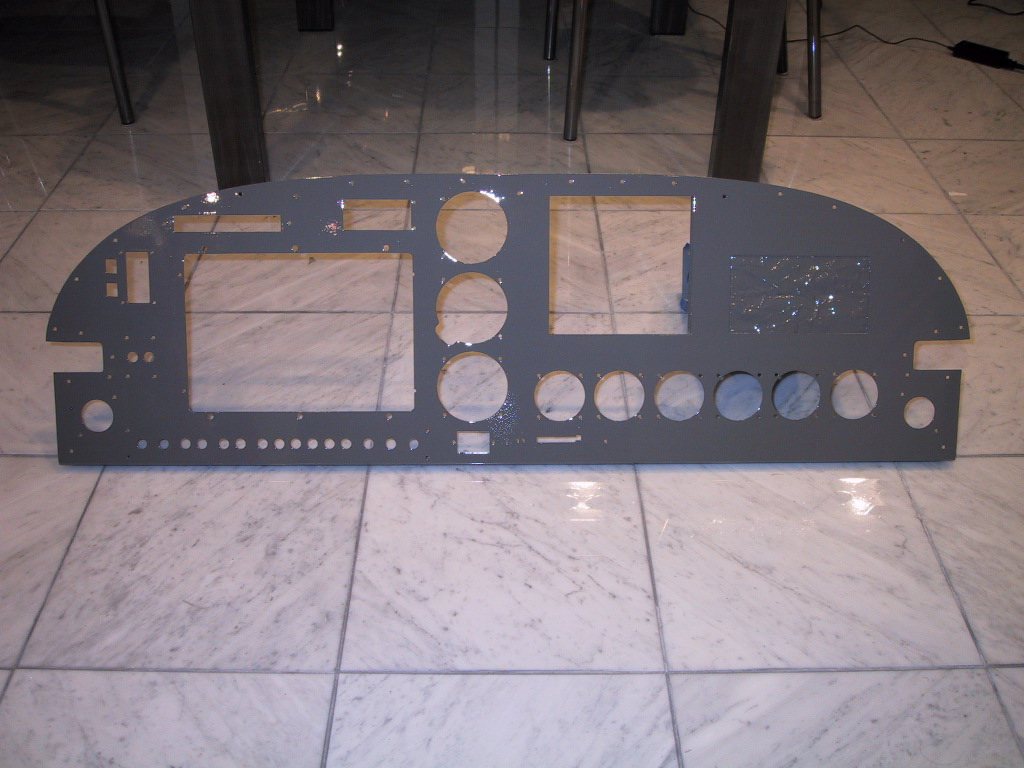
This is the complete panel. You might be able to spot the area I had a problem, down to the right of the lowest 3.125" hole for the turn coordinator. For some reason, by paint gun gave a huge splutter and all the lumpies appeared. I started painting from the top of the panel, and it was all going so well. Then that. Well, you can probably imagine the cussing!
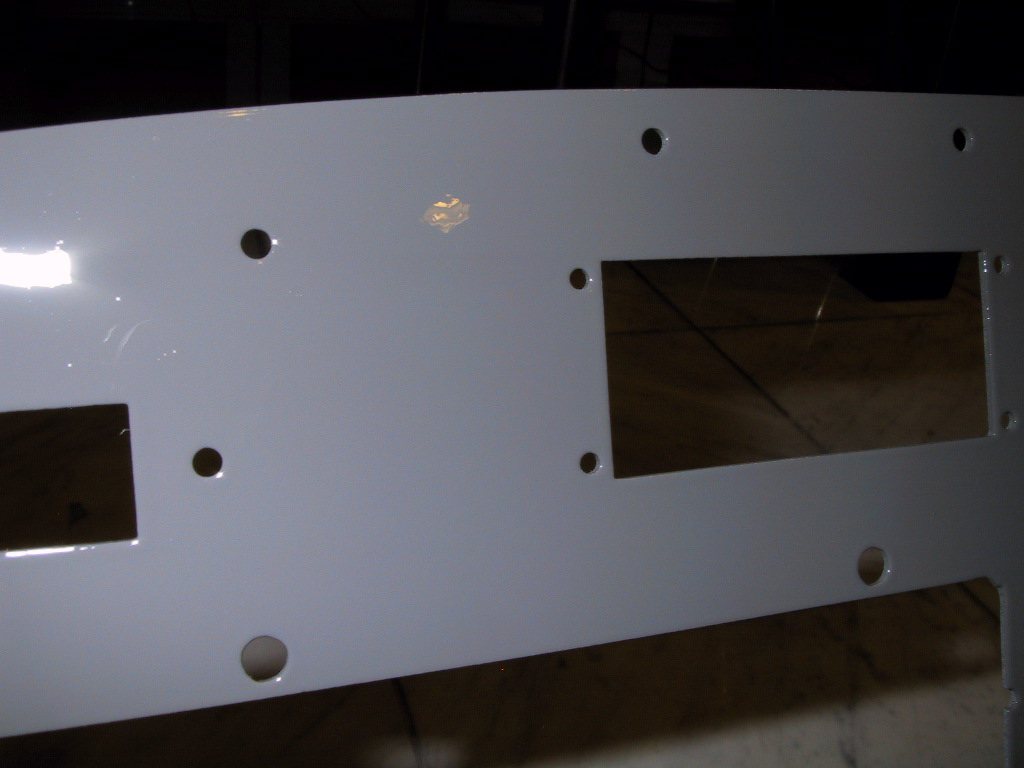
Here’s a shot showing how smooooooth and shiny it is! The bright white rectangle is the flash from the camera. Just to the lower right of the flash, you can see the lens of the camera too!
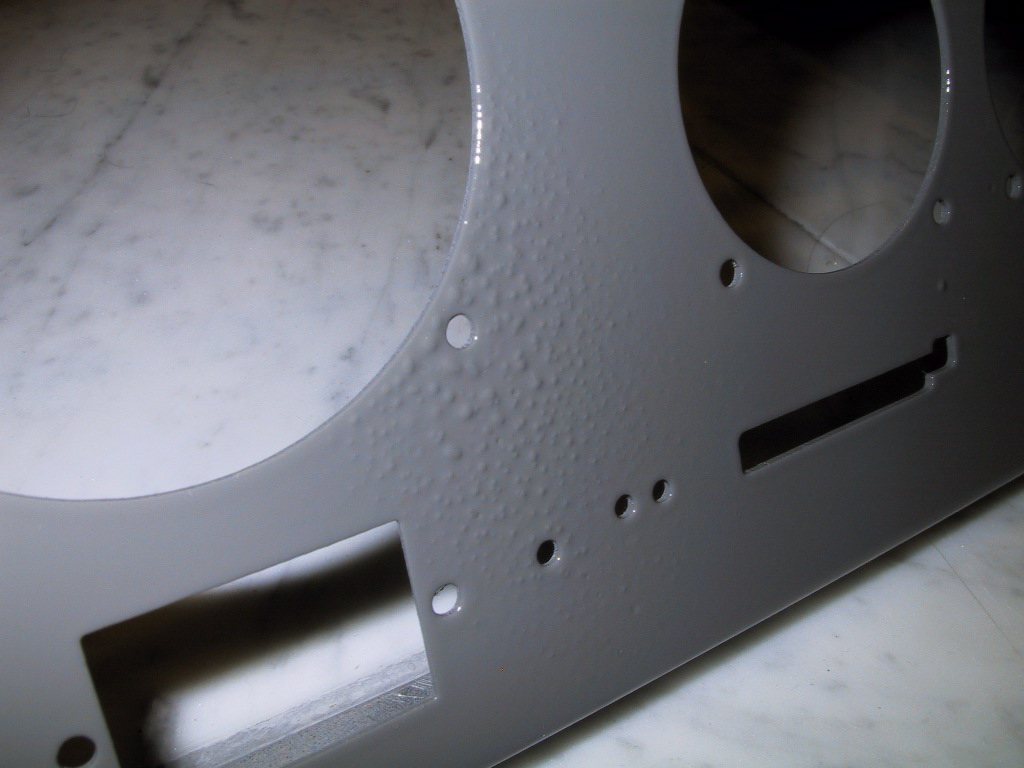
And in this shot, the nasty bit. Ugh! I was not happy at all when this happened. I figured best to carry on painting and sort it out when it’s hardened off. It’s nothing a bit more wet sanding won’t fix. I’m getting really good at wet sanding!
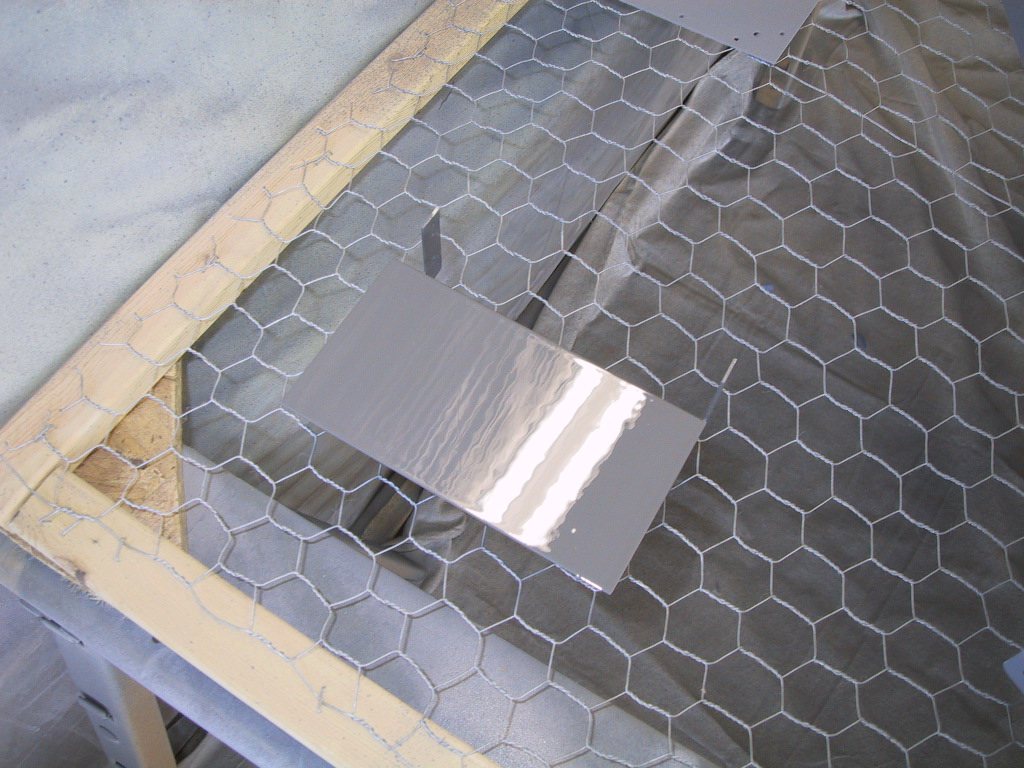
I shot the glovebox door too while I was at it. It came out well too! There was a fuzz in it from somewhere, but that was all! I have a newfound confidence in my painting skills!
5/7/2005 4 Hours
Today, I spent some time wet sanding the panel to remove the imperfections that were in it from the first colour coat. The worst bit was the acne area, and I basically had to go back down to primer to fix this, so it was quite a sanding job. I used 400 grit to take off the bulk of it, and since I’m going to paint again, 400 would give a nice key for the next coat. I also wet sanded the glovebox door.
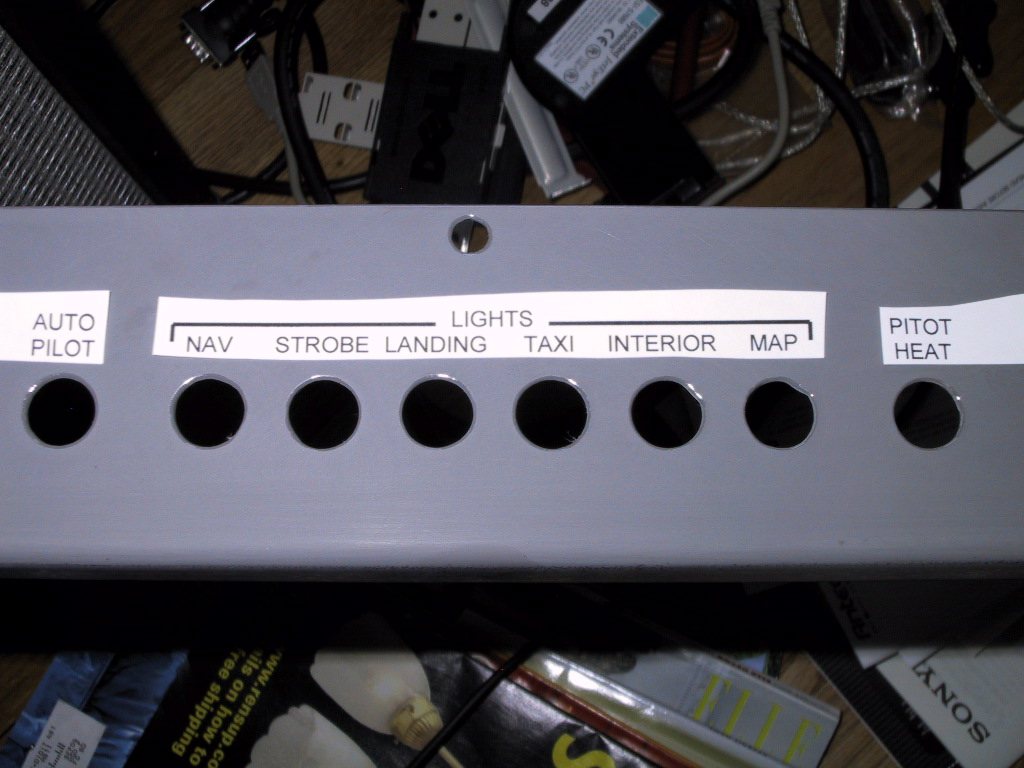
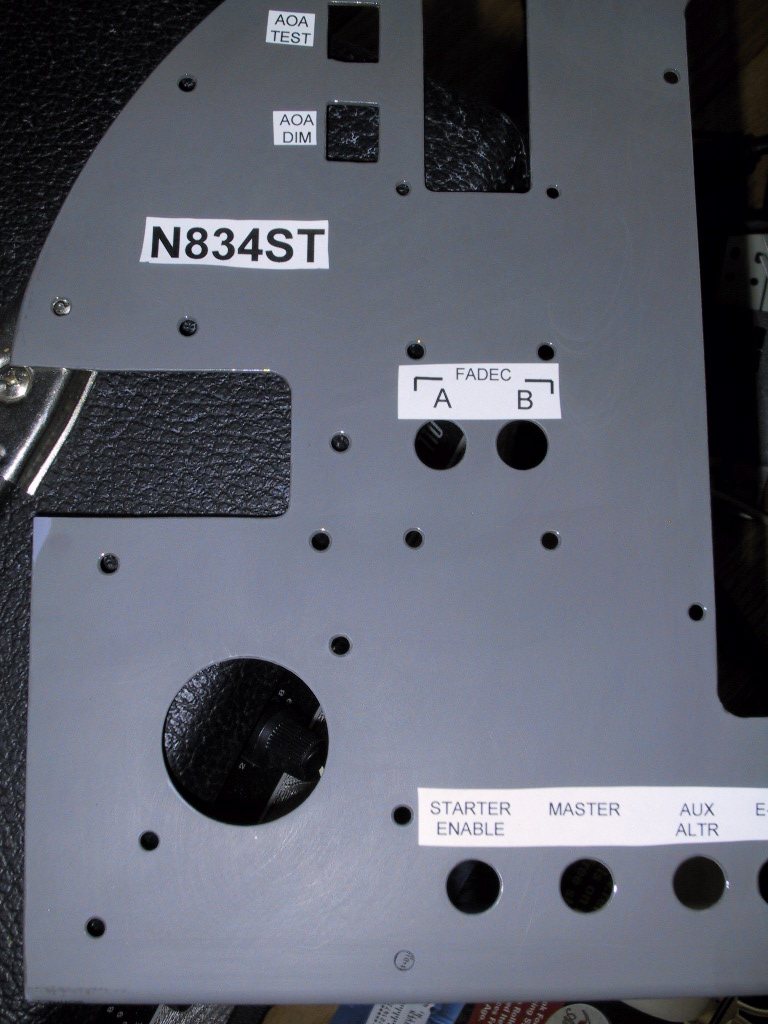
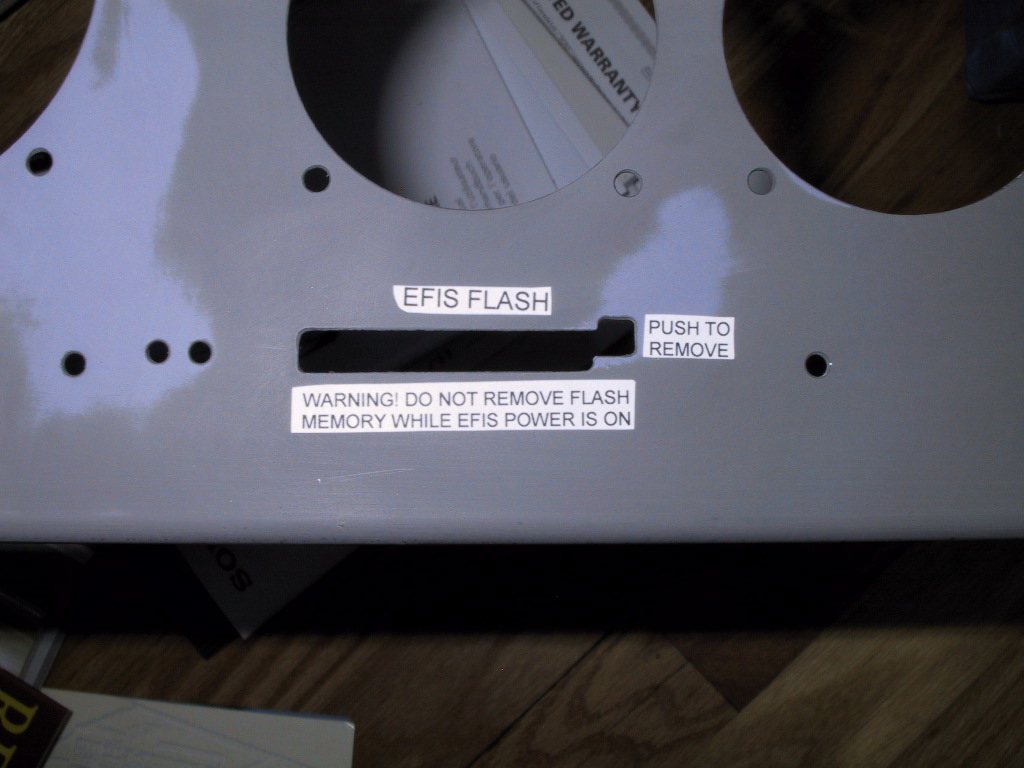
The bulk of tonight was spent figuring out my lettering. I wanted to try the rub down letters, but my biggest issue was how to get everything located perfectly. I felt like I may not have too many chances to get it right, especially for things like the passenger warning placard where I wanted to space it all nicely and fit it in a rectangular box. Anyway, I decided to go ahead and do the custom Letraset sheet. It’s $75, but it’ll be worth it. I opened up Microsoft Word, and started formatting. Here’s what my sheet ended up looking like.
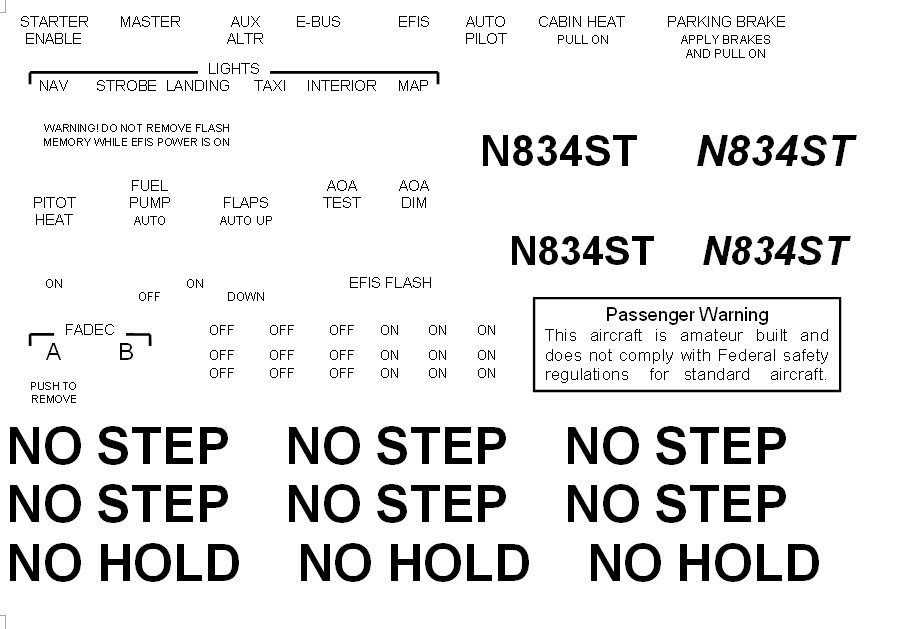
Using tabs and text boxes, I got everything to line up perfectly with what is on the panel. All I need to do now is send the sheet to Letraset and have them make the rub down transfers. I did a few spare ons and offs for the hell of it. Here they are cut out and laid on the sanded panel.
5/8/2005 6 Hours
Today was hangar day. I had a few tasks lined up to get through to make some progress. The first task was to paint the panel again with a final colour coat. I cleaned it off with wax & grease remover, let it dry and then shot the heck out of it. Turned out nice! No acne this time.
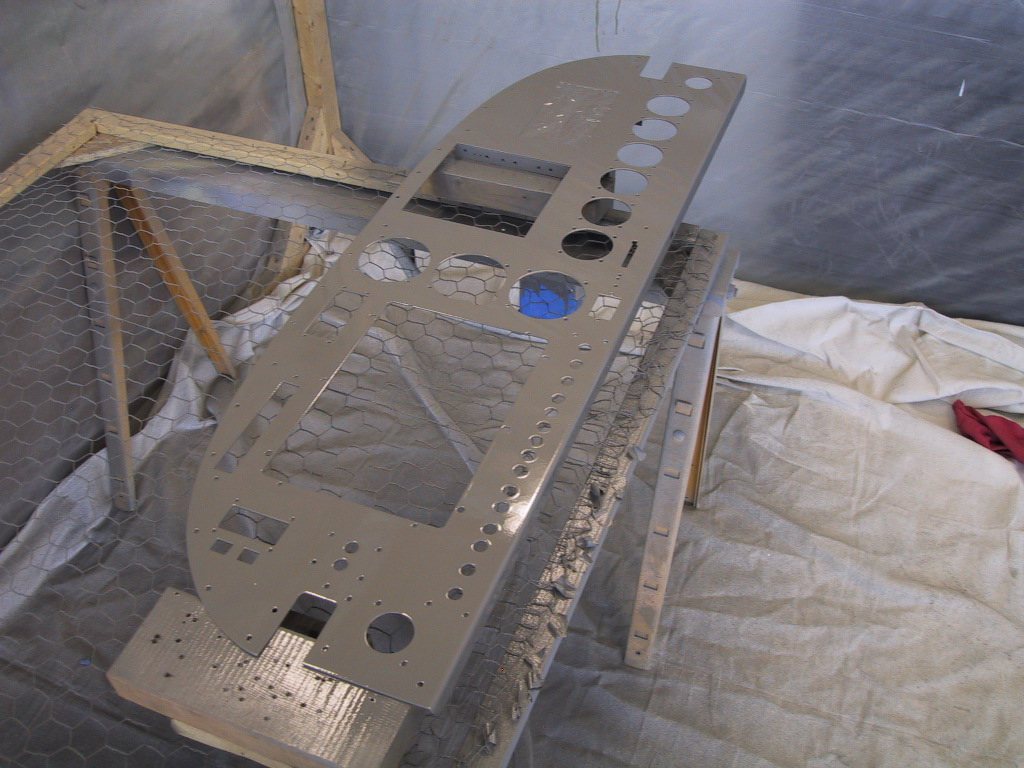
Here’s the glovebox… It’s pretty shiny isn’t it? Shame I need a satin finish!
While this lot was drying, I did a bunch of other stuff.