


July 4, 2005
We were in Chicago this weekend for the 4th of July celebrations with the in-laws. We had a great time. Our Cousin Jack lives on the lakeshore on the 30th floor of a high rise, and the view of Chicago is awesome. We could see so many fireworks from up there! After arriving back home today, I pressed ahead with the panel. Since it’s a holiday, nowhere is open where I can do some laser printing for the transfers so I couldn’t do that today.
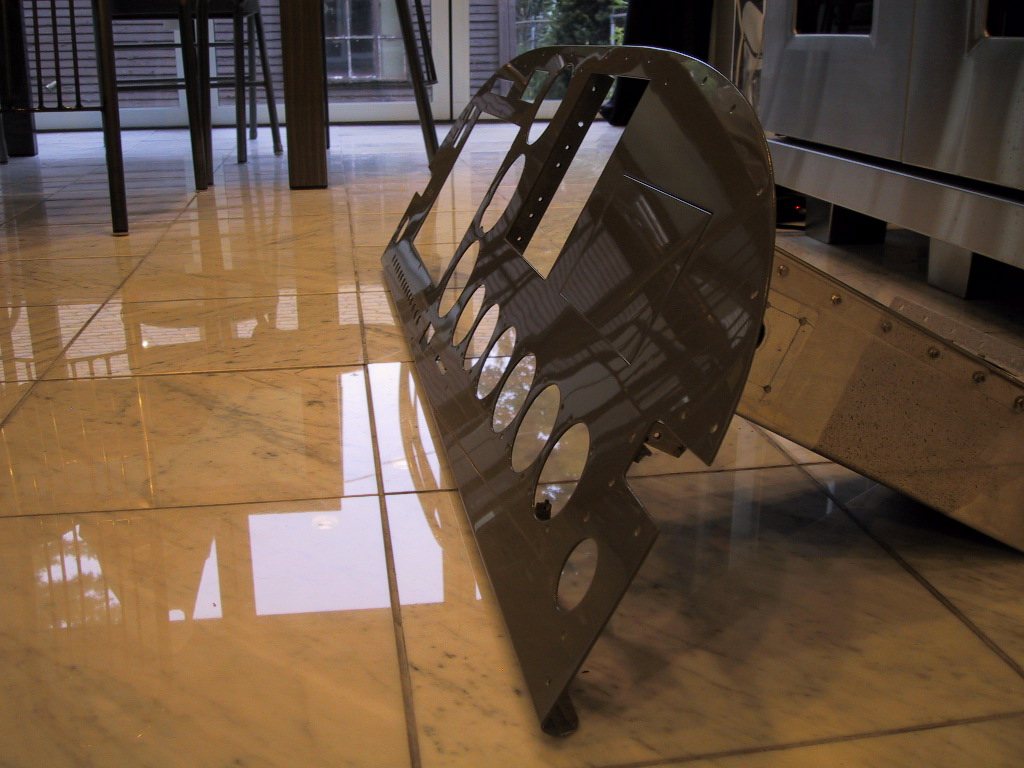
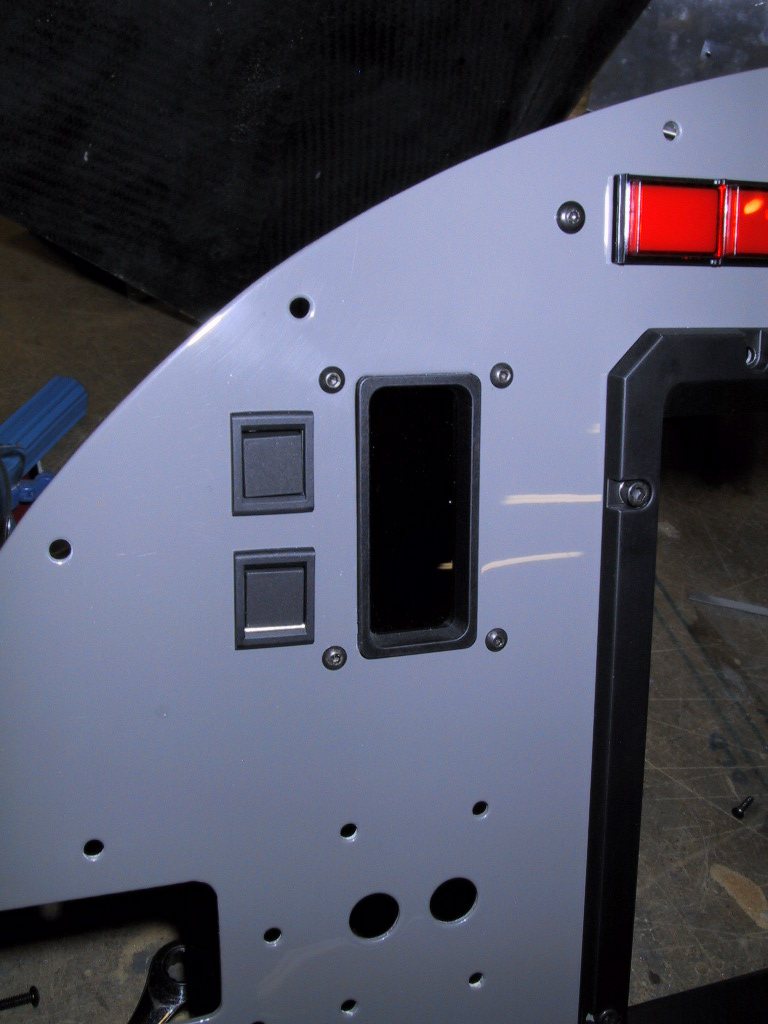
I buffed up the panel to a nice shine. Here, the glovebox door is just lying in position. I think this picture more accurately shows the colour of the panel than any of the shots with flash. It’s a nice warm grey.
Then I went down to the hangar to work on it. I needed to put the glovebox door back in properly and make a handle for it so we can get it open! I had a sweet idea for a handle…. An aerofoil shape complete with little rivets…
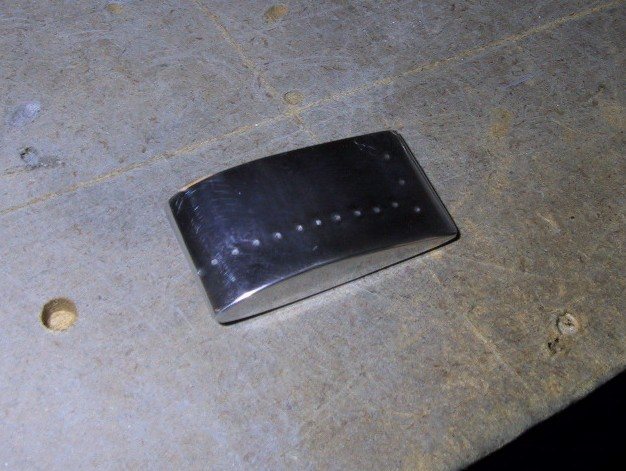
I’ll tap two 4-40 holes in the back of this to attach it to the glovebox door. Then the inside of the door will get some of the flocked paper to hide everything and finish it off nicely. I haven’t done this yet, as I need a drill bit the right size.
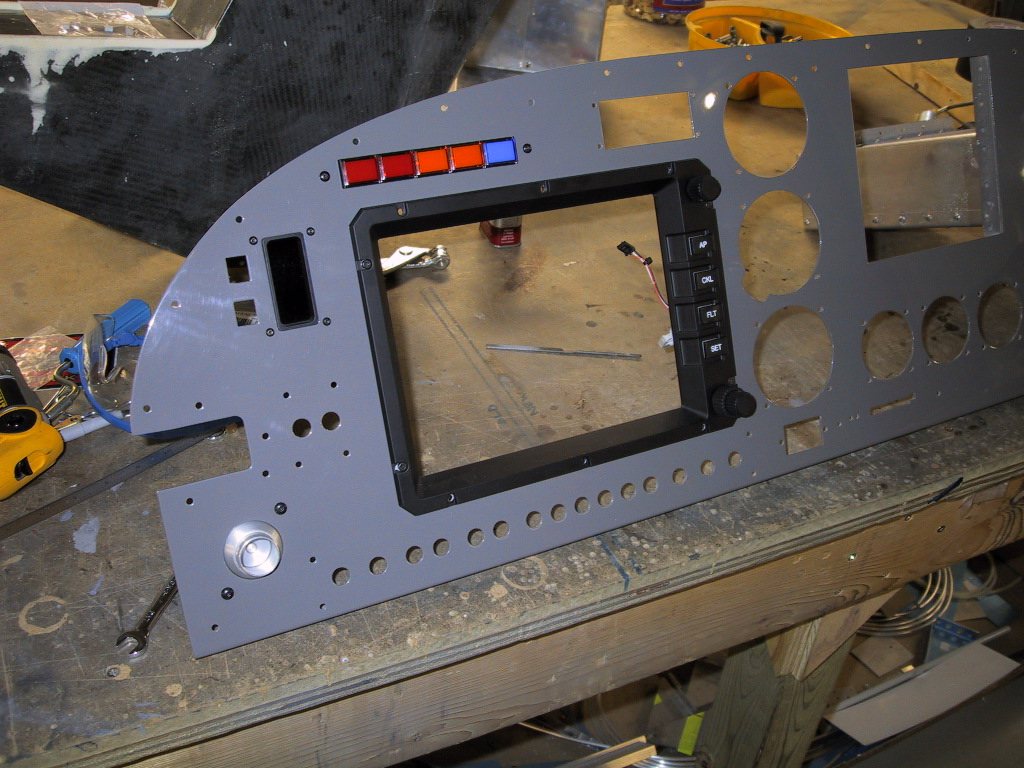
Next, I started mounting things in the panel for good. I riveted in the door, mounted the warning lamps, the EFIS 1 screen bezel, the ACU, the AOA, Hobbs meter and the air vents. It’s starting to look really sweet now! I didn’t mount anything that I thought would get in the way of the decal application process.
Here’s a close up of one of the vents. We’ve had these vents for an eternity now. They’ve finally been used!
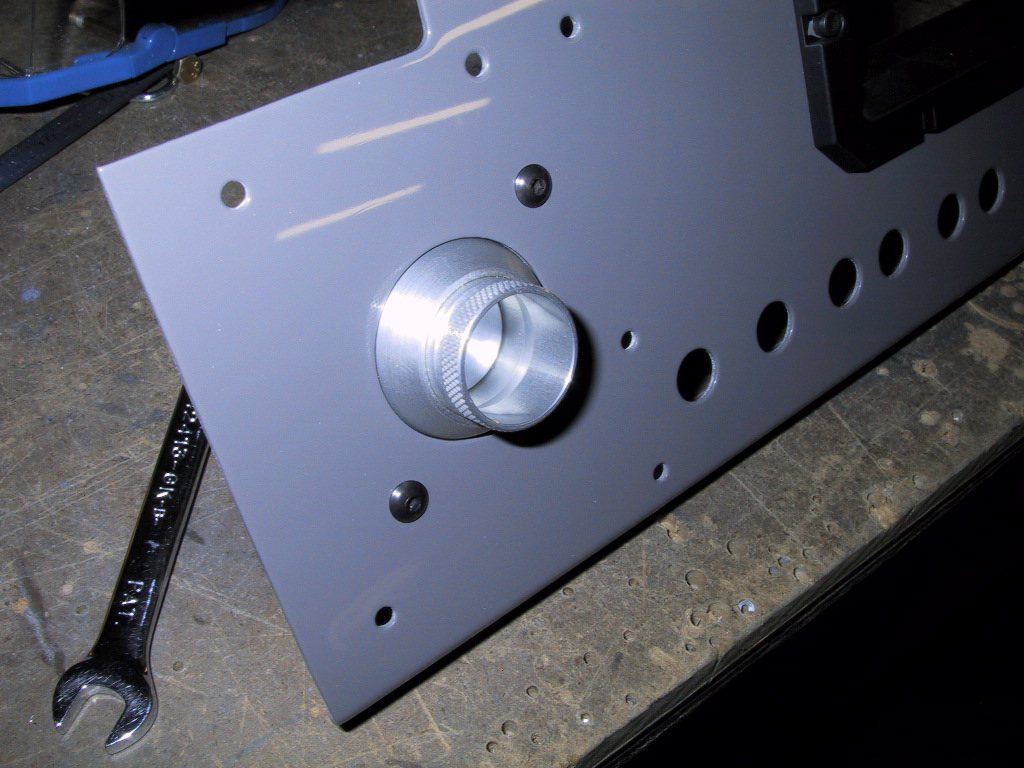
Here’s the AOA Pro with the buttons I bought for it. These look much better than the little buttons that come with the unit.
Tomorrow, I’m going to get my BFR, so I won’t be able to work on the plane until later in the day. We’re lucky enough to get the Tuesday off work too! After that, I’ll be taking my decal file to Kinko’s or somewhere like that to get it laser printed. Then I can start making the decals for this and get it wrapped up.