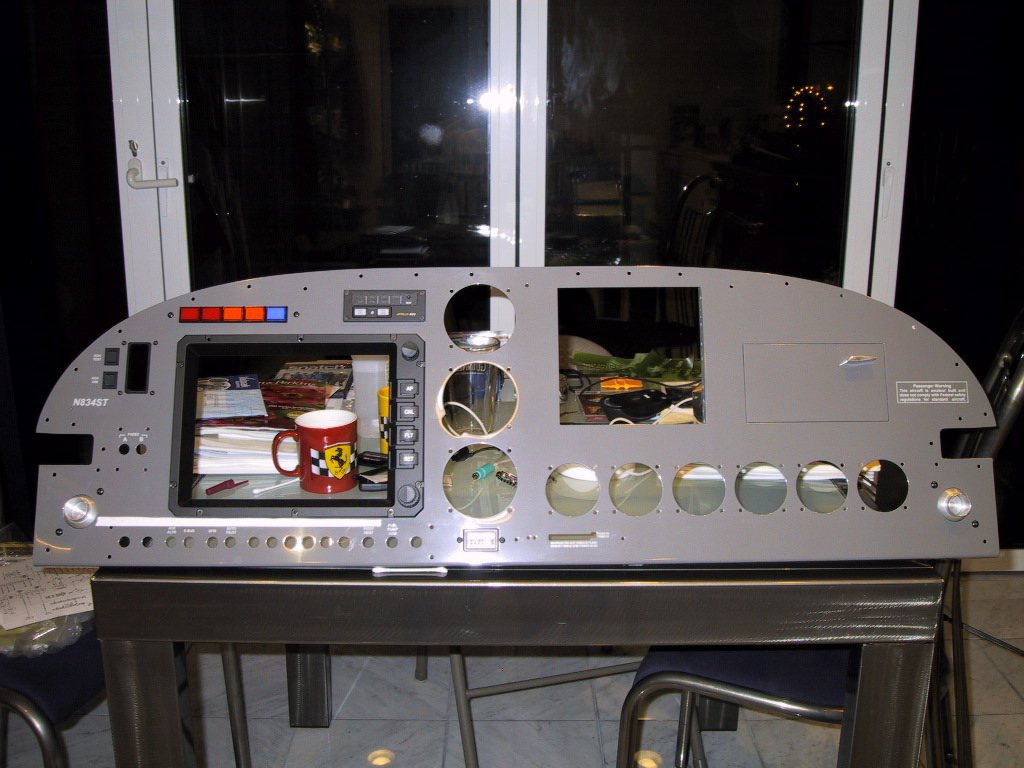
July 6, 2005
Tonight, I carried on with labeling the panel. This is a lesson in perseverance and patience! While these transfers are initially quite difficult to do, the results they’re yielding are the best thing I’ve tried so far. To that end, I’ll keep plodding on. I’m wasting a lot of stuff learning how to do this, but I’m starting to get the hang of it. Here’s what I’ve been doing…
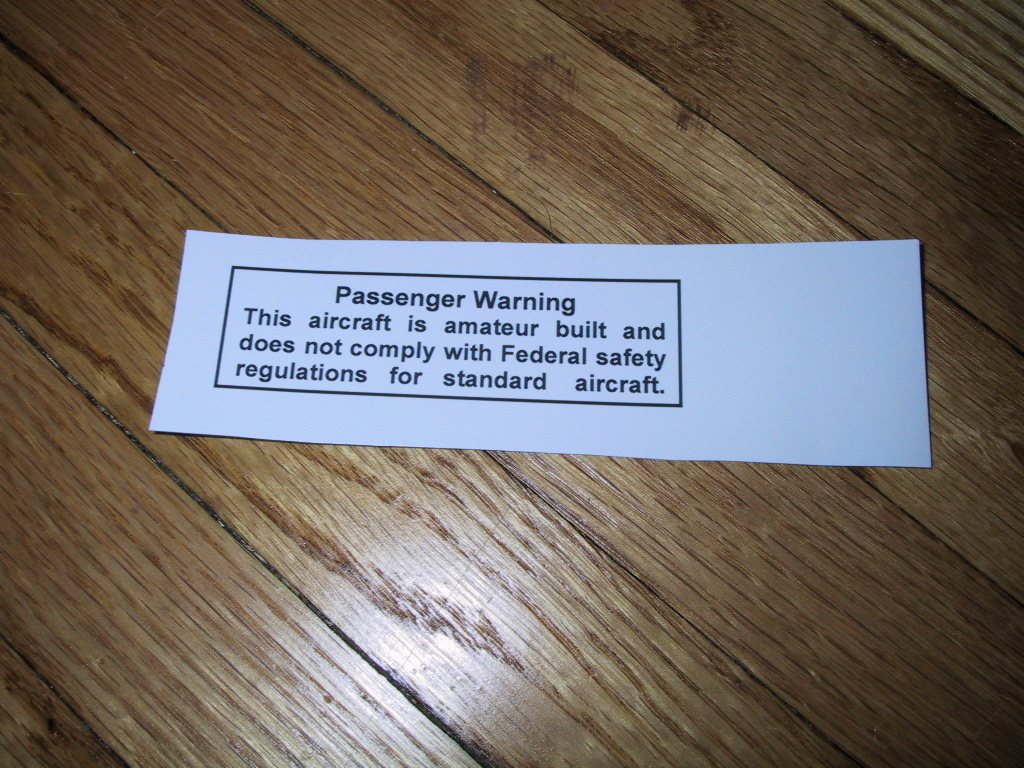
First, you print out what you want on the special paper, using a laser printer. This is a bit I cut out of an 8.5x11 sheet.
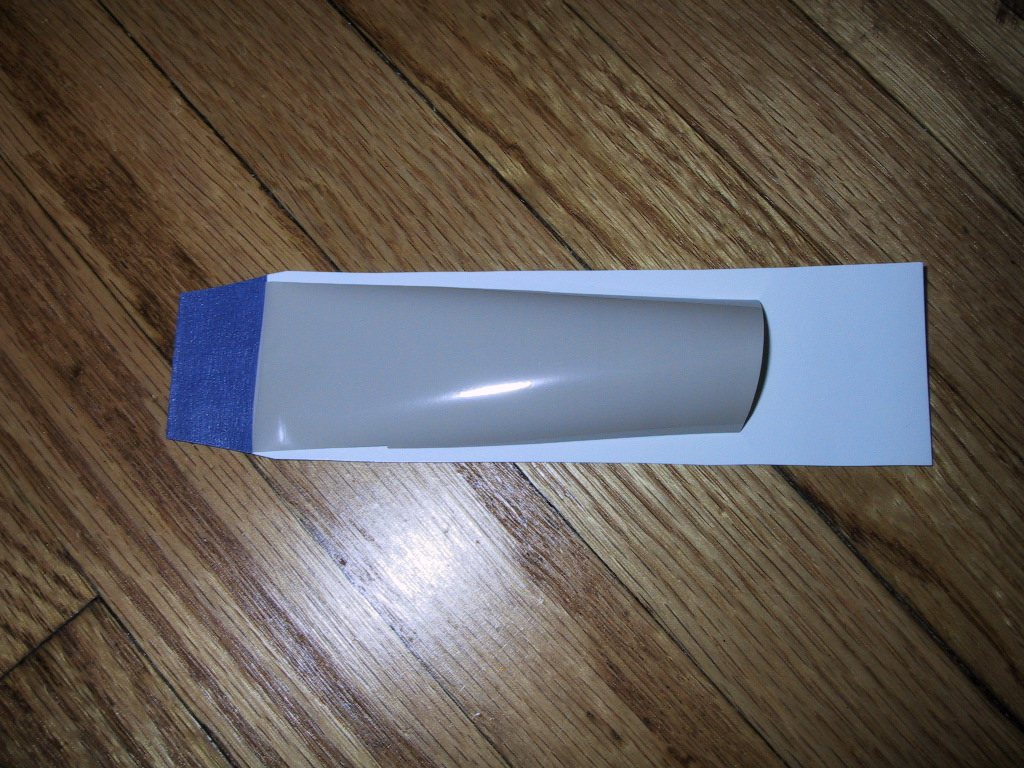
Next, I taped a piece of grey foil to one end. This seems to be the best way to ensure that the foil doesn’t get wrinkled on its way through the laminator. You have to make sure no sticky from the tape is showing, otherwise, it could make a mess inside the laminator.
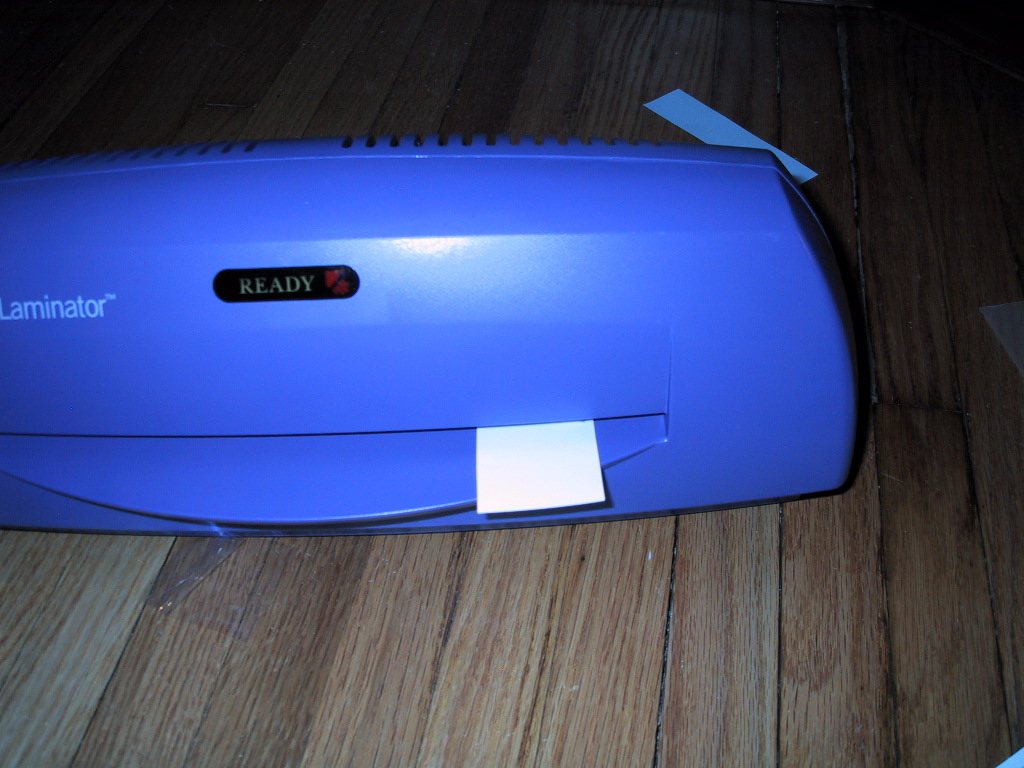
Then, run it through the laminator, making sure it stays flat and wrinkle free. This is quite tricky. I’ve been doing small decals. I don’t know if bigger decals would be easier or harder.
Here you can see the result after the first pass. The foil has a coating that bonds to the toner on the print, and no wrinkles! Woo hoo! This was about the fourth attempt for the passenger warning placard! As time went on, I started to get more and more proficient at this. I can now do this pretty much off the bat.
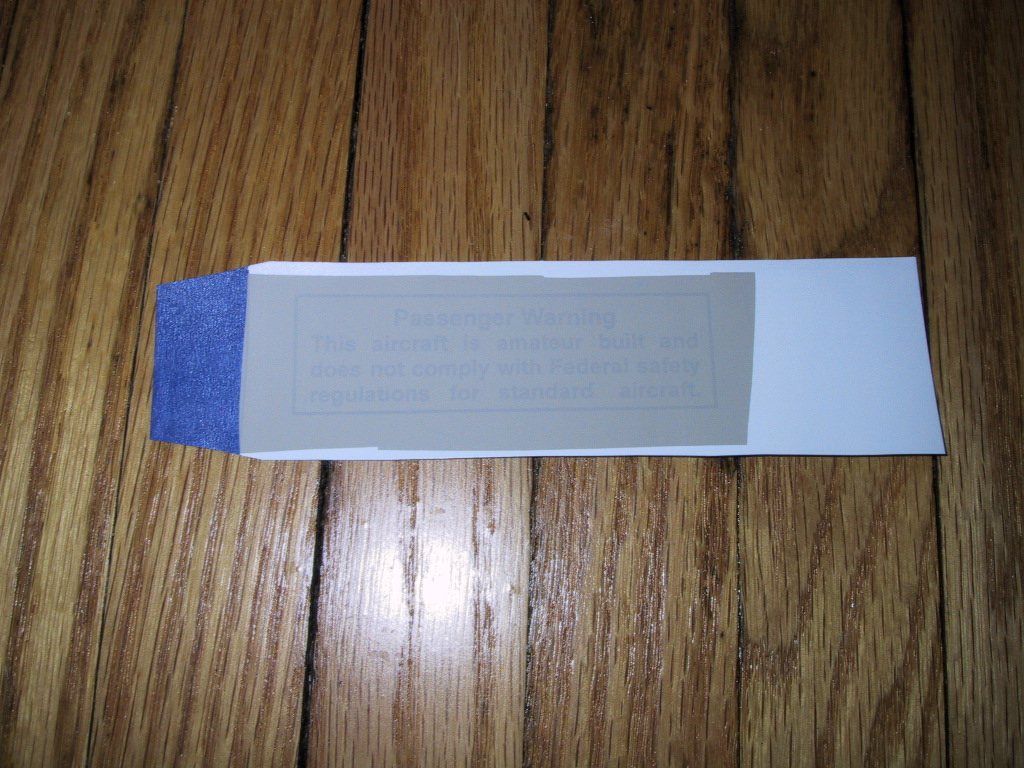
Then peel away the foil and look! It’s now grey!
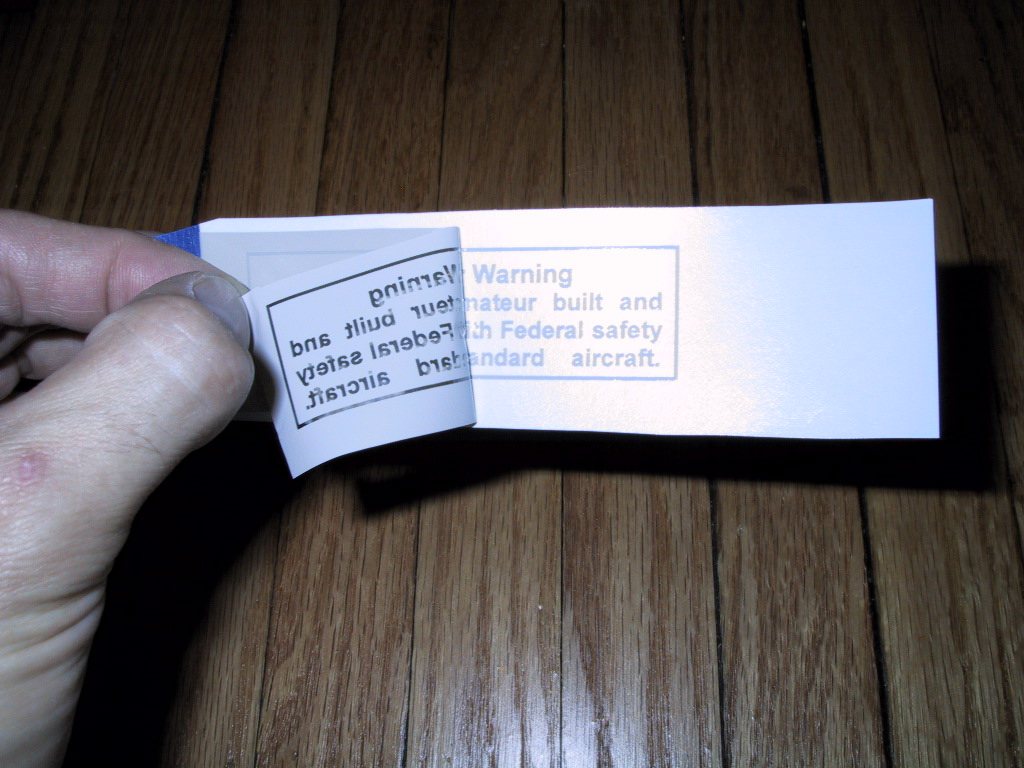
Next comes the carrier. This is a very thin mylar film. Once again, I use the sticky tape trick to stop it wrinkling up on me. This also goes through the laminator.
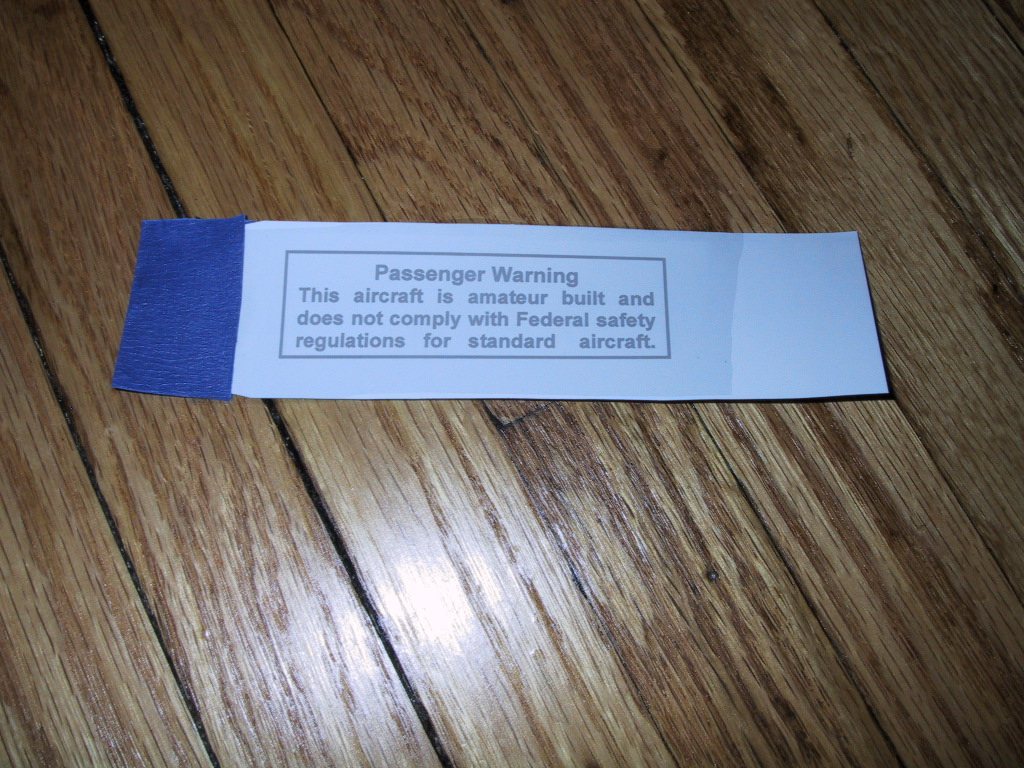
When you’ve done all this, and if the decal still looks good, you soak it in a water bath. Now, here is where I’ve had a few failures. Basically, the paper really wants to curl up in the water, and the image is at it’s most delicate now. Sometimes, the paper curls up and part of the image is released from the paper and part not, but the mylar has also separated. This causes the image to break, which of course is no good. I expect the bigger the image, the harder this part becomes! I had a chat with Frank recently (8/10/05), and he said that the bond between the carrier and the image can be improved by cleaning the carrier with acetone. I’ll try this on the centre console and report results.
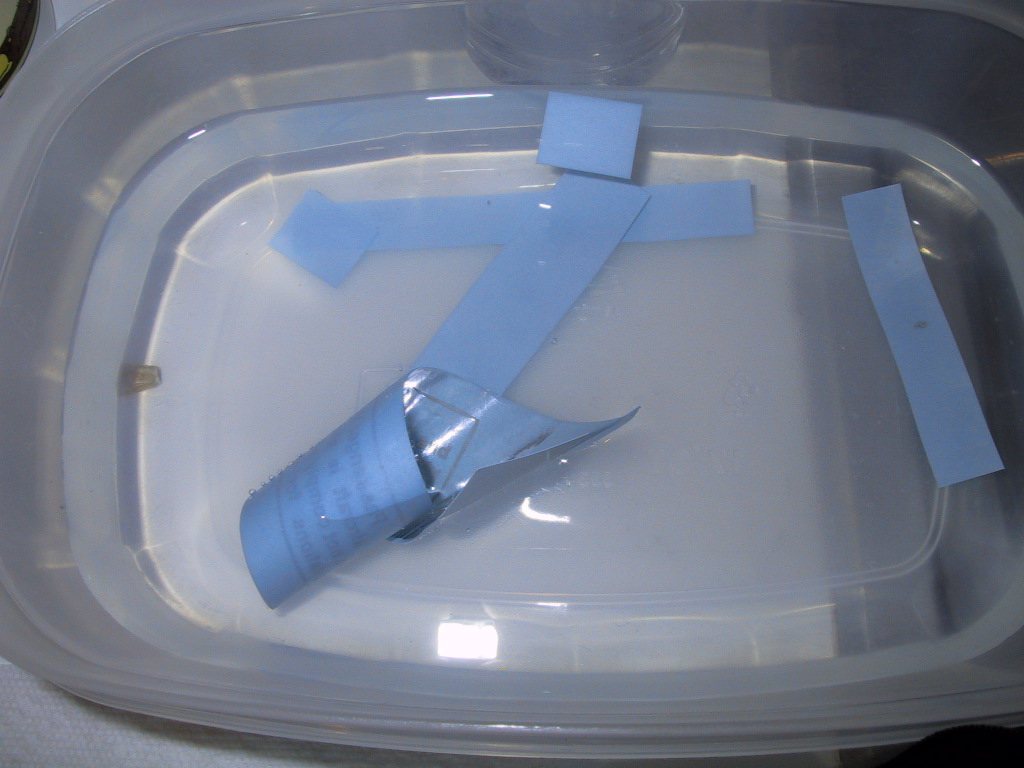
Then, very carefully, you rinse off any residual glue from the release paper. Here it is after just rinsing under a gentle stream of water. You can see on the back side is the original toner from the printer. The grey is between the toner and the mylar carrier film.
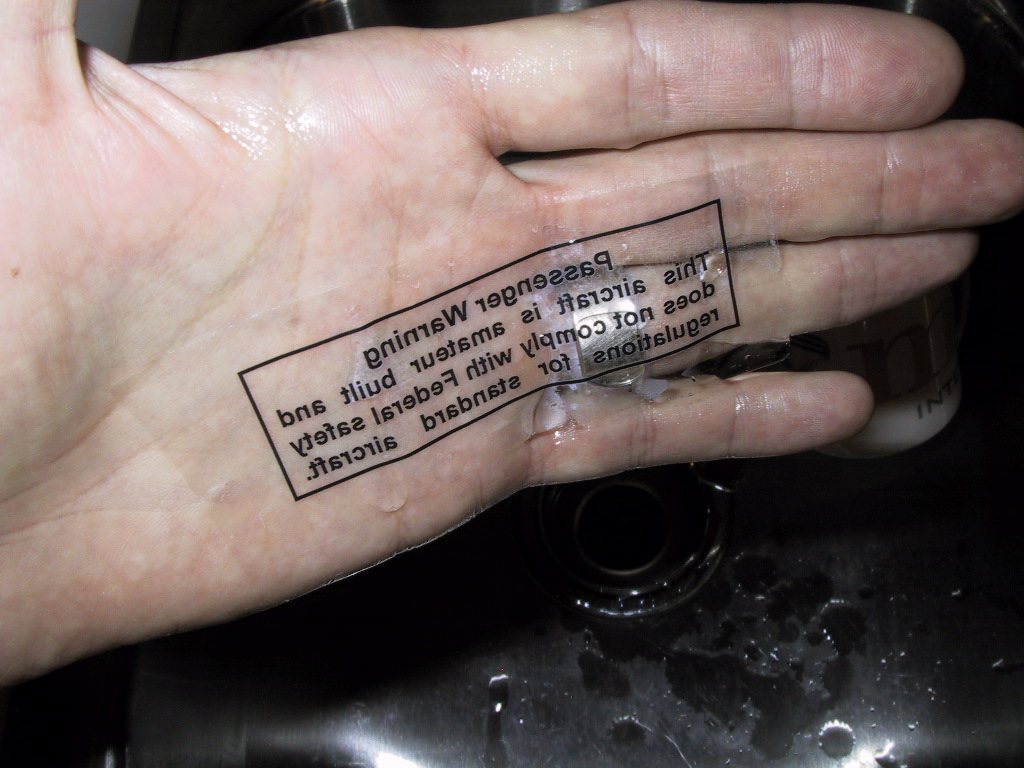
Next, you dry the image and spray on the adhesive.
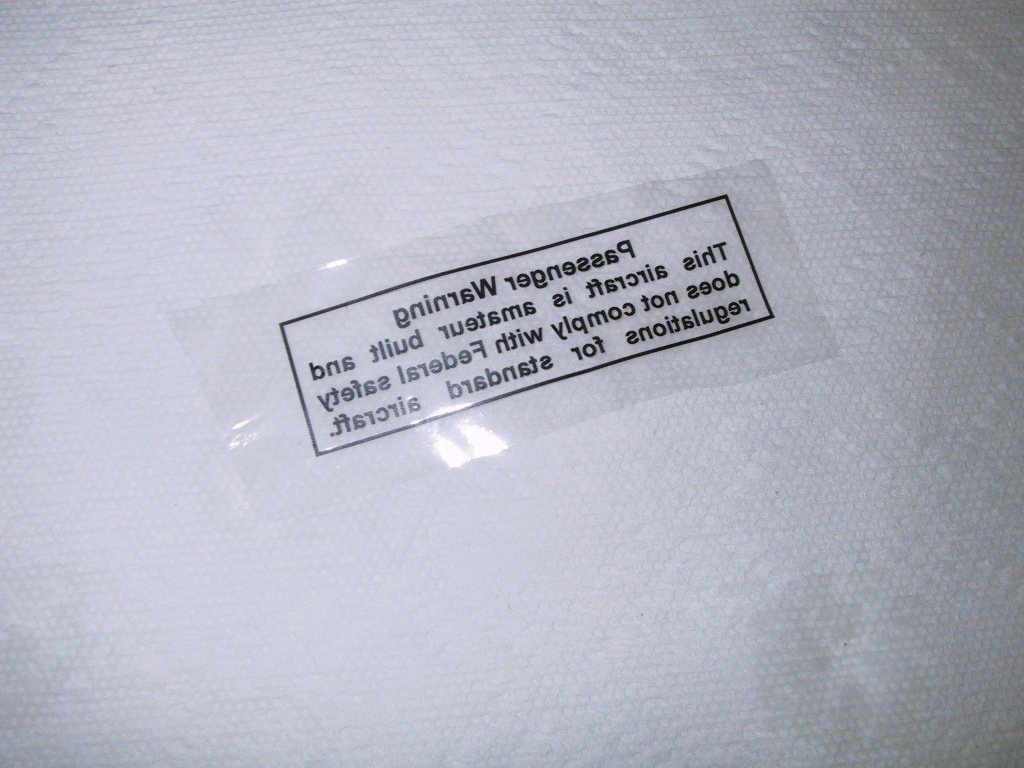
Then, you rush over to your instrument panel and stick it on! This is a one shot deal. If you mess it up, you have to go and make another decal. See why this is taking me so long?!!! It’s looking great though! I hope I got this in the right place!
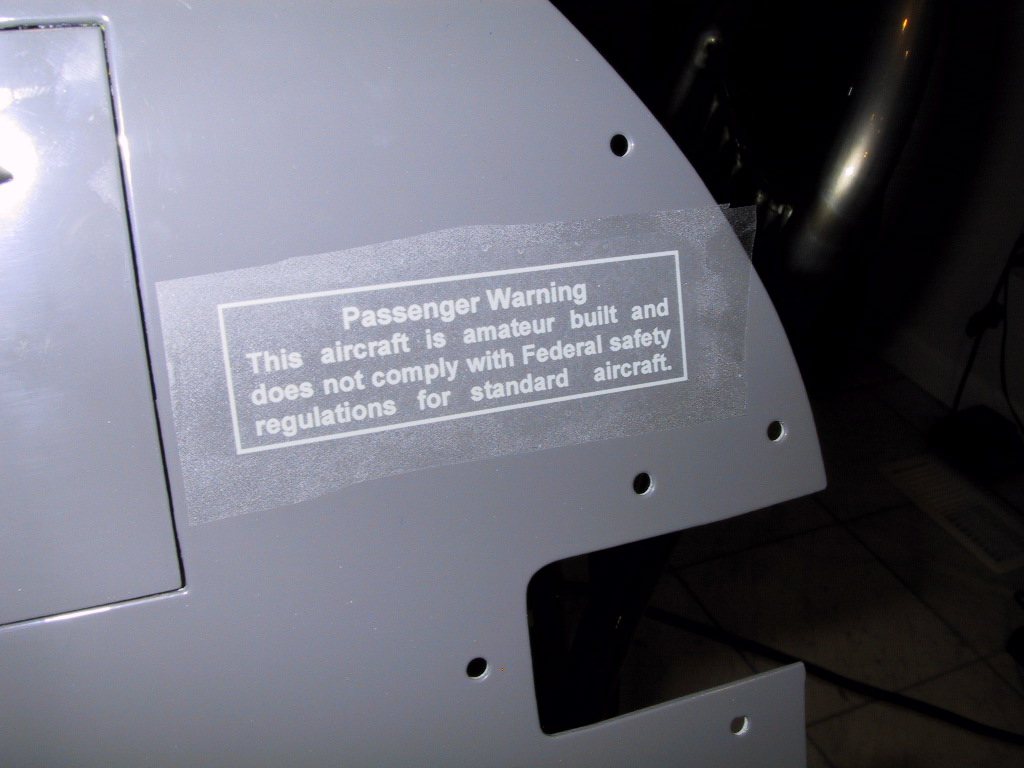
Now, the moment of truth… Peel away the carrier, and hopefully it’ll all stick down nicely like this one did! Any residual adhesive can be easily wiped away with rubbing alcohol. If you mess up completely, take out the acetone and wipe the whole decal away. I might redo this one because some of the letters are ever so slightly rough around the edges.
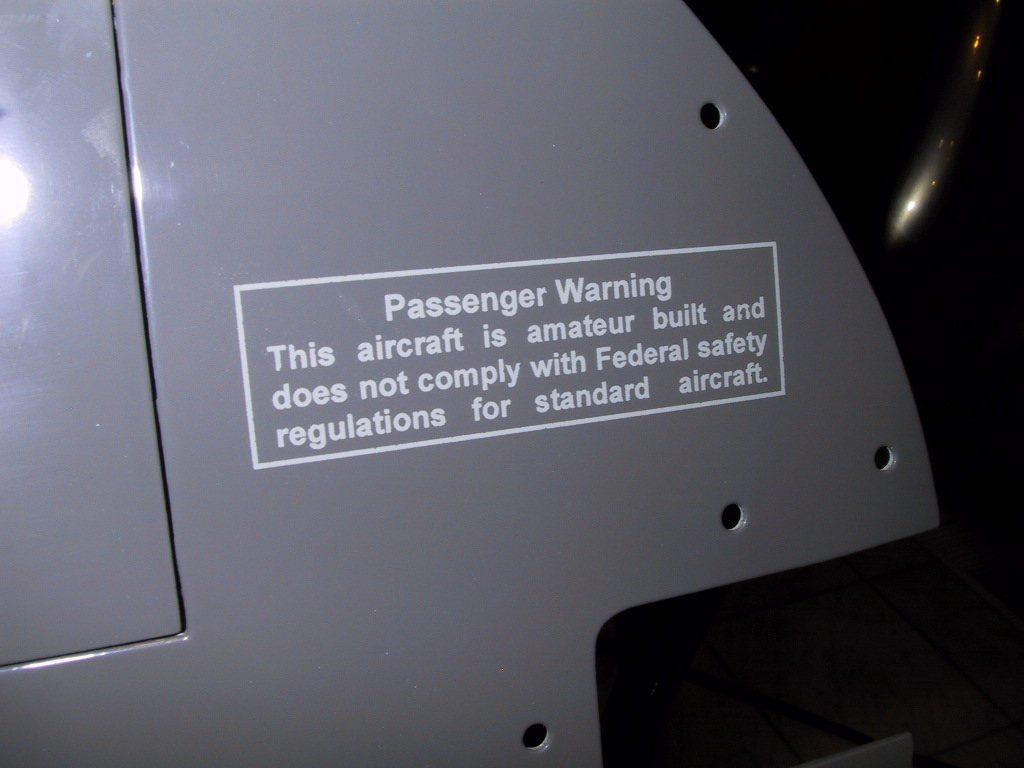
Here are some more pics of some other decals I’ve done so far. I still have a load to do!
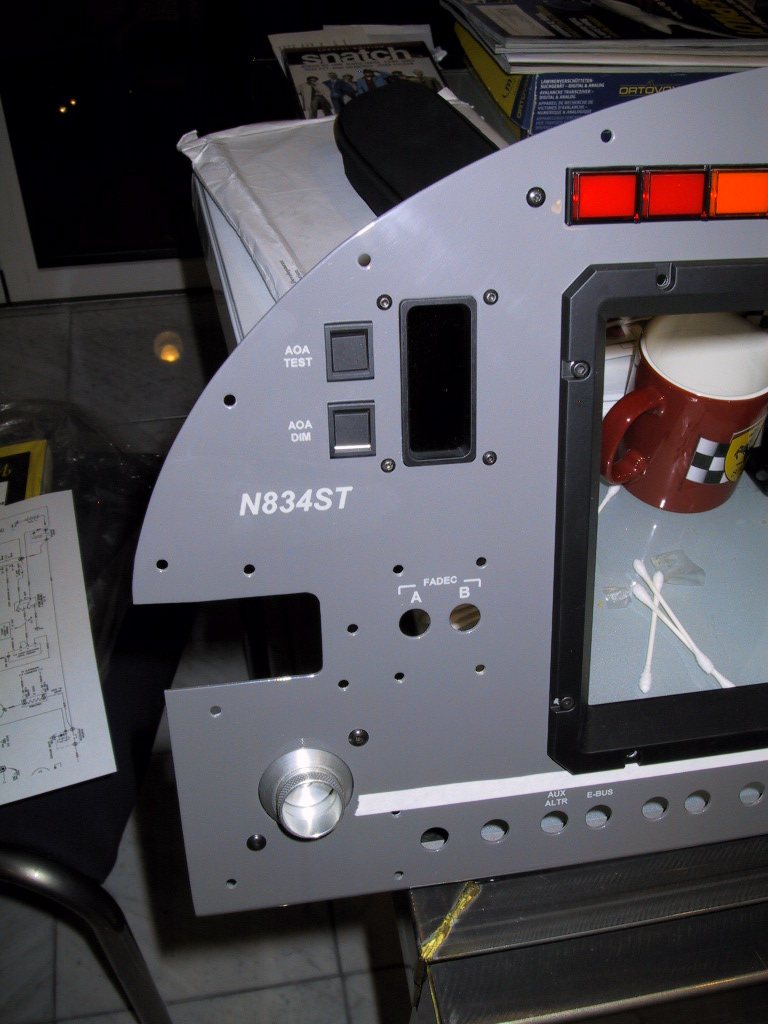
On this overall panel shot, you can see how far I’ve gotten tonight. I stuck white tape on to help me align the text for the switches.