January 10, 2006
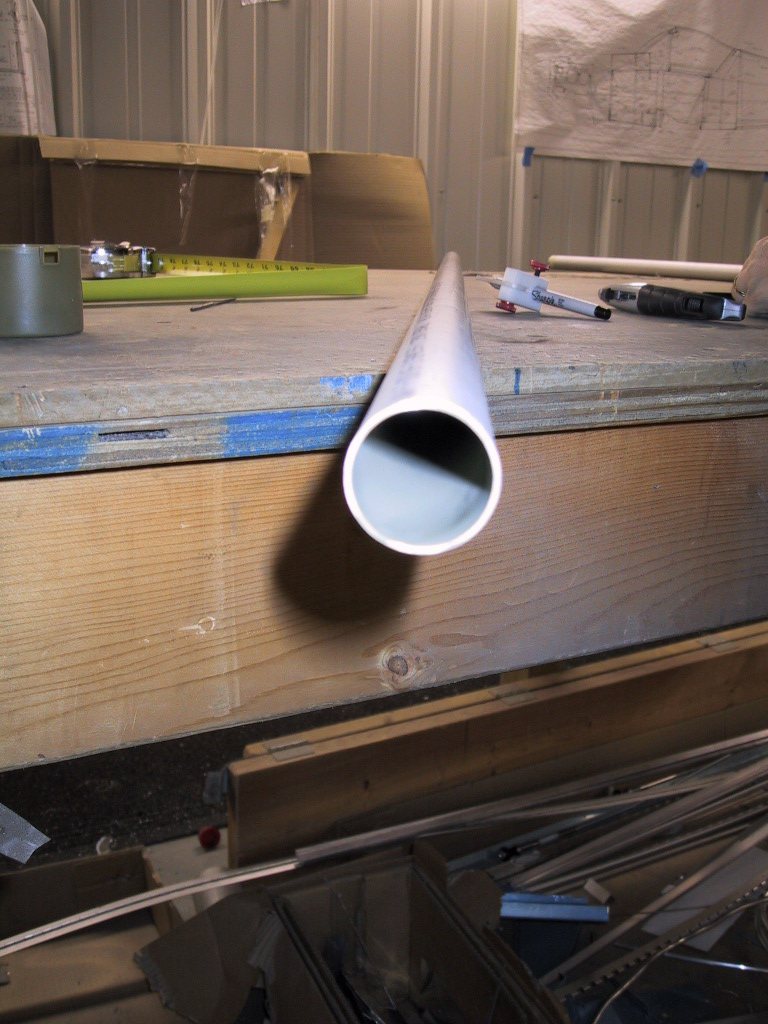
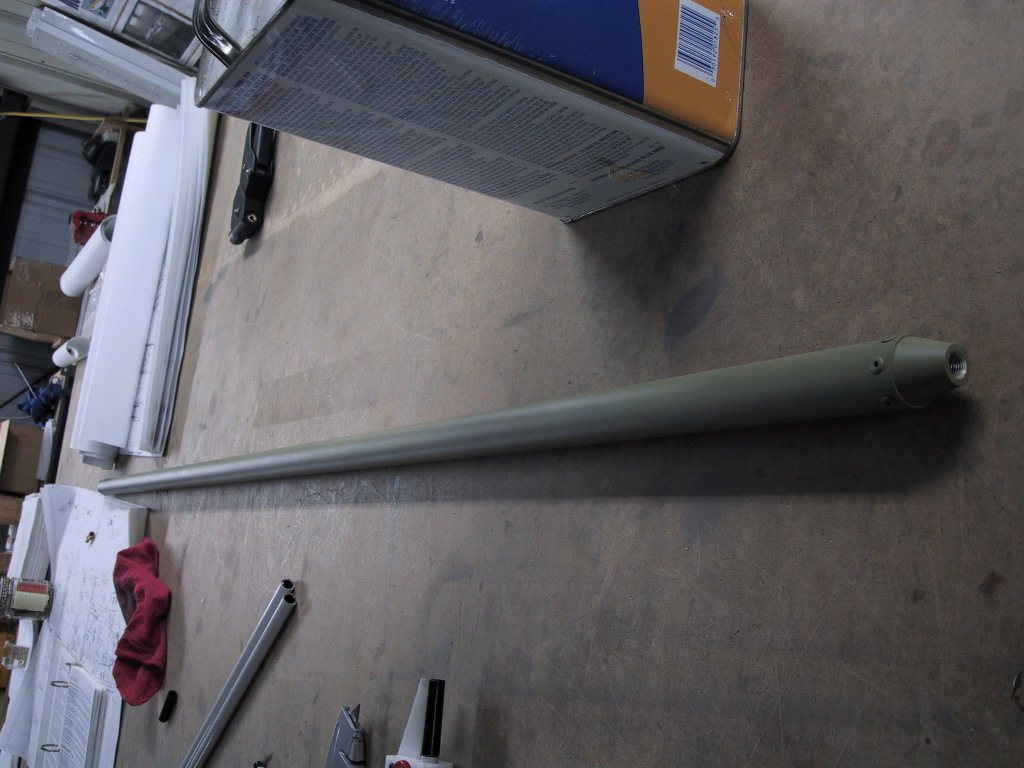
Finally! Some wing work. Well, it had to get done sooner or later, and with Dave being here and the wings being somewhat of a two man job, it’ll be a big help to get them done in the next week. So, here goes. We decided to tackle some easy bits first to break ourselves in. Here we cut the pushrods to length and primed the insides.
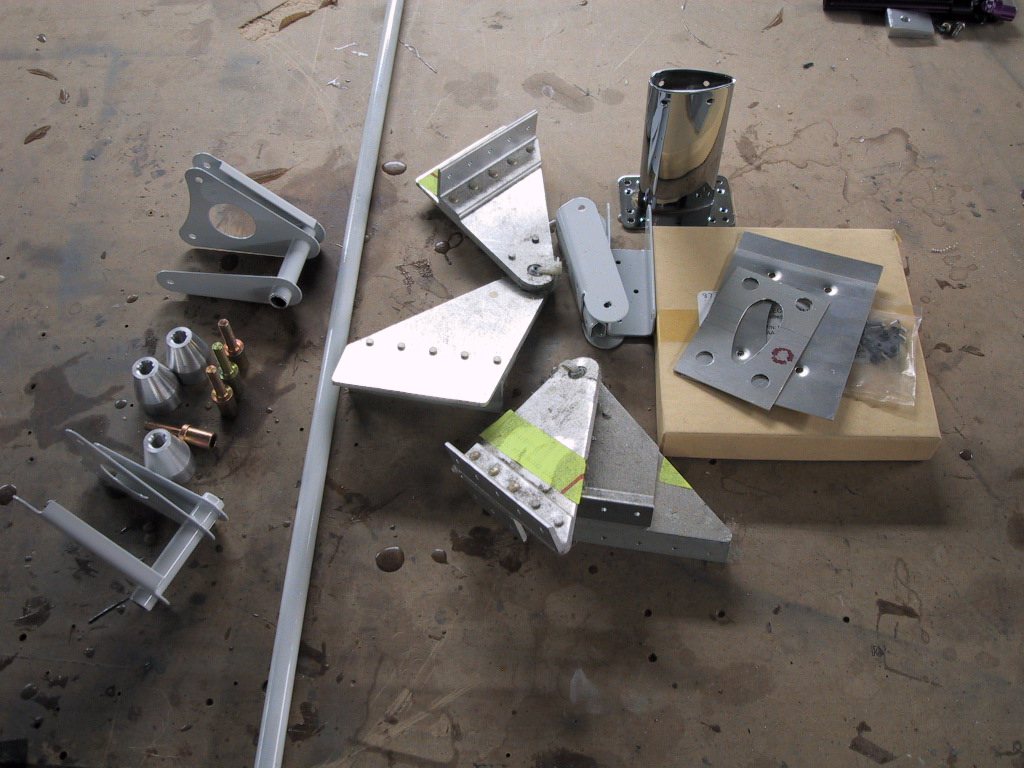
An assortment of loose wing bits we need to fit. On the quickbuild, this is pretty much all there is to do. Not much really, but still took us a while!
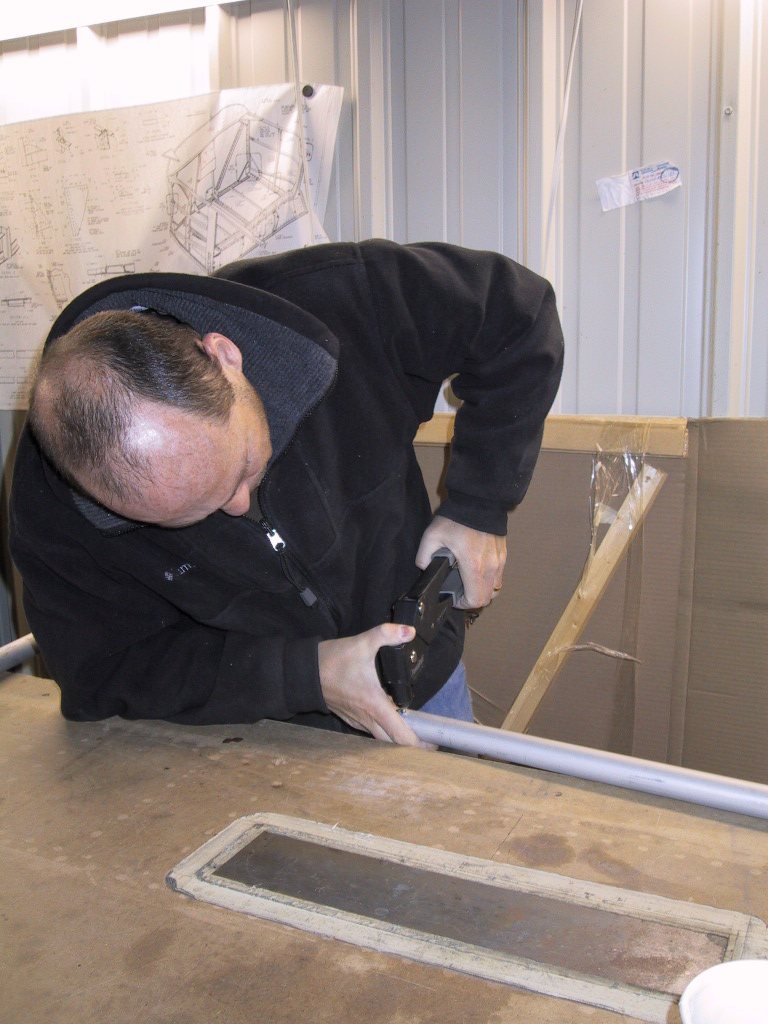
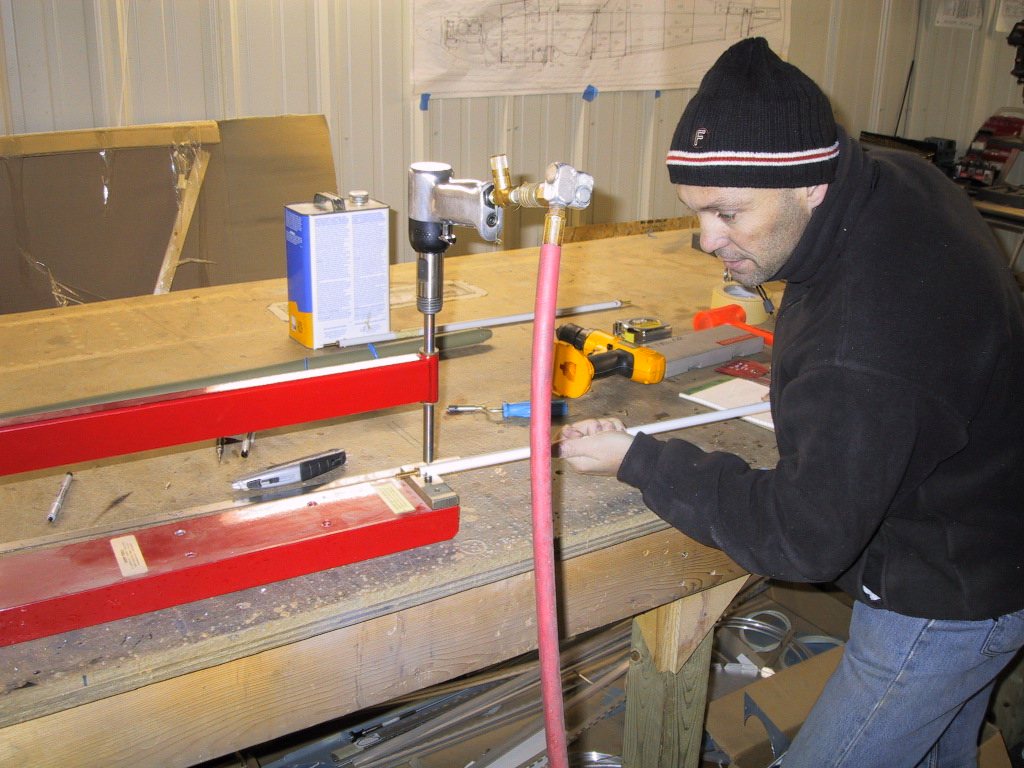
Here’s Dave riveting the pushrod end caps in.
While we were mucking about with some wing stuff, Dave decided it was time to clean the hangar. And a mighty fine job he did. Now I’ll never find anything! Especially when he goes back to Australia. I’m going to be on the phone all the time….. “Where’s this? Where’s that?!!!” Anyway, now we have some room to actually put the wings on the plane, which is more than can be said for the state the hangar was in before. Of course, we’ve got to get the wings done to put them on. Are you done cleaning yet Dave?!
A finished pushrod. We’d done them both by this time. The other one was still hanging up in the paint booth.
Here’s how we did our aileron pushrods. Everybody struggles with bending rivets for this. Not us! It helps if you make them the right length first. They’re way to long. Get out your rivet gauge and trim ’em down a bit on a belt sander. Then put some tape on the rod to help grip it. Get a holder person (Dave in this case) and hammer them down in the C-Frame dimpler (the rivets, not the holder person!). Easy.
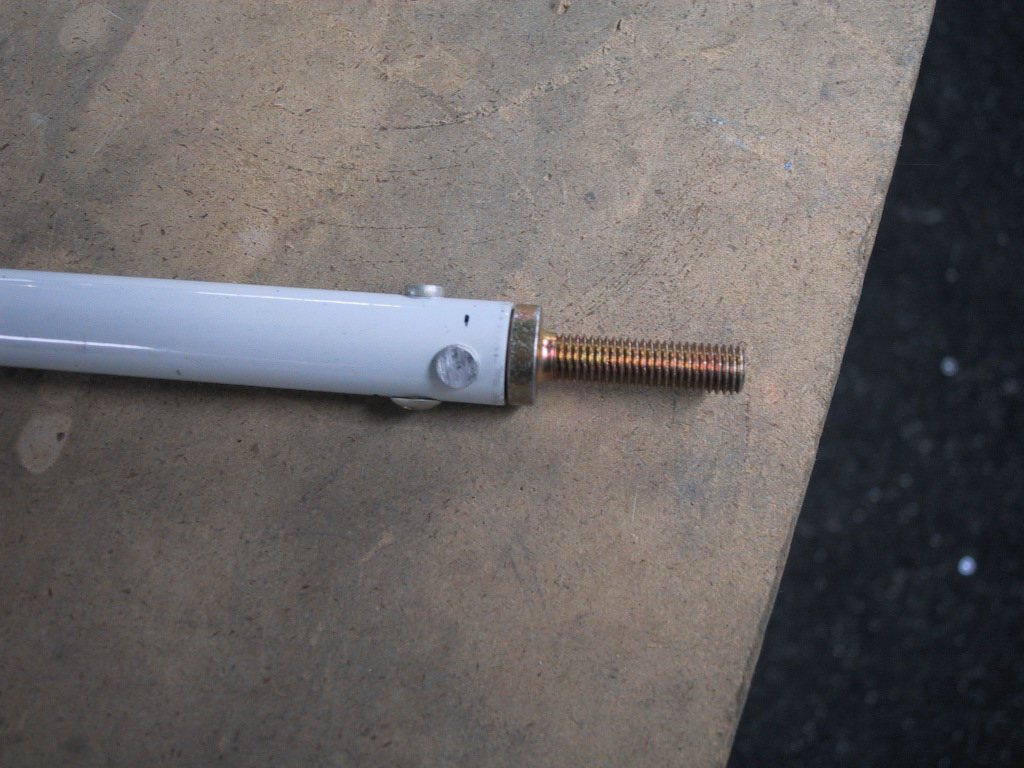
The finished result. Lovely.
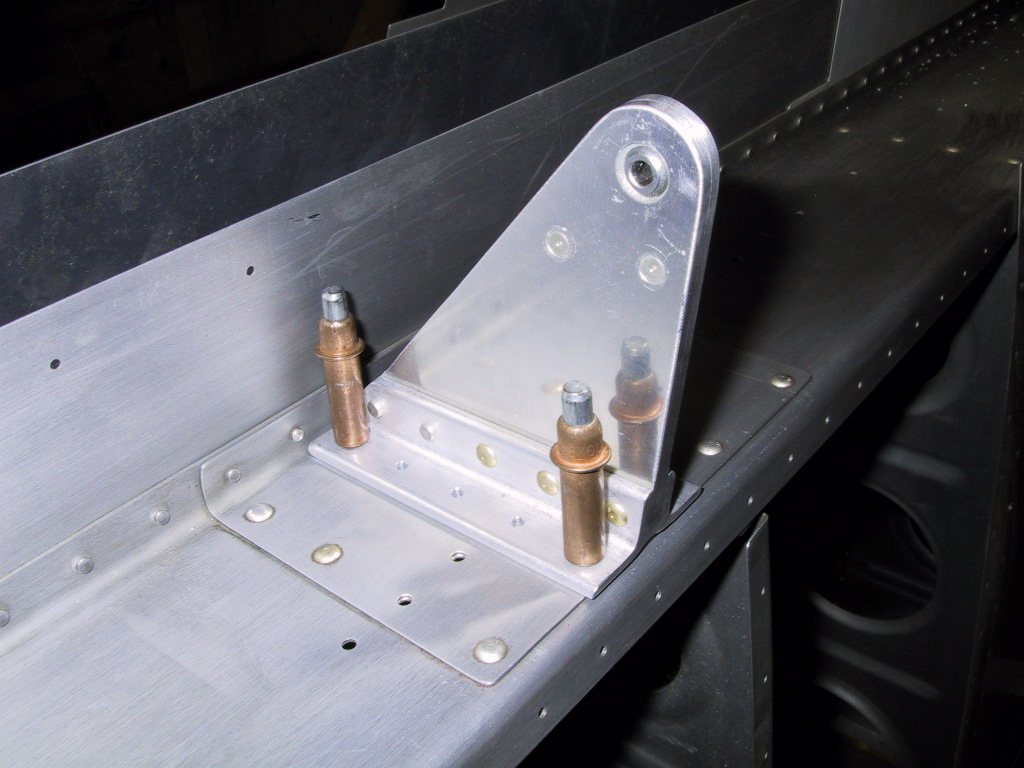
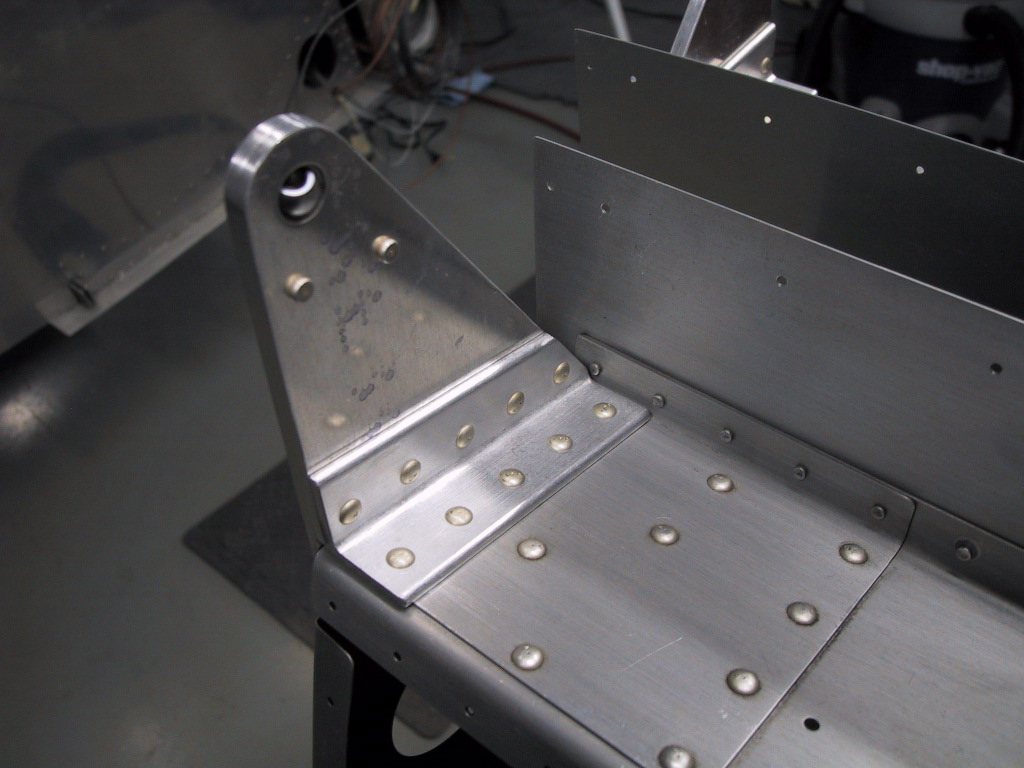
Next we went ahead with the aileron brackets. These pretty much go where the holes are and that is that. Simple task of match drilling and deburring and rivetting.
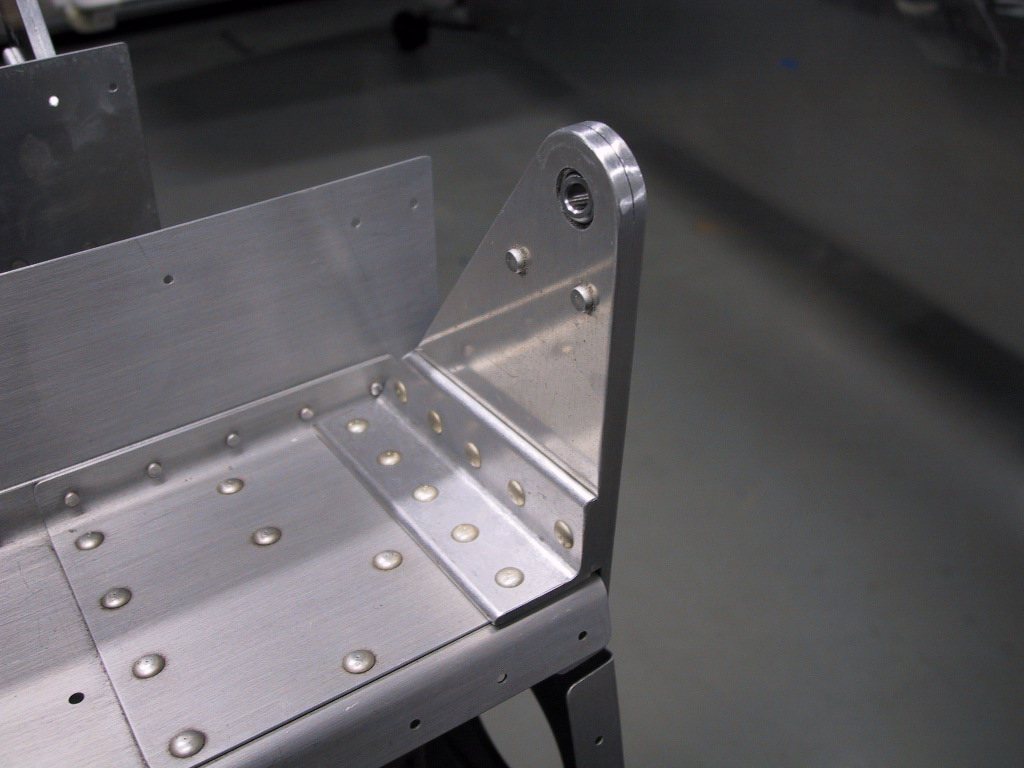
The other wing.
Both wings sitting on the cradle. Actually getting some attention after all these years.
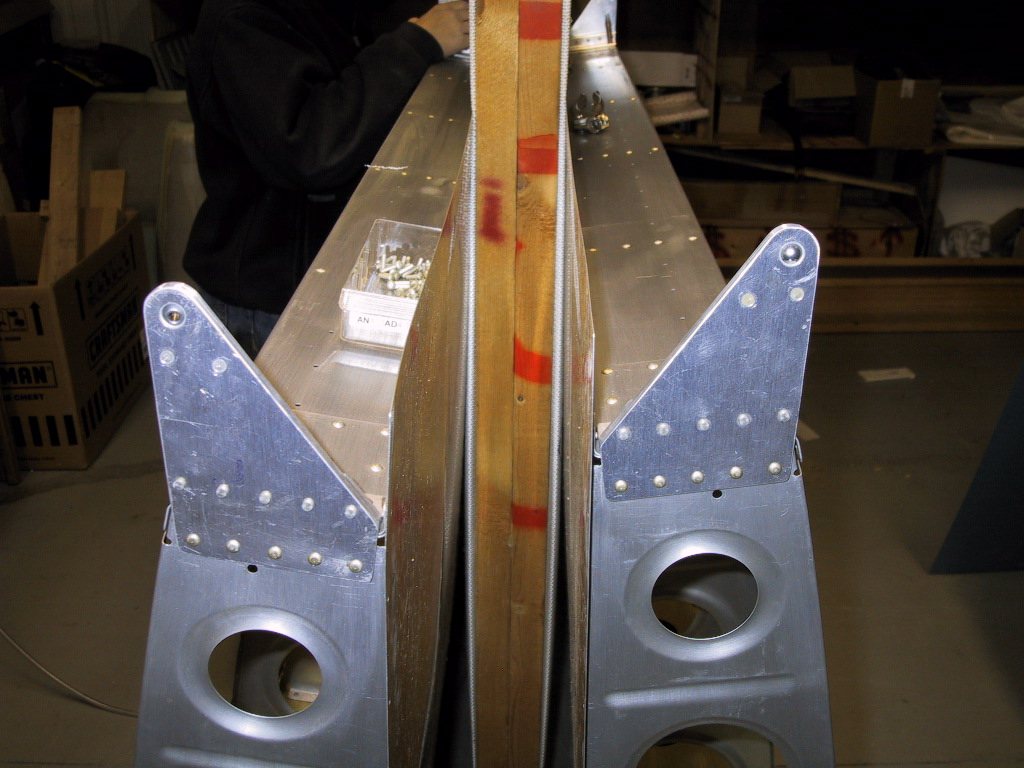
This is the inboard bracket for the ailerons. Again a simple task to match drill, deburr, rivet.