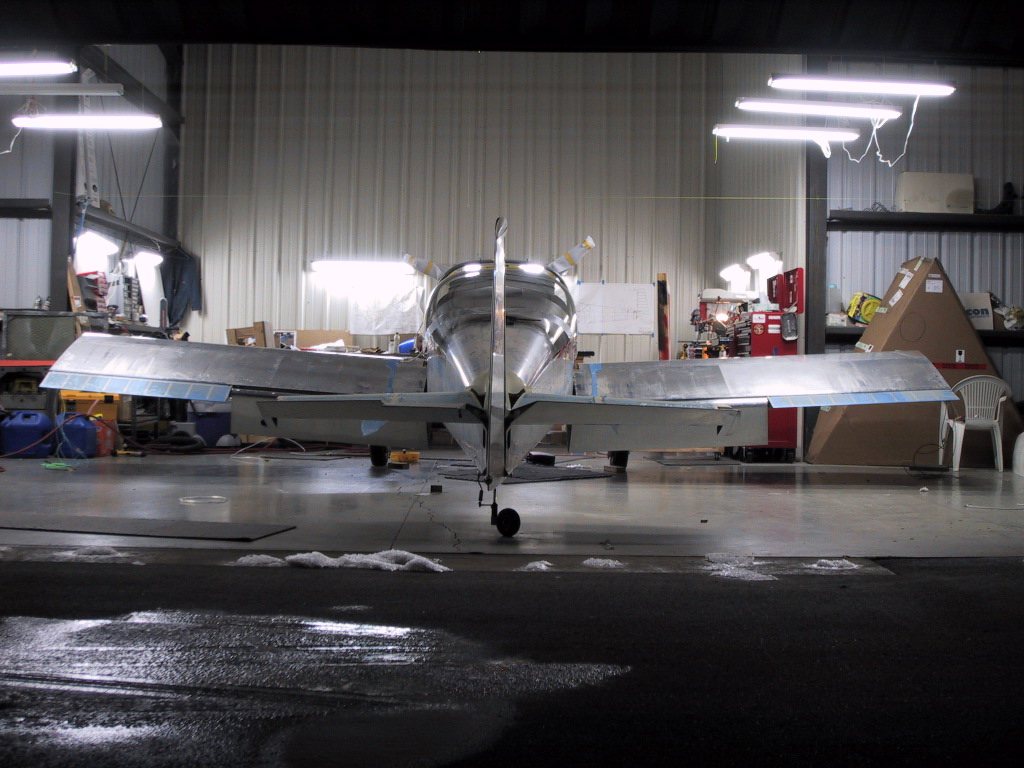
February 12, 2006
Today was the day that the wings go on for good. The first obstacle to overcome though was the fuel senders. Now then what a malady this turned out to be! Steve came by today too, to help out with getting the wings on. I guess it may be possible to do them yourself, but I sure wouldn’t like to try it. For me, this is a two person task for sure.
So, back to the fuel sender thing. Well, it’s a bit embarrassing really, because we looked at it, and for some reason I had it in my head that the fuel tank access plates were wrong. It took us a while to figure out that they were in fact absolutely right. We only discovered that they were right after we erm, disassembled them and then tried to figure out making some new ones. It was then we realised that the actual senders were handed too. What kind of drug was I on the other day?! Well, our moment of clarity was instantly mudded when we had to break out the cancer (Proseal) and re-assemble the darn things! We wasted a lot of time today mucking about with this thing. Way too much time in fact. Doh!!
Anyway, all is right with the fuel sender world now. While we had the Proseal out (we would’ve had to mix some eventually anyway) we put the senders in and the tank access plates went back in the tank. We threw out the rubber gaskets for the senders and the cork gaskets for the access plates in favour of using Proseal instead. Might be harder to prise apart for service, but these things shouldn’t need too much servicing. I forgot to take a picture of them all in place. That stuff gets everywhere. Once it touches something, before you know it, it’s on everything. Hence the nickname “Cancer”. Lovely stuff.
We moved on to final prep for putting the wings on after the earlier debacle. I’d painted the gussets earlier today too while we were messing about with the fuel sender stuff, so they were ready. We put the nutplate on the one access panel cover under each wing that was left. We filled the little starter hole in the fuselage floor (for the -A models gear legs) with a rivet, and put the gussets in place.
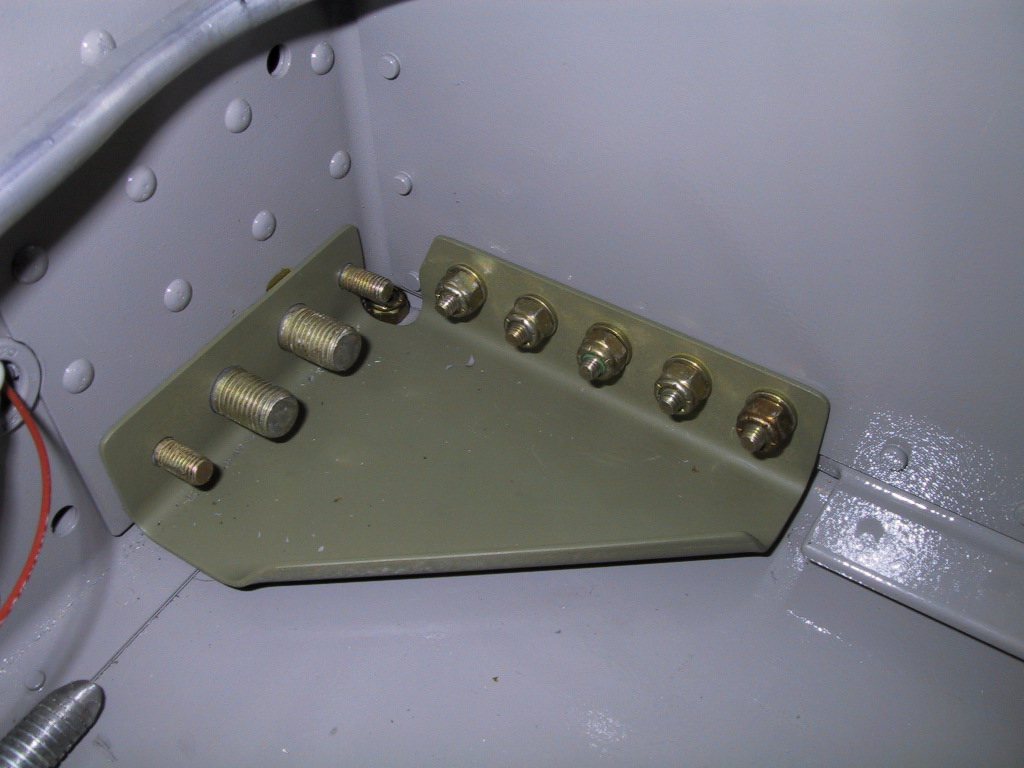
We then threaded all the cables through the conduit. Something I need to test is strobe noise. Right now, I’ve put all the cables through the conduit, antenna, strobe and all. I’ll connect them next hangar visit and turn the stobes on to see if I get any noise. I wasn’t getting any with the tail strobe, but then the wires aren’t in as close a proximity to each other.
Here is the left wing root area. Nearly ready to mate the wing for good.
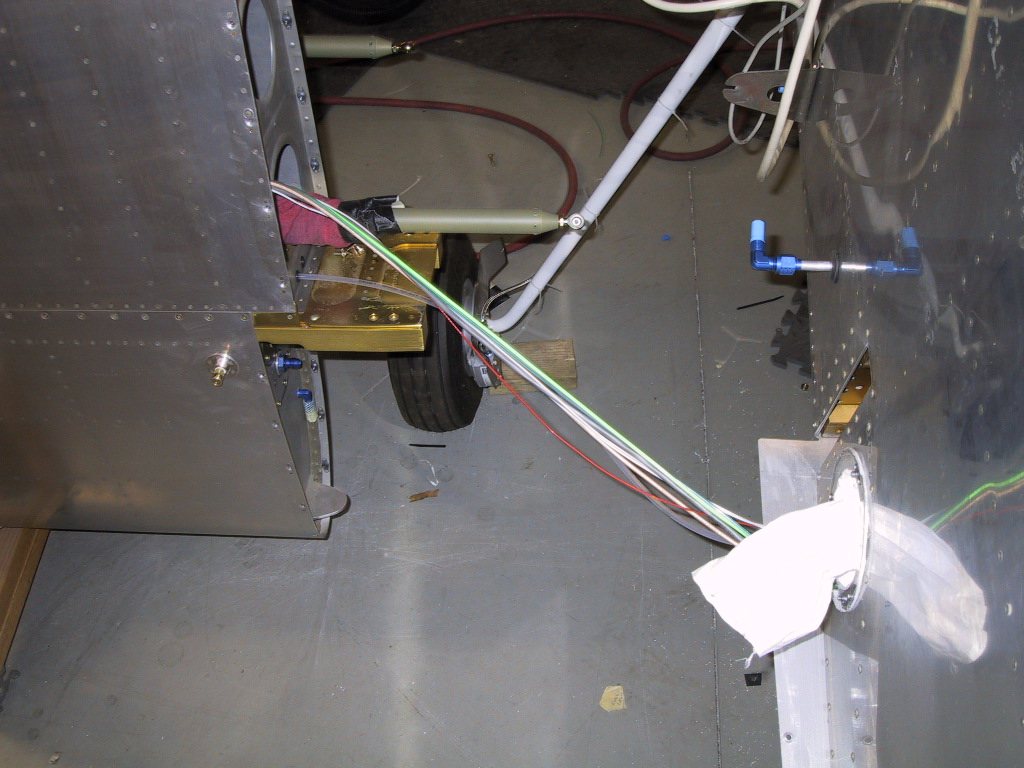
And the right wing root.
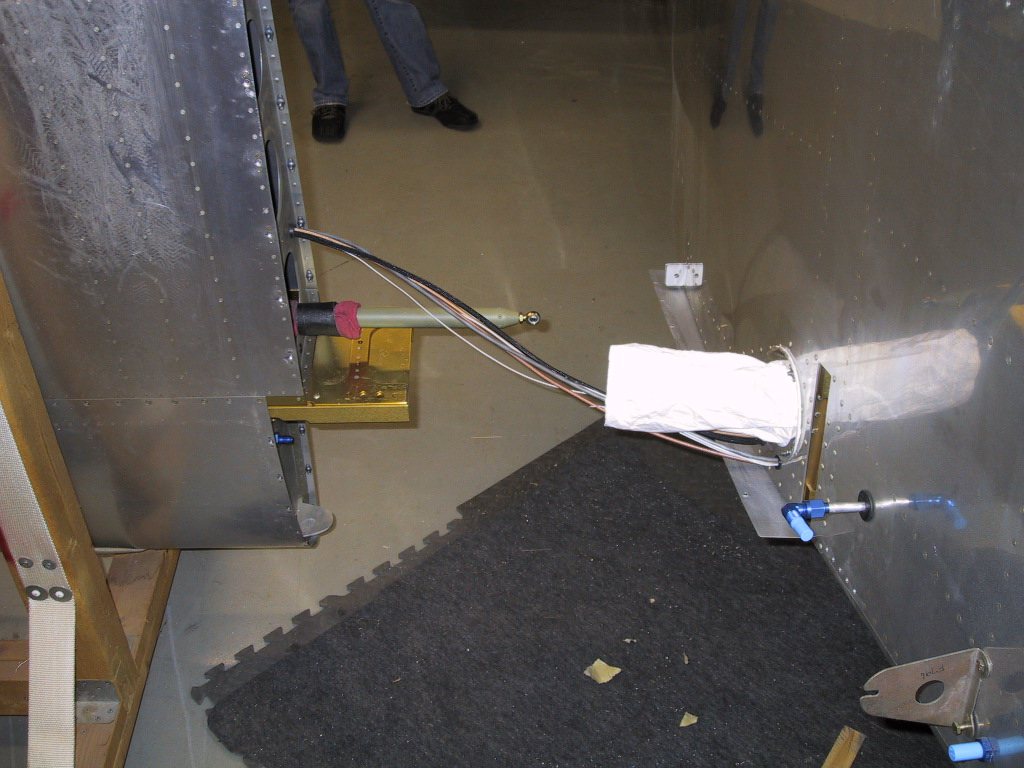
Once we got the wires threaded through (which was very easy thanks to the tubing/conduit), we started the process of mating the wings. Steve got the outboard end with a little help from a short sawhorse. We worked the wings into place and Steve pulled the cables through as the wings slid in. I got the bolts started with the hardware store tapered ones we had for getting the holes lined up. Then I oiled up the NAS close tolerance bolts and pushed them in (with a mallet) to place.
I fitted the rear spar bolt too on each wing. Right now as you see it, the wings aren’t torqued up. The bolts are just in place. I’ll torque them up next time I’m at the hangar. There’s a few things to do to finish up the wings being on for good, but this is it. They ain’t coming off again!
Here she is. Wings on. A very satisfying moment. It really is starting to look like a plane now. Fantastic. Thanks for your help Steve!