February 19, 2006
I was tempted not to go to the hangar today as it was so cold. I didn’t get there until noon, hoping for the temps to go up a bit. By the time I got there, it was 18F. Freezing!
I spent some time today rigging the ailerons, and setting up the autopilot servo pushrod. This took a fair bit of time. Basically, the way I did it was to pull the flaps up fully to the fuselage, then align the ailerons with the flaps and clamp them together. I then took the aileron bellcrank jig from Van’s and adjusted the aileron pushrods until the bellcrank was in the correct neutral position. Next, I set up the sticks to be vertical, and adjusted the big pushrods to the correct lengths. Once this was all done, I tightened everything up to spec. Sweet. I did run into an issue with the left bellcrank. For some reason, it seemed to be binding, which meant the controls weren’t smooth. I’d had this issue before with this bellcrank, and I thought I’d fixed it. I guess not. So, off it came again. I ended up running a drill of the exact size through it to clean it up. It was a lettered size, but I can’t remember which size it was. The bushing was a little galled up too in the areas where the bellcrank flanges are welded to the tube, so I suspected that the welding had caused the tube diameter to decrease locally. I cleaned the bushing up with some emery in the drill press, and all’s fine again now.
The next job I did was install the AOA ports into the wing. On the RV-7, the upper port should be 4 3/4" inboard from the outer edge of the wing skin, and 6" forward of the wingskin edge at the spar. The upper port should be the same forward, but 7 1/2" inboard. I didn’t drill the hole for poking the upper port to clear any water that may have accumulated yet.
Here’s the lower port. I had to mix up some more of that dreadful proseal.
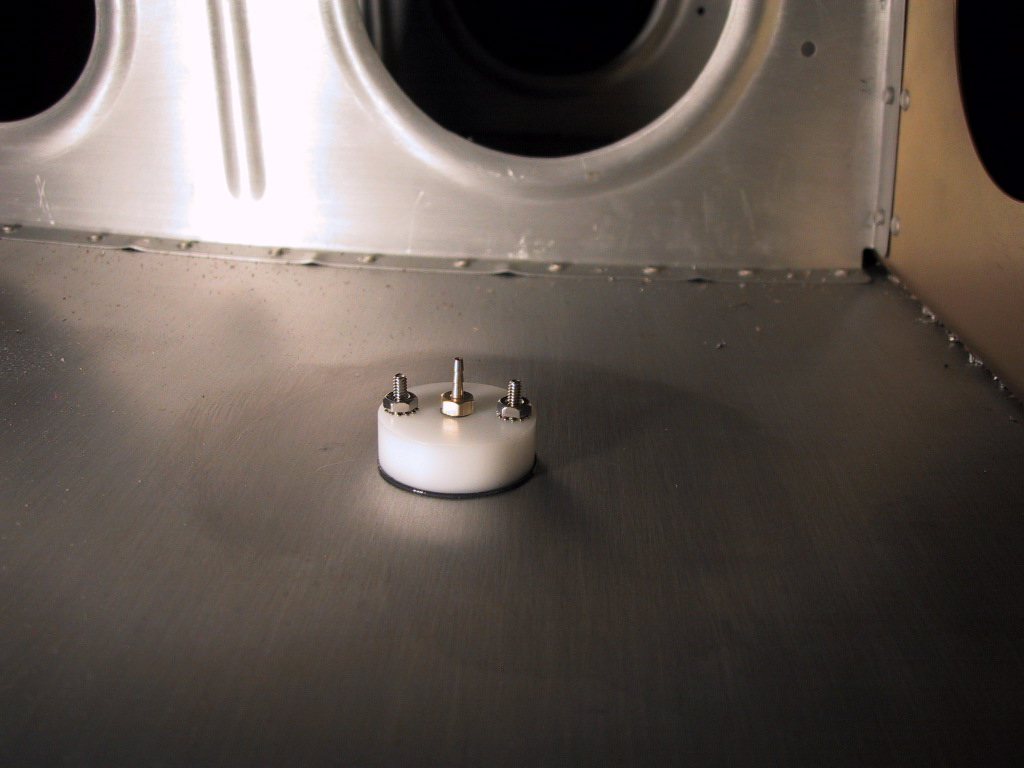
And the upper port. Same deal. Proseal yuk.
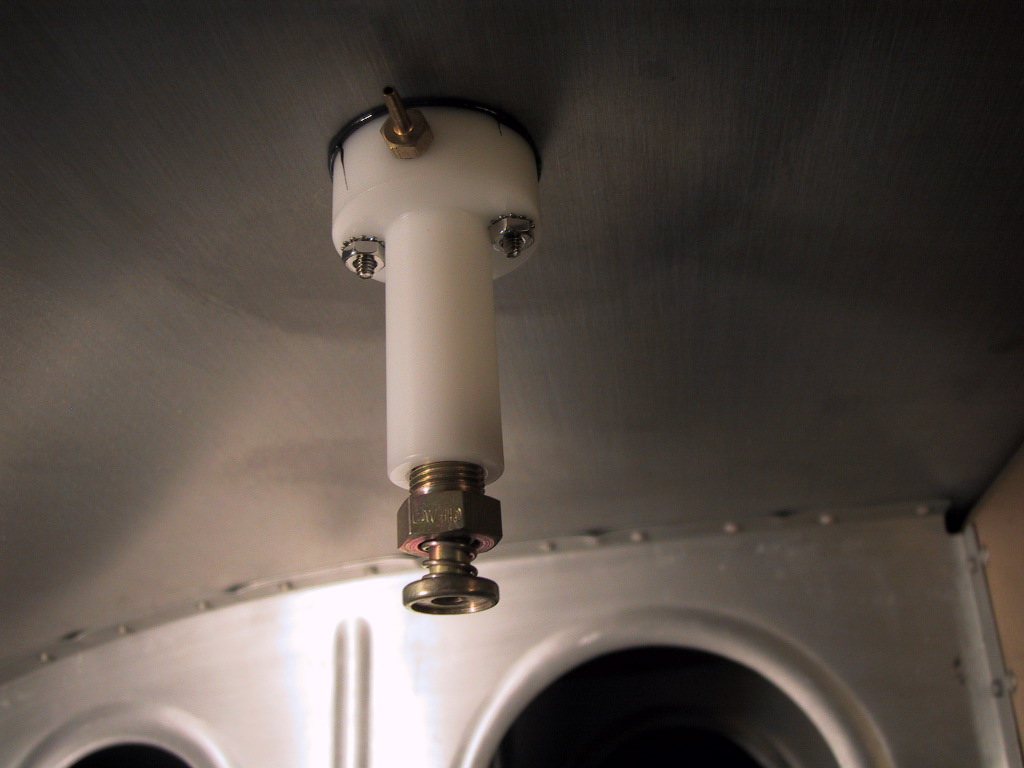
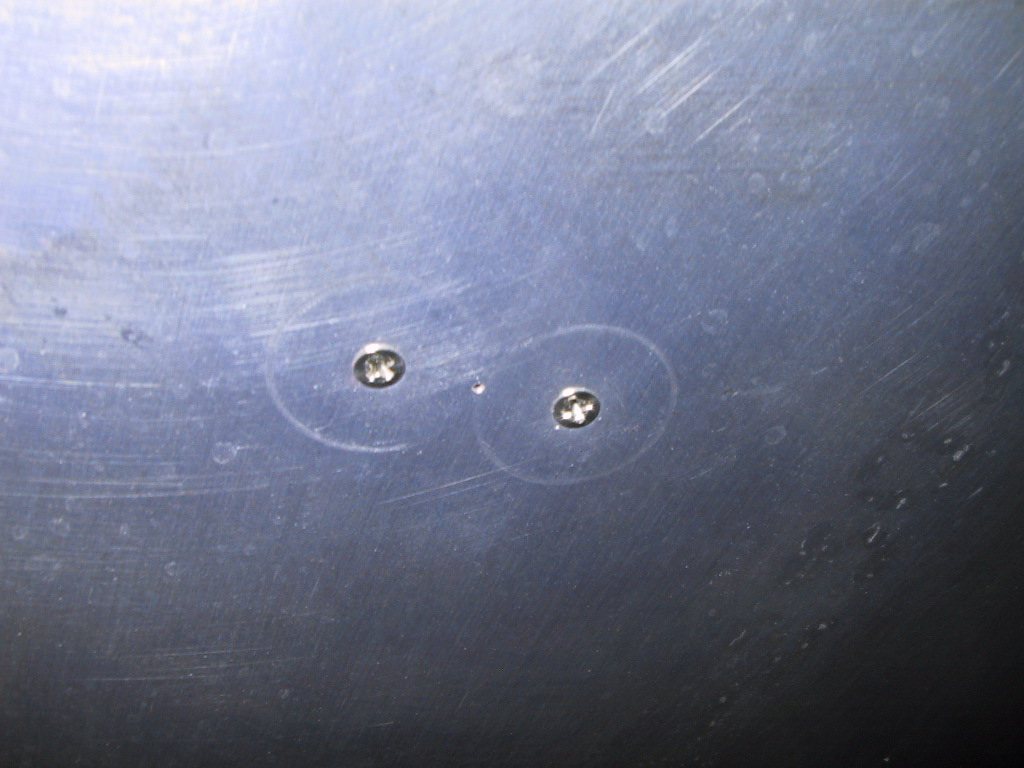
Here’s the upper port from the outside. It’s a bit blurry! The hole is tiny. I was worried about bending or snapping the drill! In order to get the screws to sit nice and flush, I drilled the holes with a #40, dimpled them, and then ran a countersink cutter into them a little until the screws were flush. A #40 dimple just isn’t quite deep enough.
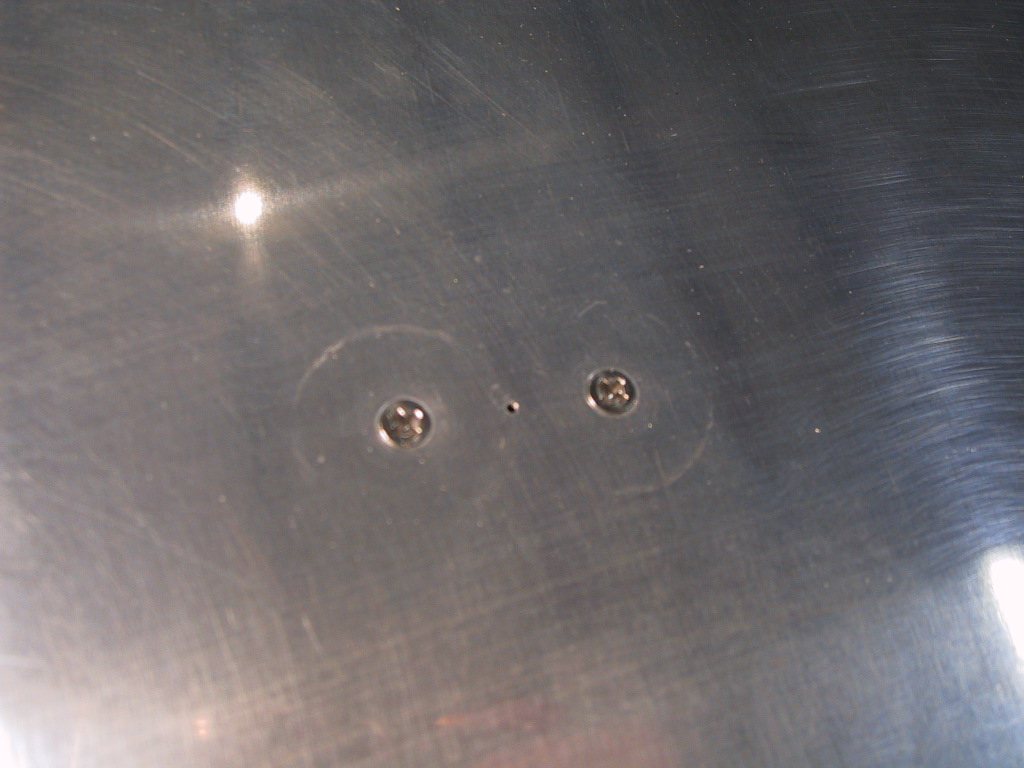
The lower port. A little better focused.
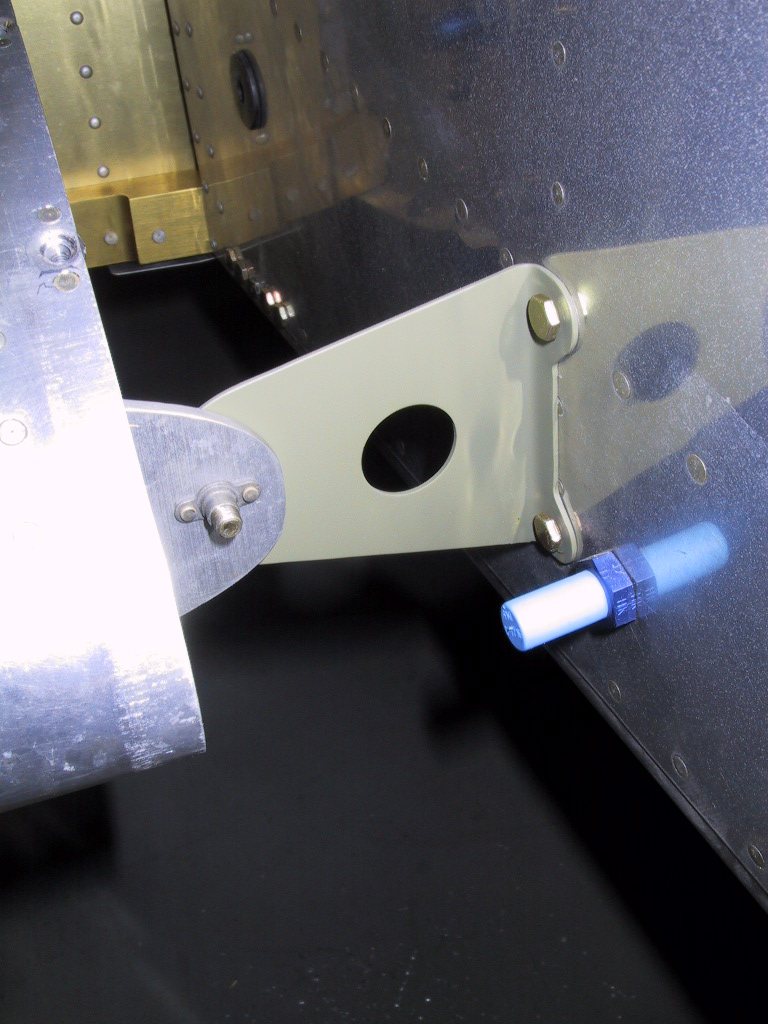
Tank brackets. I match drilled the aluminium part of this set up on both tanks, and opened the holes up to 1/4". I then put the ‘shorty’ nutplates on. I sandblasted the rust off the brackets outside (yep, I damn near froze my ass off!) and came into the warm to paint them. I like the sandblaster. It leaves a great roughed up surface for painting. Once the paint was dry, I assembled it all. The plans say not to overtighten this bolt, and to stop tightening when the washer stops turning. Well, my washer didn’t turn to start with, so how I’m supposed to know how tight is right is beyond me! Van’s, I think we need a torque call out for this bolt! I still need to safety wire it too, so I need to look at a couple of other builder’s sites to see how they did it. Blatant copying eh?! Hmmm.
You may also notice in the image below that the fuel line has disappeared. As it turned out, my fuel line coming out of the fuselage was perfectly lined up with the tank outlet, so I had no need to put the elbow on there. I thought my outlet was further forward, but I was mistaken. I cut the tube inside the fuselage, and I’ll use a union to make the tube a two piece affair. This will also help to get it all assembled a bit more easily too. It was a pain before coz of all the bends in it.
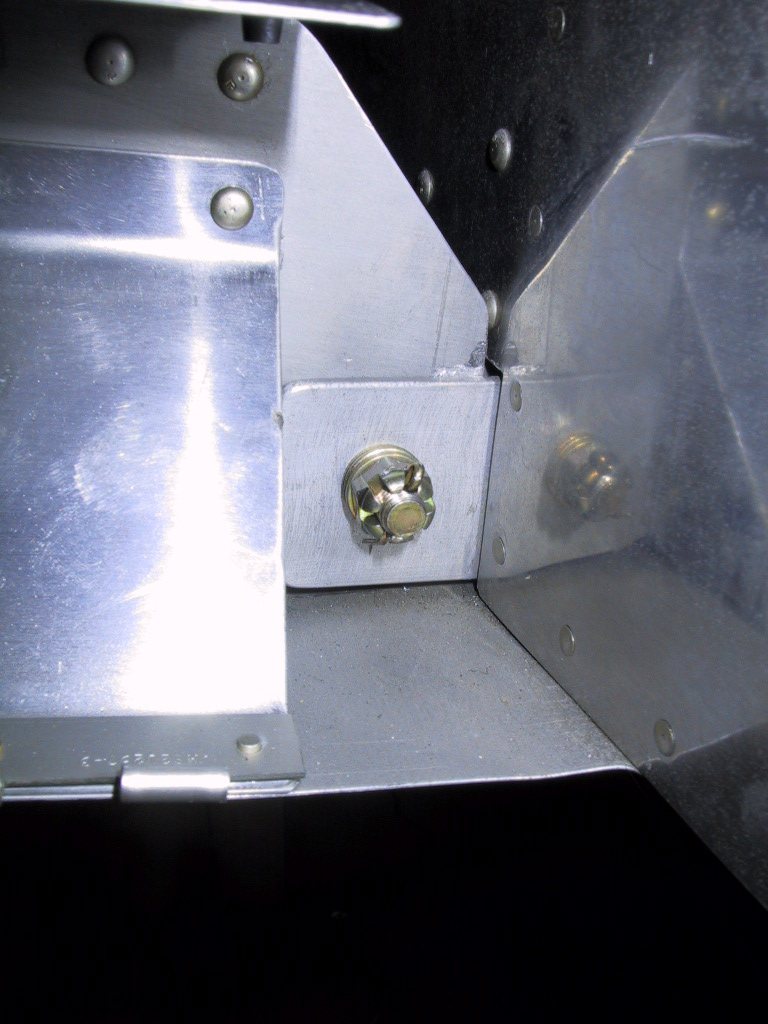
After getting the tank attachments done, I moved to the rear spars. This was a simple affair of torquing the nut down and putting a cotter pin in there. Something I was wondering about was why Van’s specifies this long of a bolt, and three washers? Why not just use a shorter one and one washer?
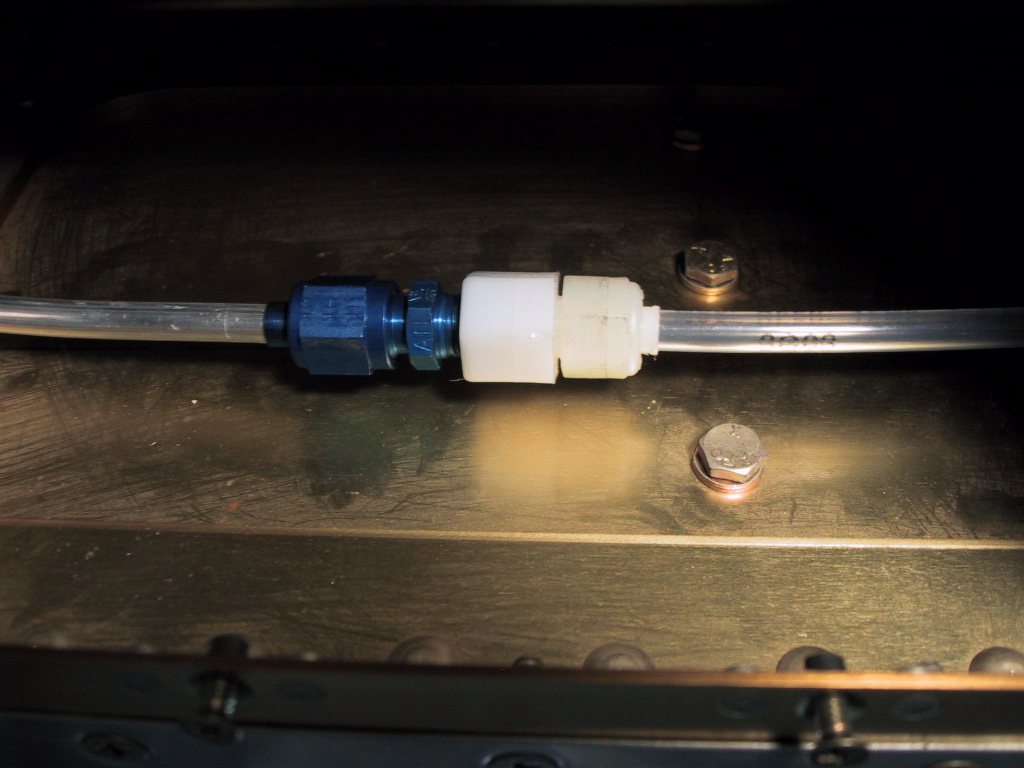
Here is the pitot tube transition from aluminium tube to polyflow tube. I wrapped this one up while I was lying on the floor under the plane. I think now I’m ready for a pitot/static test.
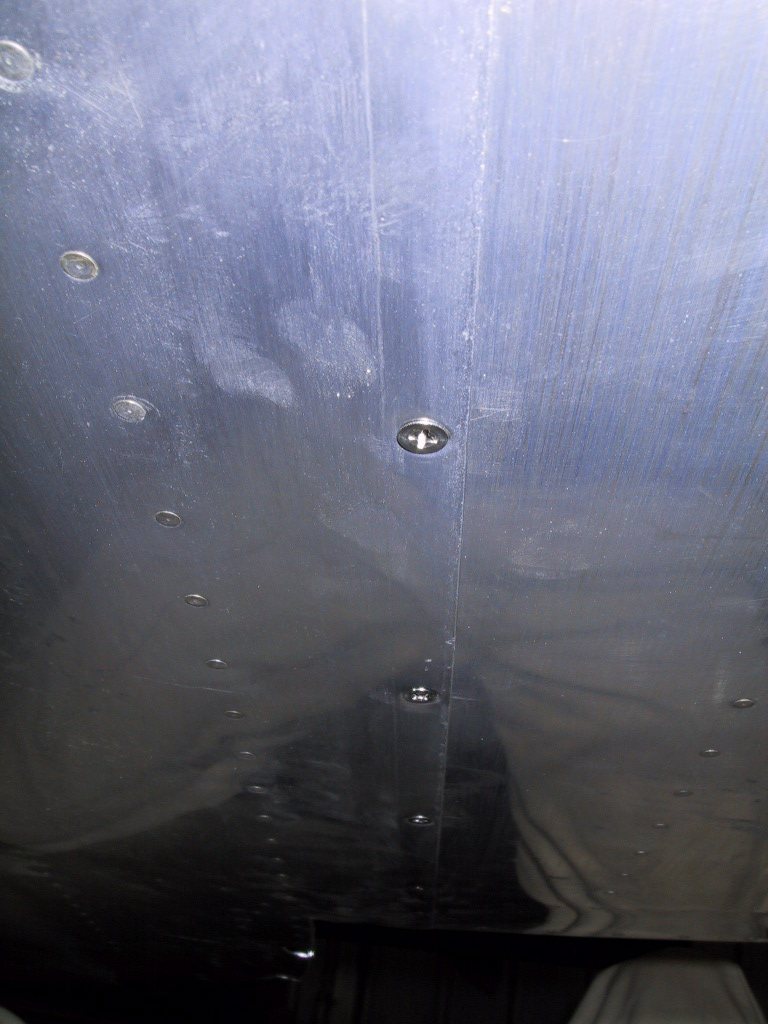
Something else I did while lying under there was fit the stainless screws that hold the fuselage skin to the wings. Generally, today was a day of tidying up loose ends. The AOA tubes are all connected to the ports now too.