


July 2, 2006
Today was pretty hot and humid, so progress was a bit slow really. Clayton came by and help me get one of the wing tips almost done.
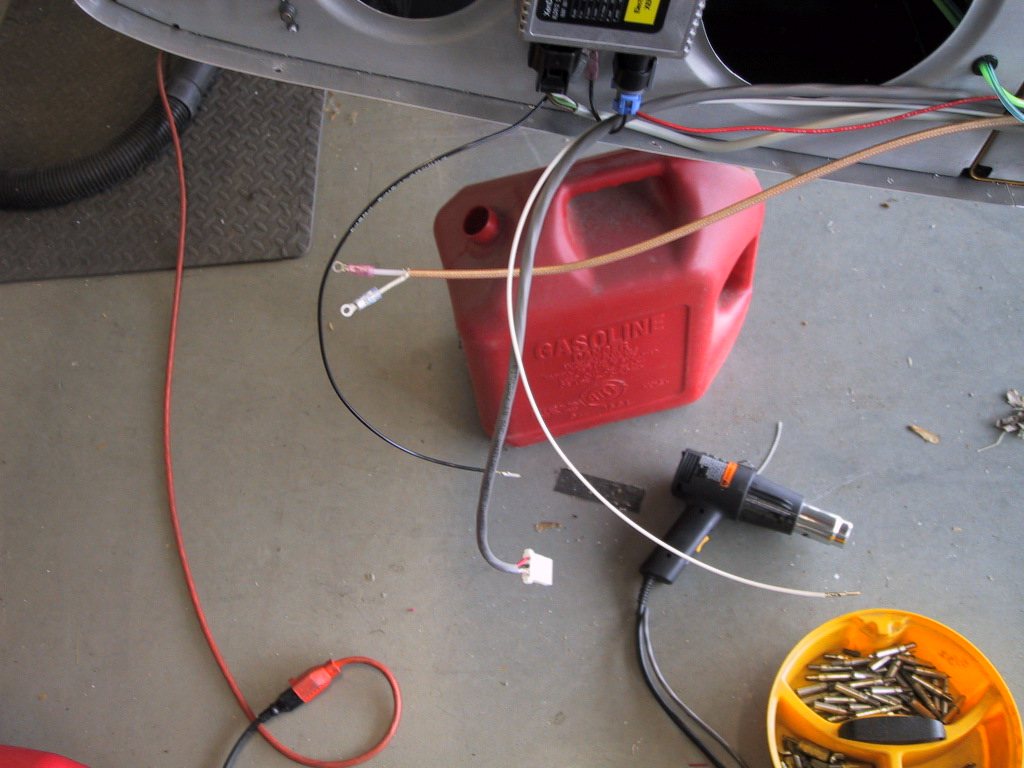
We wrapped up some of the wiring for the nav & strobes. Cut the wires to length and installed the connectors.
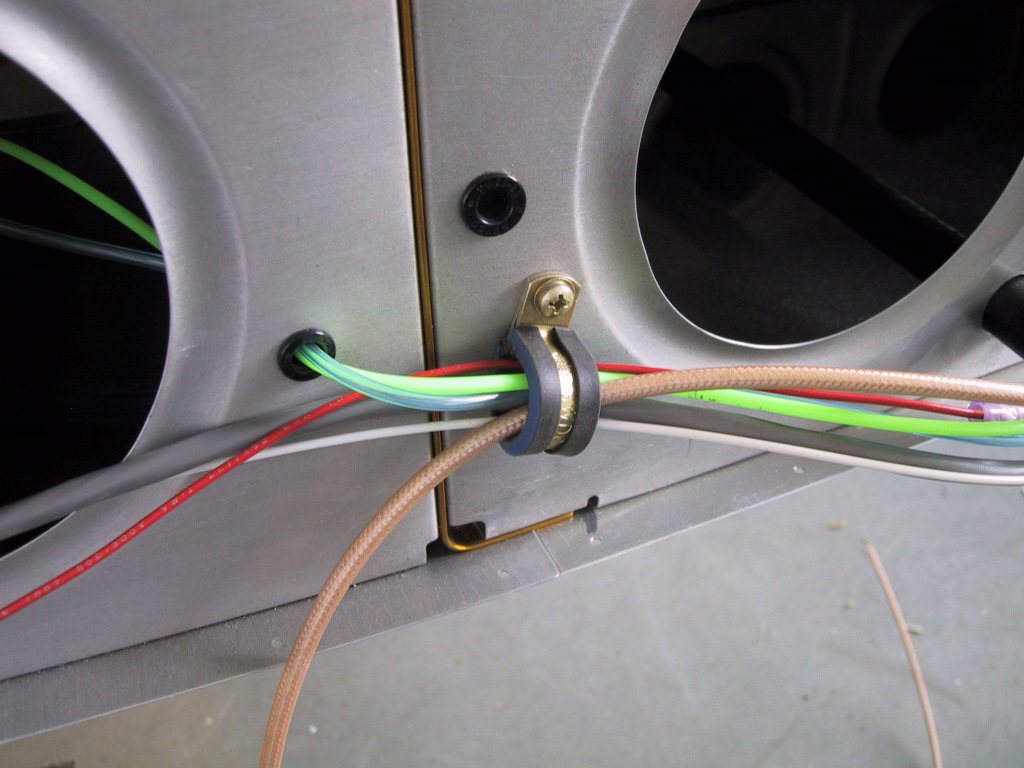
Here we’re just over halfway through the job. We need to buy some two way mate-n-lok connectors for the nav light connection. The antenna wire on this wing is for Com 2.
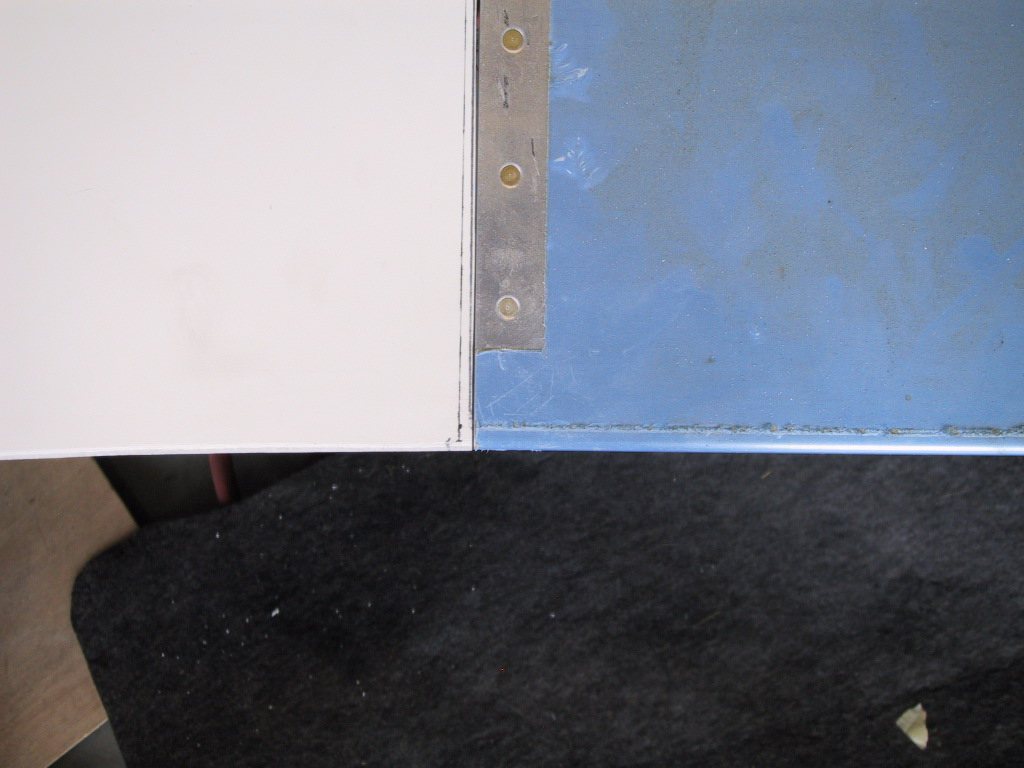
Next, the nasty stuff. It was time to get dirty. I sanded the rear edges of the wing tips to match the ailerons. This wasn’t really too bad, and there’s still plenty of material along the rear edge to maintain some structural integrity. I drew a line 1/8 inch from the aileron edges for a nice tight gap.
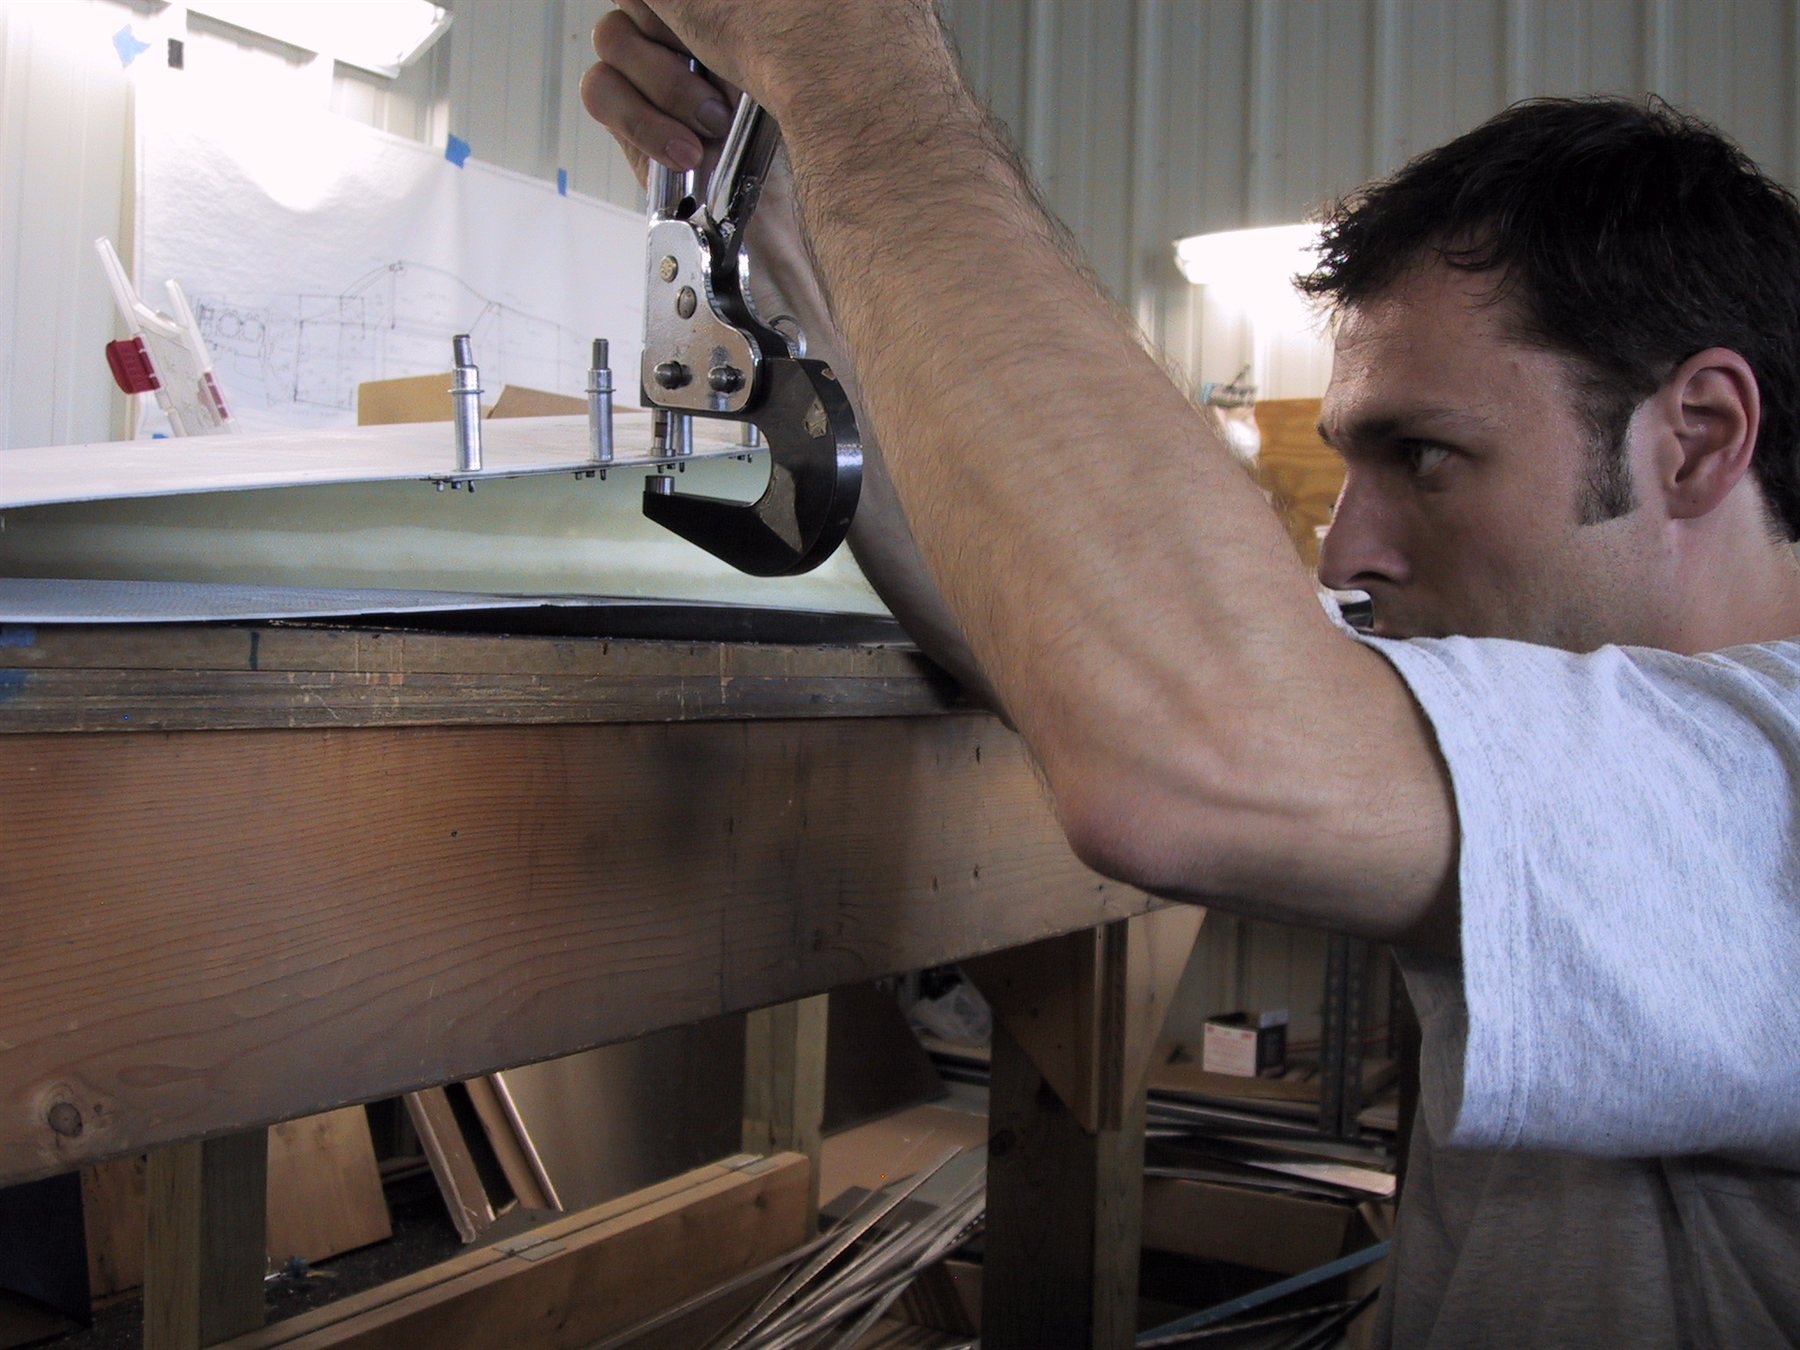
The the wing tips were removed and it was time to start fitting nutplates. There were a lot! So many in fact that Clayton made me make a drilling jig! It was a good job we did really, otherwise we’d still be drilling holes now! We made some 9/16" wide backing strips for the nutplates to rivet too, and to help support the fibreglass a bit. I don’t know why, I’m just not that trusting of fibreglass for some reason! Maybe that’s why we’re building a metal plane!
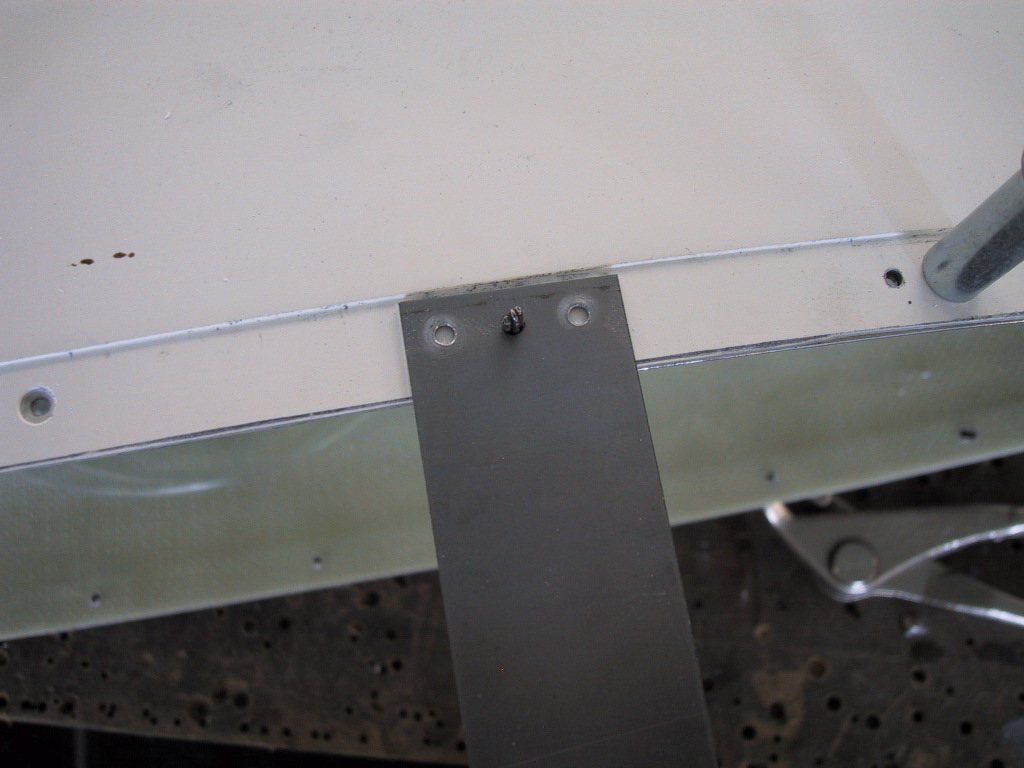
Intense concentration, riveting onthe nutplates and backing strips. We put resin on the wingtips and backing strips first, so this job was a little messy.
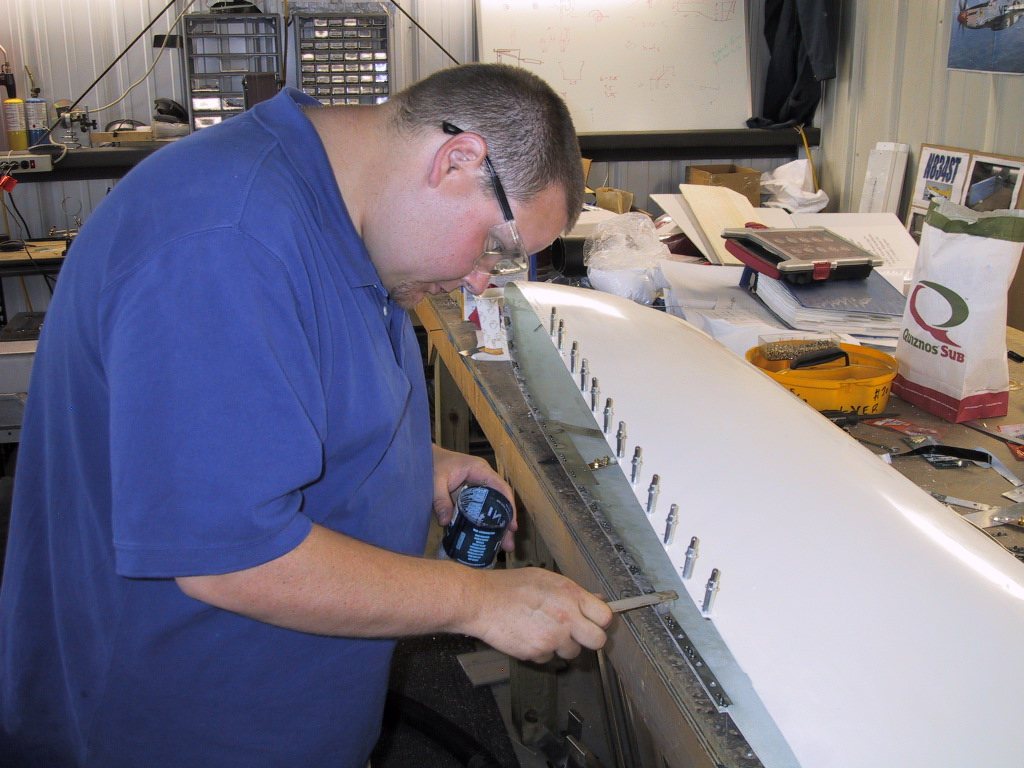
Once the nut plates were on, Clayton applied some “peanut butter” flox mix to the strips just to make sure.
We didn’t forget the antenna here either! I have to order some blue foam stuff to glass into the wingtip to hold the antenna in a more vertical position for comm’s vertical polarisation. The antenna here is mounted on the top surface of the wingtip.
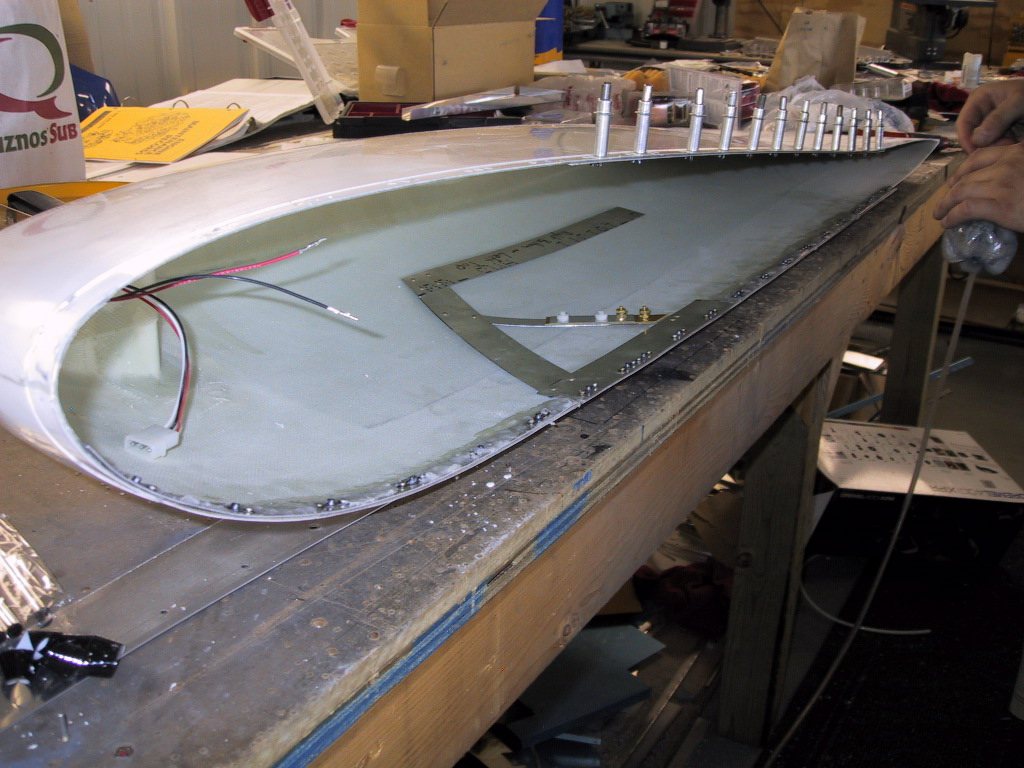
That was about all we had time for. This should set up pretty quickly with these temperatures. We didn’t get chance to put the wingtip rib in place. That’ll have to come later.