October 1, 2006
This wrap up stuff goes on forever! Maybe I started it too early! Well, I got a call from Blue Mountain saying our EFIS CPU has had it’s preflight calibration and check up, so it’s on it’s way. That means we have to work towards being in a position to put on that dreaded forward fuselage skin.
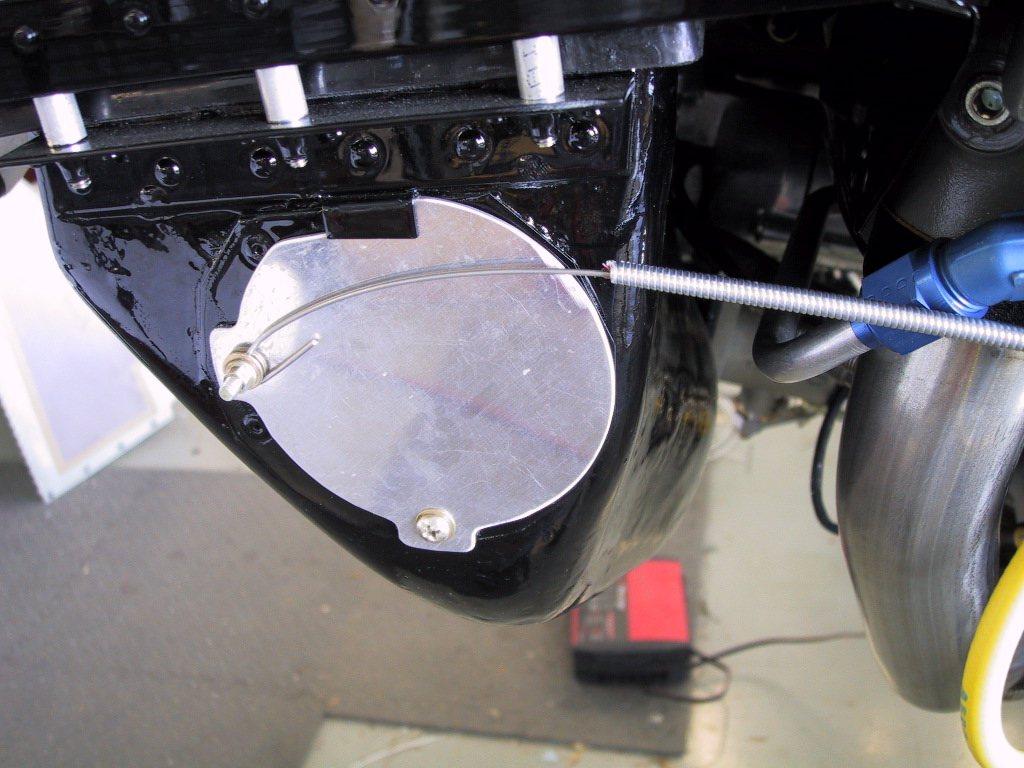
One of the first tasks was to hook up the alternate air cable. This cable runs forward through the firewall to the snorkel air intake where there is a door that can be pulled open in the event of an iced up or otherwise blocked air filter. I fabricated a bracket out of angle stock, and routed the cable. Then it was just a matter of connecting it up and moving on to the next task…
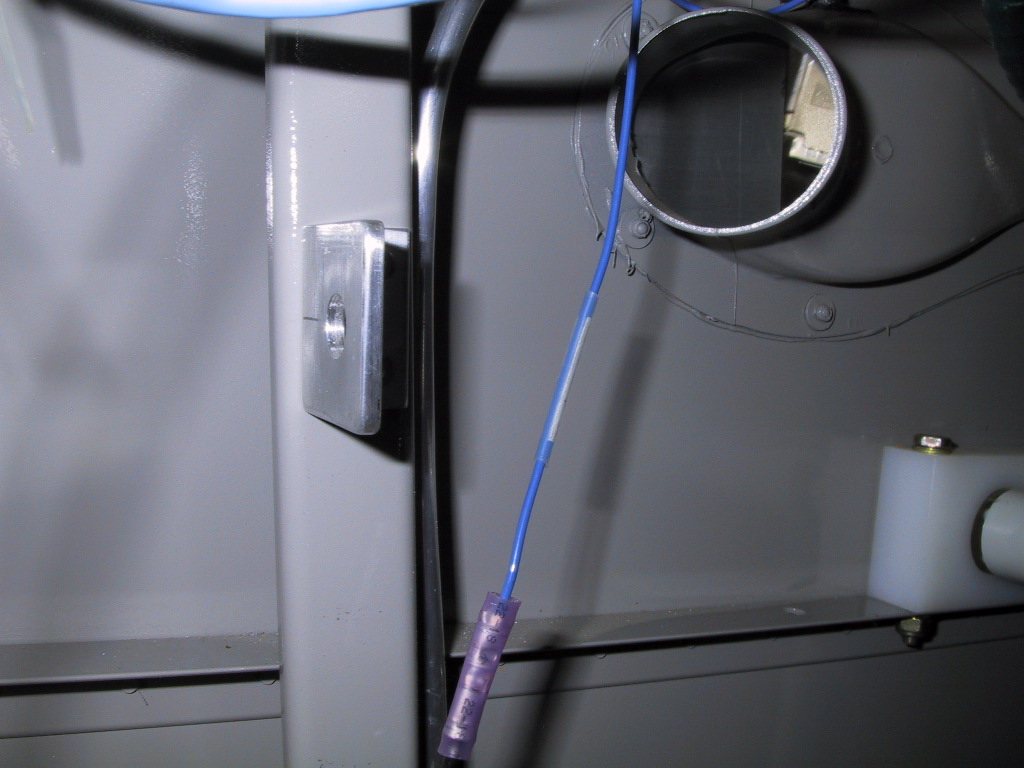
Here’s the other end. The cable is held in place to each cylinder head with an adel clamp, just like the spark plug wires.
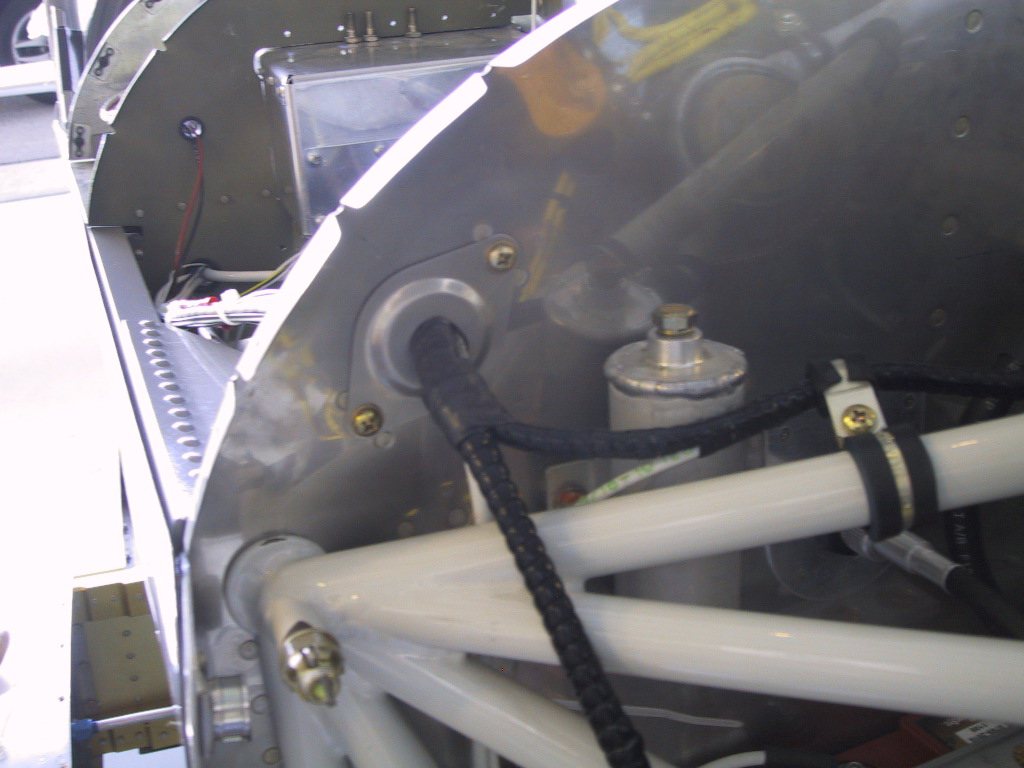
We put a shield on the grommet for the wiring. This is the main power cable plus a bunch of other wires.
Here I am trying to get at the bolts to secure the secondary battery. Not enough room to bend my hand in there….
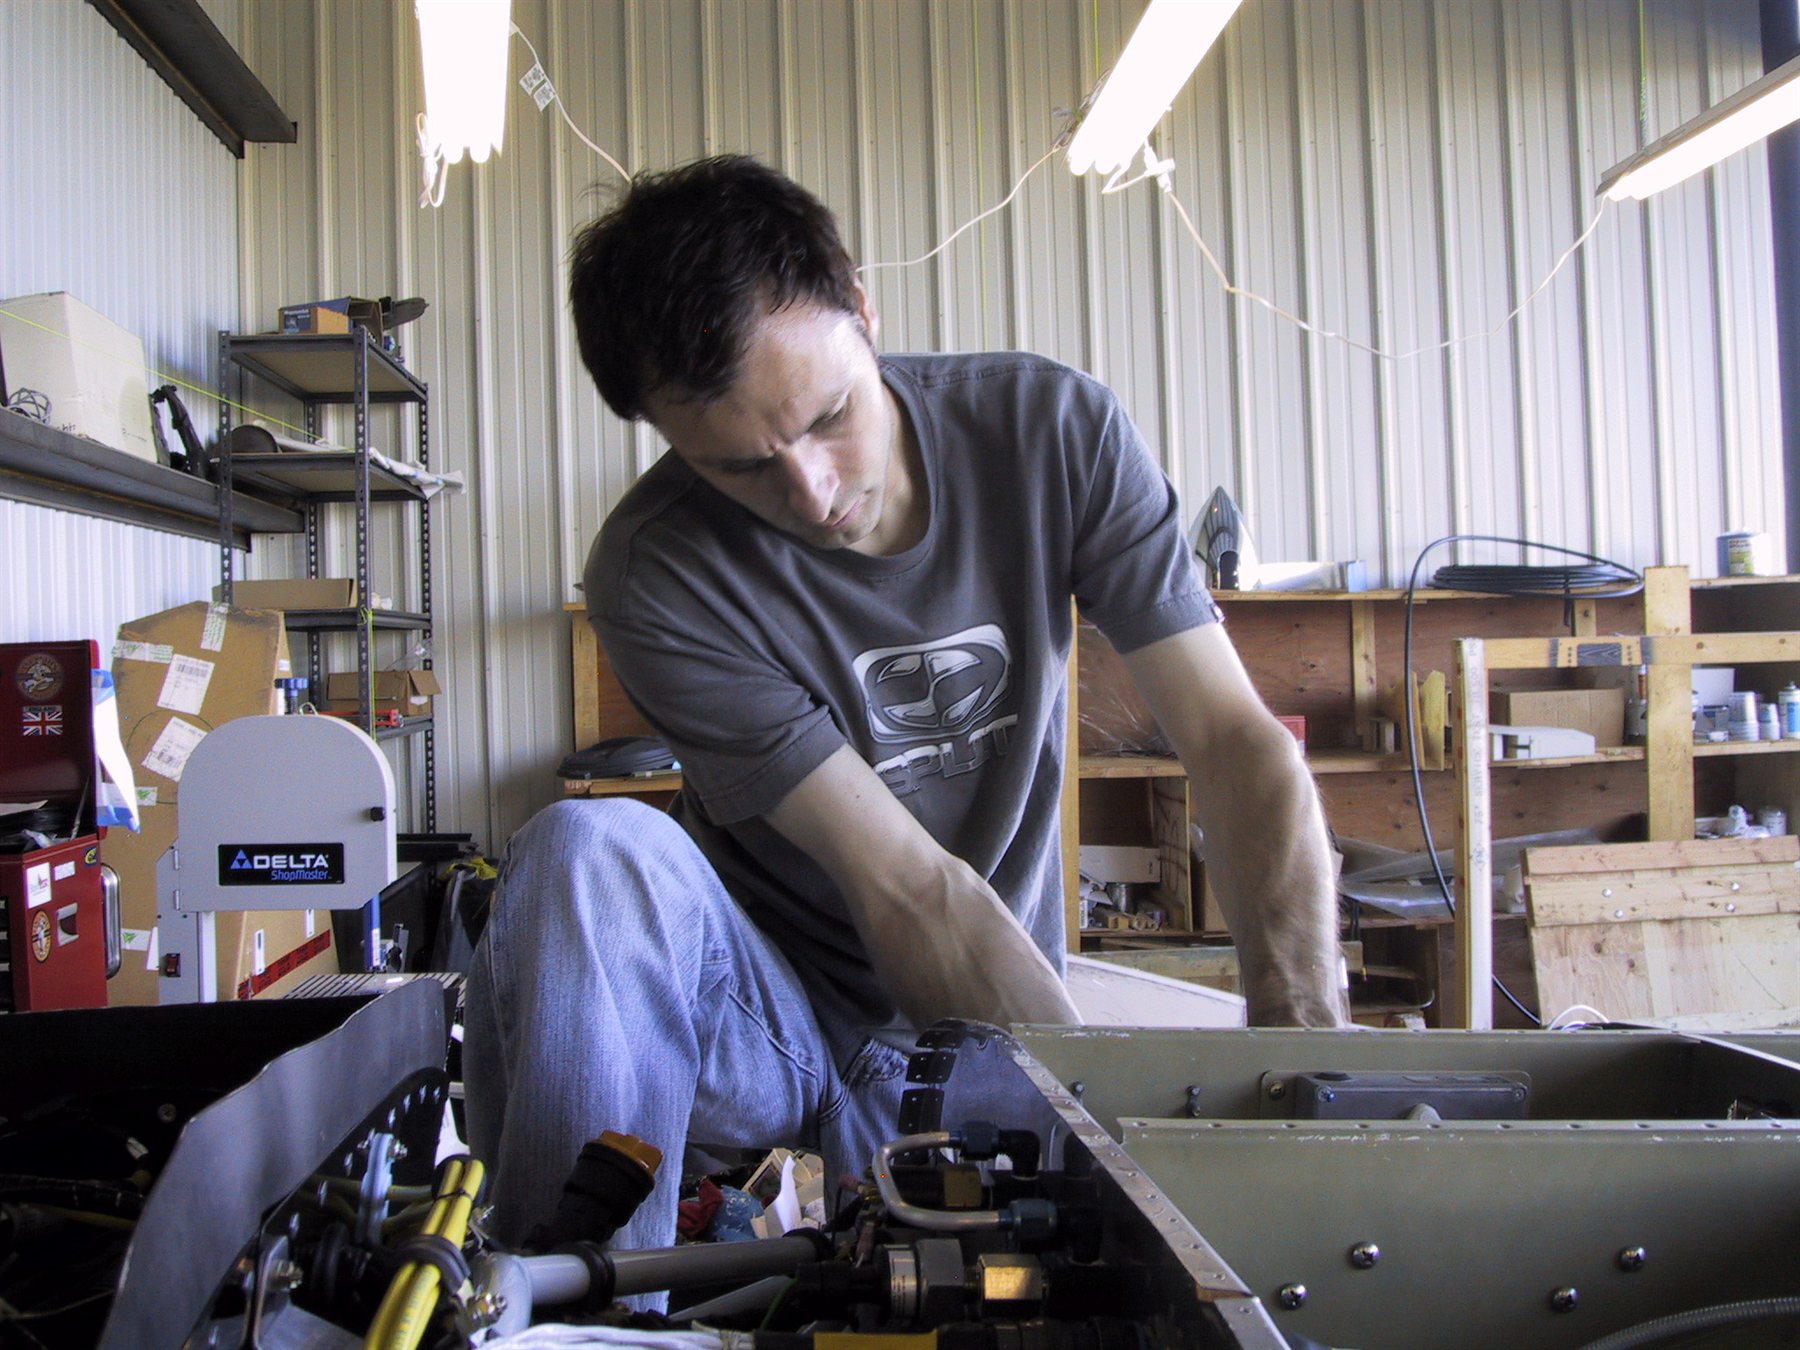
So I ended up going in from underneath. Much easier. Speaking of which, Cam recommended I cleco on the top skin, and crawl under the panel there to see if I really can access everything I need to. That’s probably a good idea, because once that skin is on….
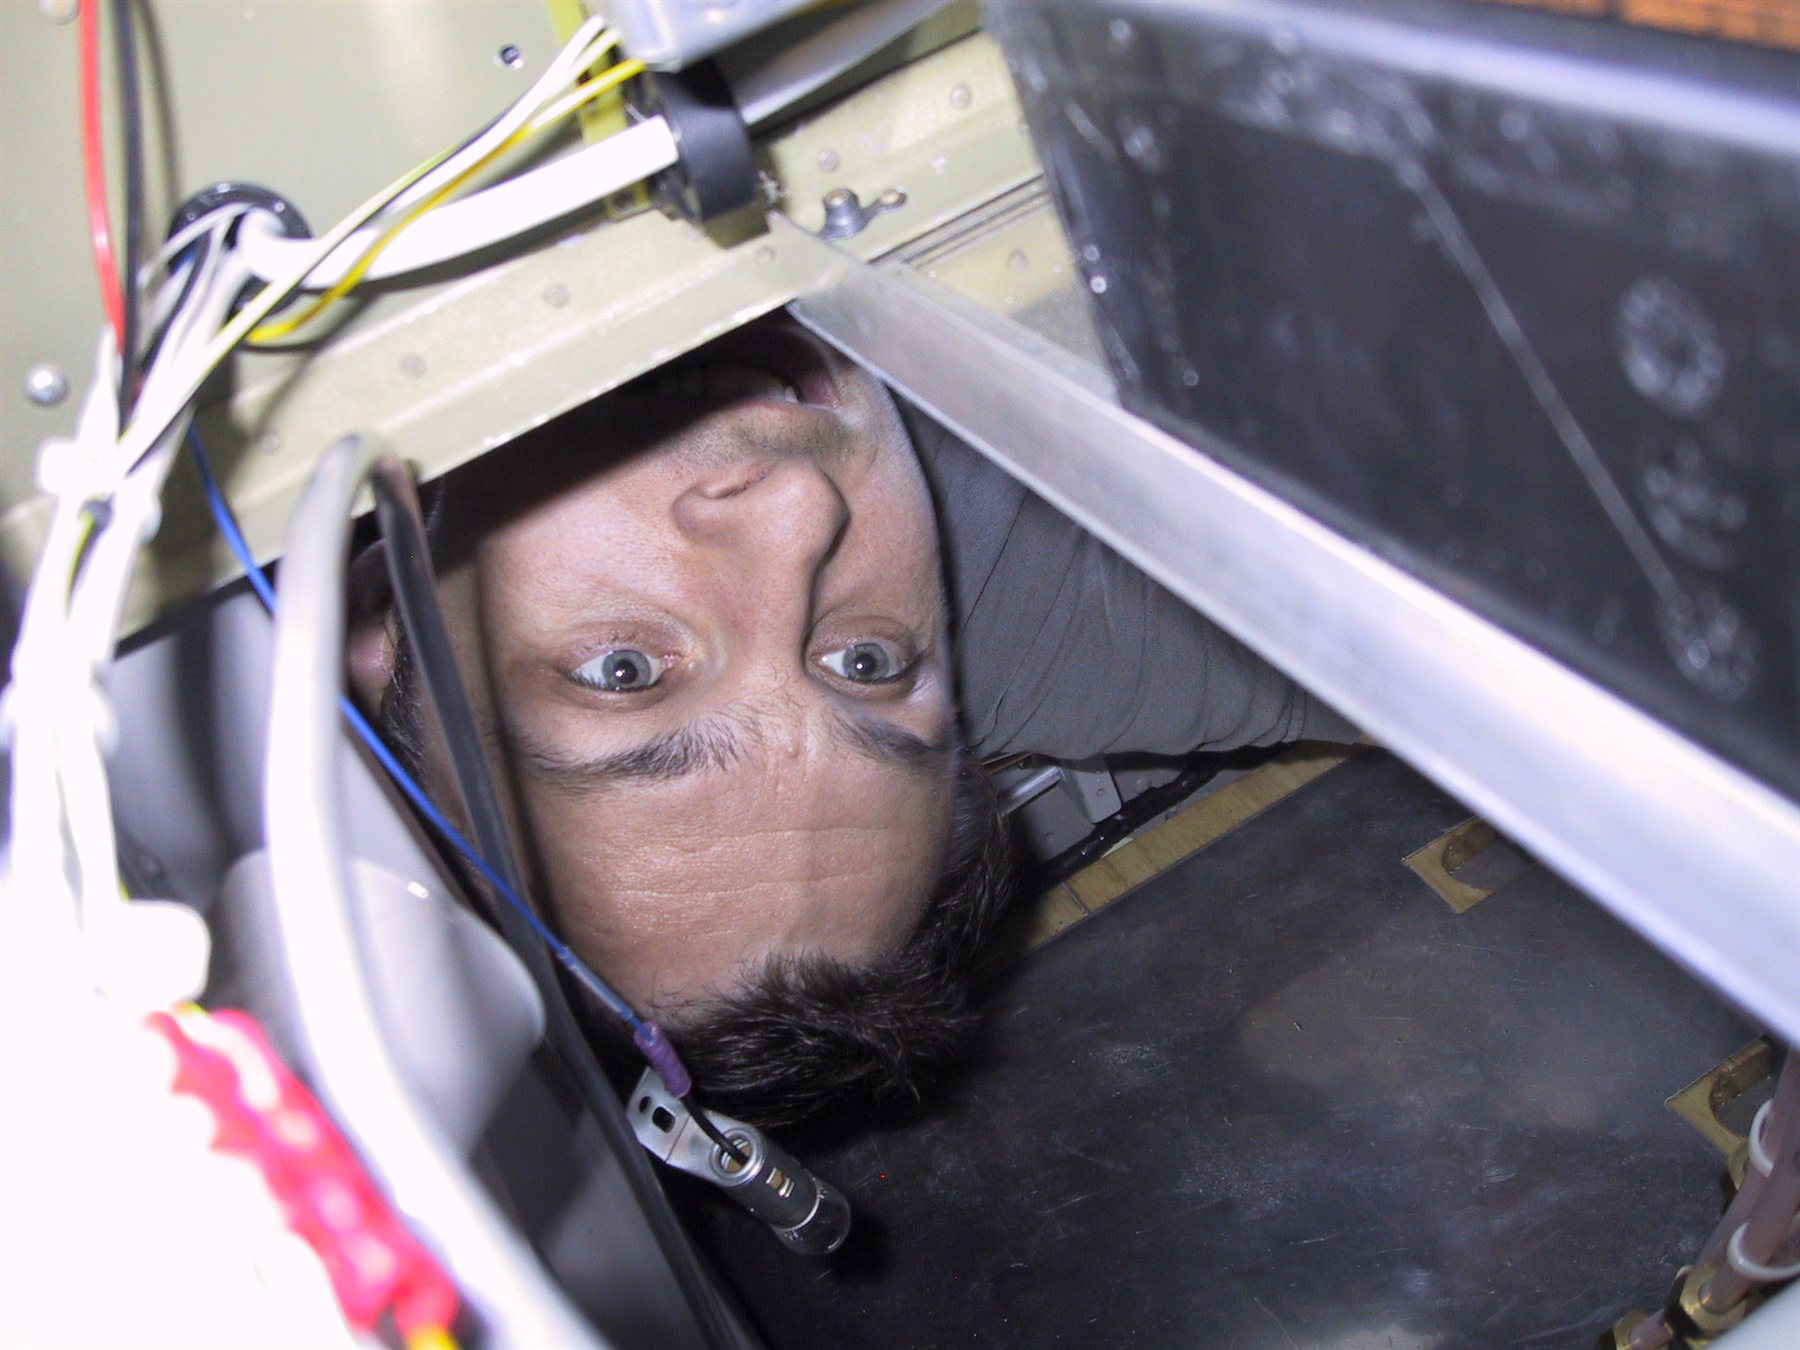
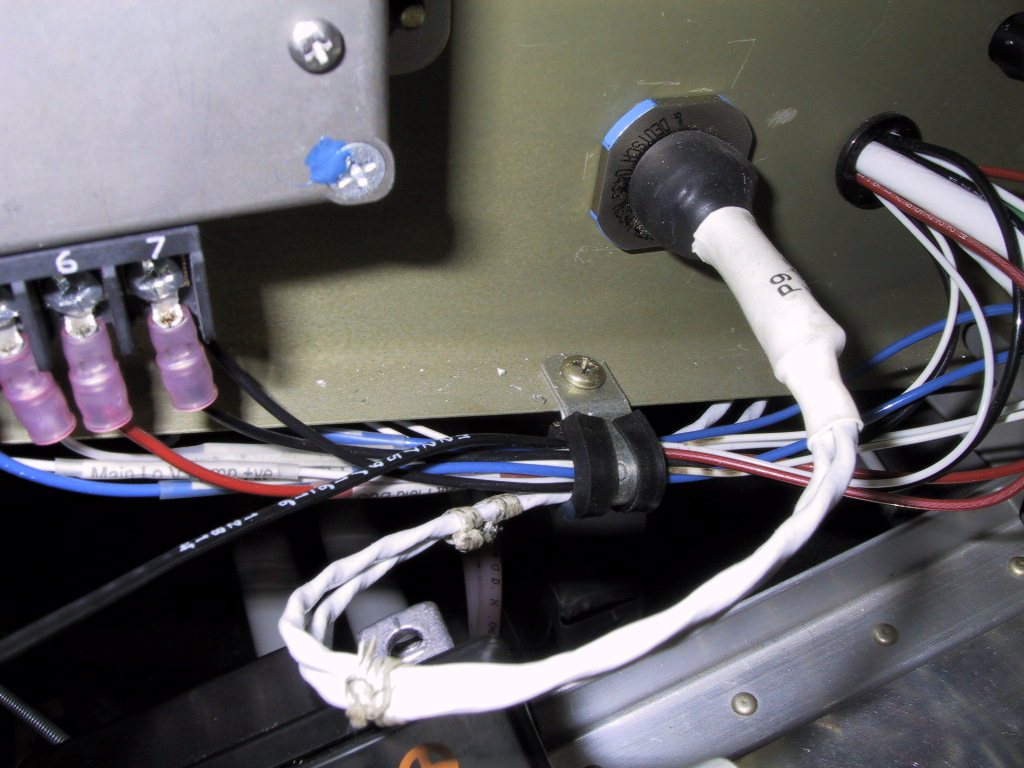
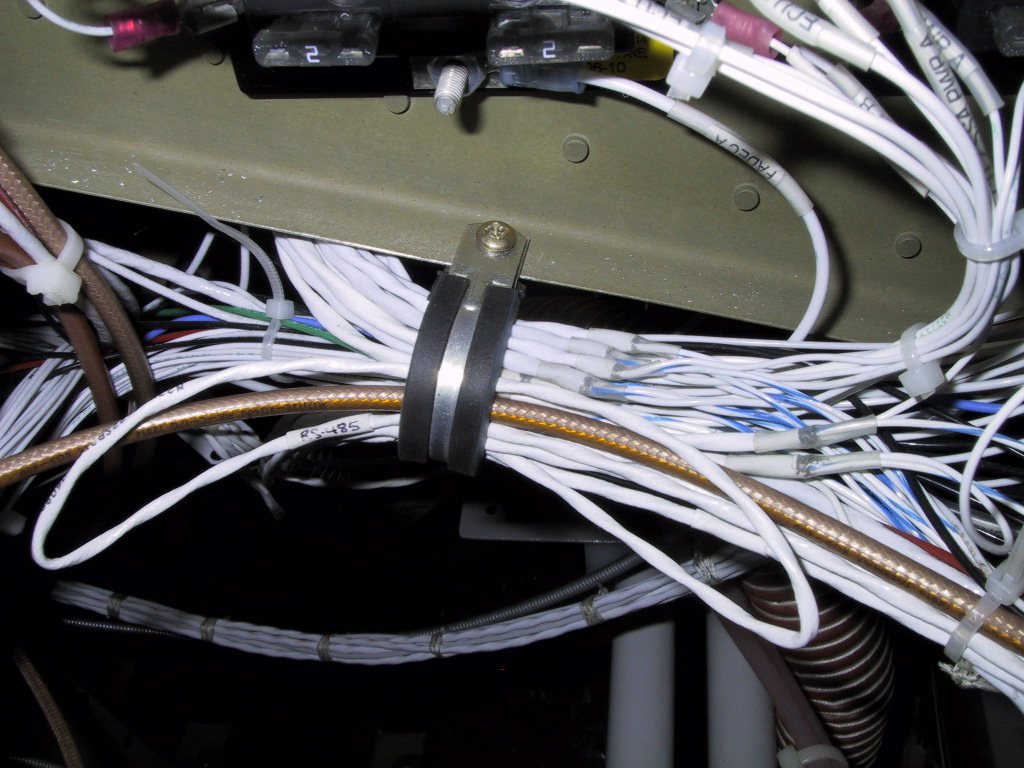
I put this adel clamp on to secure some of the cables. Here’s another thought based on Cam’s suggestion… I should flip the screw and nut on this clamp, because I won’t be getting a screwdriver in there with the skin on will I?
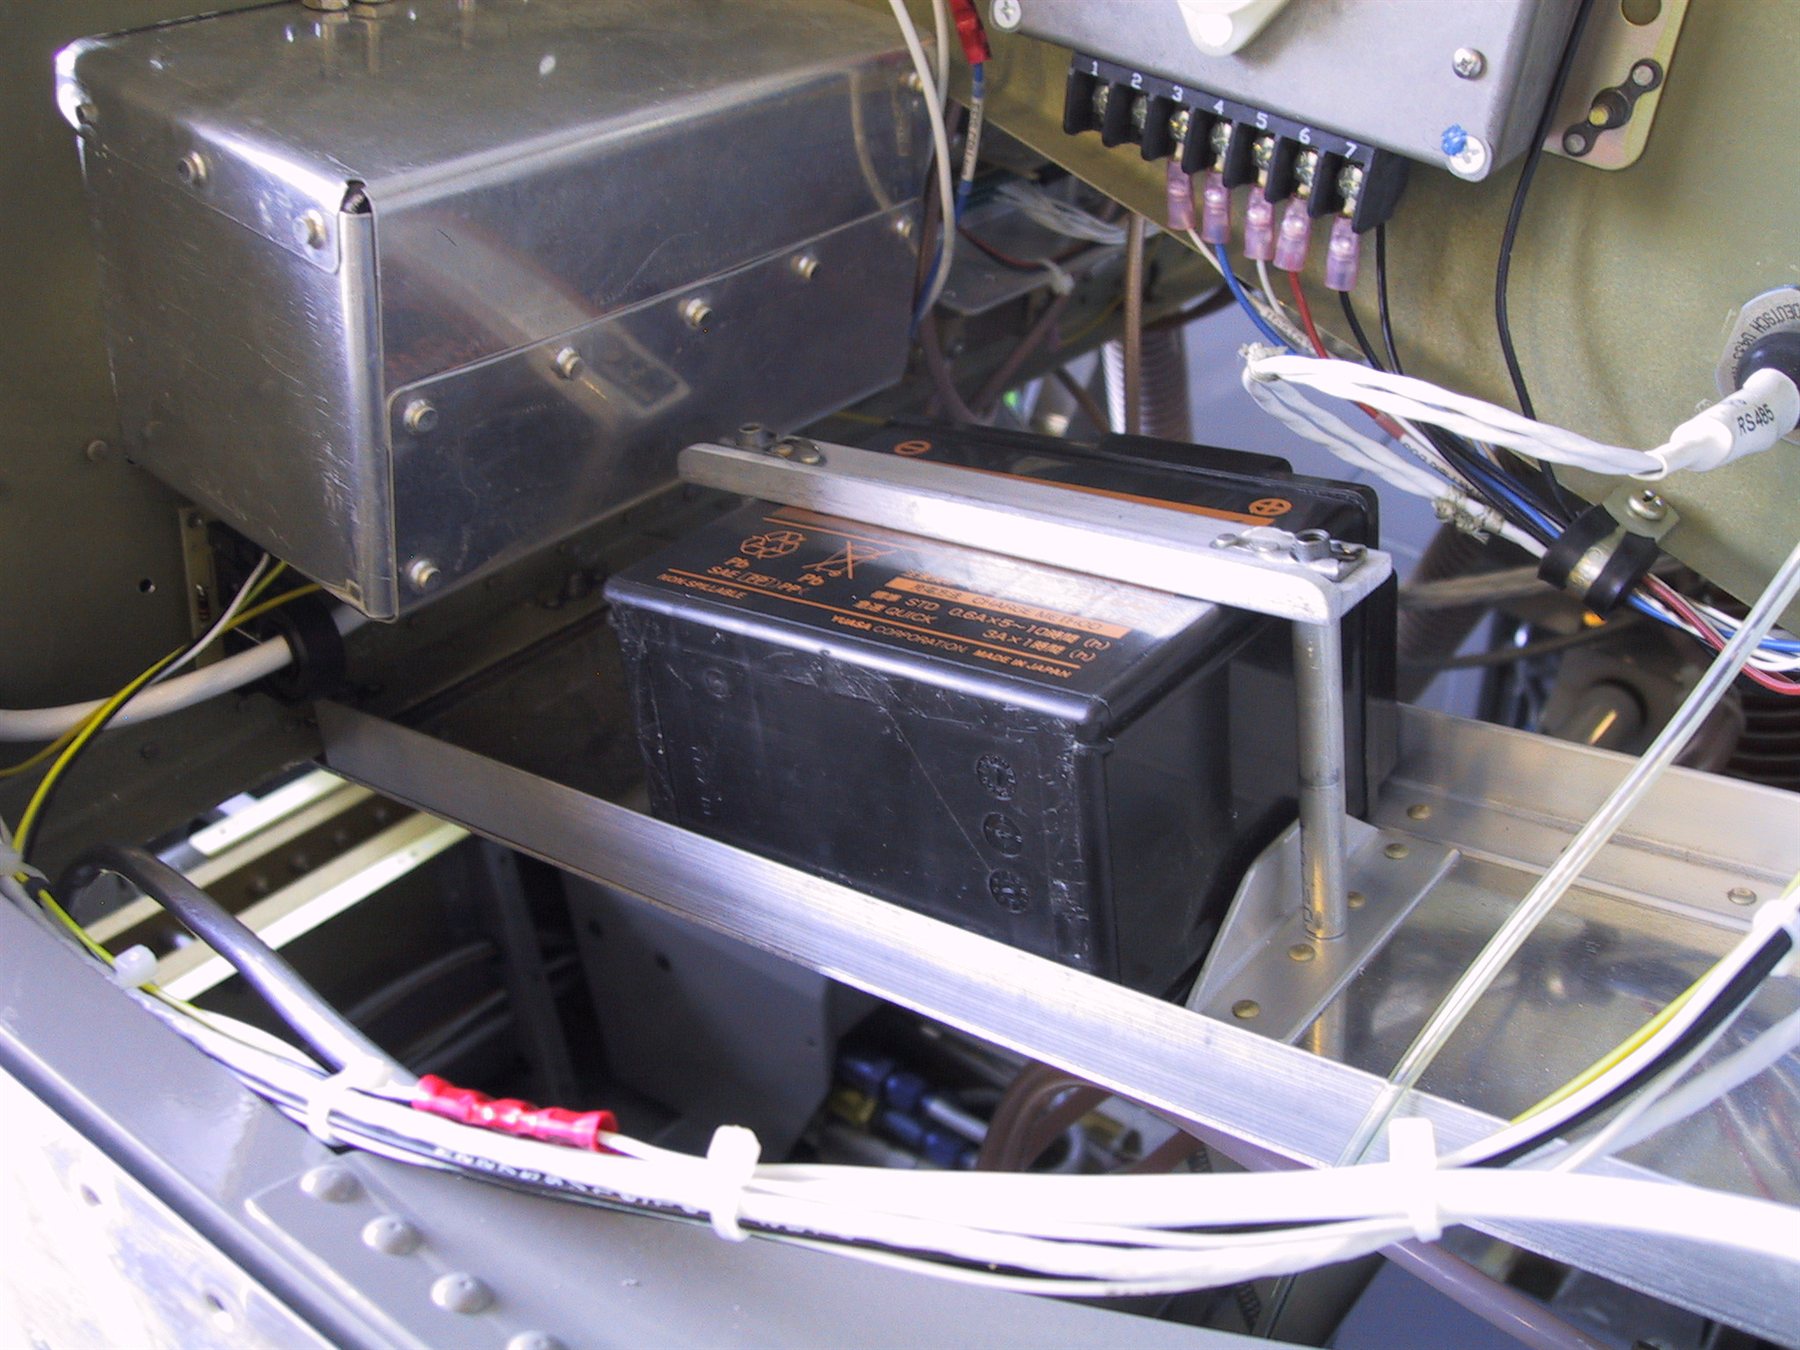
Here’s the secondary battery.. This is outof order, because it’s taken before I tightened the hold down bolts up.
I secured the biggest bunch of wires with another adel clamp. Again, I need to flip the screw and nut. Doh!
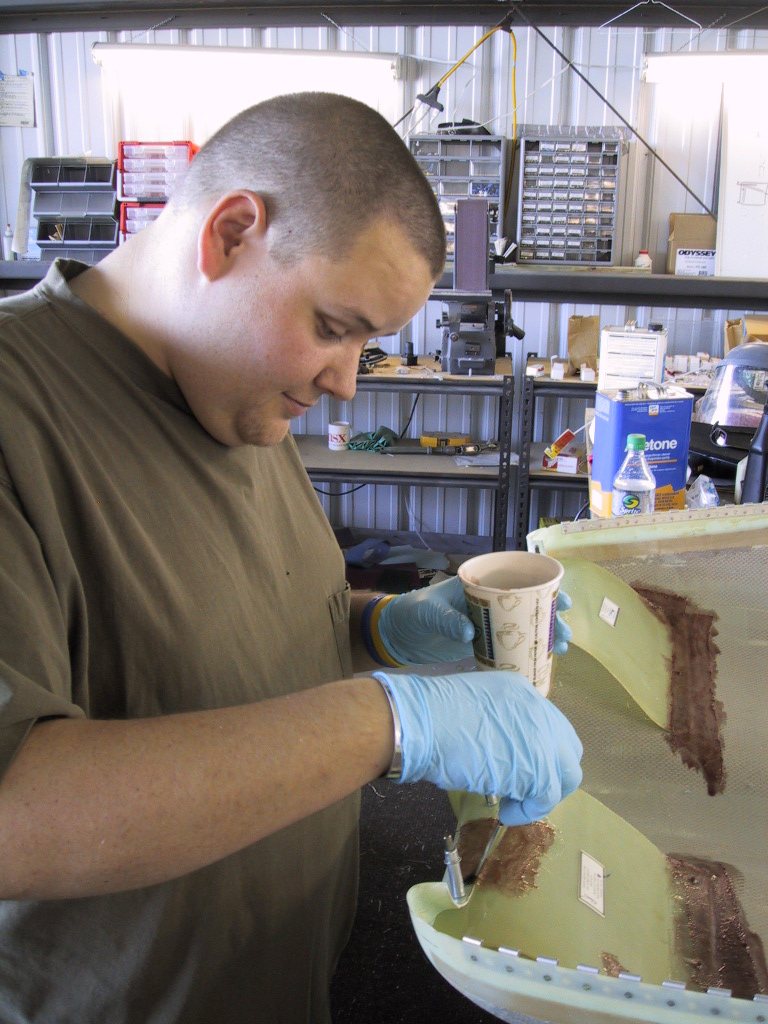
In the meantime, Clayton is fibreglassing the intake ramps to the cowling. I’m stealing your soul here Clayton! (He doesn’t like to have his picture taken.)
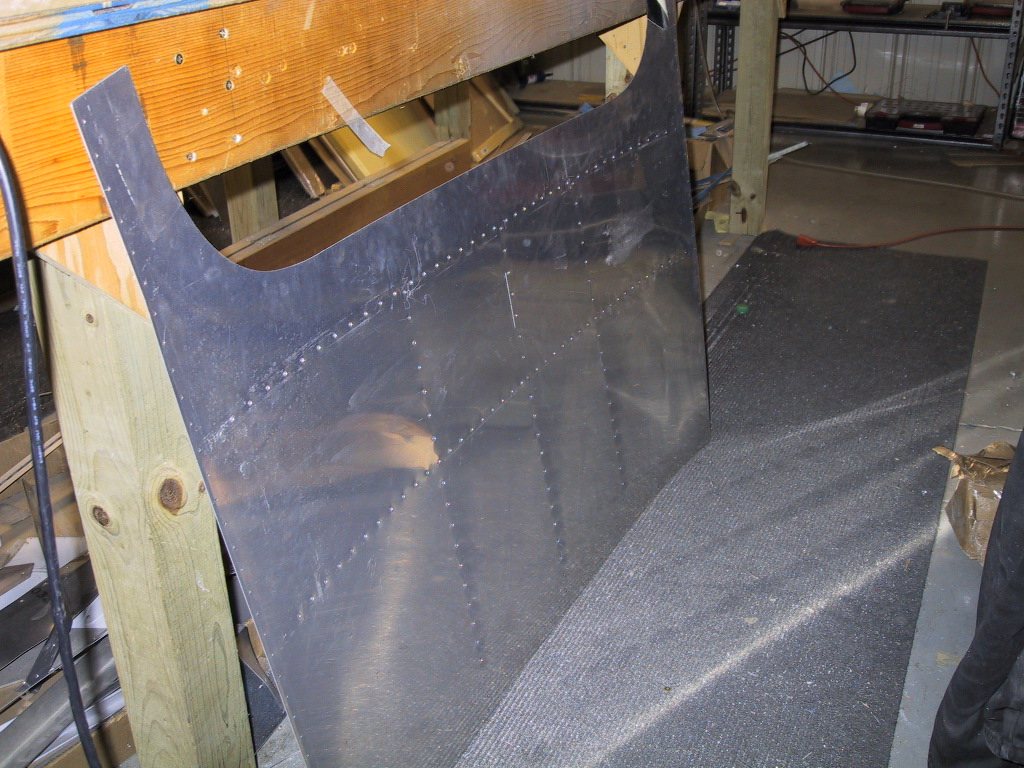
Right then, here we go with the skin. It needed match drilling, so it had to be fully cleco’d on. Trying to get this thing to fit is no fun at all! It took a while, and with all those clecoes, my arm was aching! We got it match drilled, so next it was time to deburr and dimple. How many holes are there? Thank goodness for power tools. I probably should’ve gotten under there while this skin was on, but I didn’t even think about it at the time. Oh well, I can kind of cleco it on and get under and see how bad it really is next weekend.
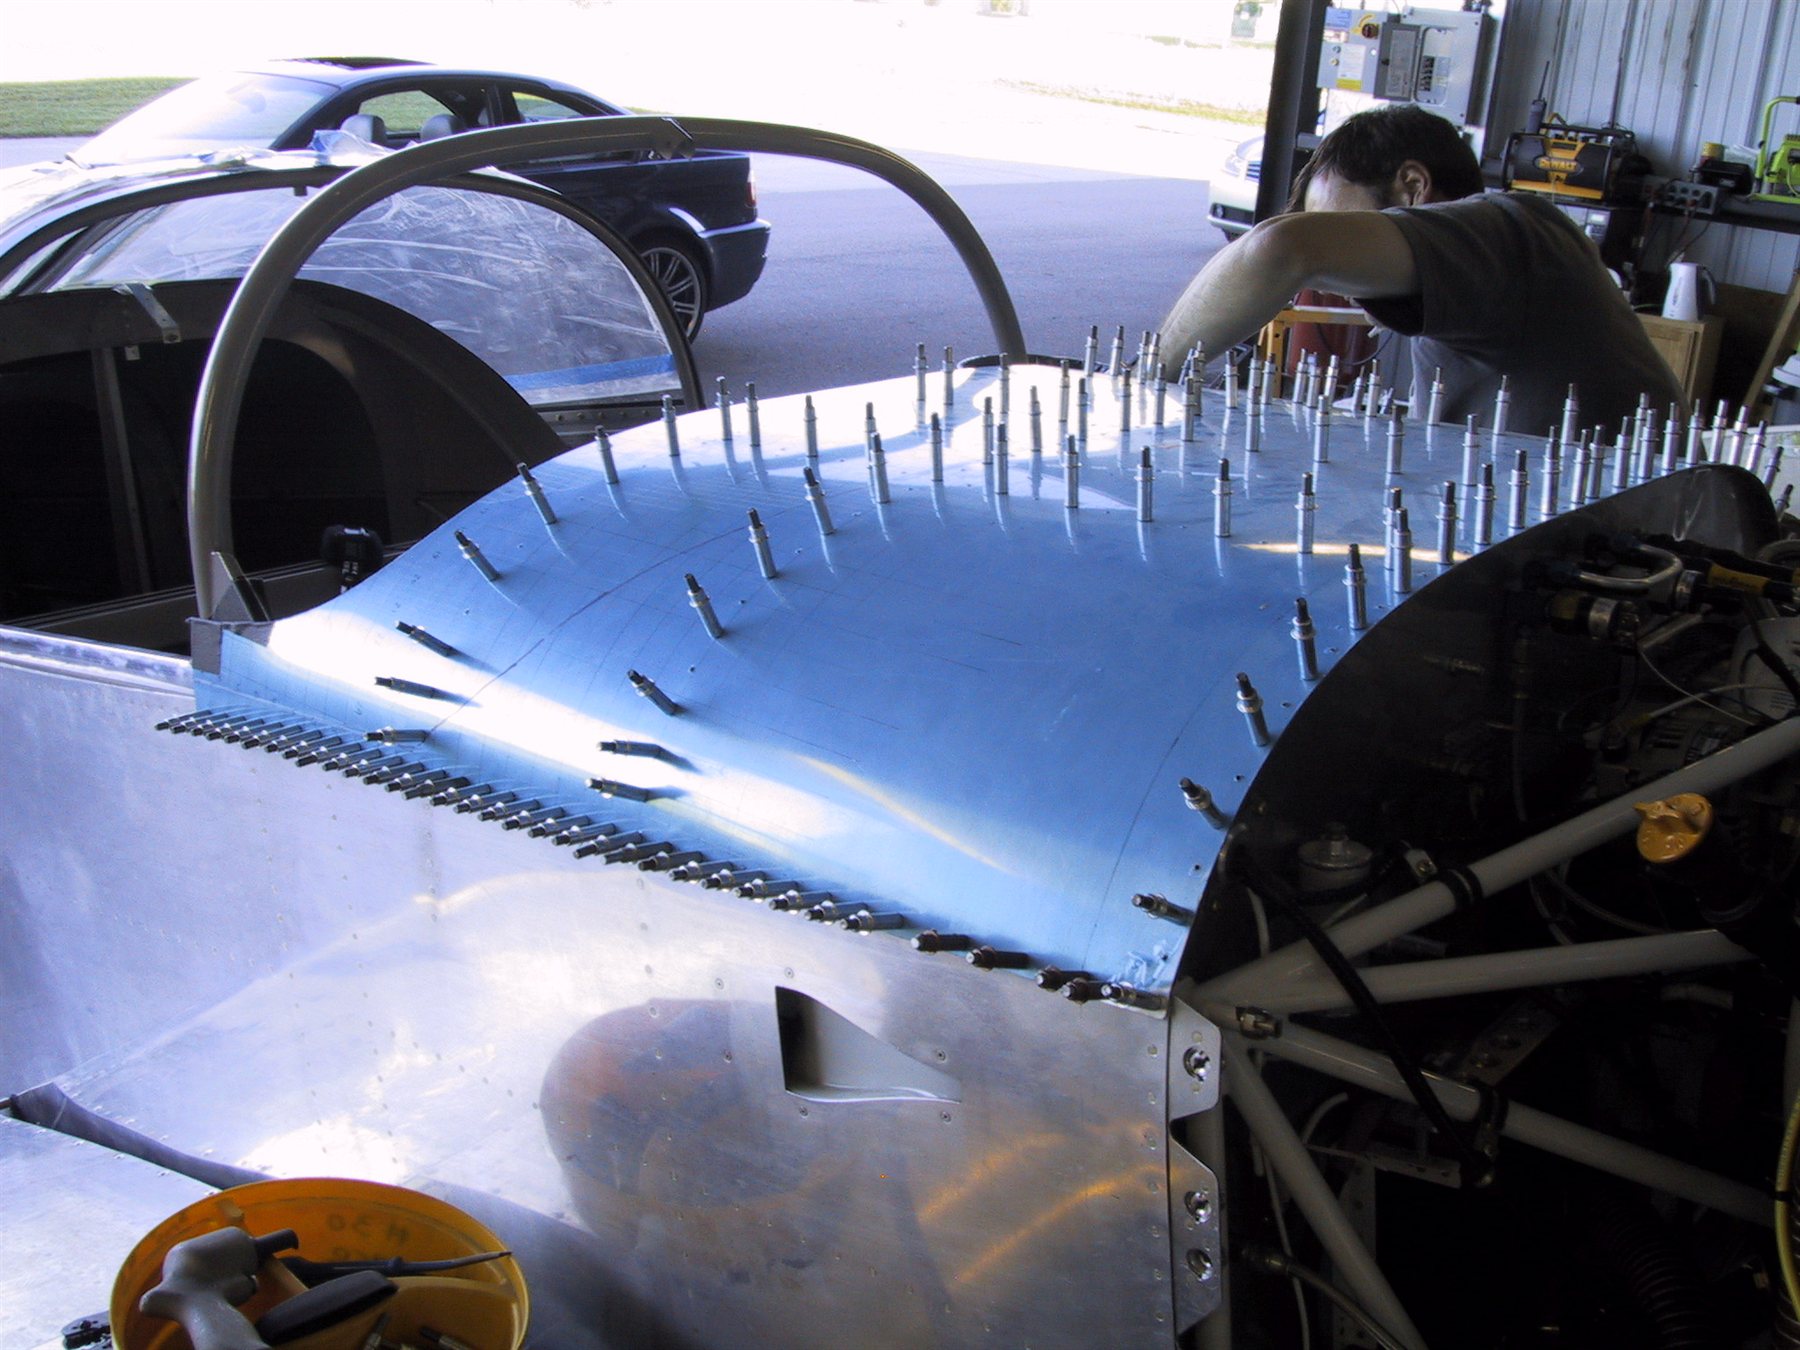
Here’s the skin, match drilled, deburred holes, and dimpled where it needs to be done with the C-Frame dimpler. We left the edges until later as they can be squeezed. I just wanted to get all the others done while I had Clayton over as a helper.