October 7, 2006
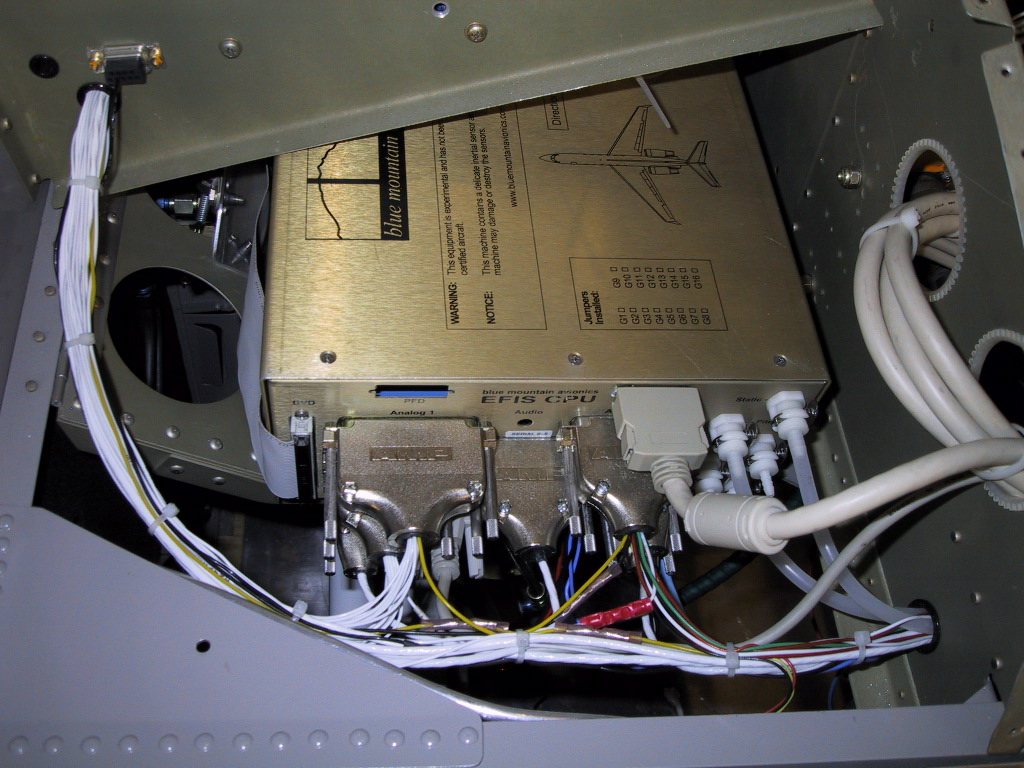
I went to the UPS depot and picked up the EFIS CPU yesterday. It’s time to get cracking with everything under the front skin. It can’t wait any longer!
I mounted the EFIS for the final time, and leveled it relative to the airframe. I also went through and tie wrapped all the wiring securely. I wheeled the plane outside and checked the function of it, and also called ground on the radio for a radio check. “Loud and clear” was the response. Perfect. That was the first ever ‘official’ transmission for 4ST. I’ve transmitted on an unused frequency before to see if the handheld picks up the transmission. It did, so I expected the response from ground control to be positive.
Once the EFIS CPU was back in the plane, I reconnected the park brake control cable and checked it’s operation.
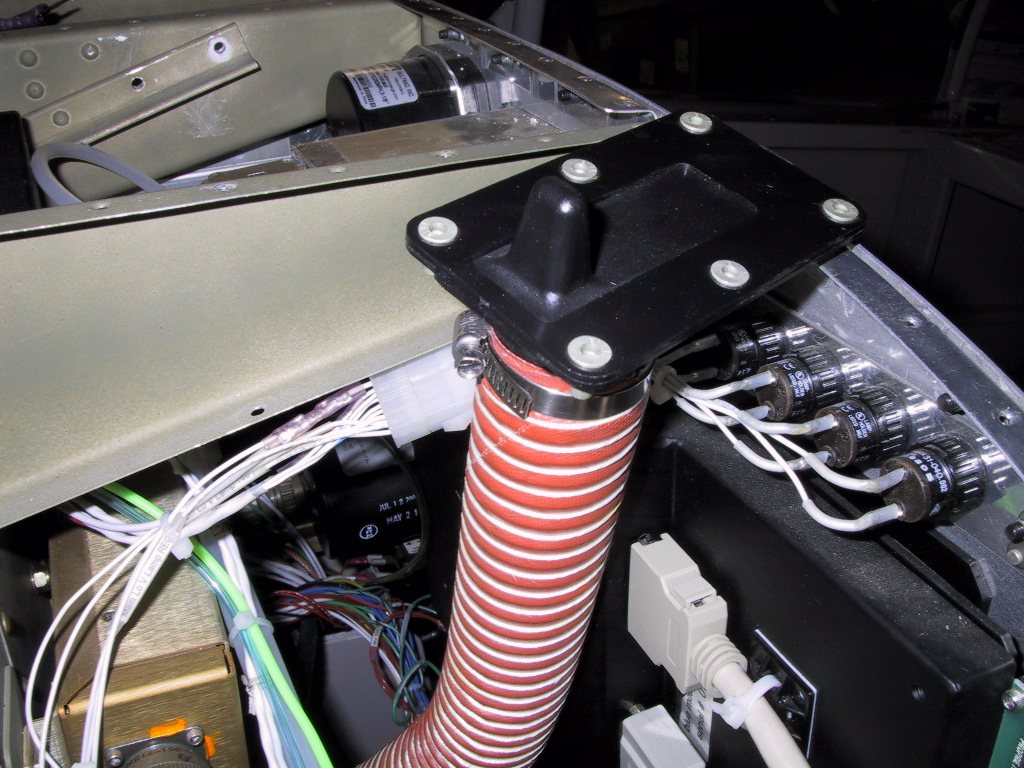
My next task was to figure out the defroster vent. I got a pair of these from Aircraft Spruce. I’m only using one of them though. They were a bit pricey too, considering how they’re made. Still it will be nice to shut the defrost off when it’s not needed. This is about the area it will be coming out through the glareshield. It was a bit difficult getting the SCAT tubing on this thing. Fortunately, I remembered the hose clamp this time!
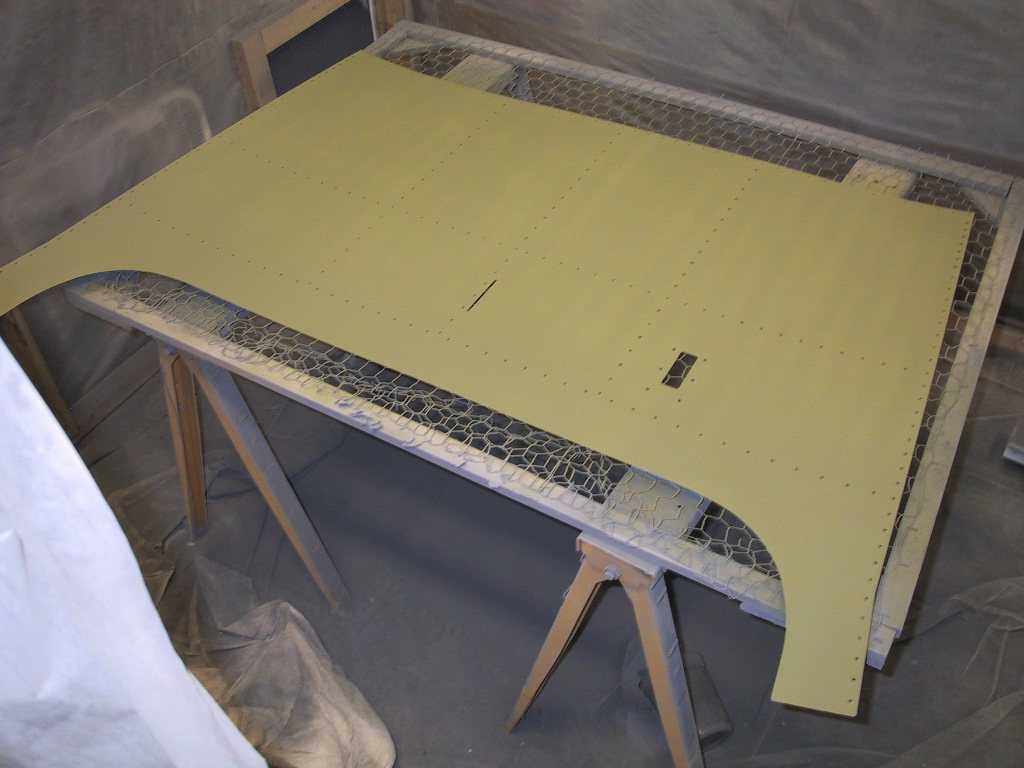
I did a bunch more prep on the skin. I deburred the edges, made the holes for the defroster and rubbed the whole thing down with a scotchbright pad. Here it is after priming it.
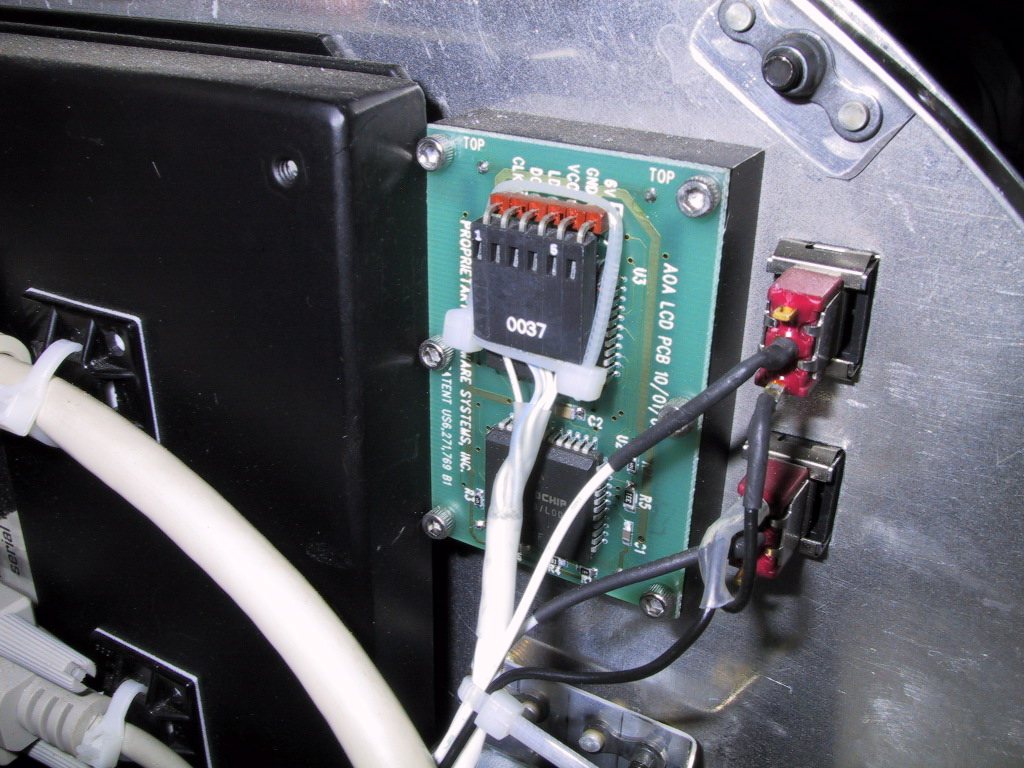
While that was drying, I set about finishing up all the wiring stuff. I’ve always been a bit skeptical about the connector used on the AOA Pro display. For one, it points down, so there’s a slight chance that vibration and gravity could help this to become disconnected one day. I didn’t want to take that chance, so I tie wrapped it. It isn’t going anywhere now! I also went mad with tie wraps all over the plane securing everything.
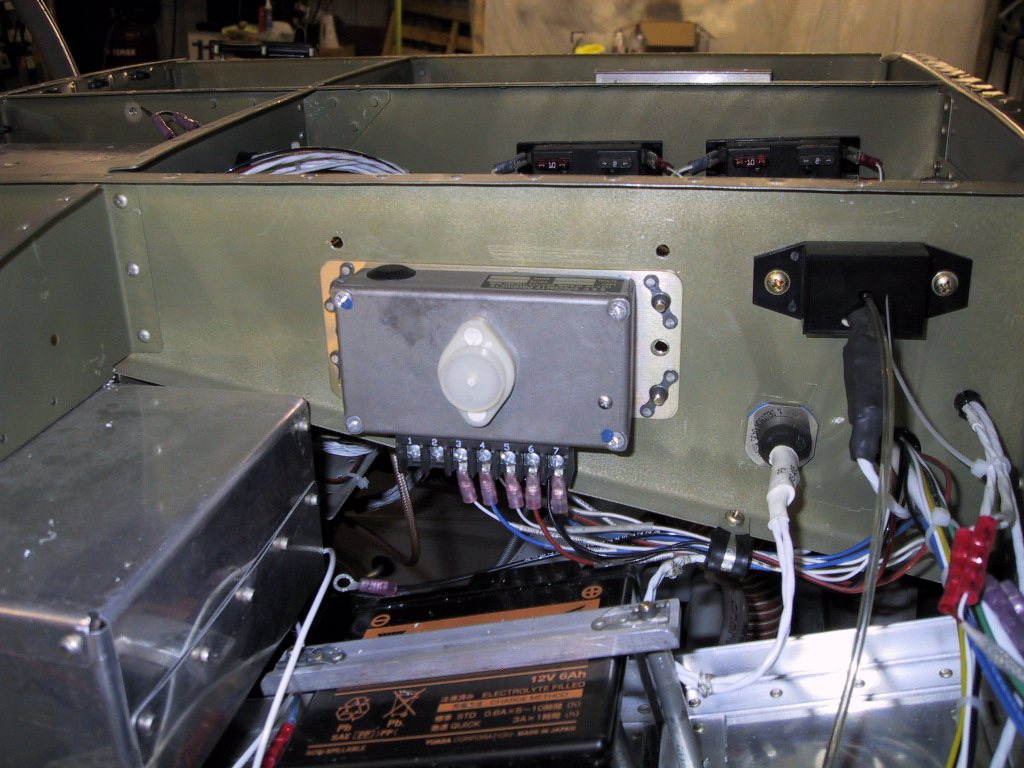
The other night when I was checking bucking bar access, I realised I’d mounted the voltage regulators to close the flange. Today I moved them down some so access would be a bit easier. I probably wasn’t thinking about this at all when I mounted them.
I also reconnected the secondary battery and secured all the wiring in this area. I broke out the rivet gun too and finally riveted the angle that supports the glovebox to the sub panel! This picture was taken before I got all that done though.
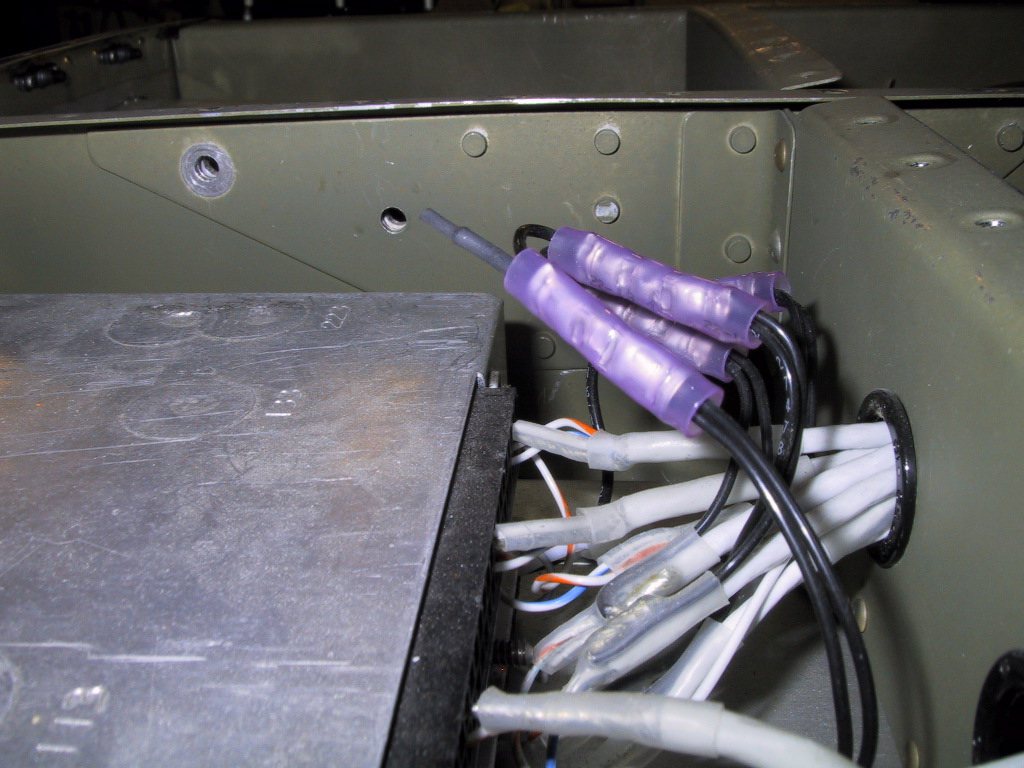
When I wired the avionics stack, I wasn’t sure how many grounds I’d need to daisy chain into the connector, so I left a tail on one of these butt splices just in case. Today I fiured that I was done with any stack wiring so I cut it short and put some heat shrink on there.
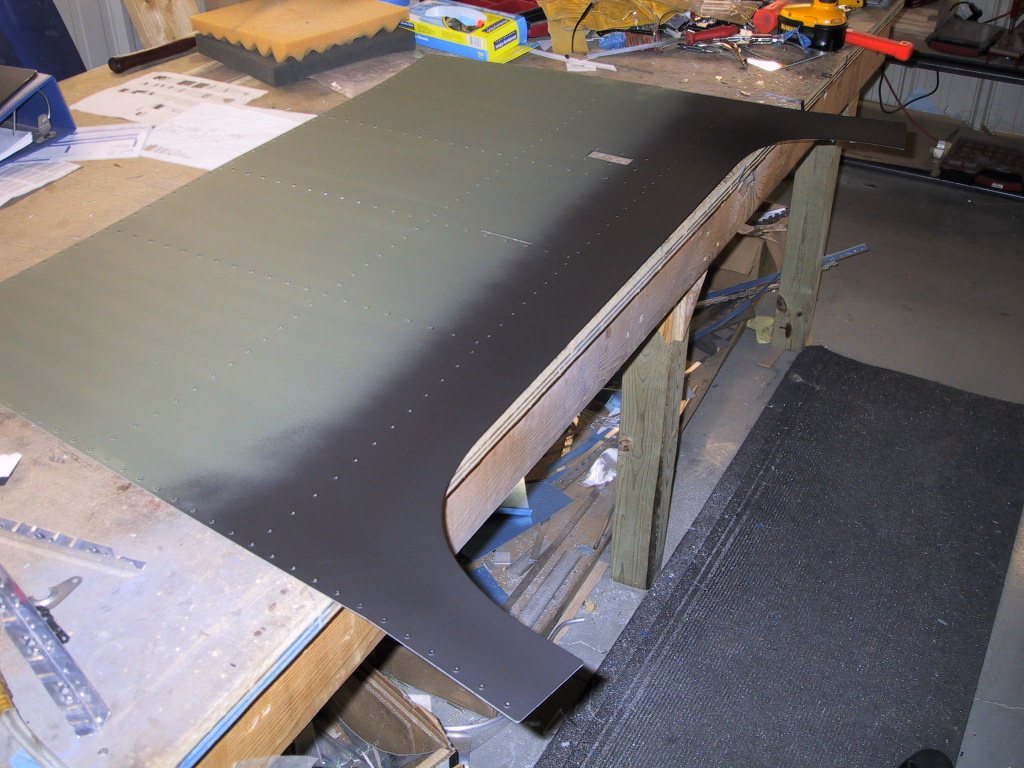
Ahhhh.. It’s finally dry… That means I can paint some flat black. This is actually the underside, and I’m expecting most of this to be covered up with the glareshield upholstery. I painted it flat black so that if we have a tiny gap in the fabric around the edges it won’t show through green!
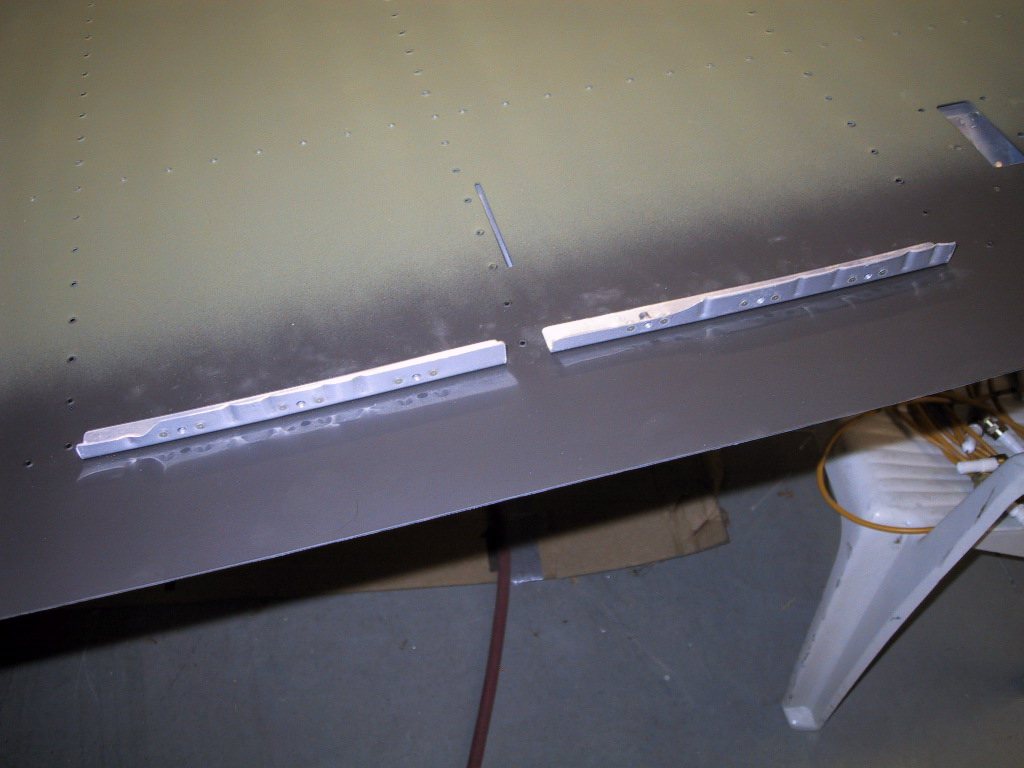
For some reason, I had this bright idea to back rivet these pieces to the top skin. In hindsight, it might not have been the best thing to do as now the skin isn’t so flexible. The trouble is, riveting these on above the radio stack would be tricky at best. Still, I may end up drilling these out and doing them in situ. We’ll see what Mike thinks tomorrow.
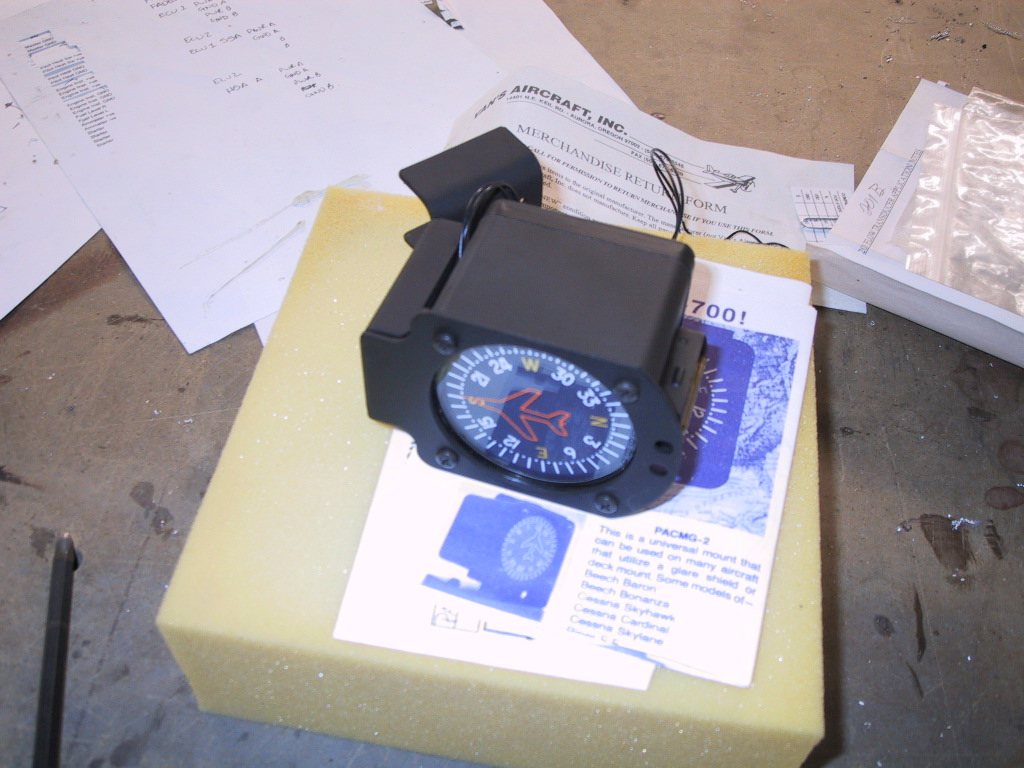
Before the skin goes on, I need to make provision for the compass lighting wiring and also get it mounted to the roll over brace. Here I’ve assembled the mount to the compass. I figured out the location along the brace, so now I just need to drill it so it hangs correctly. Easier said than done! I think it’s time to call it a day, it’s late and I have to be up early to get some more stuff done before Mike & Clayton come over. It’s going to be a big day.