


October 15, 2006
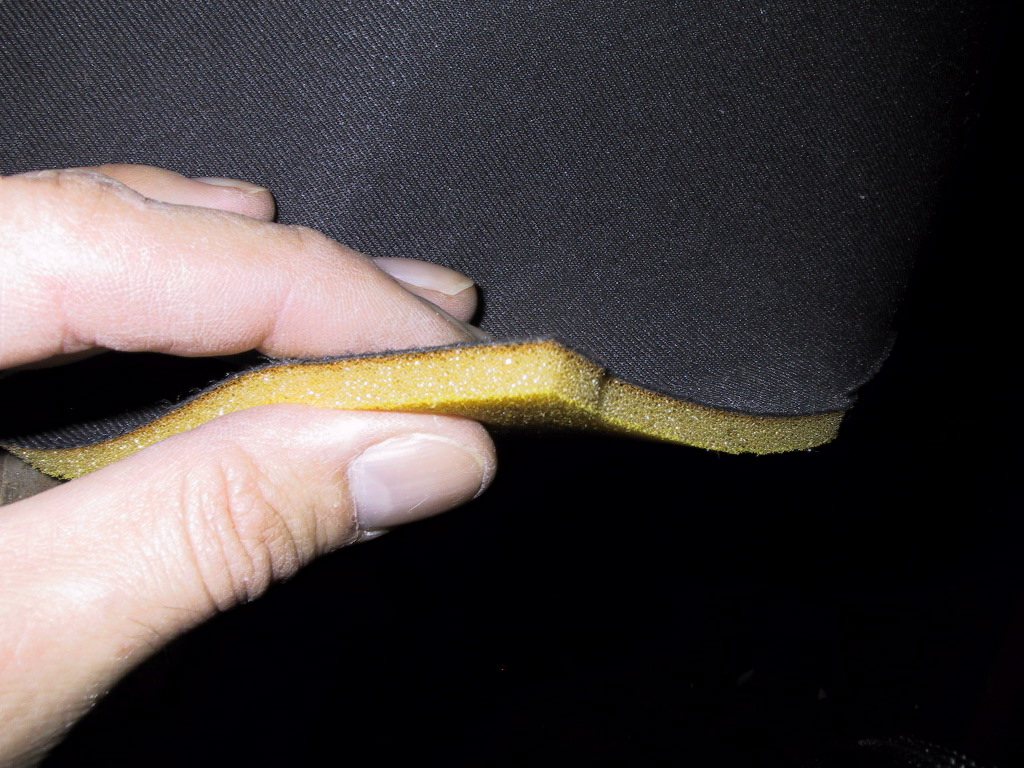
Piero called me early this morning, and we both went down to the hangar to start upholstering the glareshield. He found some foam that will be perfect for the task too. It’s cloth backed, and about 1/4" thick. This stuff looks perfect!
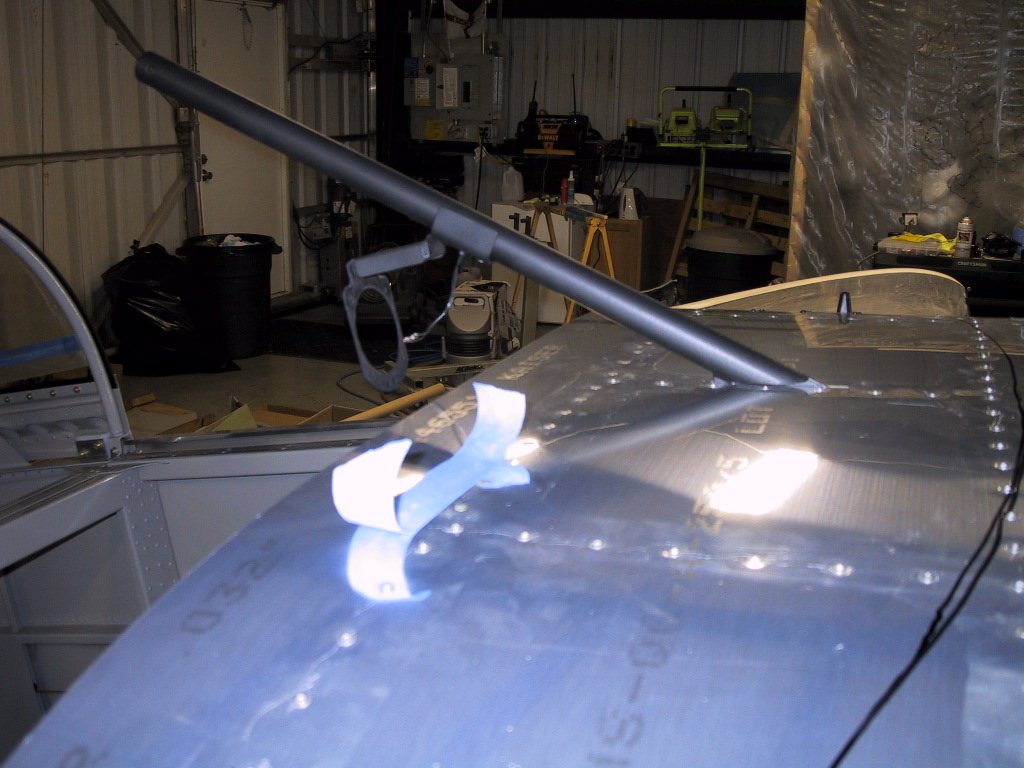
The line on the skin is where our windshield stops. This will be the guide for where we need the trim. We made a pattern out of some plastic….
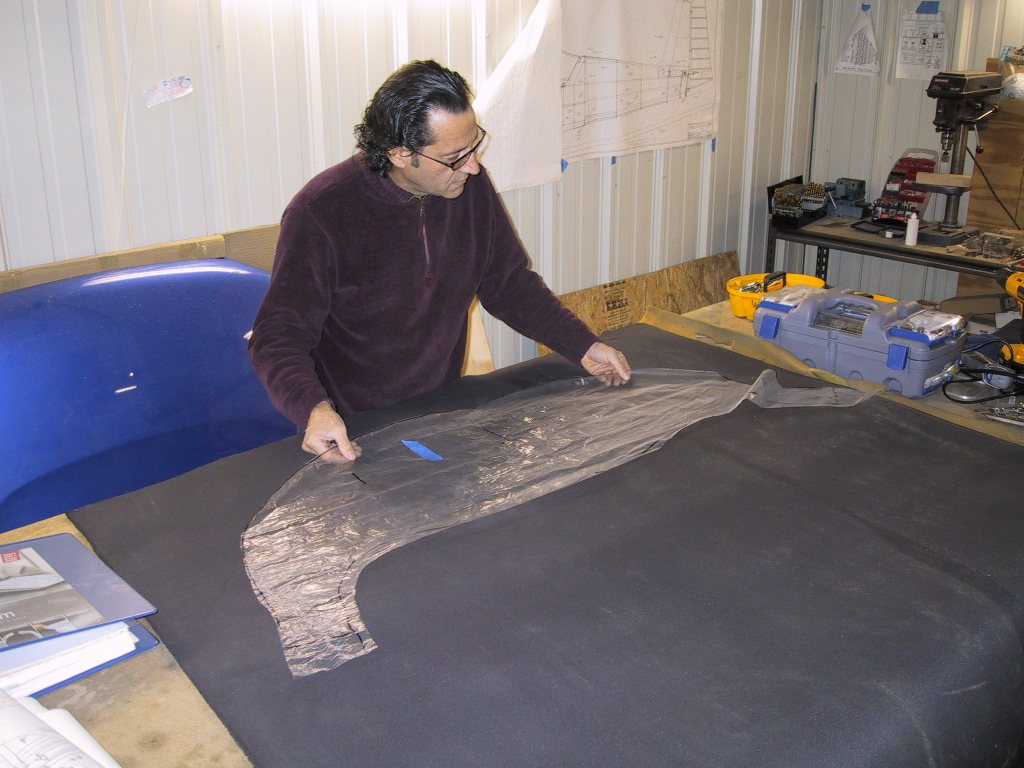
Then transfered the pattern to the foam. Here’s Piero working his magic. He’s Italian, so he know’s that I want our plane to be beautiful!
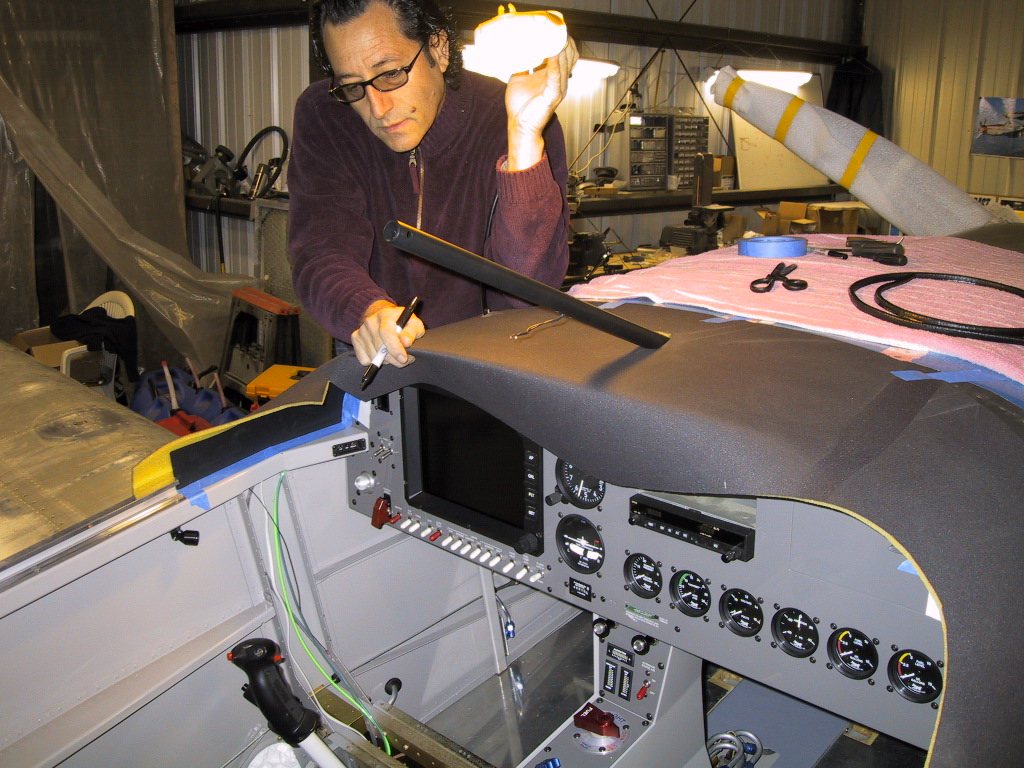
Once we had the foam cut, we laid it on the glareshield and then marked around the edge. This will give us the exact trim line we need.
Here, we have one cut, and we’re making another piece as a pattern. We will likely start to sell these as some sort of DIY kit. If you’re interested send me an e-mail.
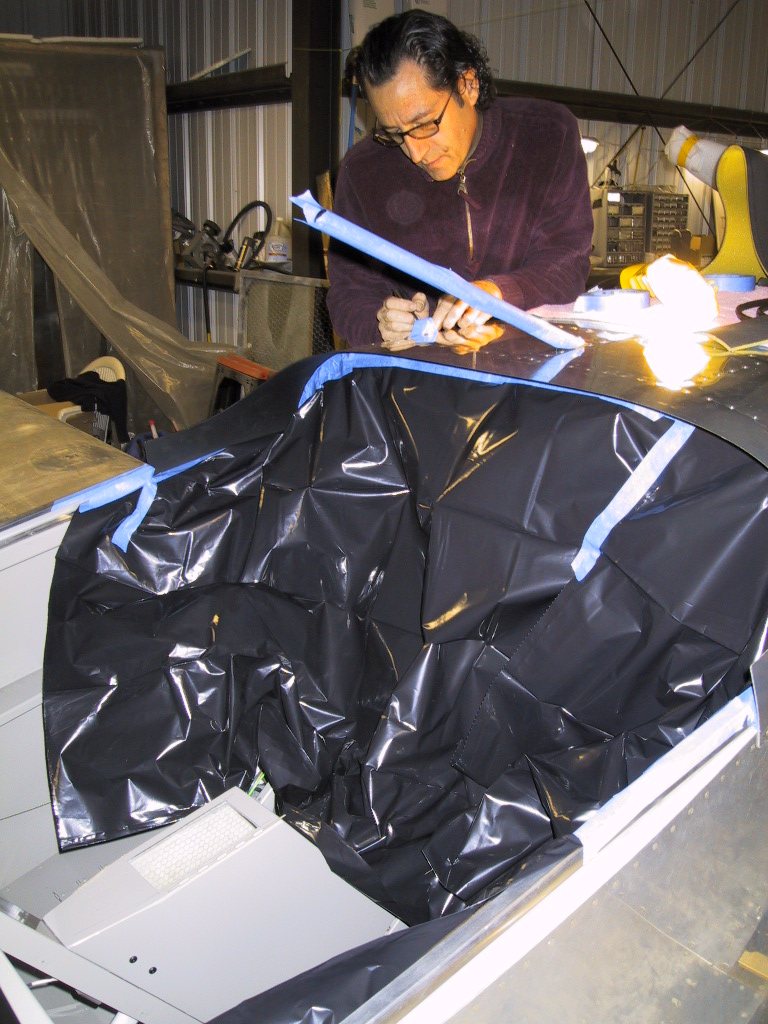
The next step was to mask off EVERYTHING! When you’re using spray glue, you don’t want it to go everywhere. Here, Piero is masking off the defroster vent.
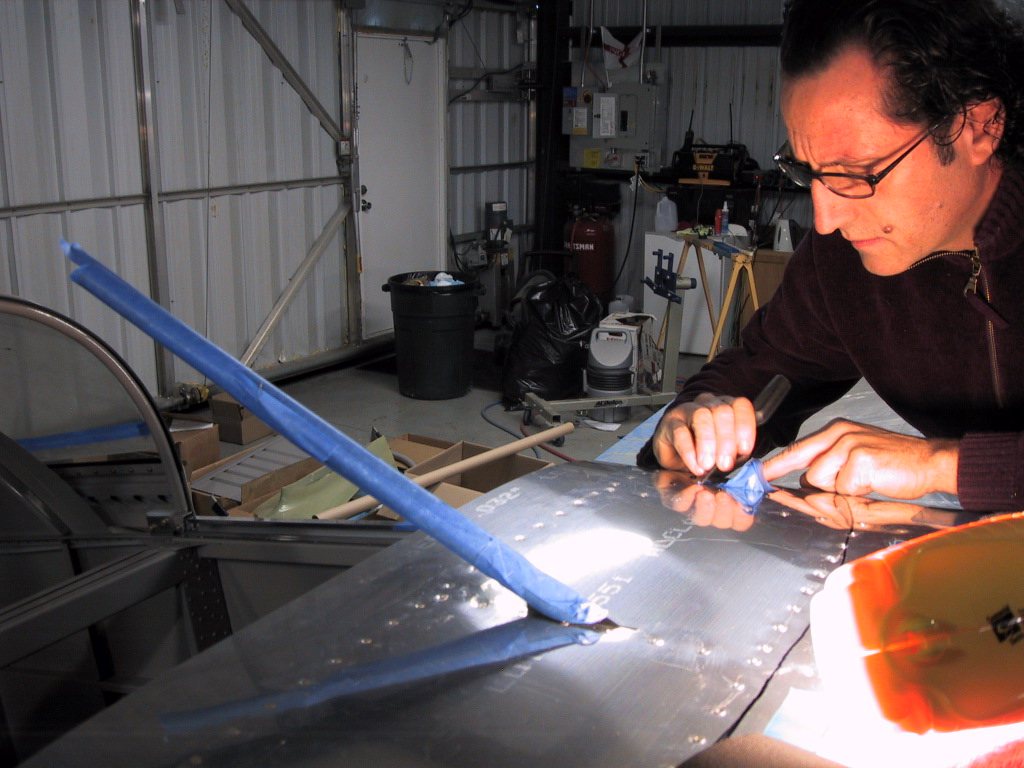
Here you can see how I masked off the panel. This masking will be needed later when we apply the fabric.
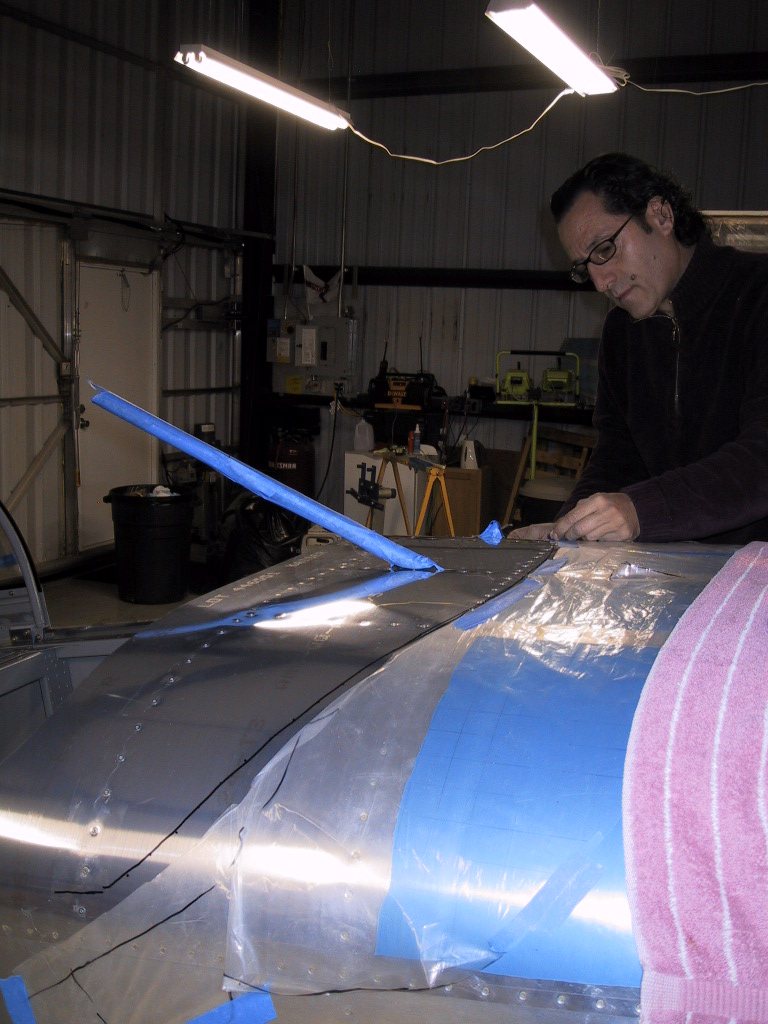
More masking… We don’t want glue to go where we don’t want it. Piero’s spray gun shoots a pretty good tight pattern, so it shouldn’t really be too bad for us. If you were to use 3M Super 77 out of an aerosol, it might be a different story.
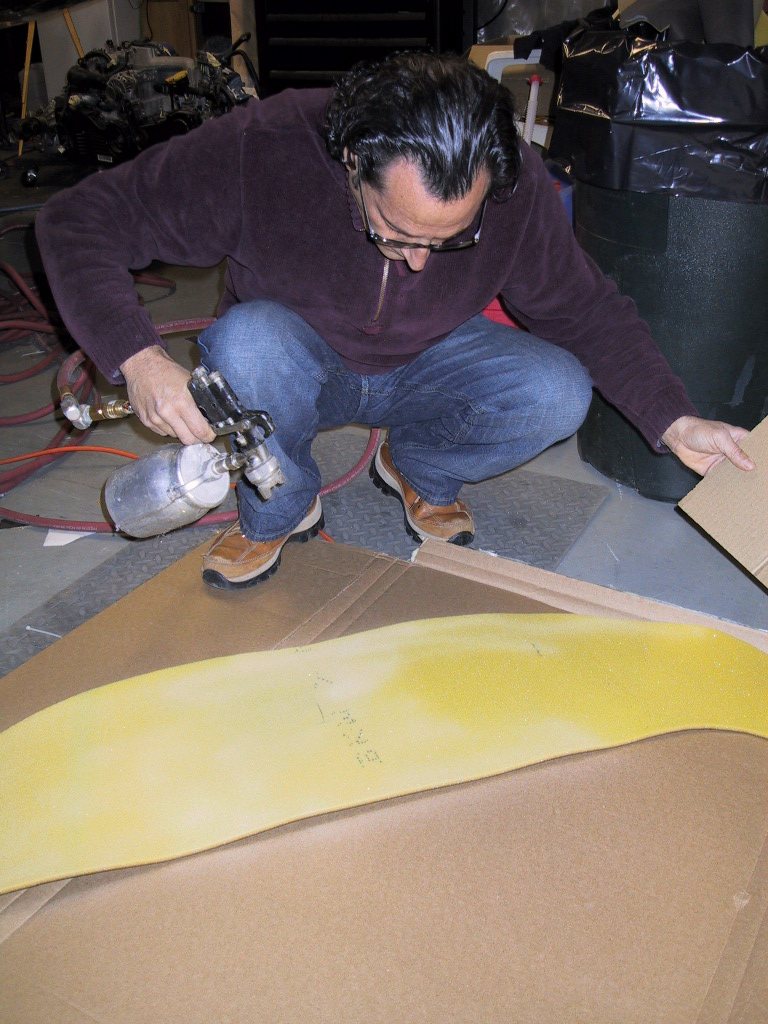
Piero is applying the glue to the back of the foam. He’s using the cardboard to avoid spraying other things, like my feet!
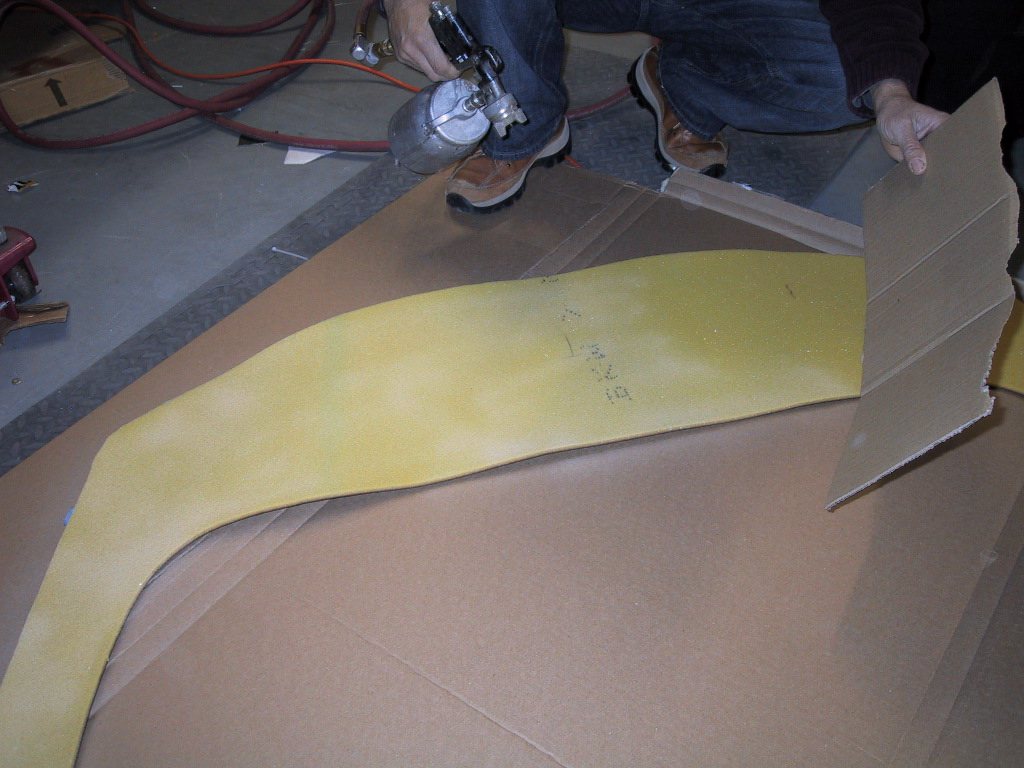
Another shot of the same thing…
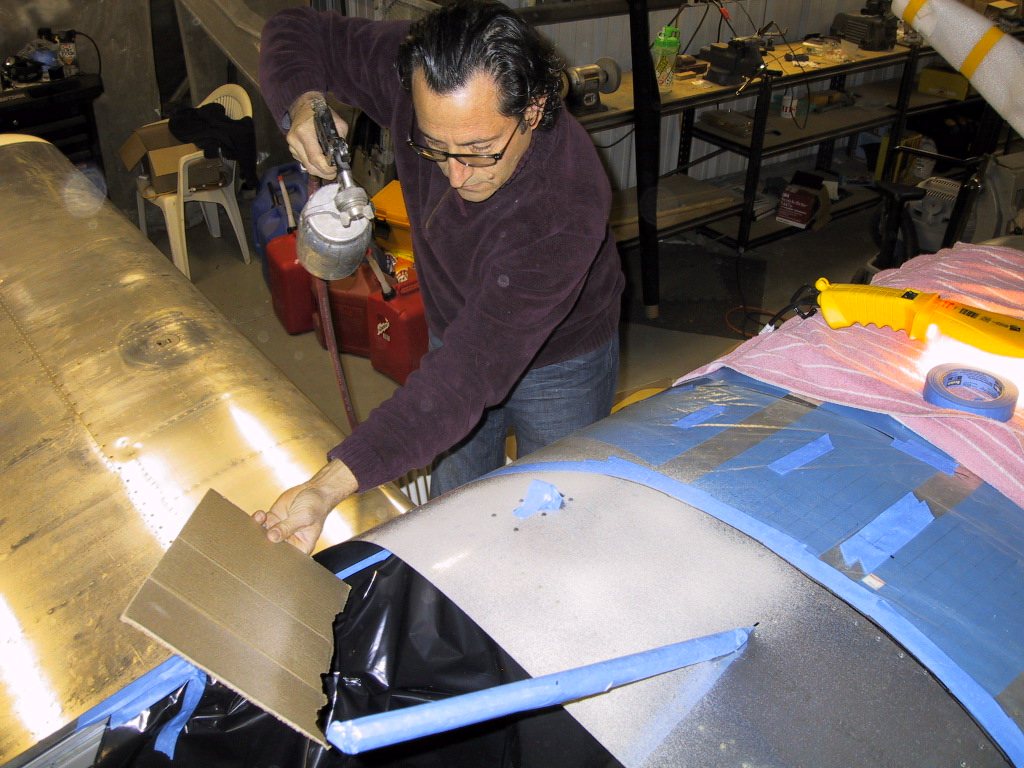
Now we spray glue to the actual plane. This is a contact cement, so you let it dry a tad before touching the surfaces together. The trouble is, when they do touch, that’s it! There are no second chances!
The next thing we did was to thread the foam over the centre brace and push it down all the way without letting the foam touch the glareshield. Not so easy. That’s why there’s no photo of this, because it took both of us to do it!
Once the foam was on, the next part involved trimming the foam down so it overhung the glareshield aluminium by about 1/4". This gives enough to fold over and then push on the edge trim. In hindsight, if we did it again, we’d probably leave it even longer, then trim off the excess with a sharp knife around the inside.
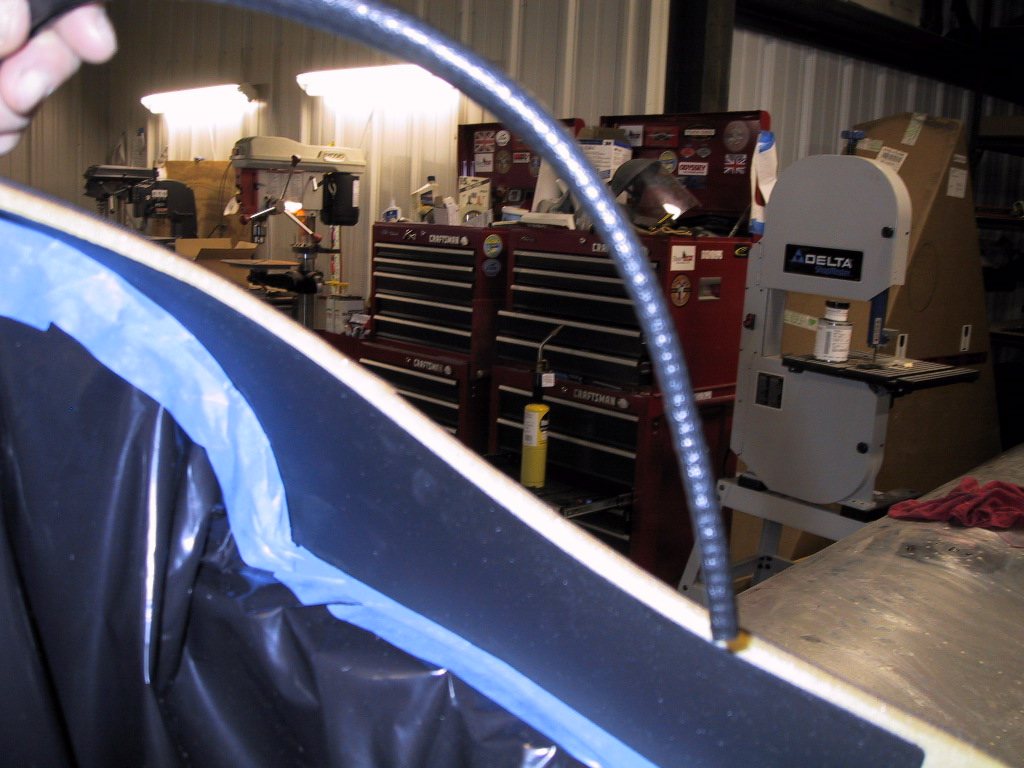
Because we cut it before applying, we ended up using masking tape to keep the foam in place. Like I say, we probably should’ve left it longer and then trimmed it. This edging will give the sharp forehead cutting edge of the glareshield a nice sized radius.
For some, this may be adequate enough of a glareshield trim job. It actually looks quite nice, even without the fabric. We may do two options for a DIY kit. We’ll see. I should take a good picture of the glareshield as it stands before we put the fabric over it.
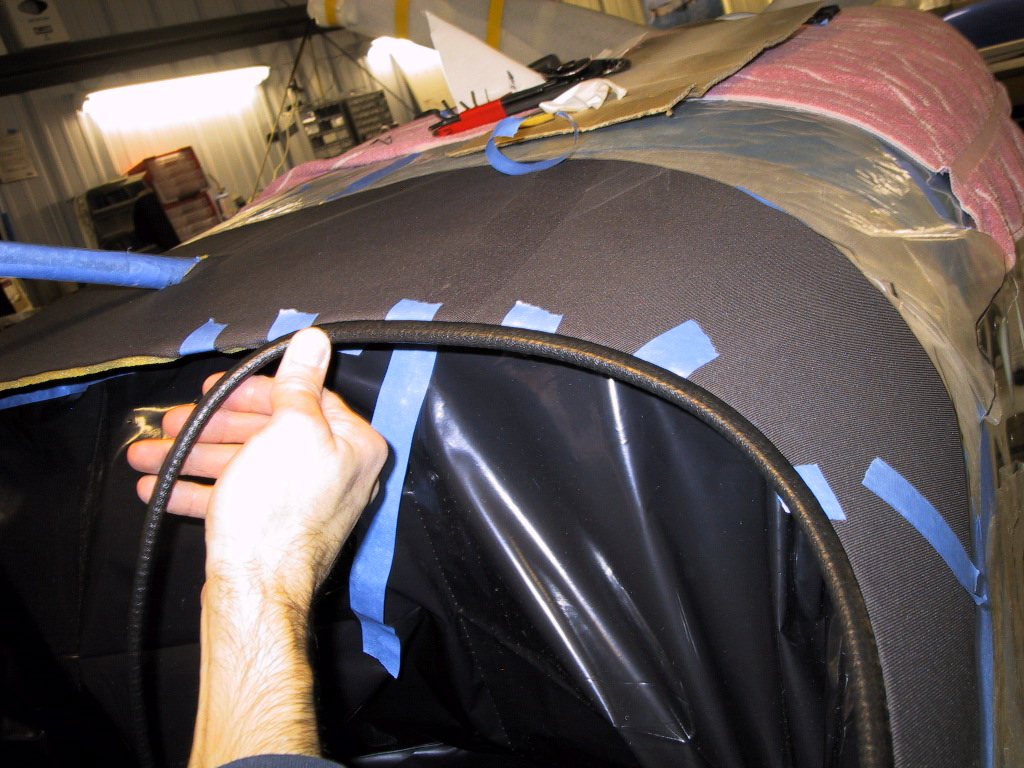
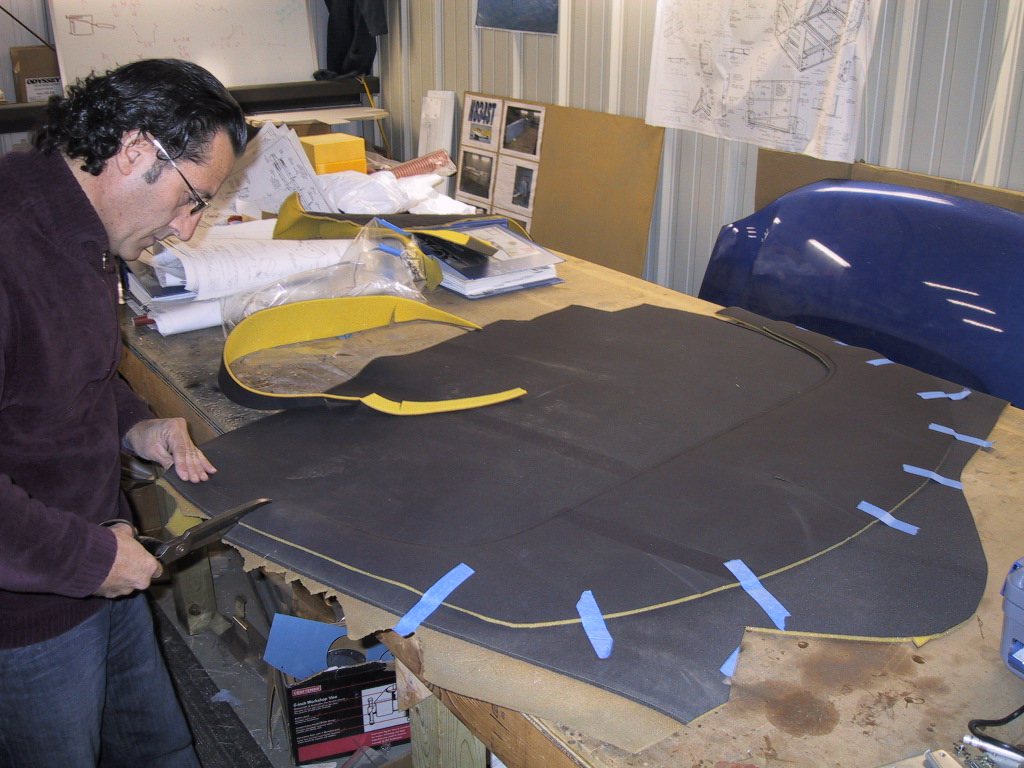
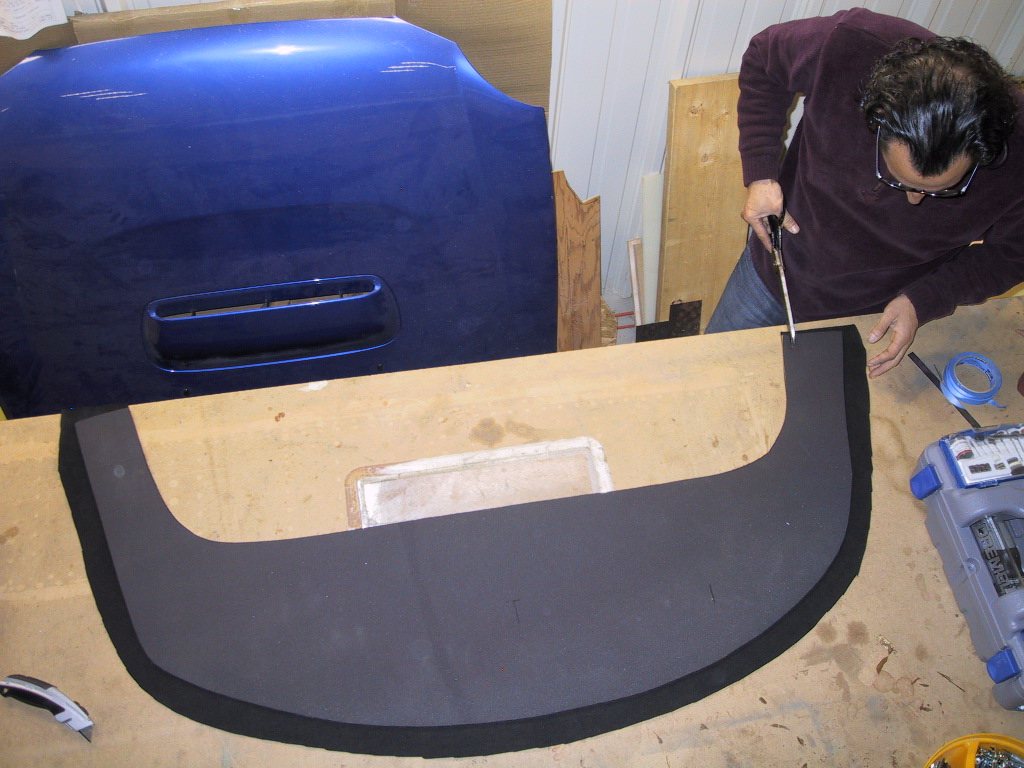
In this picture, you can see the foam that we made as a pattern being used to trim the fabric to size. We made two pieces like this for Piero to take away and stitch together. You’ll see how this will work later in the week when we finish this little project off. It’s going to look really, really good. I can’t wait! My fabric choice was black Ultrasuede. This stuff sure is expensive! The beauty of it though is that it won’t reflect into the windshield at all, it won’t fade, and looks great.
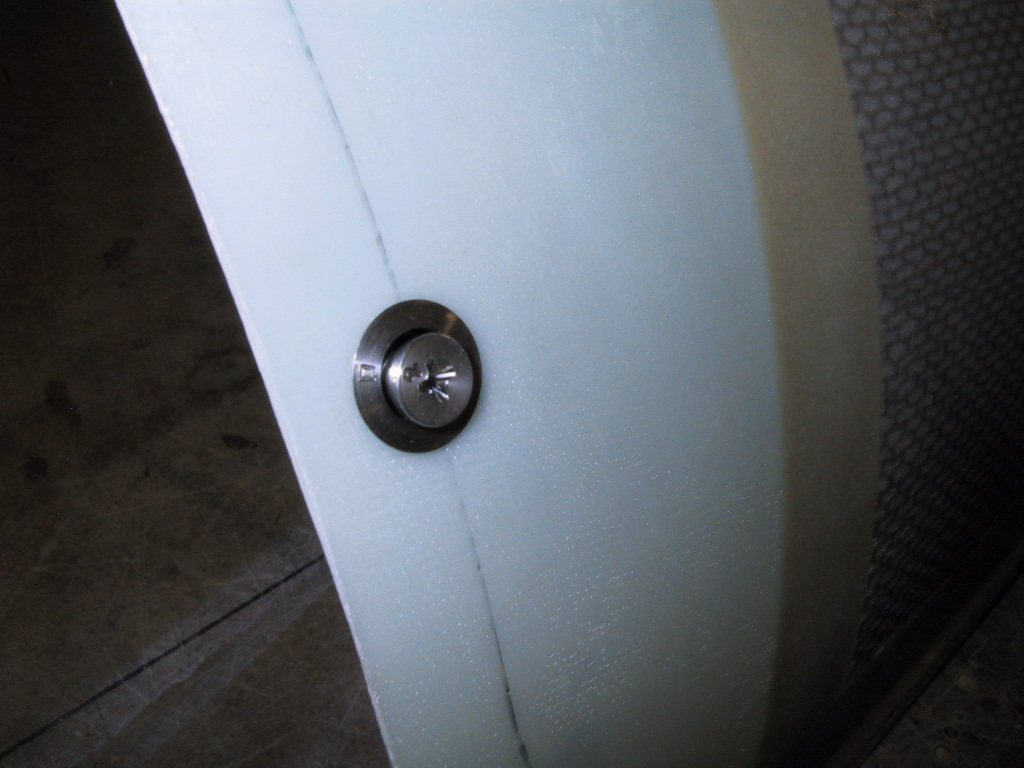
I took Piero back to Dearborn, and went to eat. Then I came back to the hangar and did a little bit more. Not really much though! I removed the top cowling and drilled the holes out for the camloc fasteners with a unibit. Here’s one fitted.
Then I put the cowling back on the plane and called it a day. I want to train the baffle seals to stay folded over!