


October 22, 2006
Today, we got to finish up the glareshield trim. I’d spoken with Piero the day before and I picked him up at 8:45 this morning. We got to the hangar, warmed the place up with the torpedo heater (it’s getting cold quickly now), and set about it. It took us a lot longer than we thought it would though!
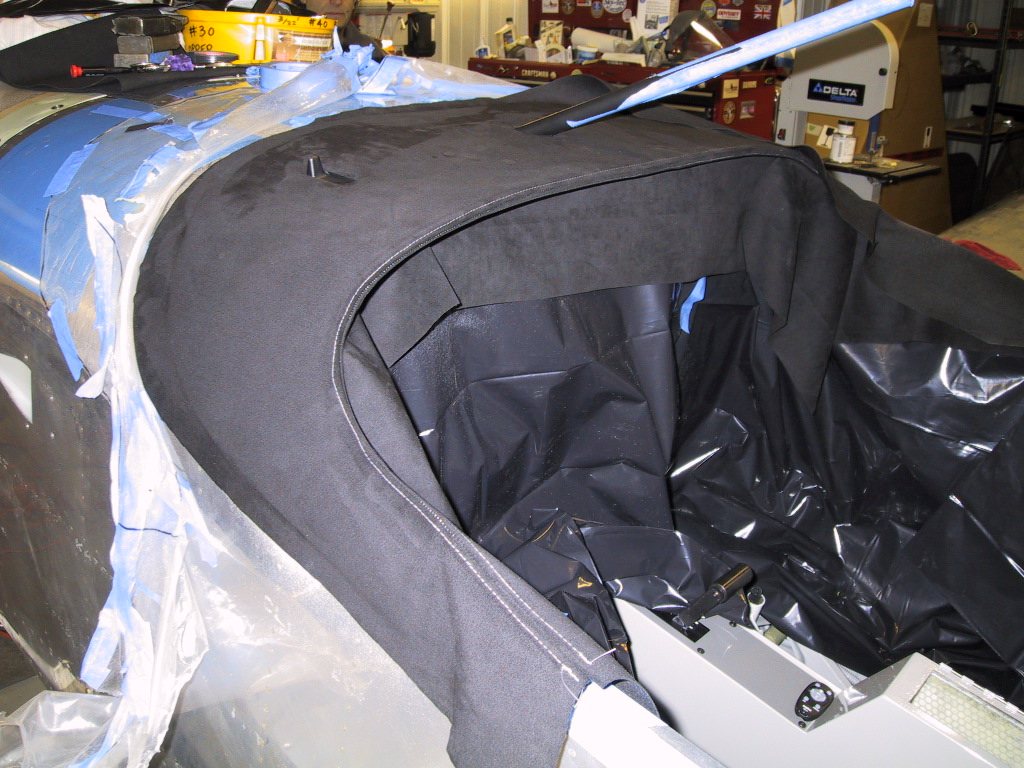
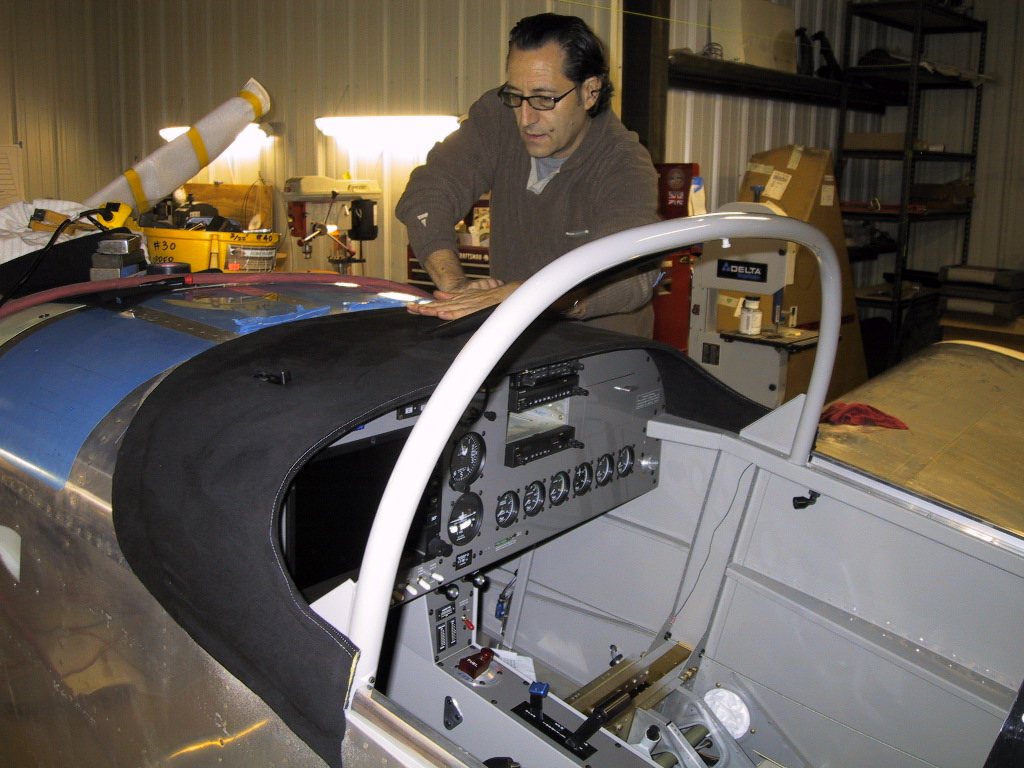
In the photo below, we’ve laid down the closest half of the fabric. It was tough to take pictures through every stage here as we really had our hands full. We started by putting some adhesive on the edge of the glareshield, and on the corresponding part of the fabric, then Piero helped me align the seam with the edge and we stuck it into place. This part was REALLY hard to do. Getting the seam to run straight was very tricky indeed, and it does have a tiny wobble in here and there, but you wouldn’t really notice unless you were looking for it. Maybe the judges at Oshkosh? We managed to tuck the fabric under the centre brace very nicely too.
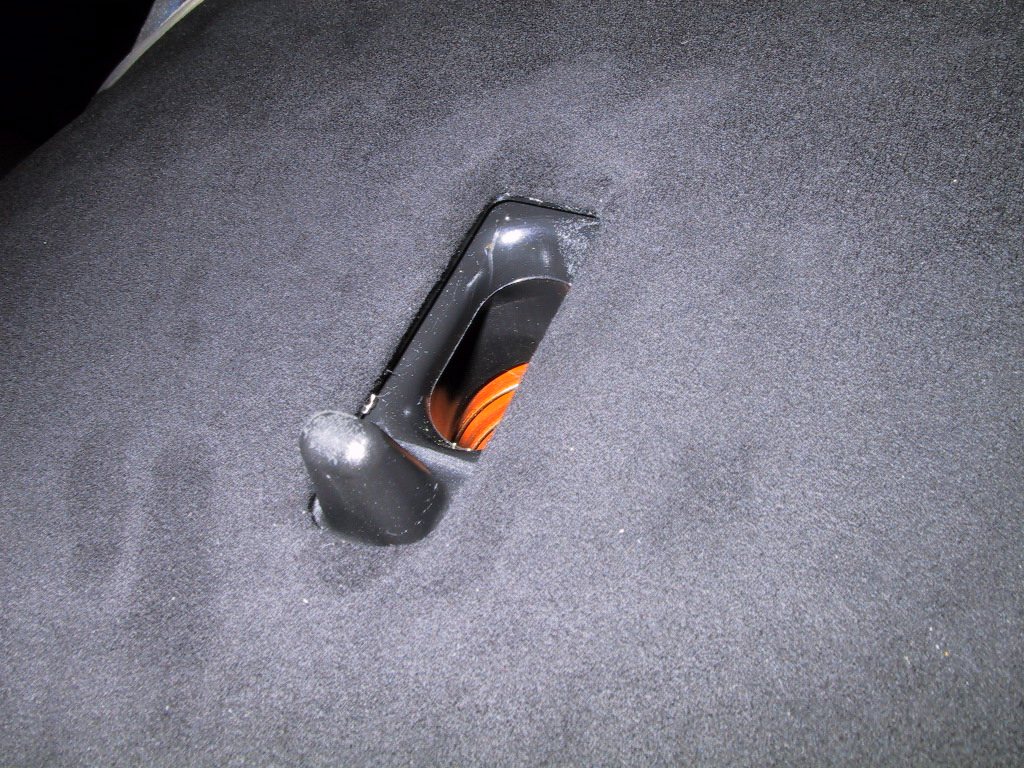
Here’s a detail shot of the defroster vent. This vent worked out nicely as it’s spaced slightly away from the aluminium. This gives you somewhere to tuck fabric in and glue it. This part also took some perseverance, but it came out so sweet.
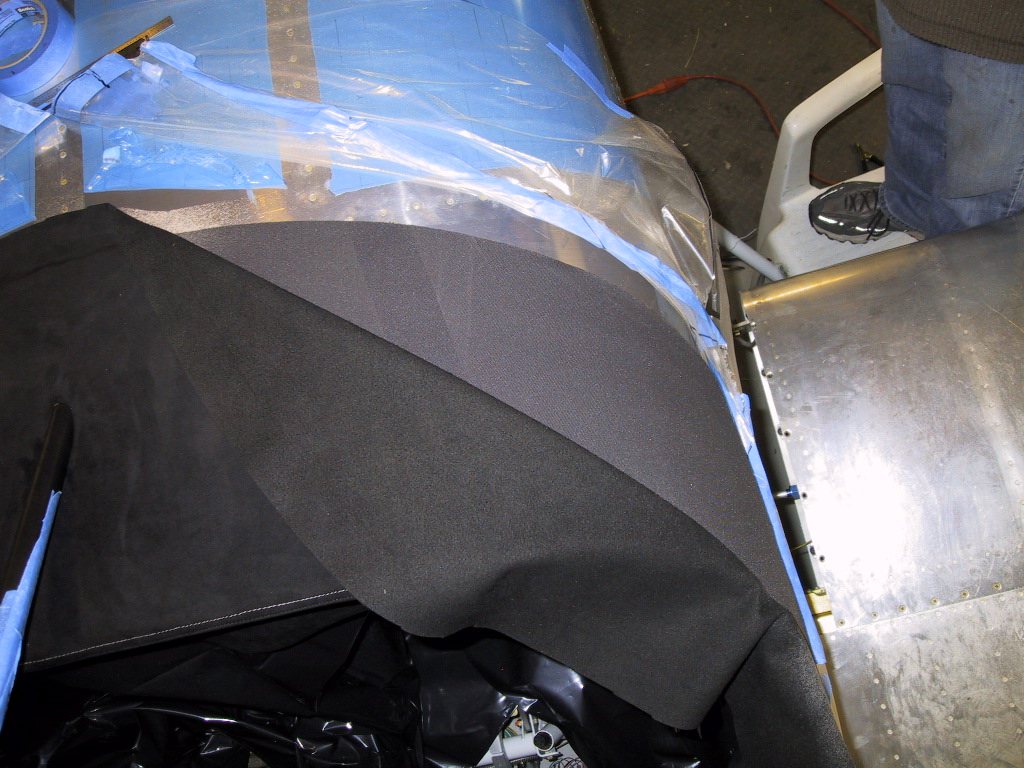
This shot shows how we worked our way along the fabric to stick it down. Most of the glue was put around the edges of the fabric, so the majority of the area is actually not glued. This makes the fabric look really nice and hides any imperfections we may have had in the foam layer (not many!).
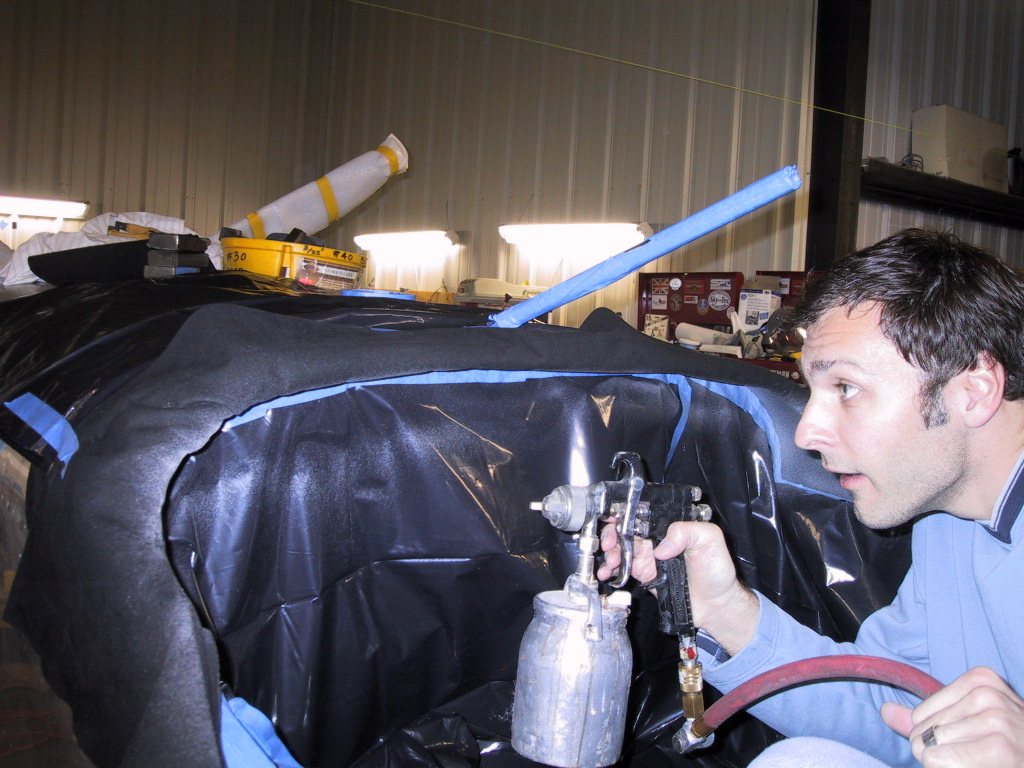
Who’s this goofball? I look like a kid opening a present at Christmas! We’d got the outside done, and it was gorgeous. Now for the inside part. Piero was worried about getting creases in here, but it also worked a treat. I’m spraying on the adhesive here. You can see it on the fabric as a white colour spray.
Piero applying some finishing touches, making the nap of the fabric all go the same way. Once we’d trimed the inside edges and the ends, we put the roll bar back in place. Does this look sweet or what?
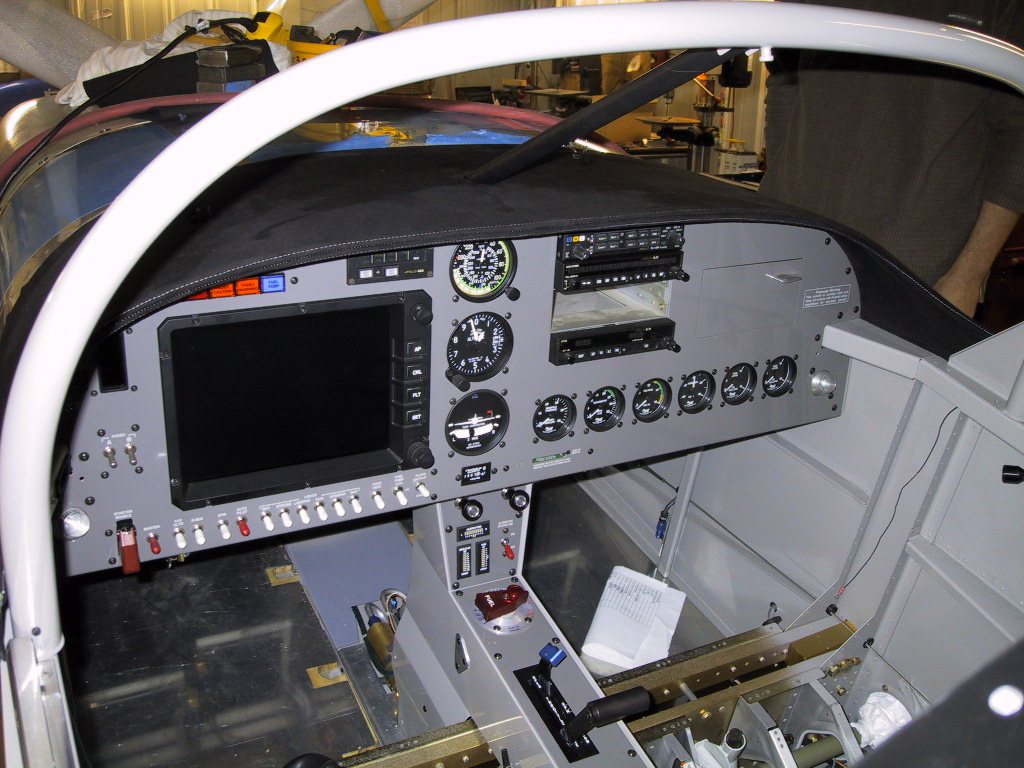
Here’s another shot of the panel with it’s nice new glareshield.
Spot the difference. We spent a little time making a hairdryer holder out of some aluminium tubing for Piero’s hairdresser, then I dropped him back at home, and came back to get the roll bar stuff together. Clayton came by with Joe and his wife Carol. They’re some of the ‘old’ Subaru crowd, and were visiting from Pennsylvania. They helped me get the complass light bulbs soldered back on to the wires and assembled back into the compass. Thanks for catching the soldering iron Joe! Carol was learning to do sheetmetal, and seemed to be having fun doing it too!
So, here is the compass back in place. I didn’t get time to bolt the roll bar down, because I had to get home to do some painting. Ugh.
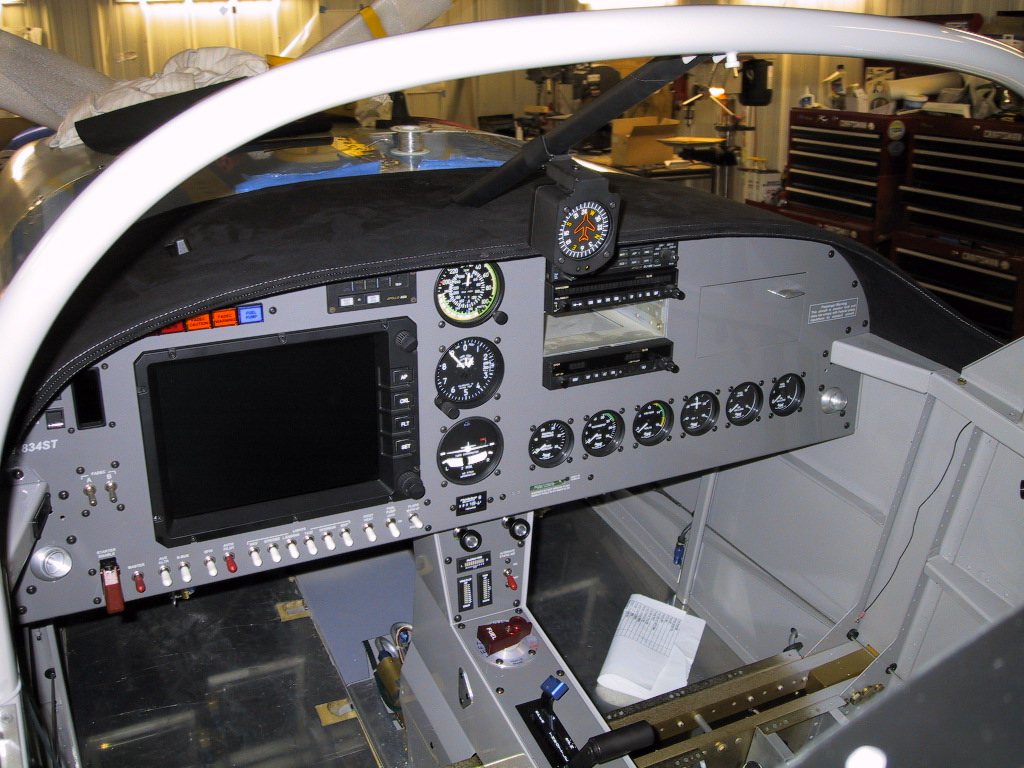
Now that the glareshield is in place, and the roll bar is nearly in, I can concentrate on getting the windshield on. I need a relatively warm day for this so I can work with the plexi without risking cracking it. I can put the heater on for a bit to bring the temps up though if I have to.
I must say that I’m really, really pleased with the way this has turned out. Piero was quite impressed too, and he’s the pro! I must take the time to say thanks to Piero as this would never have looked this good without his help and expertise. I have added an entry for him on my links page, so if you are in the area and need some upholstery doing (he specialises in fine and antique furniture) I would highly recommend him. Thank you again Piero.