


October 26, 2006
I took the day off work today coz it was a bit warmer (50F) so I could heat up the hangar easily to cut the windshield. I need to get this thing ready to put on ASAP. Little did I realise how long it would take to get as far as I did. On the way there I went to Home Depot and bought an outdoor thermometer to keep a check on the temperature. I managed to keep the hanger between 80 and 90 degrees quite easily. When visitors came by, they were shocked at how hot I had it in there!
I spoke with Art at the FAA yesterday, and we set the date for our inspection. It will be on the afternoon of November 21st. That’s just before thanksgiving. Hopefully, it’ll be ready by then!
Well the task at hand was the windshield. Namely, getting it ready to be fitted. This took what seemed an eternity. I had rough trimmed it a long, long time ago when making the canopy, so I didn’t have to do too much trimming which was nice. Here, I laid it on to work out what needed to be done.
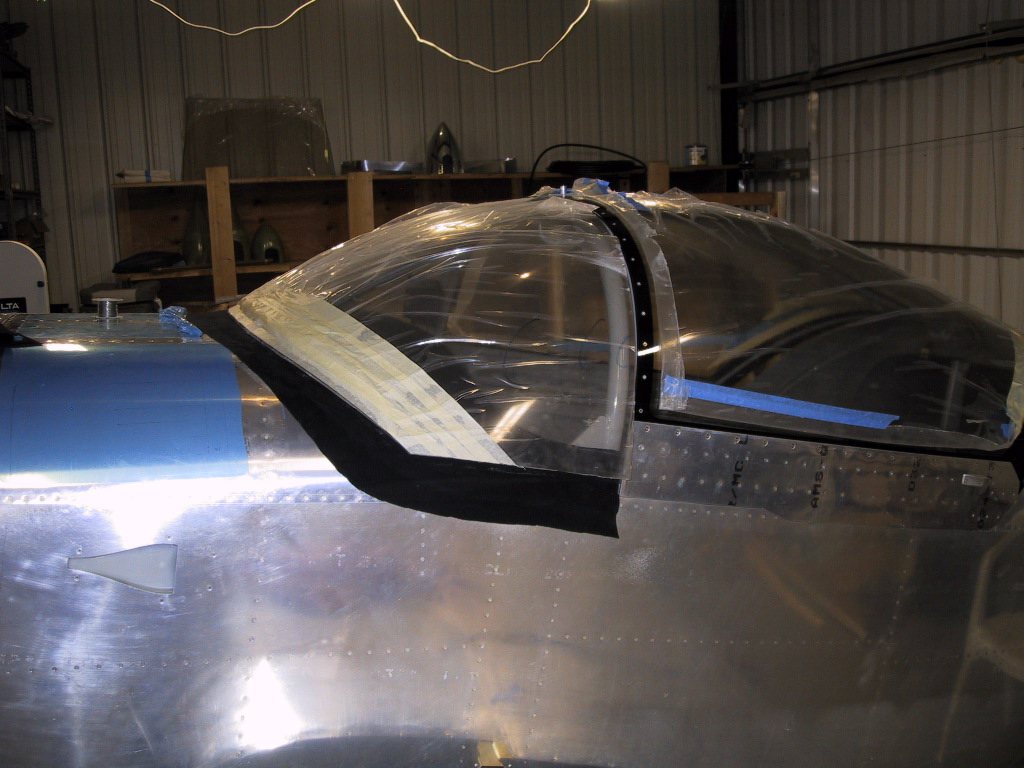
The first task was to hack away at the glareshield fabric we spent so long getting perfect. The covering needed to be trimmed to the edge of the windshield. Towards the rear, it needed to be removed to allow the plexi to be closer to the roll over bar so it fits nicely to the canopy glass. Here, I’m just beginning to trim it.
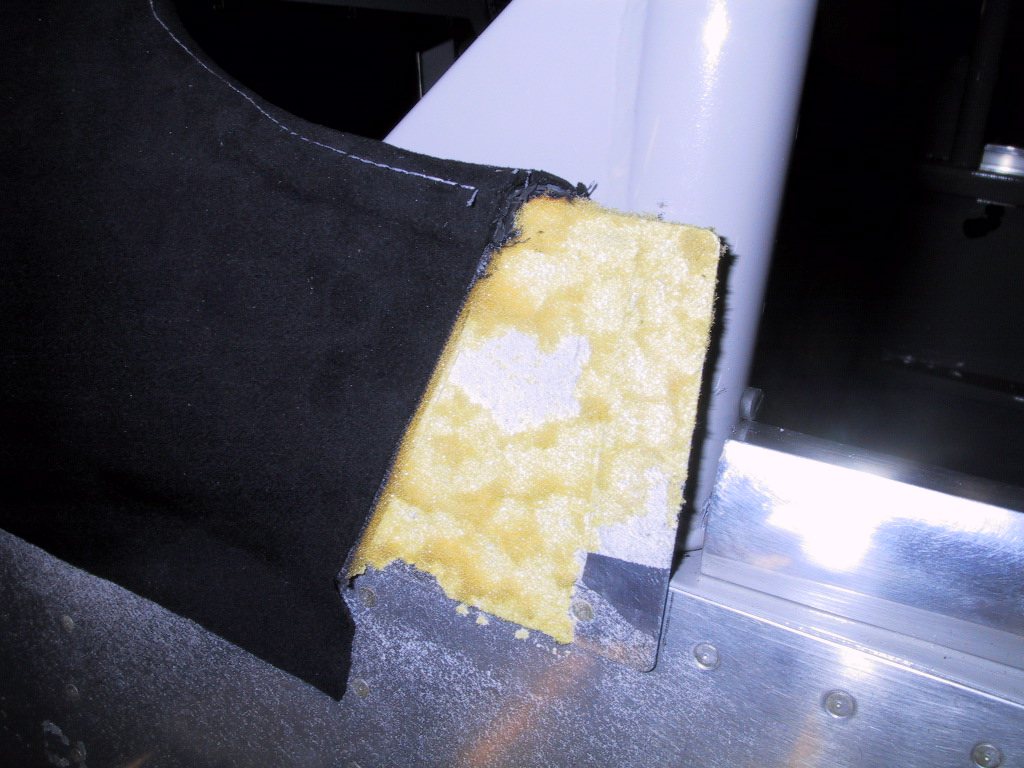
Eventually, it looked like this. In between trimming the fabric, I was also trimming the winshield plexi! Don’t worry about the glareshield fabric, all the edges will be sealed up with epoxy when the windshield goes on.
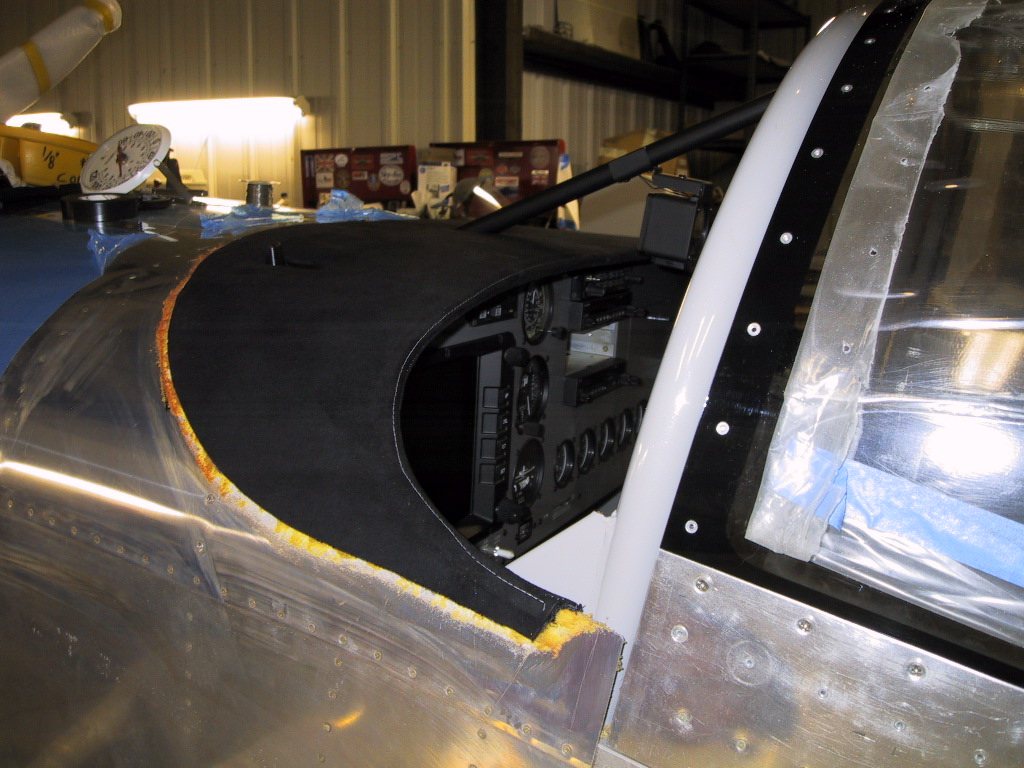
Another shot of the trimmed glareshield fabric.
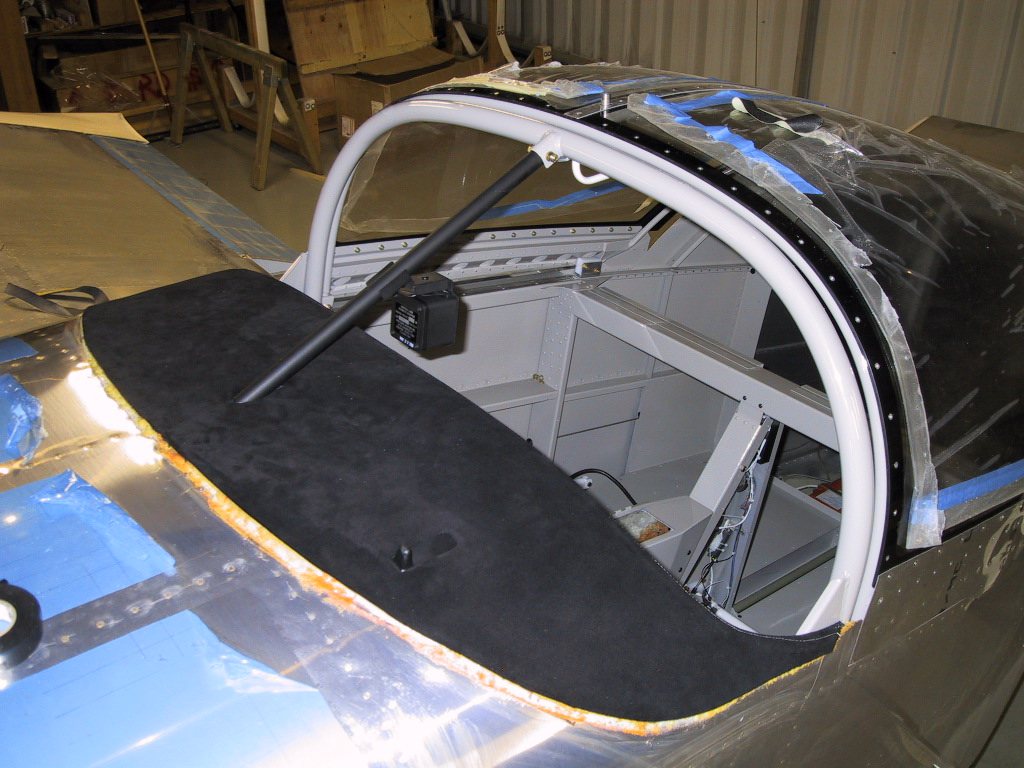
After all that, here’s the final shaped windshield sitting on the plane. I spent a long time sanding the rear edge to match the canopy plexi too. I also cleaned up all the other edges to prevent any cracking.
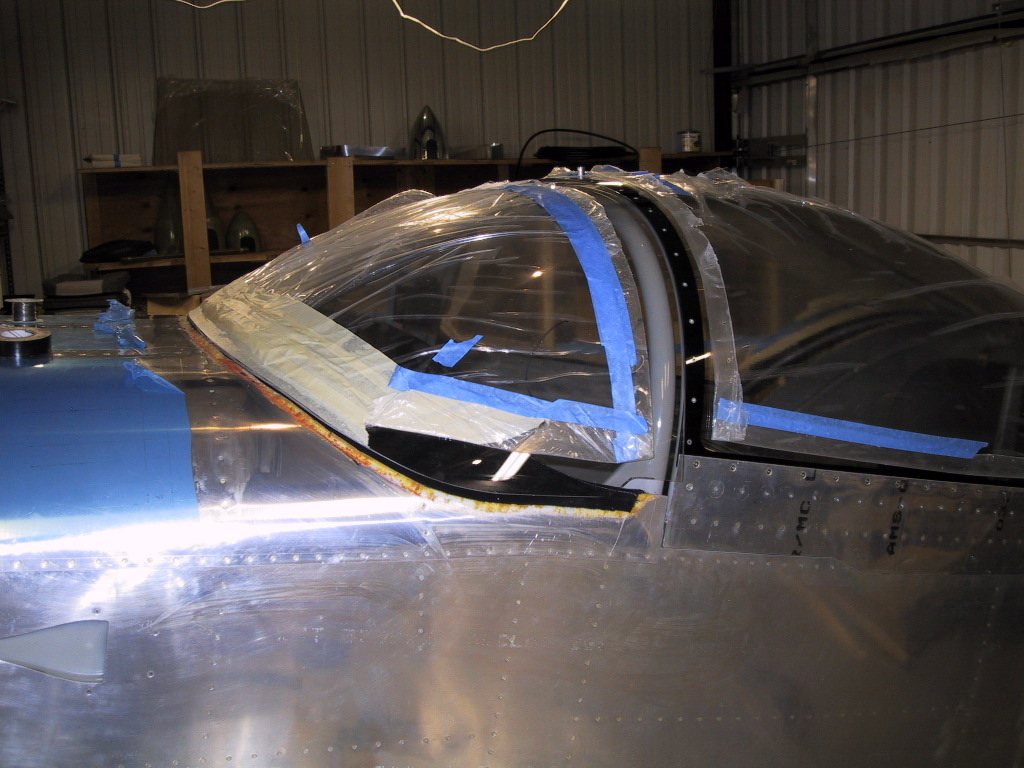
Now I will enlighten you as to my little plan…. I would really like to have a really clean look over the top of our canopy between the windshield and the sliding part. To this end, I have been perfecting the fit between the two by making all these little shims. It’s quite a painstaking process really, because I have to make a shim, close the canopy, check the flushness to the windshield, if it’s good, then move on, if it’s not, then make another shim. Well, there were 29 of them! I matched the pitch of the canopy frame rivets. Am I obsessive compulsive? Maybe! I was about 80% done, and Larry came by to see if I wanted to go flying. Sounds good to me! We took an hour out to go punch some holes in the sky in his Beechcraft Sierra.
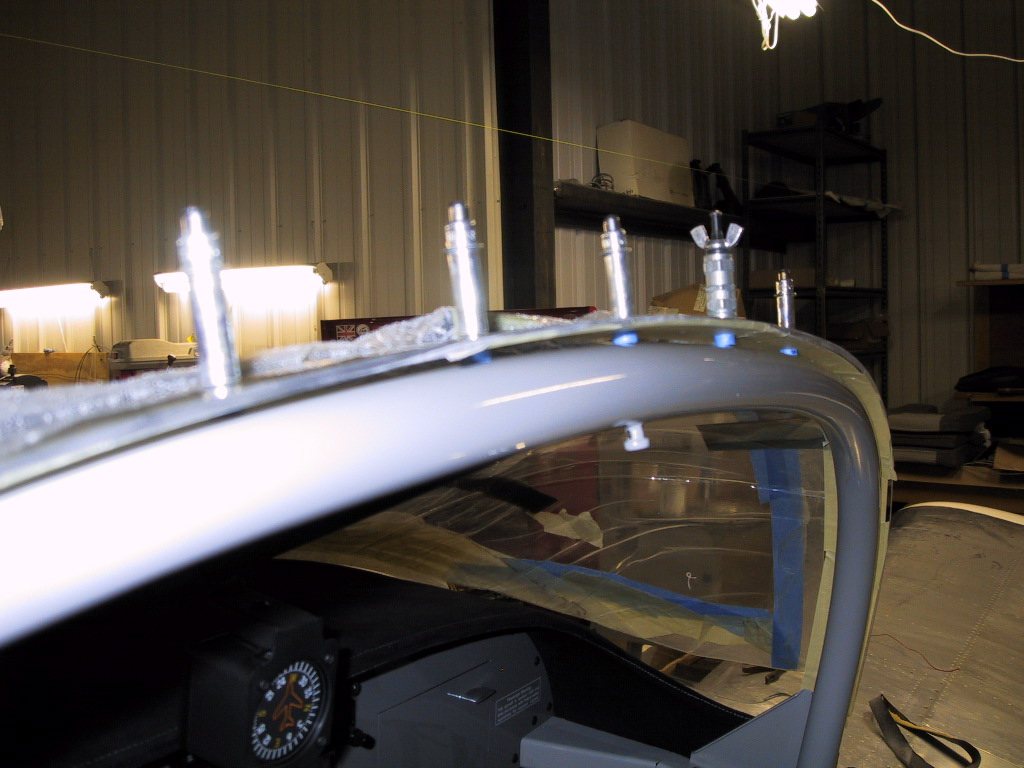
Moving on with the windshield to canopy matching…. Is this gap tight enough? I’m going to put a bulb seal between the canopy frame and the roll bar to seal this area. The windshield will have black painted inside to match the canopy too. It’s gonna look so cool.
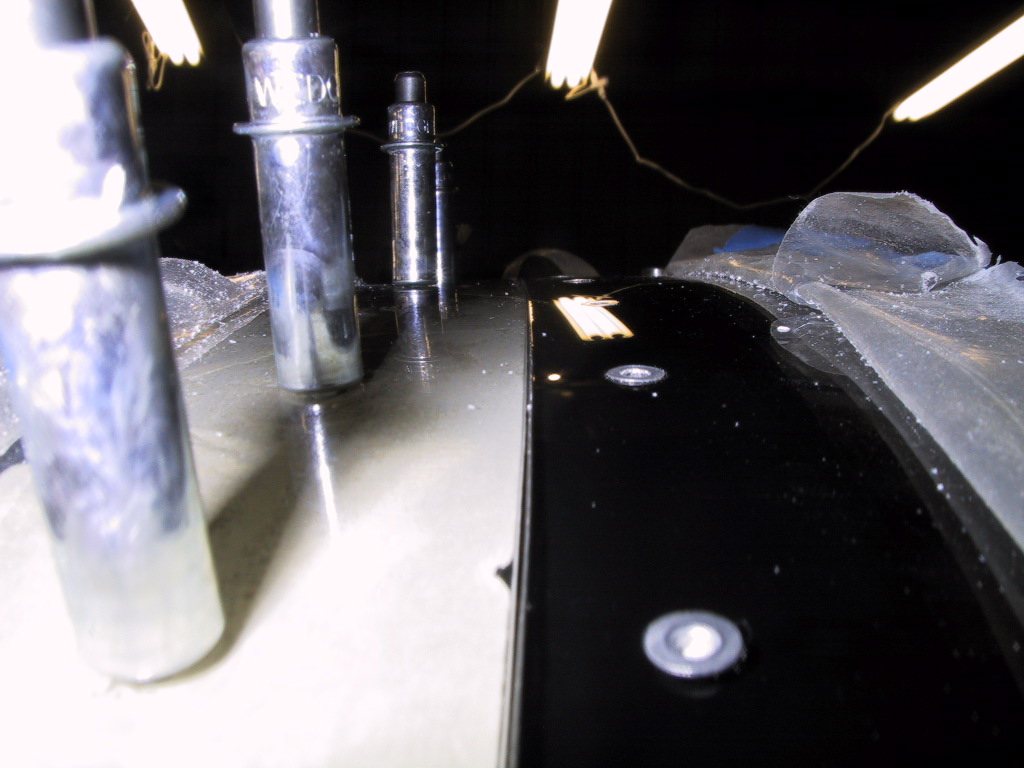
Aaargh! Finally it’s all match drilled. The trouble is, you have to shim as you go, otherwise all your holes won’t line up! What a pain it was, but well worth it if it works out as planned.
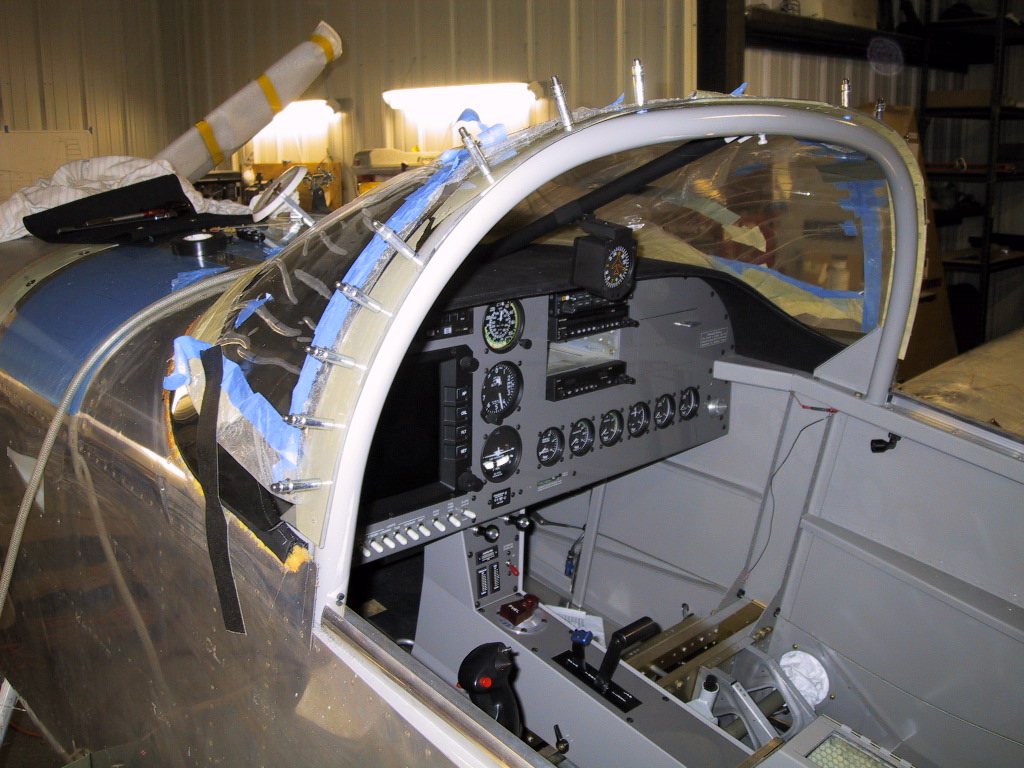
Now that’s all done, I can take this thing off, countersink the holes, open the holes up to fianl size and paint the ‘ceramic’ line. I used a paint called ‘Fusion’ from Krylon for this. It works very well indeed, as it sort of soaks into the plexiglass. It’s pretty tough too, and won’t scratch off.
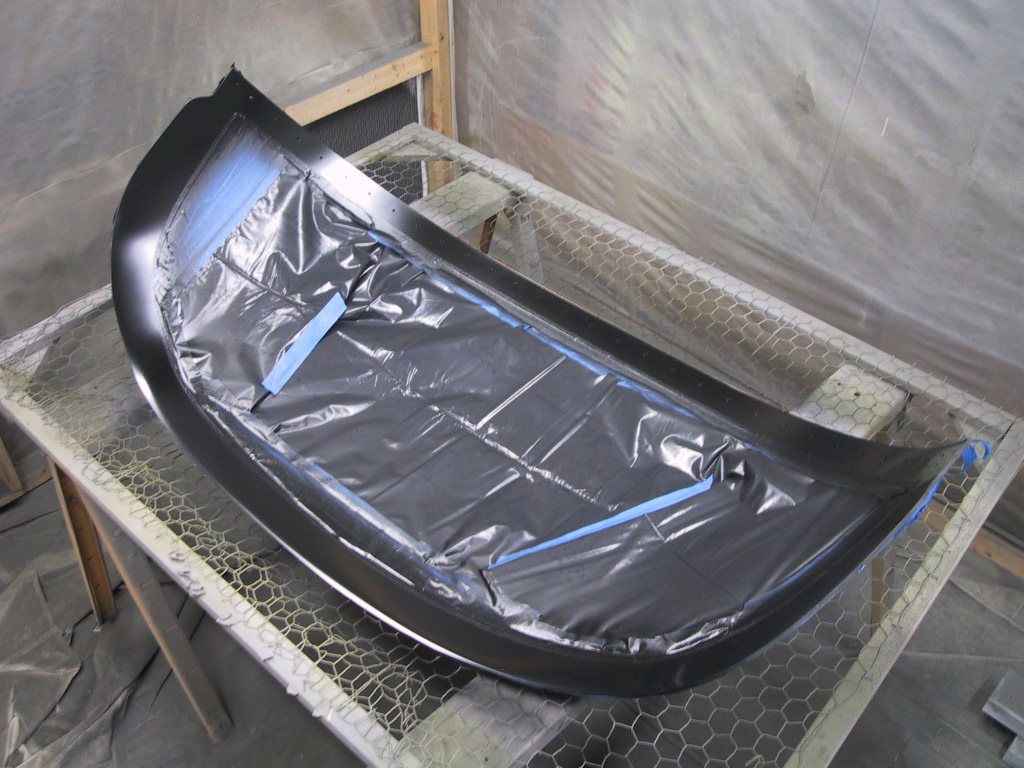
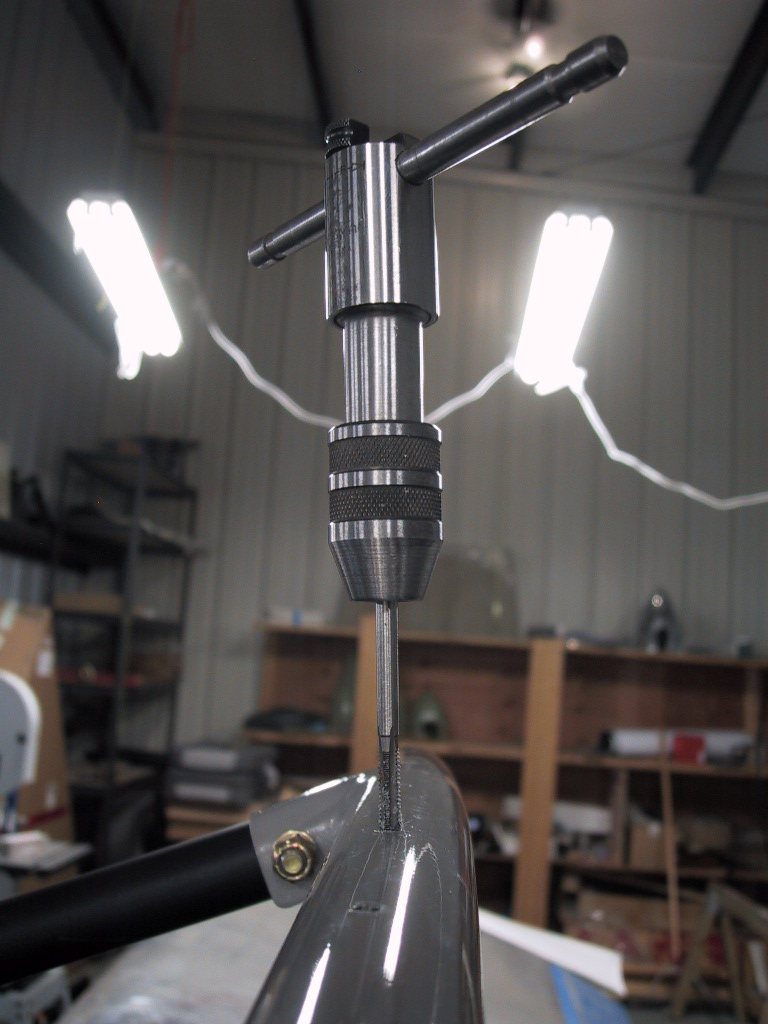
While the paint was drying, I tapped out the holes in the roll over bar. This was entertaining too. I got anout half way round and snapped my tap. Fortunately, I’ve got an abundant supply of them. The tricky part was getting the broken tap out of the hole! It came out eventually, with a bit of mild persuasion.
The windshield is now ready for the plane, and I think the plane is ready for the windshield. Hopefully, tomorrow evening I can stop by and put it on and lay up a bead of micro and some glass. I also need to make a few of the little clips that are needed to hold the bottom of the windshield in place. That shouldn’t be too bad though. In the meantime, I need to go to bed, it’s late! The paint will have hardened off some by tomorrow too.