


January 14, 2007
Seems like forever since we worked on the plane. I guess it’s a long time because since it’s been airworthy, I’ve been flying it whenever I can. Today, the weather is crap so I figured it would be a good day to do the gear leg fairings. An incentive for this is MORE SPEED! I wonder how much?
Airspeed has been around 135-140kts on about 60%-65% power so far around about 2500ft. It’ll be interesting to see how much difference they actually make.
Clayton came by to help too, and we had a lot of fun today working on these.
I went out and bought an engine hoist to lift the plane up. This has to be done so that the gear leg fairings are aligned with the airflow in the flight attitude. I also bought some “Great Stuff” expanding foam. We’re filling these legs up with it from the get go, not waiting until something breaks. Some people may consider this foam as a bit bodgy, but in my opinion it’s not. There are many places on your car where something very similar is used to seal up the cavities in the body structure. Usually it’s attached to a special plastic bulkhead with the stuff around the outside of the plastic. When the car goes into the paint oven the foam expands filling the gaps.
Clayton assembled the hoist while I cut the templates from a copy of the drawing and made the fairings. These are pretty easy to do, but a little time consuming. It took us most of today to do.
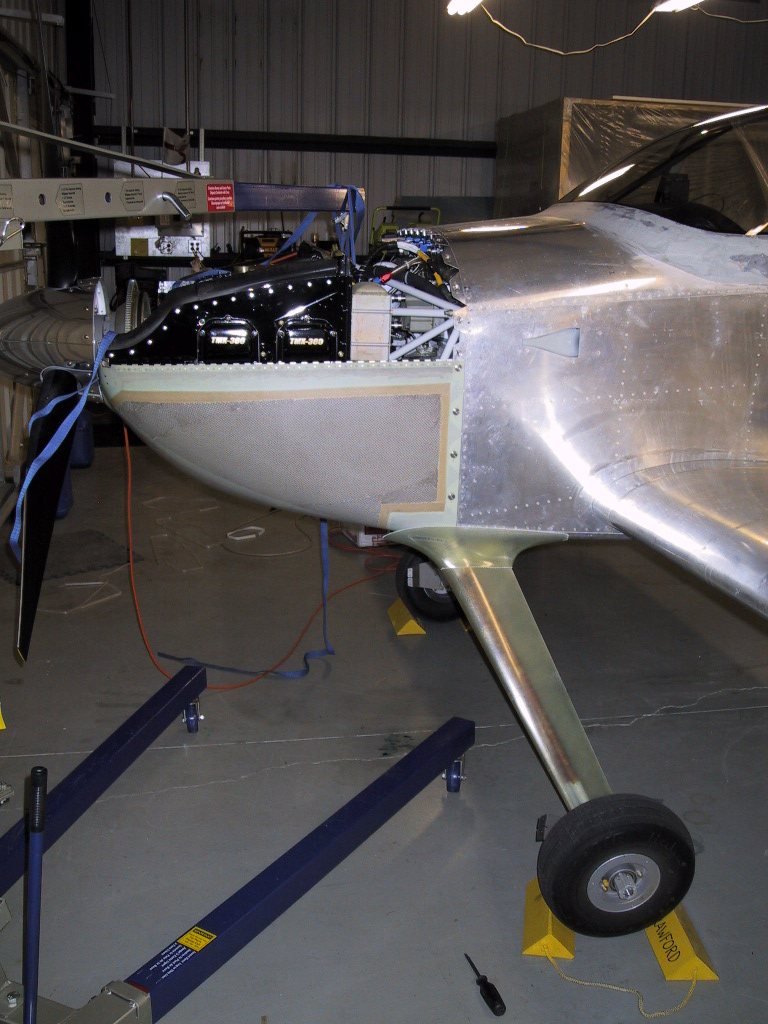
Here, the plane is raised so the wheels are a smidgin’ off the ground (about an 1/8th inch, if that.) We did a test fit of the fairings, and trimmed where necessary. We didn’t trim the back edge of the fairing to the template, because I wanted it to fit into the Farings Etc, intersection fairings, so we fitted the intersections and established our own rear trim line.
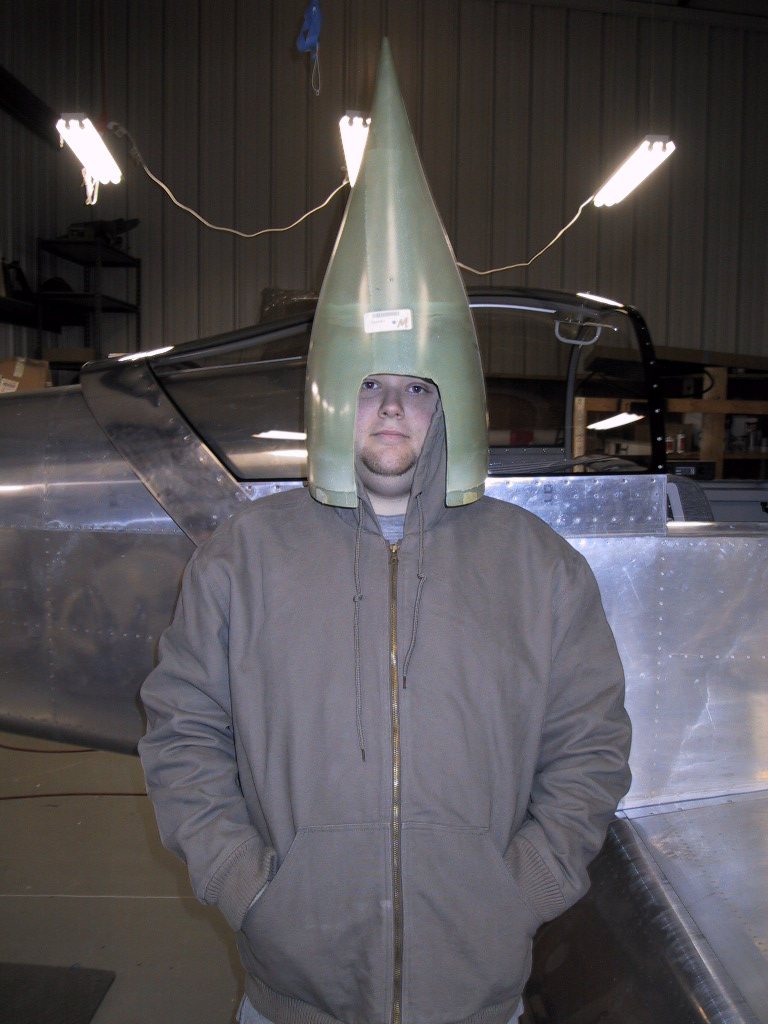
Here’s Clayton in the obligatory ‘Coneheads’ shot.
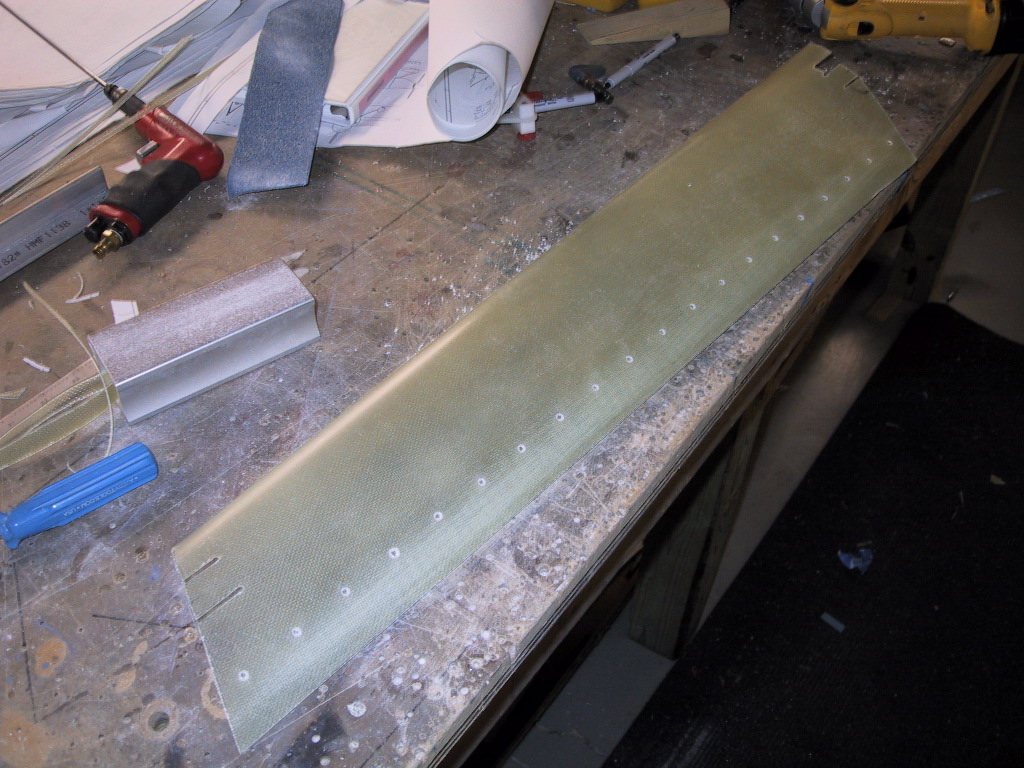
We match drilled the rear hinges and countersunk the holes for rivets. We roughed up the fibreglass and the hinges with 40 grit sandpaper and bonded and riveted the hinges in place.
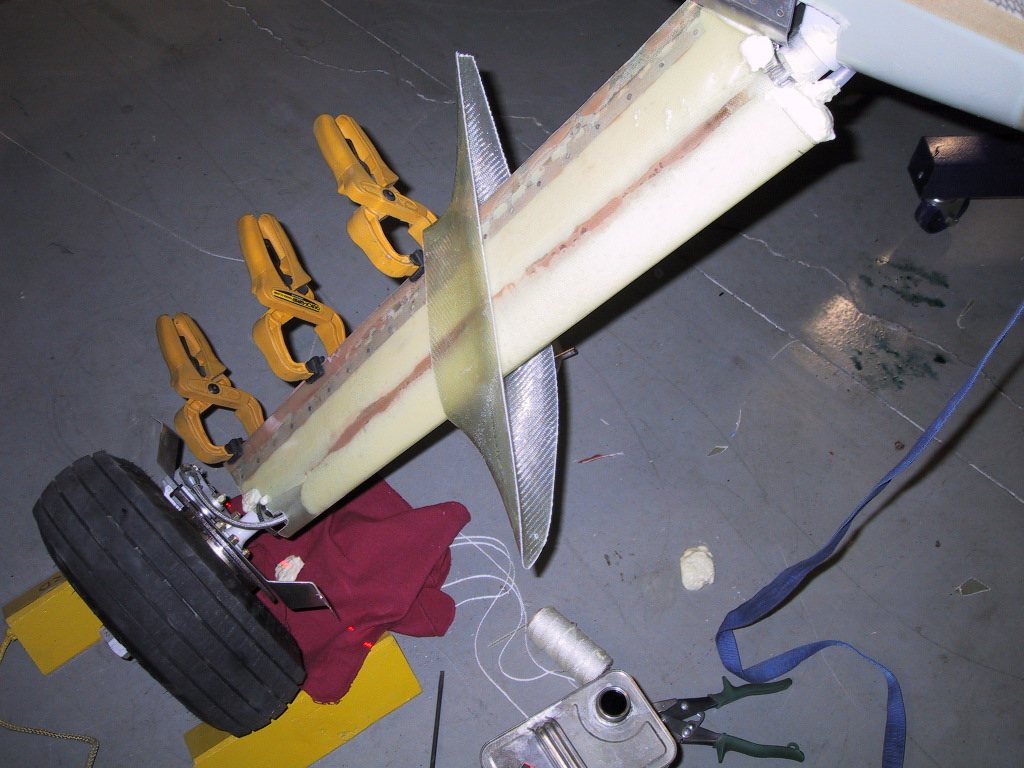
Once that was done, it was time to get it on the plane! Fast! It was quite cold today, so it helped with the cure time for the epoxy. We still chose the fast stuff though. The slow stuff takes forever!
We put a flox mix all the way down the gearlegs where the fairing touches the gearleg, and a flox mix along the trailing edges of the fairings. Next we slid the fairing over the gearleg, positioned it roughly and slid the hinge pin in to close up the rear edge. Once it was in about the right position, we used the upper intersection fairing as a guide for the correct angle, and then checked it with plumb bobs and a string to the back of the plane. I put a laser line on the floor parallel to the centreline to help us get it all right. The intersection fairings are pretty close. You have to make sure the fairing isn’t twisted as it goes down to the bottom though too.
Once it was all secured, we squirted in the “Great Stuff”. It’s pretty cool stuff really, as it fills up all the gaps really nicely. I don’t think these fairings are going anywhere! The fact that I had previously fibreglassed the brake hoses in also will help in this regard as the peel ply had left a great surface for the new flox mix to adhere too.
Well tomorrow I’ll try to get back here and secure the upper intersection fairings. I’ll probably have to trim off some of the expanding foam, but it shouldn’t be a big deal.