


April 1, 2007
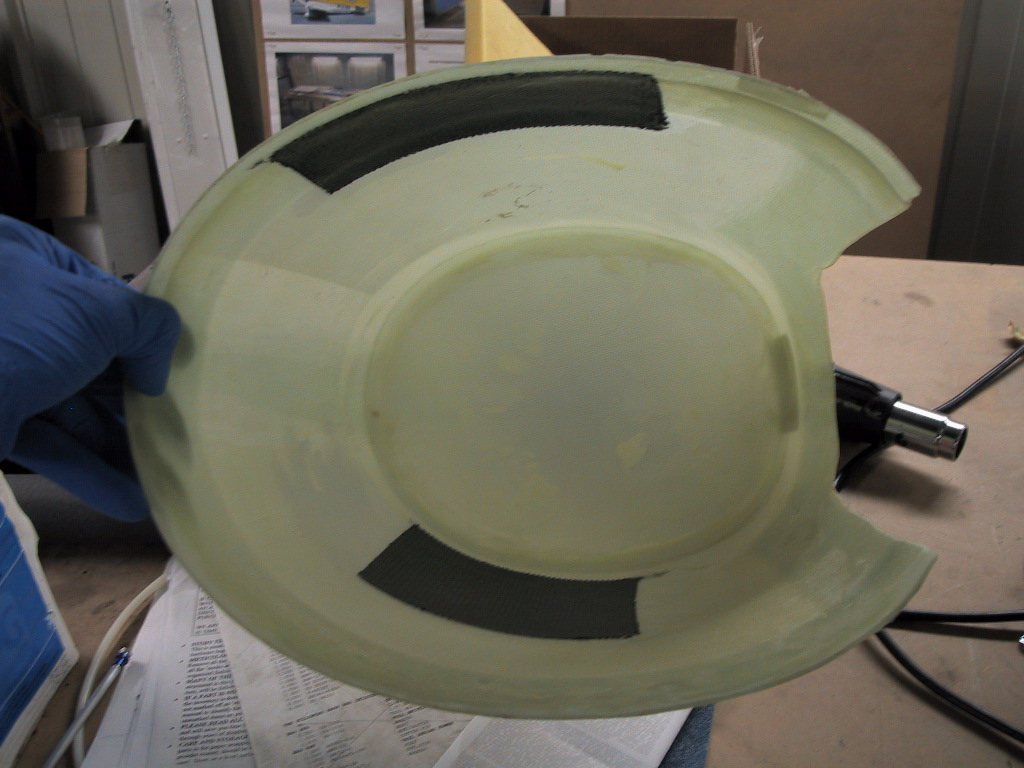
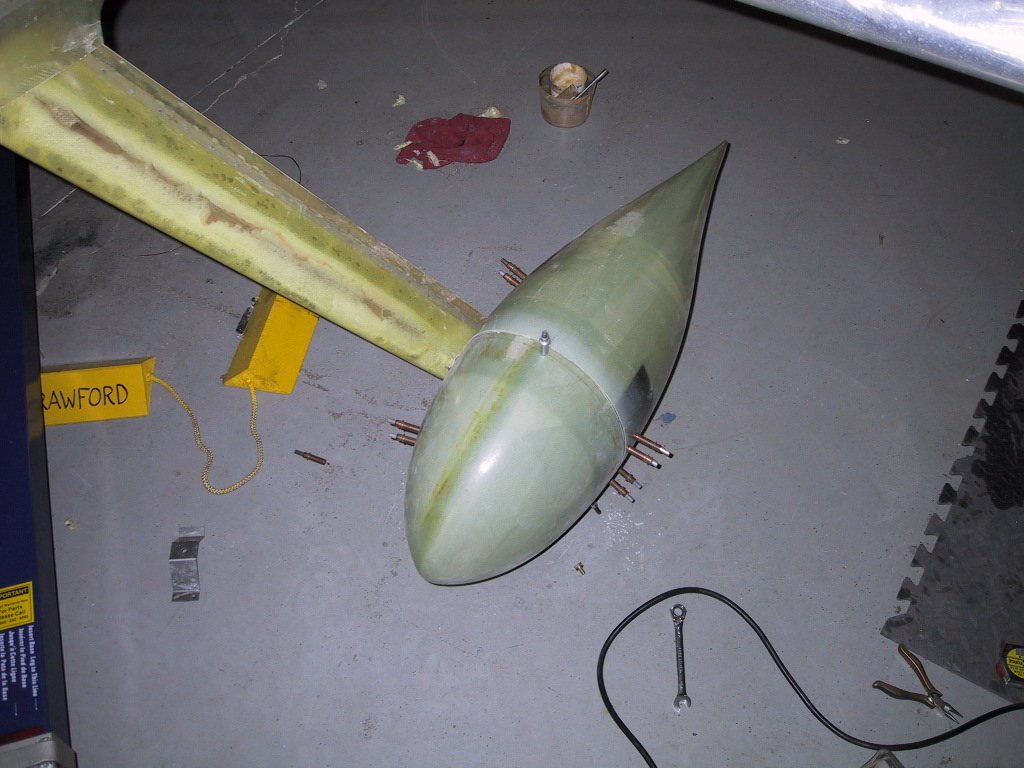
On today’s agenda are the wheelpants and finishing the oil door installation. First up was to slap on some carbon fibre reinforcement for where the wheelpants get riveted to the brackets. That way, it can be setting up while I crack on with other things.
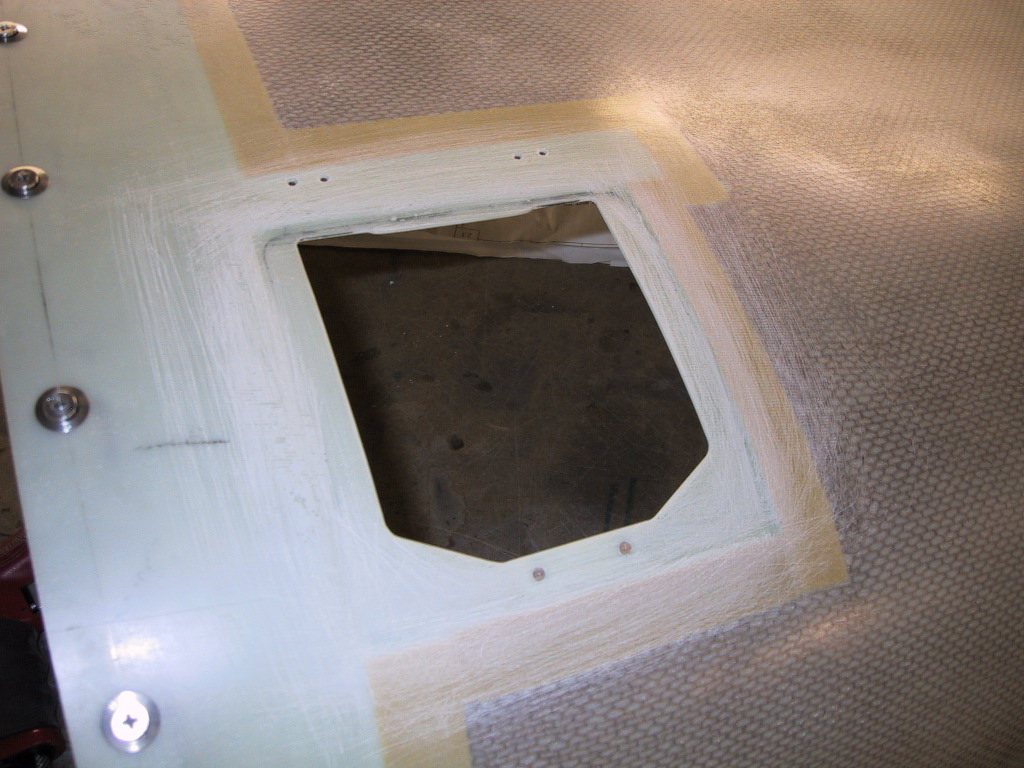
Back to the oil filler door… I cut the opening and got the hinges drilled to the cowling in the correct position. I also added a piece of 0.030" aluminium strip to the latch contact area for added strength. Something I did with the hinges was make them contact the edge of the door opening slightly. The hinges themselves don’t actually swing through a true arc, so as the door opens, they’re free, then at about half open, they rub against the edge of the opening. Once the door is about three quarters open, they free up again, so the door will stay open when I put it open. It took a few iterations of fitting and filing to make it work just right. I’m not sure if eventually it’ll wear the fibreglass away and just fall closed one day. We’ll see.
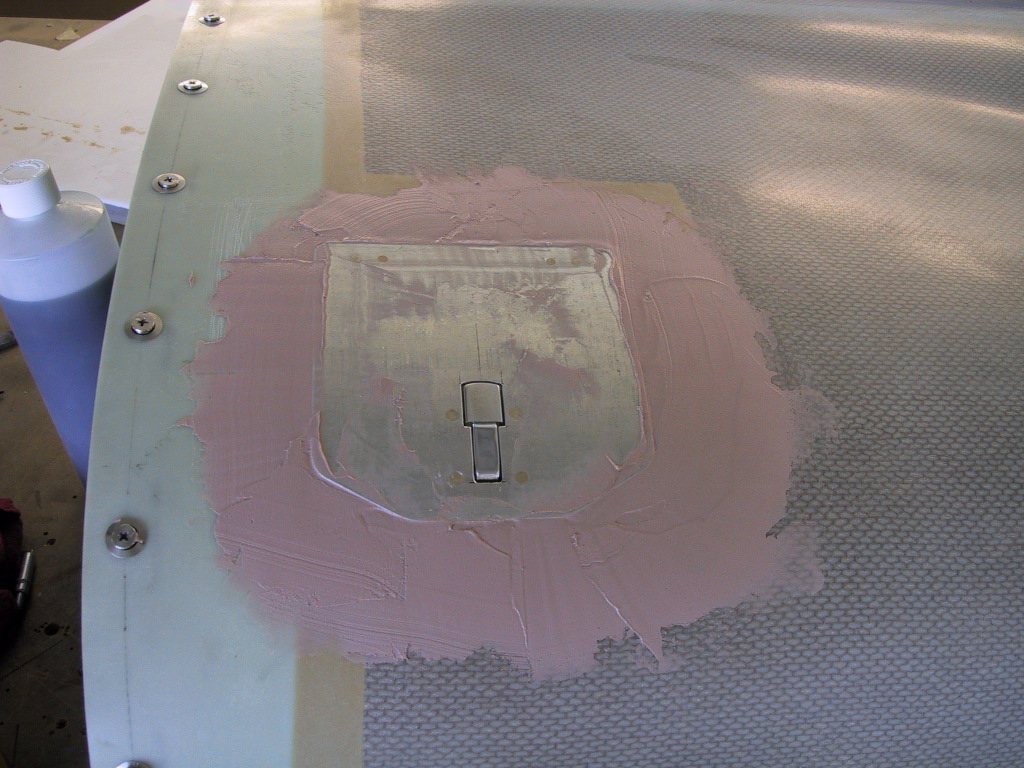
Since Van’s filler hole is square, and my door isn’t, I waxed up the door and slapped some filler on there. I think this was the first dollop.
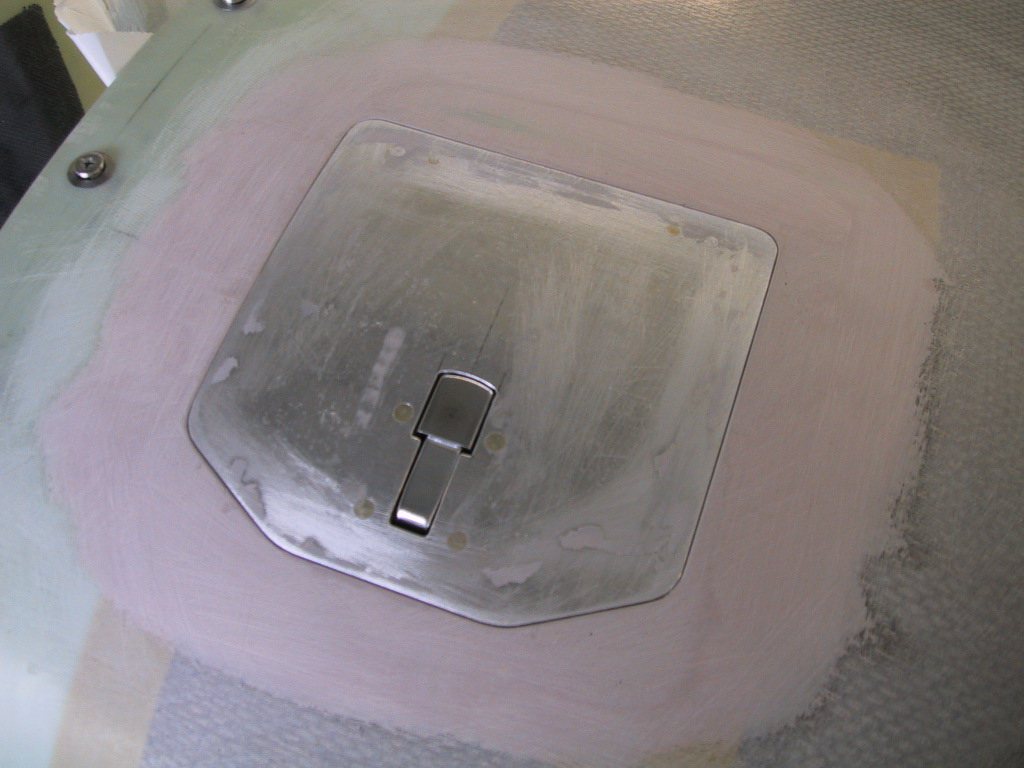
With a little patience, eventually it looks like this. Absolutely lovely jubbly! The best fitting oil door East of Oshkosh AND West of the Netherlands! Aart, Harm, Pim and René’s oil door!
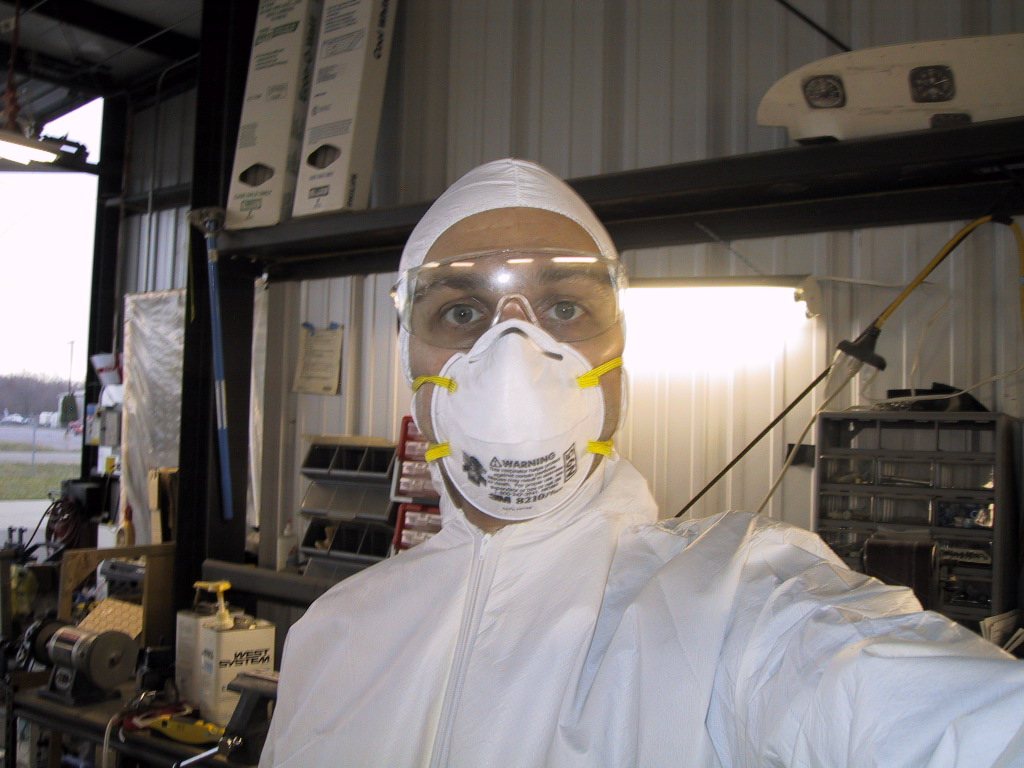
I hate fibreglass so much, I make myself look like an idiot trying to stop the scratchies!
Time to move back to the wheel pants. I didn’t really take many photos along the way here, but I basically cleco’d the two halves together, and trimmed out the hole in the bottom for the tyre until it just fit. Once the final position of the pant is established, I’ll trim out the tyre hole more to provide the required clearance.
I raised the back of the plane, and hoisted the front up so the wheels were just touching the ground, and made sure the plane was level in a flight attitude. Then I laid two laser lines on the floor, one down the aircraft centreline and one just inboard of the wheel (in this case the left one). You can’t see the lines on the ground coz of the camera flash. I had to dim the lights some to do this too.
I taped a 1 inch block to the top of the wheel and went forth with positioning the wheelpant. it took a while to get to this point, but I finally got it cleco’d into place. In hindsight, I would’ve drilled the holes first, then reinforced it with carbon. It’s tough to shine a light through and see where to drill when there’s carbon in there. Be warned! Despite that, I managed OK and got a pretty nice result. Now all I have to do is the other side. The pant is prepped ready to go, I just have to hoist the plane up again and go through all the set up stuff. I didn’t want to leave the plane hoisted overnight for obvious reasons. The hoist might drop slowly since it’s hydralic, and who know’s what would happen then.
So tomorrow I’ll crack on with the other side, and hopefully get them all riveted to the brackets. Next week we have a trip to Chicago planned, so it would be nice to have made some headway into these by then. A little extra speed on a cross country won’t hurt either! Demon!