


Garmin Panel Update
Out with the old panel, in with Garmin.
We’d been using the Blue Mountain Avionics system for over ten years, and as time went on it was apparent that Blue Mountain were more interested in developing new bits and pieces than in perfecting their original EFIS/1. We were kind of lucky that we got the gold box version of the EFIS/1, which was a little bit newer than the original plastic box version. But eventually it got to the point where all we could see was new development.
Then Blue Mountain went bankrupt and folded, and we were left on our own. There was a builders’ group set up, and we could get a little bit of data for a while, but eventually we couldn’t get any database updates for the maps. That meant flying with supplemental charts, with old data on the screen in front of you.
The other nail in the coffin was that the autopilot sucked. It basically couldn’t hold a track. It went up and down, and it just S-curved its way through everything. Flying an approach was an impossibility: it would almost have crossed the other approach path. Not a good scenario.
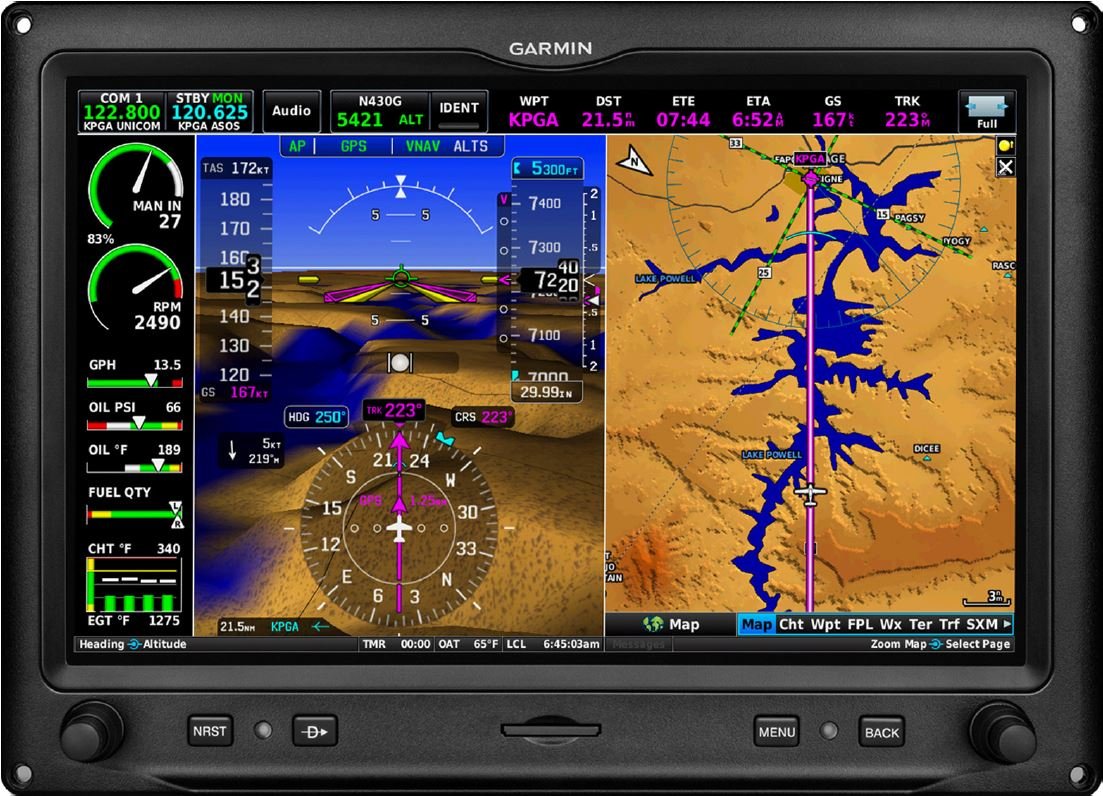
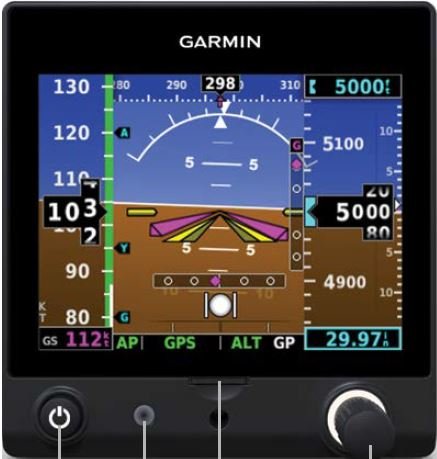
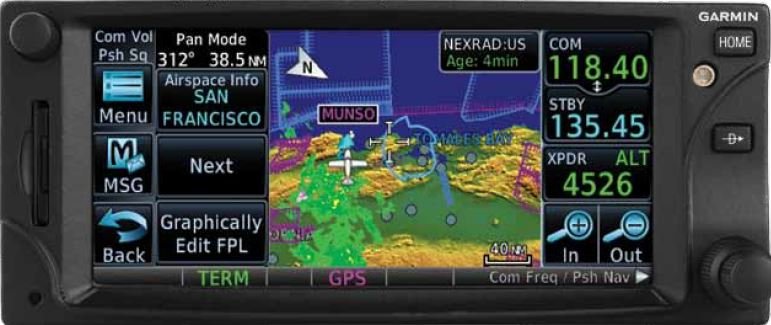
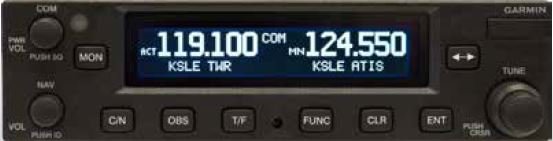
So we got to the point where it was time to bite the bullet and switch over to something more reputable. The two obvious contenders were Garmin and Dynon. They’re both very capable, and Dynon has made some pretty good headway in the experimental market, but Garmin had decided to do a G3X system for experimental installs. On top of that, Garmin were doing a special deal: 50% off the GTN 625 when you bought a G3X. So we went with Garmin, and I’ve never looked back. It was tough to install, find homes for all the bits and pieces, and lay out a good plan, but the system is nothing short of amazing.
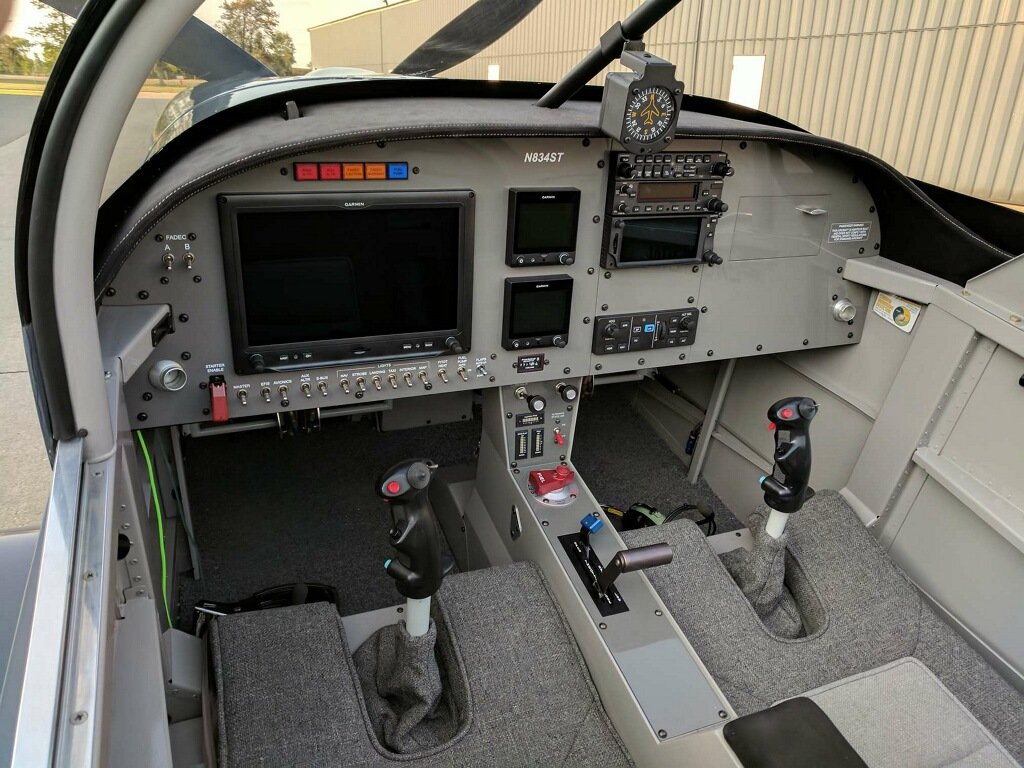
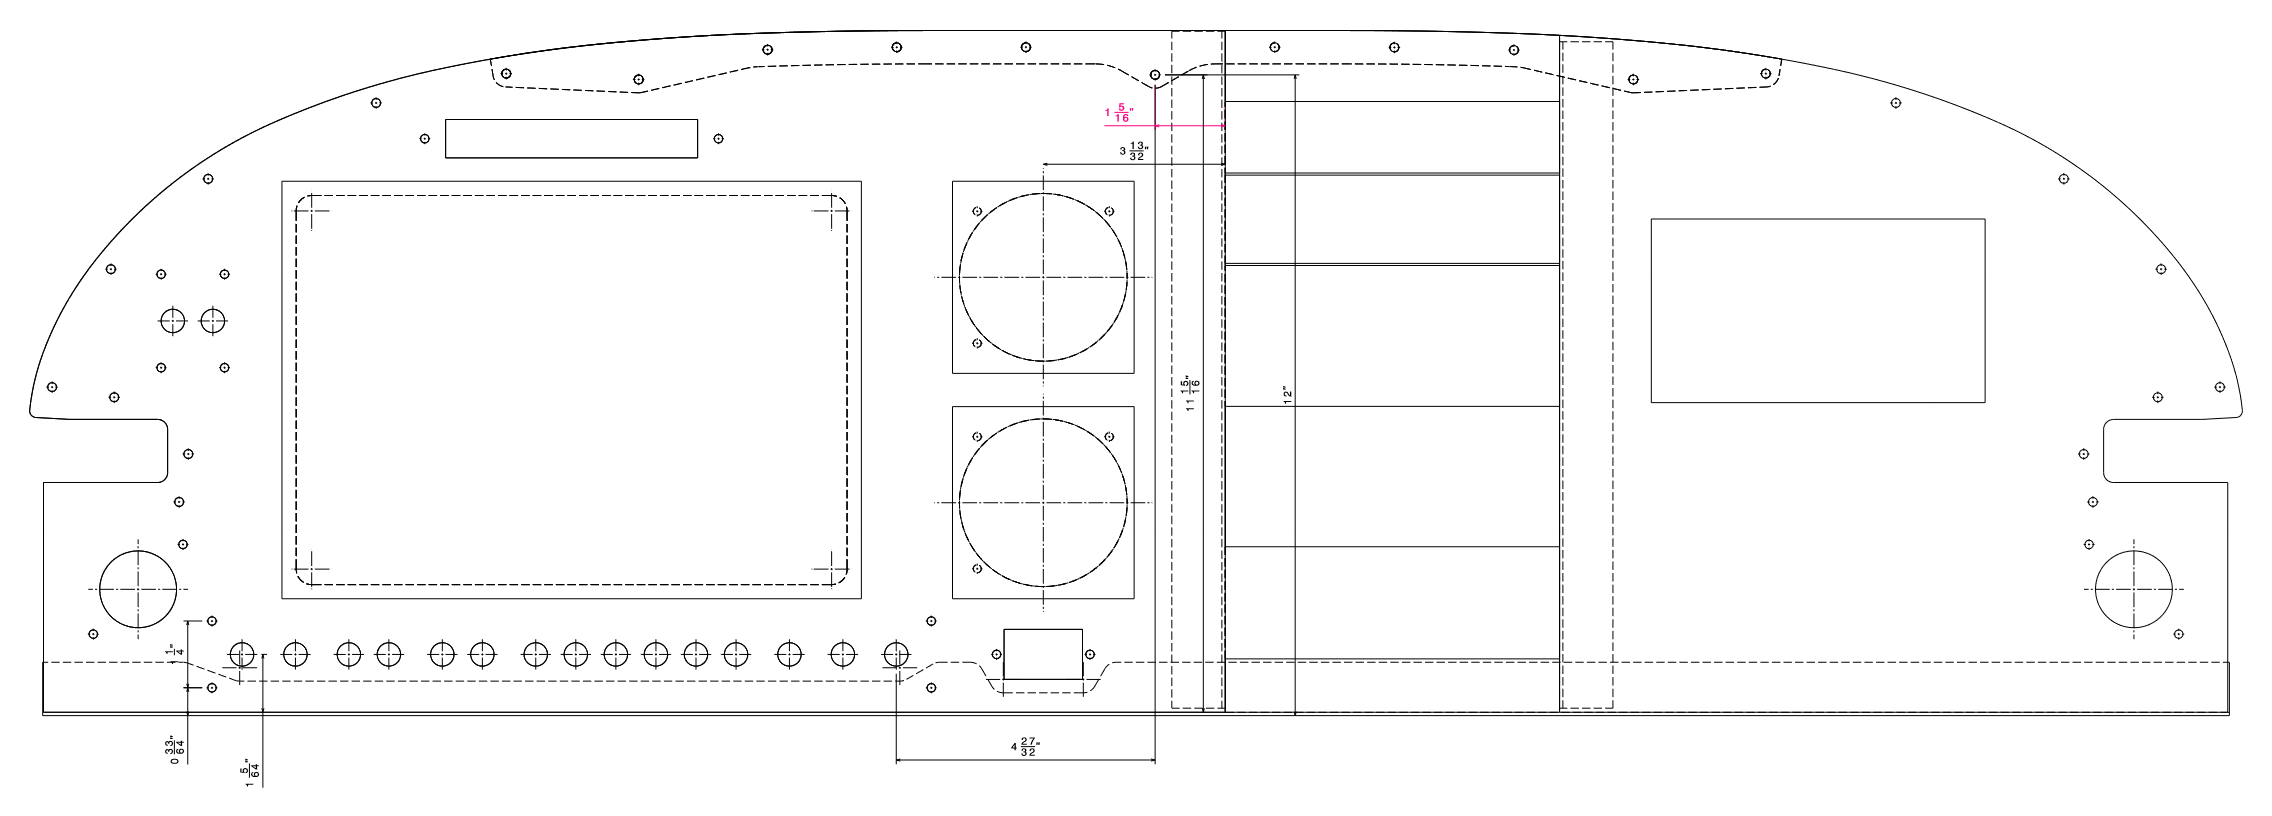
Here are a few images to show what we did, the general build and the panel upgrade.
The plan
I used the underlying old panel as a substrate for the new modular panel, and I made the old glove box work as well. It worked pretty well.
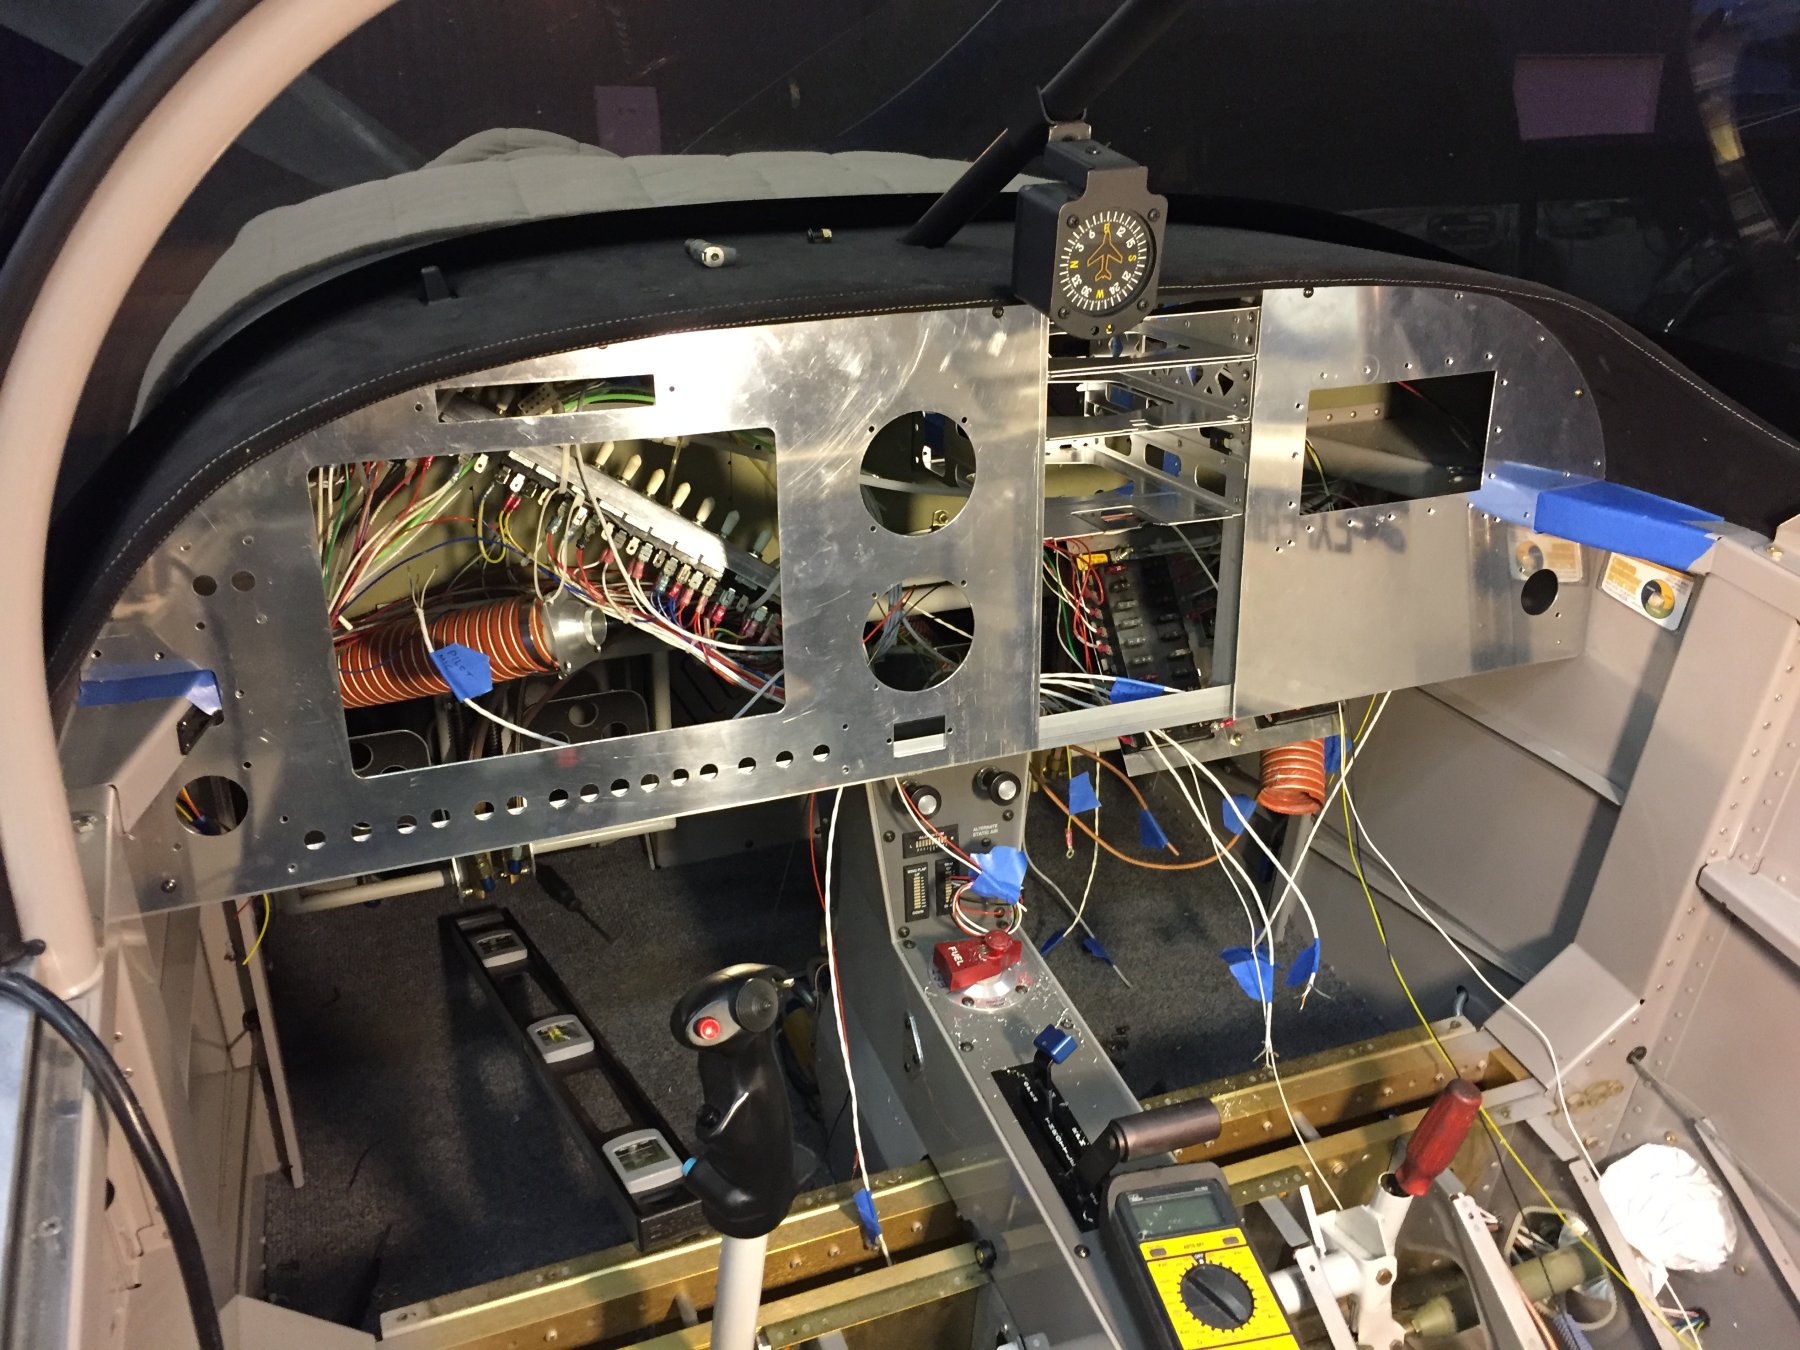
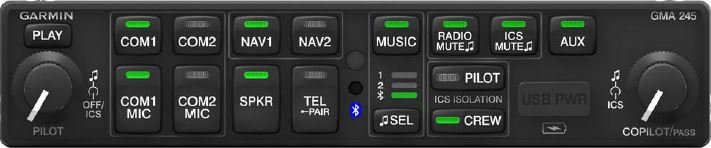
What went in
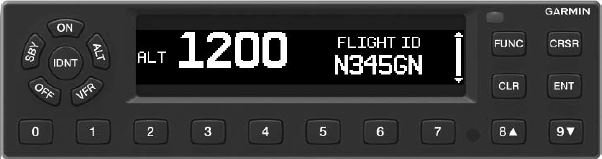
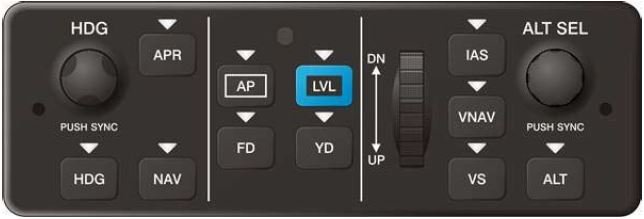
The diary
- 2017
 April 17
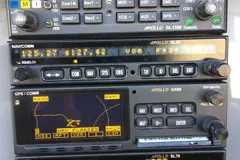
Step one: pulling out all the old instruments, the Blue Mountain and the Apollo radio stack.
April 17
Step one: pulling out all the old instruments, the Blue Mountain and the Apollo radio stack.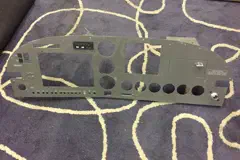 April 22
The old panel is out. It was so well fitted I had to bend it a bit to get it out of the plane.
April 22
The old panel is out. It was so well fitted I had to bend it a bit to get it out of the plane.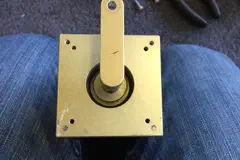 April 23
One of the old EFIS autopilot servos, and the elevator jam it once gave me.
April 23
One of the old EFIS autopilot servos, and the elevator jam it once gave me.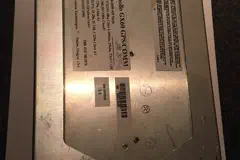 April 24
The Apollo GPS/com, all ready to ship to a buyer online.
April 24
The Apollo GPS/com, all ready to ship to a buyer online.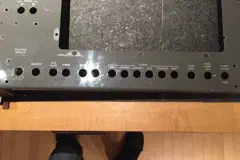 April 26
A photo to remember which switch was which, and the framework for the new modular panel.
April 26
A photo to remember which switch was which, and the framework for the new modular panel.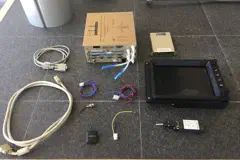 May 6
The old EFIS/1 system laid out for sale. Nobody was really interested.
May 6
The old EFIS/1 system laid out for sale. Nobody was really interested.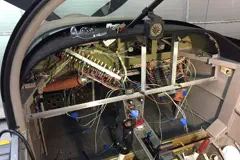 May 28
The start of the framework: angle aluminium to make a good sturdy mount for the avionics stack.
May 28
The start of the framework: angle aluminium to make a good sturdy mount for the avionics stack.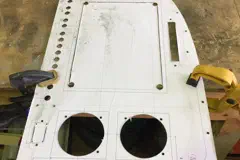 June 4
Full-size paper templates from the CAD drawing, stuck to the aluminium for accurate cuts.
June 4
Full-size paper templates from the CAD drawing, stuck to the aluminium for accurate cuts.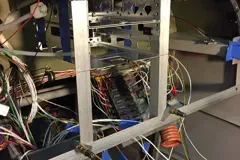 June 16
Trial fitting the avionics trays.
June 16
Trial fitting the avionics trays.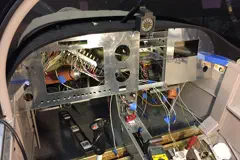 June 19
Trial fitting the main panel pieces onto the framework.
June 19
Trial fitting the main panel pieces onto the framework.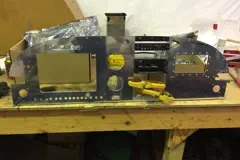 June 20
Piecing the panel together on the bench and match drilling everything so it fits perfectly.
June 20
Piecing the panel together on the bench and match drilling everything so it fits perfectly.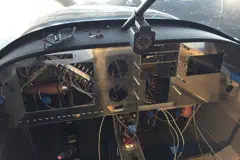 June 21
Back in the aircraft, all clecoed together. It fits really nicely.
June 21
Back in the aircraft, all clecoed together. It fits really nicely.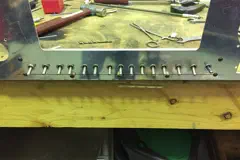 June 23
A hidden carrier for the switches, so there are no visible fasteners on the panel.
June 23
A hidden carrier for the switches, so there are no visible fasteners on the panel.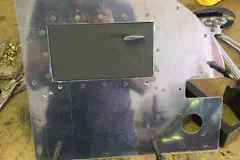 June 25
Fitting the old glove box to the new panel. Lots of cautious filing!
June 25
Fitting the old glove box to the new panel. Lots of cautious filing!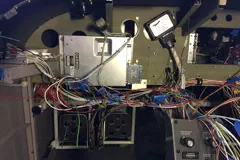 July 3
The GTR 20 remote comm, tucked away behind the panel.
July 3
The GTR 20 remote comm, tucked away behind the panel.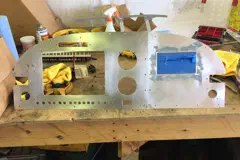 July 4
Prepping the panel for paint: filling the rivet holes and sanding it all down.
July 4
Prepping the panel for paint: filling the rivet holes and sanding it all down.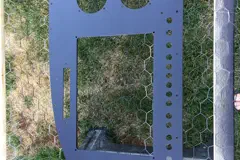 July 5
Step one of the paint: etch primer on all the panels.
July 5
Step one of the paint: etch primer on all the panels.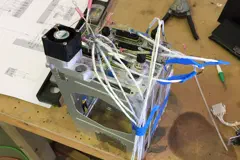 July 6
Building the avionics harness on the bench, and a little more filler over the rivets.
July 6
Building the avionics harness on the bench, and a little more filler over the rivets.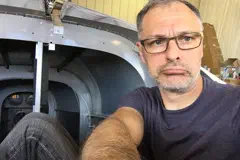 July 9
Banged my head again, and the wiring under the panel getting challenging.
July 9
Banged my head again, and the wiring under the panel getting challenging.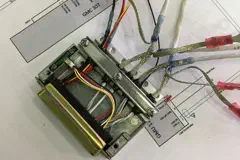 July 11
More avionics wiring on the bench: one wire at a time, double checking every pin.
July 11
More avionics wiring on the bench: one wire at a time, double checking every pin.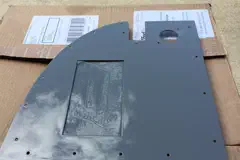 July 15
Top coat, laid on thick so it can be wet sanded to a super nice shine.
July 15
Top coat, laid on thick so it can be wet sanded to a super nice shine.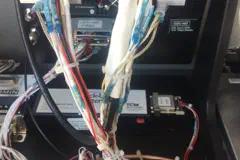 July 28Oshkosh 2017
At Oshkosh 2017: photos of the back of Garmin's G3X display rig, to copy the wiring at home.
July 28Oshkosh 2017
At Oshkosh 2017: photos of the back of Garmin's G3X display rig, to copy the wiring at home.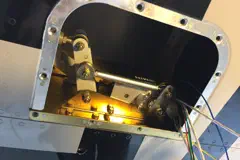 August 4
Installing the Garmin autopilot servo in the wing. Pretty straightforward.
August 4
Installing the Garmin autopilot servo in the wing. Pretty straightforward.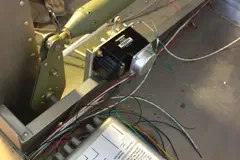 August 6
The elevator autopilot servo, ticking off the wiring diagram, and the magnetometer.
August 6
The elevator autopilot servo, ticking off the wiring diagram, and the magnetometer.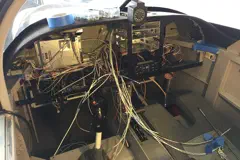 August 13
Getting the avionics stack and wiring in place, on a framework painted black.
August 13
Getting the avionics stack and wiring in place, on a framework painted black.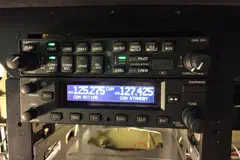 August 22
Powering things up as we go. So far, so good: the audio panel and the radio.
August 22
Powering things up as we go. So far, so good: the audio panel and the radio.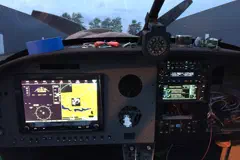 August 27First power-up
First power-up of the whole setup. The G3X found its GPS position, and no smoke!
August 27First power-up
First power-up of the whole setup. The G3X found its GPS position, and no smoke!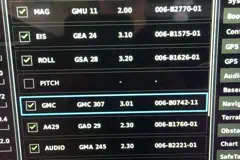 August 31
The G3X device list: checking software levels and working through the configuration.
August 31
The G3X device list: checking software levels and working through the configuration.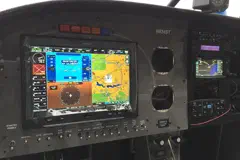 September 1
Engine sensors and other devices coming to life on the G3X. It's all coming together.
September 1
Engine sensors and other devices coming to life on the G3X. It's all coming together.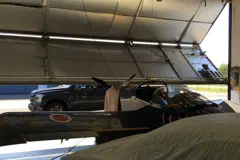 September 9
The avionics are all in. Powered up outside: no errors, everything works perfectly.
September 9
The avionics are all in. Powered up outside: no errors, everything works perfectly.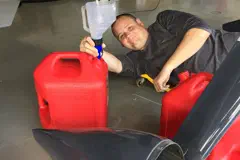 September 10
Recalibrating the fuel gauges, gallon by gallon, with Clayton giving me a hand.
September 10
Recalibrating the fuel gauges, gallon by gallon, with Clayton giving me a hand.- 2018
 June 26
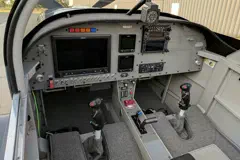
After flying it for quite some time: the Garmin system is nothing short of amazing.
June 26
After flying it for quite some time: the Garmin system is nothing short of amazing.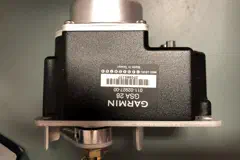 September 17Servo recall
A Garmin autopilot servo recall: replacement servos for both the ailerons and the elevator.
September 17Servo recall
A Garmin autopilot servo recall: replacement servos for both the ailerons and the elevator.